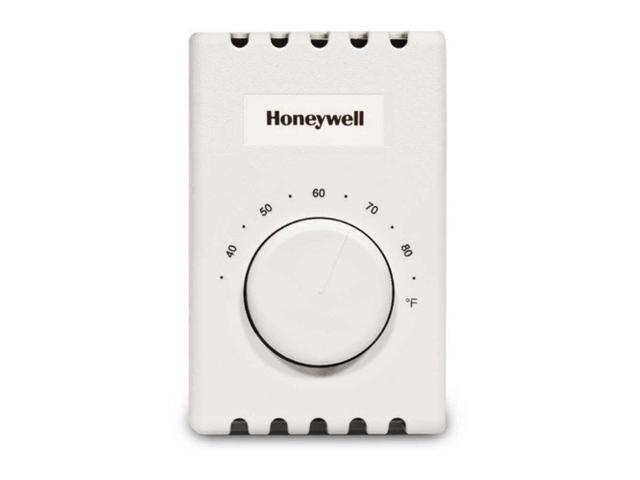
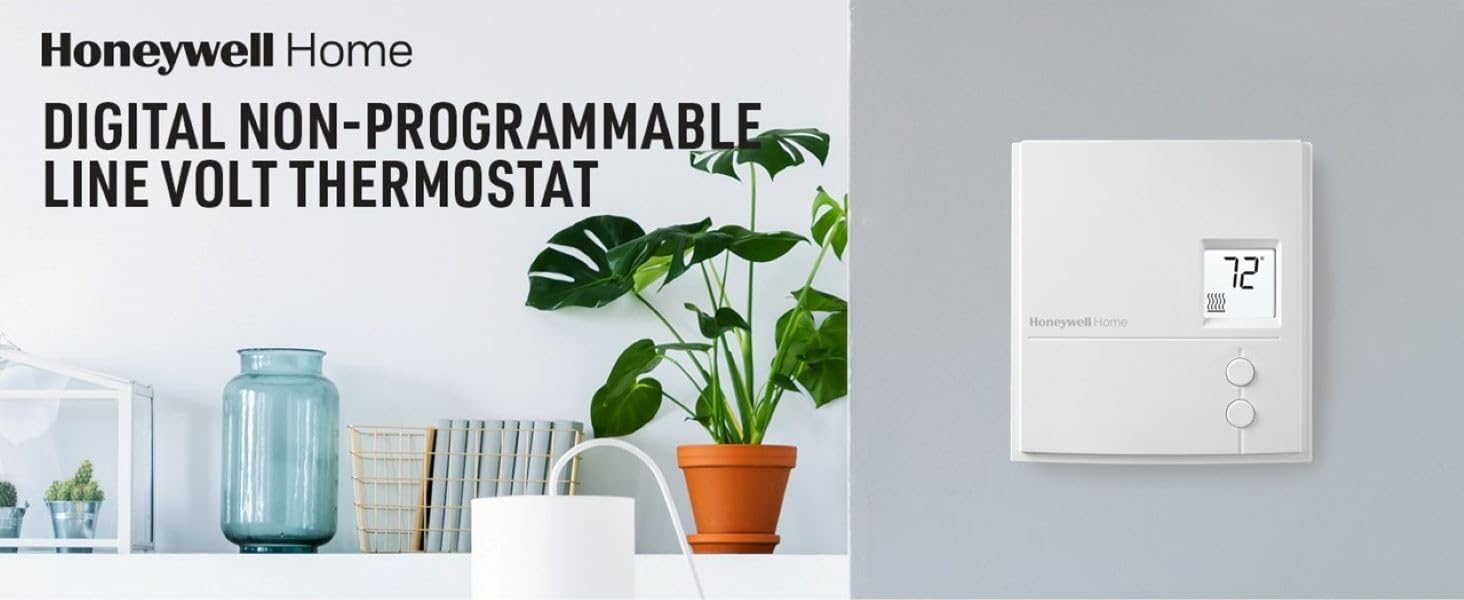
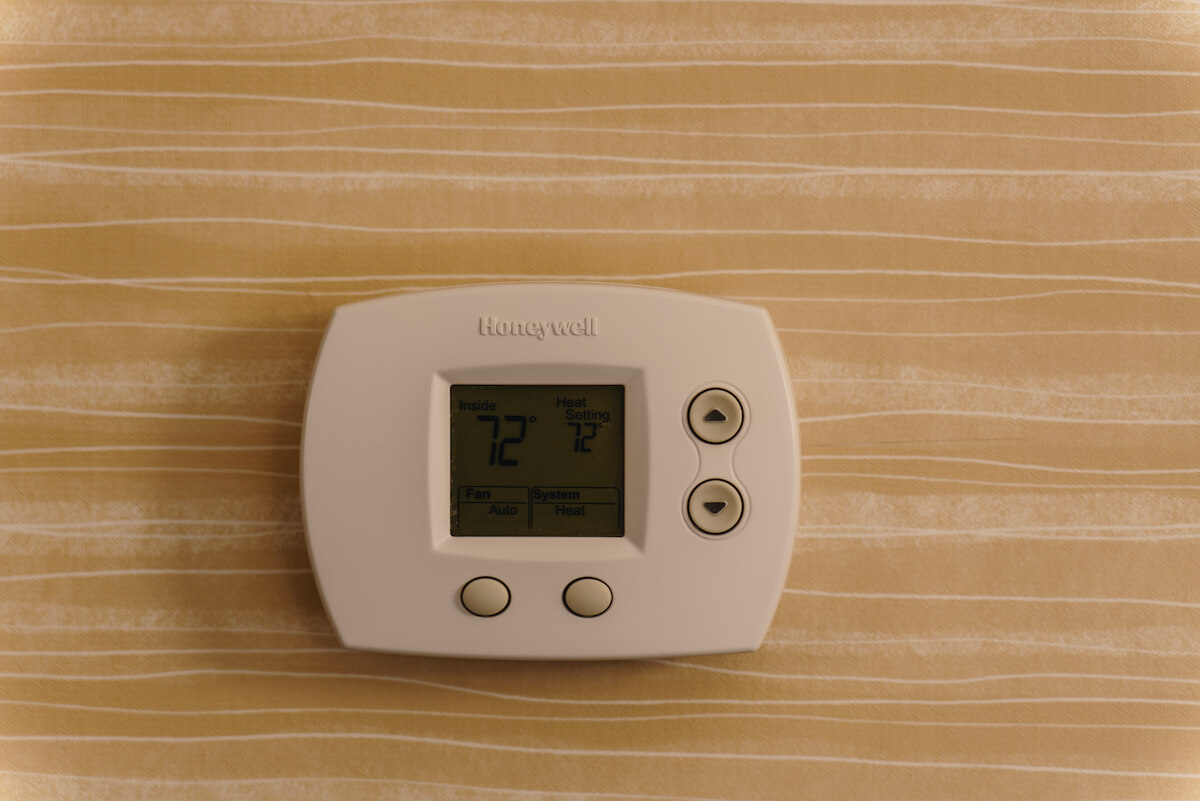
Honeywell Thermostat For Electric Baseboard Heaters

Electric baseboard heaters are a common and efficient way to heat individual rooms. However, like any heating system, they can sometimes malfunction. A frequent complaint homeowners have is that their electric baseboard heaters either don't heat up at all or don't heat up sufficiently, even when the Honeywell thermostat is turned up. This article provides a step-by-step troubleshooting guide to help you diagnose and potentially fix this issue yourself.
Step 1: Initial Checks (No Tools Required)
Before diving into anything complex, start with these simple checks. These steps require no tools and can often uncover the most common and easily resolved problems.
Verify Thermostat Settings
This might sound obvious, but it's the most common oversight. Ensure your thermostat is set to "Heat" mode, not "Cool" or "Off." Double-check that the setpoint temperature (the temperature you've set the thermostat to) is significantly higher than the current room temperature displayed on the thermostat. Sometimes, the thermostat might be set to a temperature just slightly above the room temperature, leading to insufficient heating.
Check the Breaker
Electric baseboard heaters require a dedicated circuit breaker in your electrical panel. Go to your electrical panel and locate the breaker that controls the baseboard heater in the room that's not heating properly. The breaker should be clearly labeled. Make sure the breaker is in the "On" position. If it's tripped (in the "Off" or a middle position), reset it by flipping it all the way to the "Off" position and then back to the "On" position. If the breaker trips immediately again, there's a short circuit, and you should immediately stop troubleshooting and call a qualified electrician.
Inspect the Heater for Obstructions
Baseboard heaters need clear airflow to function efficiently. Check for any obstructions blocking the heater, such as furniture, curtains, rugs, or piled-up clothes. These obstructions can trap heat and prevent it from circulating into the room. Move any obstructions away from the heater to allow for proper airflow. Dust and debris can also accumulate inside the heater, reducing its efficiency. Visually inspect the fins of the heater for excessive dust buildup.
Assess Room Size and Heater Capacity
Is the heater adequately sized for the room? A heater that's too small will struggle to heat a large space, especially in colder climates. There are online calculators to determine the appropriate BTU (British Thermal Units) needed to heat a room based on its square footage, insulation, and climate. Compare the BTU rating of your heater to the room's requirements. If the heater is undersized, it will likely struggle to maintain the desired temperature.
Step 2: Basic Troubleshooting (Simple Tools Needed)
If the initial checks didn't solve the problem, these steps require some basic tools and a bit more hands-on investigation. Before starting any electrical work, always turn off the circuit breaker controlling the baseboard heater to prevent electric shock.
Clean the Heater Internally (Screwdriver and Vacuum)
Dust and debris significantly reduce a baseboard heater's efficiency. With the breaker OFF, use a screwdriver to carefully remove the front cover of the baseboard heater (refer to the heater's manual if available for specific instructions). Use a vacuum cleaner with a brush attachment to thoroughly clean the inside of the heater, paying particular attention to the fins. This will improve airflow and heat transfer. After cleaning, carefully replace the front cover.
Check the Thermostat Wiring (Screwdriver)
Loose or corroded wires can interrupt the signal between the thermostat and the heater. Carefully remove the Honeywell thermostat from the wall. You will likely need a small screwdriver to loosen the screws holding it in place. Before disconnecting any wires, take a picture of the wiring for reference. Gently tug on each wire to ensure it is securely connected to the thermostat terminals. Look for any signs of corrosion, fraying, or damage. If you find loose wires, carefully tighten the screws securing them. If you see corroded wires, consider replacing them with new wires of the same gauge. Reattach the thermostat to the wall after ensuring the wires are secure and in their original positions.
Test the Thermostat with a Multimeter (Multimeter)
A multimeter can help you determine if the thermostat is functioning correctly and sending a signal to the heater. With the breaker OFF and the thermostat removed from the wall, set your multimeter to the continuity setting (often indicated by a speaker symbol or a diode symbol). Disconnect the wires from the thermostat. Touch one probe of the multimeter to one wire terminal on the thermostat and the other probe to the other wire terminal. Turn the thermostat to its highest heat setting. If the multimeter shows continuity (beeps or displays a value close to zero ohms), the thermostat is likely working correctly. If it doesn't show continuity, the thermostat might be faulty and need replacement. Remember to turn the breaker back ON briefly to test, then OFF again before continuing.
Inspect the Heater's Thermal Cutoff Switch (Screwdriver)
Most baseboard heaters have a thermal cutoff switch (also called a limit switch) that automatically shuts off the heater if it overheats. This is a safety feature. With the breaker OFF and the heater cover removed, locate the thermal cutoff switch. It's usually a small, rectangular component mounted on the heater's element housing. Visually inspect the switch for any signs of damage or discoloration. Some thermal cutoff switches have a reset button. If you see one, try pressing it. If the heater still doesn't work after pressing the reset button, the thermal cutoff switch might be faulty and need replacement. Replacing a thermal cutoff switch generally requires some electrical knowledge and is often best left to a professional.
Step 3: Advanced Troubleshooting (Requires Professional Assistance)
If you've completed the previous steps and the heater still isn't working, the problem likely requires specialized knowledge and tools. These issues can be dangerous to address without proper training. Do not attempt these fixes yourself; call a qualified HVAC technician or electrician.
Faulty Heating Element
The heating element is the core component that generates heat in the baseboard heater. If the heating element is burned out or damaged, the heater won't produce any heat. Testing the heating element requires a multimeter and knowledge of electrical resistance measurements. A professional can safely and accurately test the heating element to determine if it needs replacement. Attempting to replace a heating element yourself can be extremely dangerous.
Wiring Issues Inside the Heater
Problems with the internal wiring of the baseboard heater, such as shorts, loose connections, or damaged wires, can prevent the heater from working correctly. Tracing and repairing internal wiring issues requires specialized tools and expertise. A professional can safely diagnose and repair these wiring problems.
Problems with the Electrical Circuit
Issues with the electrical circuit supplying power to the baseboard heater, such as low voltage or faulty wiring in the wall, can also cause the heater to malfunction. Diagnosing and repairing these electrical problems requires the expertise of a qualified electrician. Do not attempt to work on electrical circuits yourself.
Faulty Thermostat (Even After Continuity Test)
Even if the continuity test seems to indicate a working thermostat, there could be other internal issues affecting its performance. For instance, the thermostat may be providing inconsistent voltage, not calling for heat correctly. A professional with specialized testing equipment can fully diagnose the thermostat and determine whether it needs replacement, especially with more advanced Honeywell programmable models.
Important Safety Precautions
- Always turn off the circuit breaker before working on any electrical components.
- Never work on electrical components while standing on a wet surface.
- Use insulated tools when working on electrical components.
- If you are uncomfortable working with electricity, call a qualified electrician or HVAC technician.
- Always double-check your work before turning the power back on.
- If you smell burning or see smoke, immediately turn off the circuit breaker and call the fire department.
When to Call a Professional
It's crucial to recognize when a problem is beyond your DIY capabilities. Call a qualified HVAC technician or electrician if you encounter any of the following situations:
- You are uncomfortable working with electricity.
- You are unable to diagnose the problem after following the troubleshooting steps.
- You suspect a problem with the electrical circuit.
- You need to replace a major component, such as the heating element or the thermal cutoff switch.
- You smell burning or see smoke.
- The breaker trips repeatedly.
By following these troubleshooting steps and taking appropriate safety precautions, you can often diagnose and resolve common issues with your Honeywell thermostat and electric baseboard heaters. However, remember that safety is paramount. When in doubt, always consult a qualified professional.