How Do I Find My Main Water Shut Off Valve
Imagine this: You're doing laundry, and suddenly you notice water gushing from the washing machine hose. Panic sets in. Your first thought should be to turn off the water supply, but where's that main shut-off valve hiding? Knowing how to quickly locate and operate your main water shut-off valve is crucial for preventing serious water damage in your home. This article will guide you through the process of finding it, and while we're at it, we'll touch on some basic plumbing troubleshooting you can do safely.
Finding Your Main Water Shut-Off Valve: A Step-by-Step Guide
The main water shut-off valve controls the entire water supply to your house. Knowing its location is vital for emergencies like burst pipes or malfunctioning appliances. Here's how to find it:
1. Check Obvious Locations First
Start with the most common spots. The main shut-off is often located:
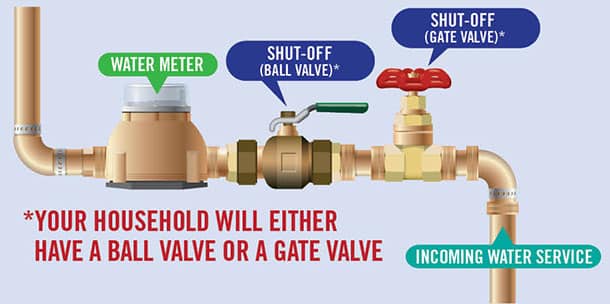
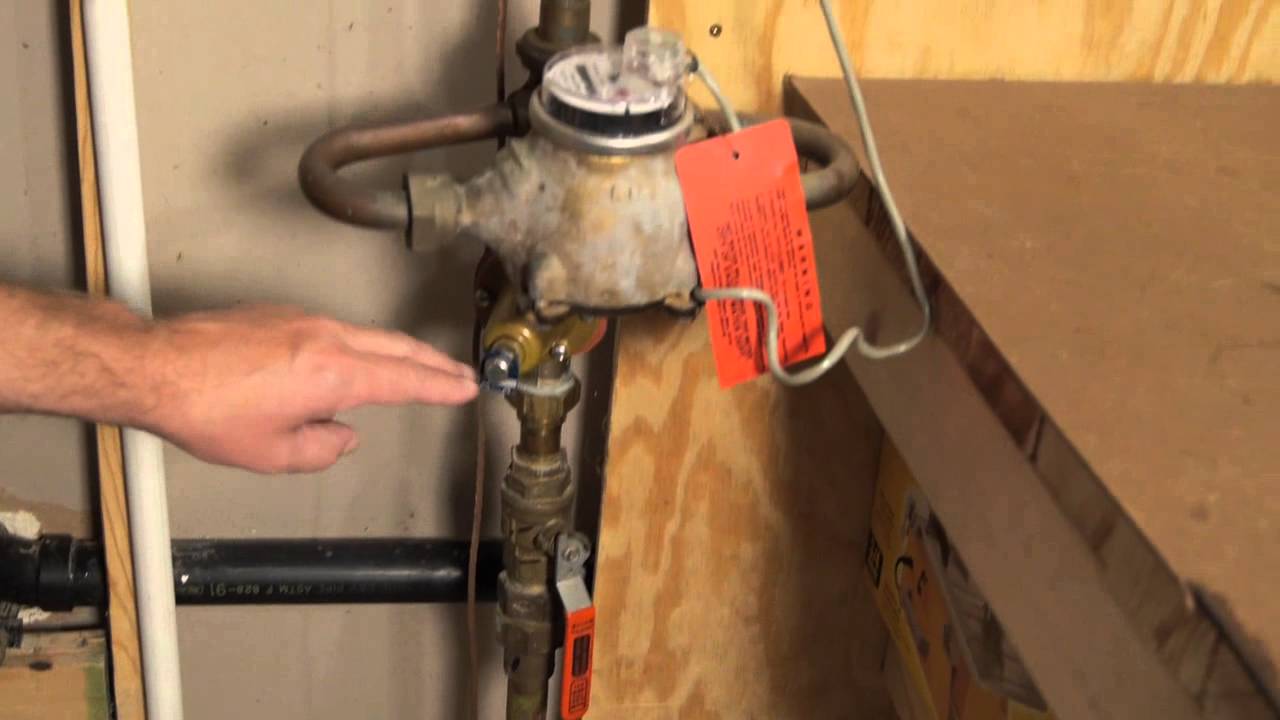
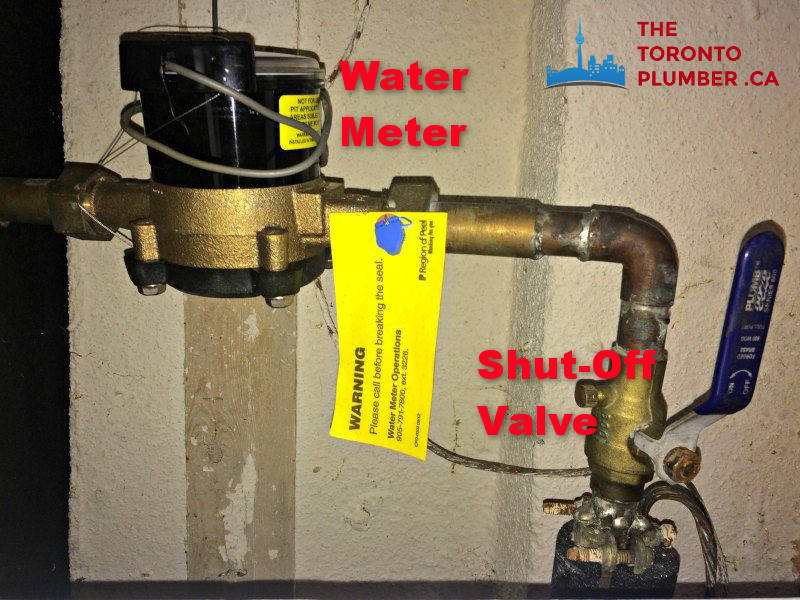
- Near the Water Meter: This is perhaps the most common location. Look inside the meter box, usually found in your yard near the street, or along the curb. You may need a meter key or a long screwdriver to lift the lid. The valve is typically on the house side of the meter.
- Where the Water Line Enters Your House: This is another frequently used spot. Check the perimeter of your house, both inside and out, where the water line is likely to enter. Look for a pipe coming through the wall, usually in a basement, crawlspace, or utility room.
- In the Basement or Crawlspace: Scan along the walls, especially near the front of the house. The valve might be near the ceiling or floor, where the main water pipe enters.
- Near the Water Heater: While not as common as the other locations, some homes have the main shut-off near the water heater.
2. Look for Visual Clues
Pay attention to these visual cues that might indicate the presence of a shut-off valve:
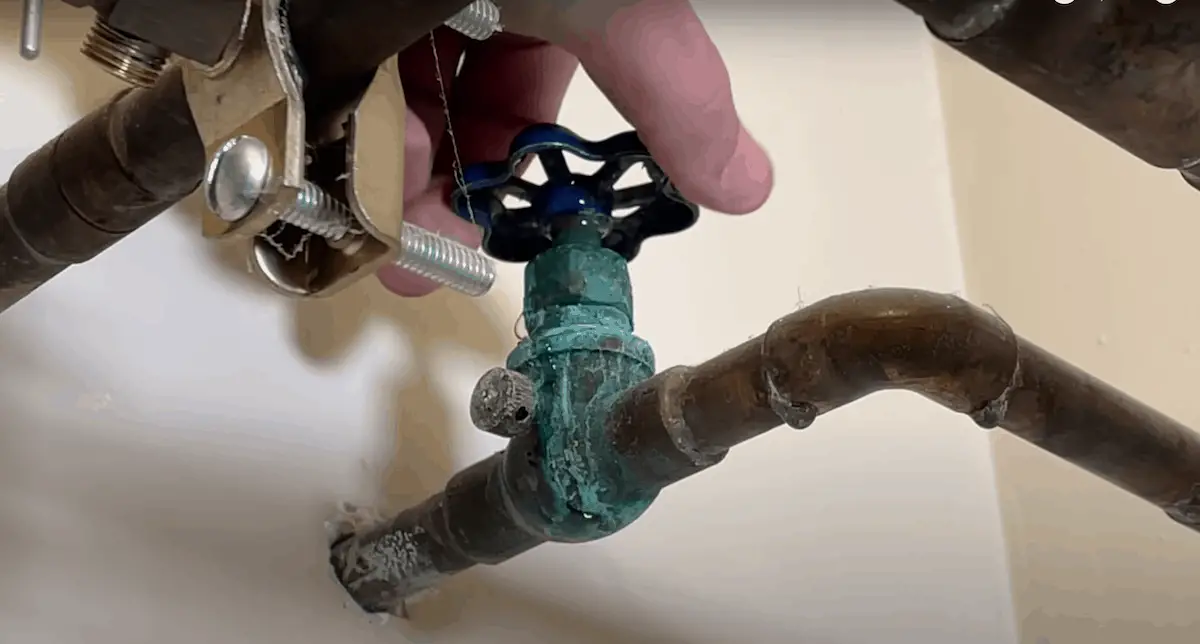
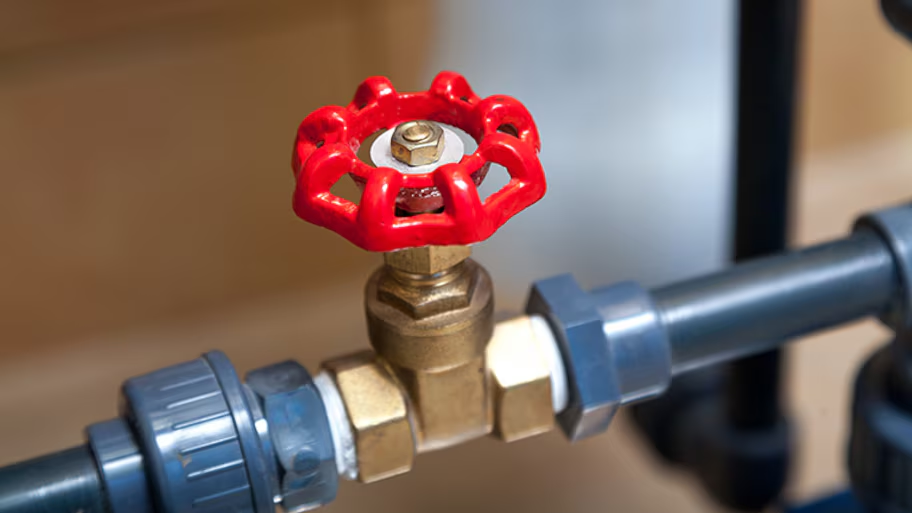
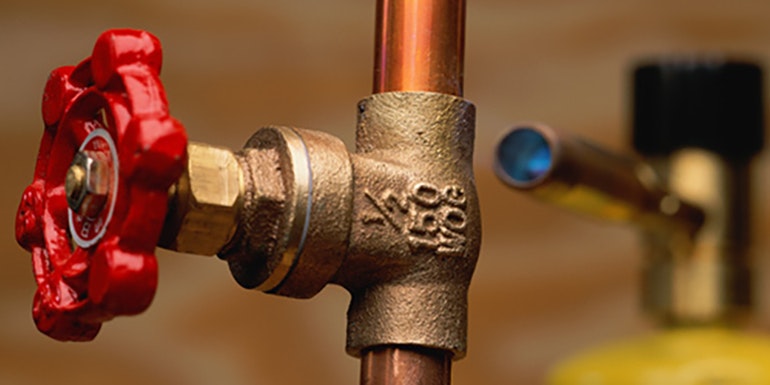
- A Round or Lever-Shaped Handle: Shut-off valves usually have a round, multi-turn handle (like a garden hose spigot) or a lever-style handle that turns a quarter-turn.
- A Pipe Coming Out of the Ground: If you suspect the valve is outside, look for a metal pipe protruding from the ground with a lid or cover.
- Water Meter Box: As mentioned before, the water meter box itself is a major clue.
3. Check with Previous Owners or Your Home Inspector
If you've exhausted the usual spots and still can't find the valve, try these resources:
- Ask Previous Owners: If you recently purchased the home, the previous owners might know the location.
- Consult Your Home Inspection Report: Your home inspection report should indicate the location of the main water shut-off valve.
4. Contact Your Local Water Company
If all else fails, your local water company can usually provide information about the location of your main water shut-off valve. They may even have a record of its placement.
5. Identifying the Valve Type
Once you locate a valve, identify its type:
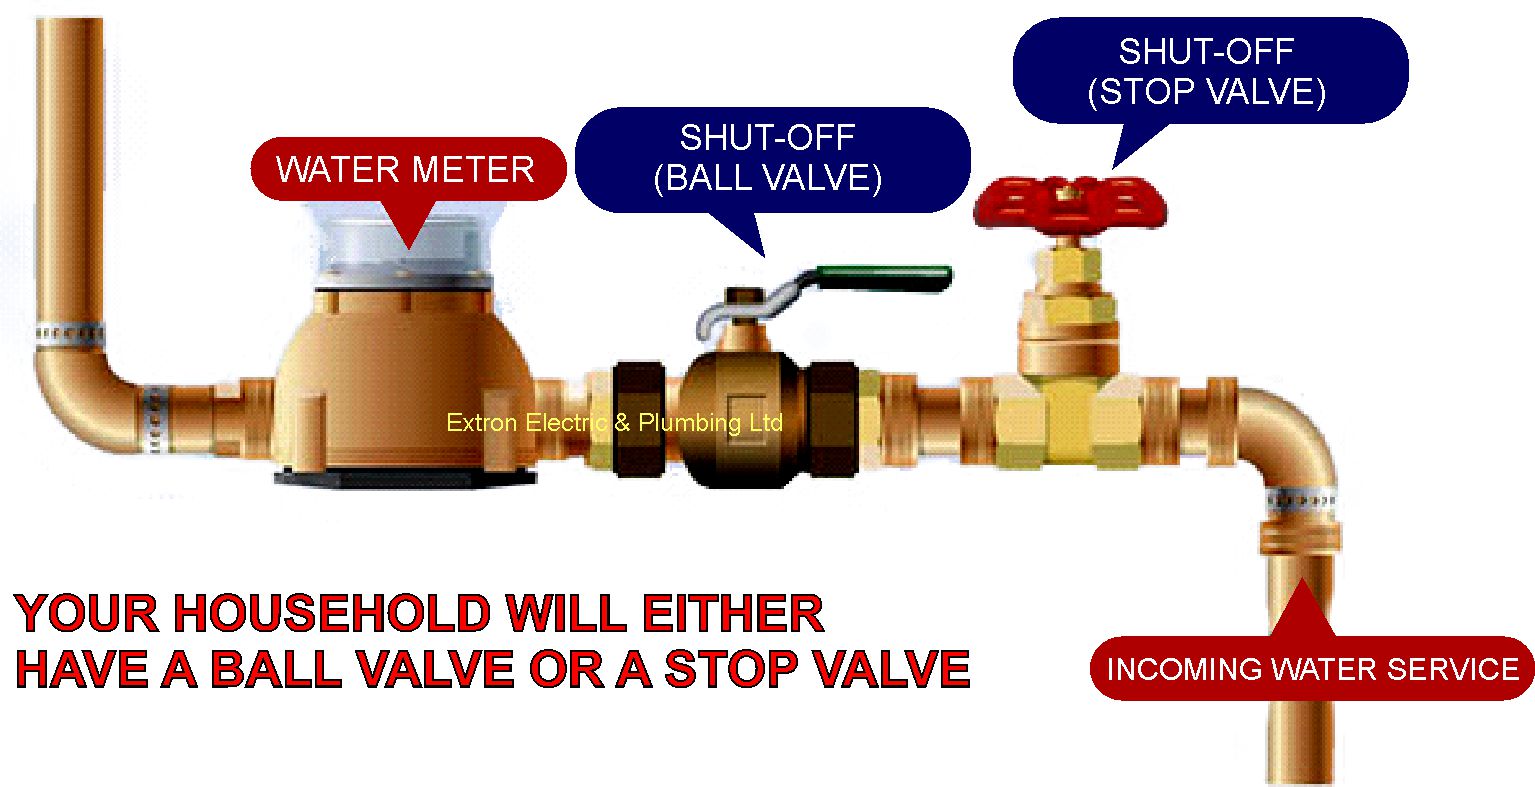
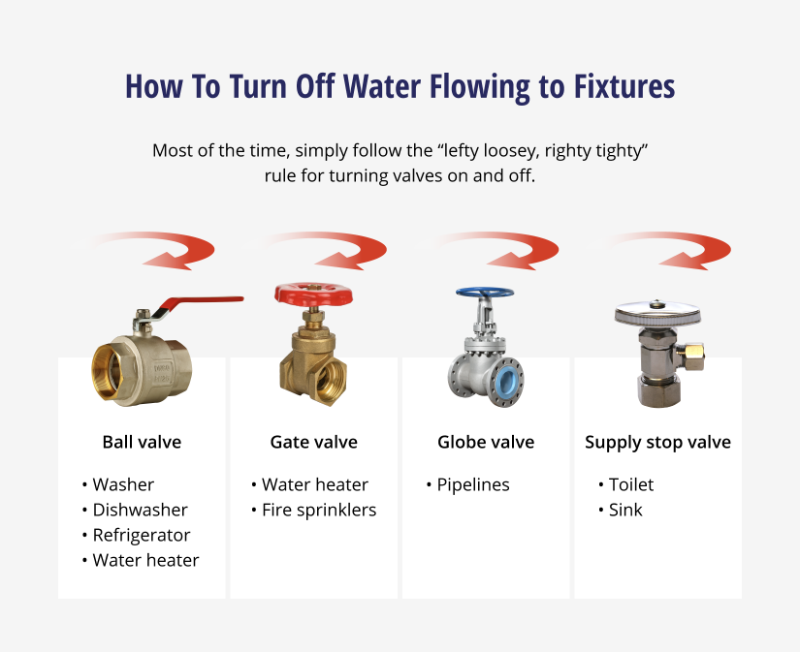
- Gate Valve (Multi-Turn): These valves have a round handle that requires several turns to completely shut off the water. Turn the handle clockwise until it stops.
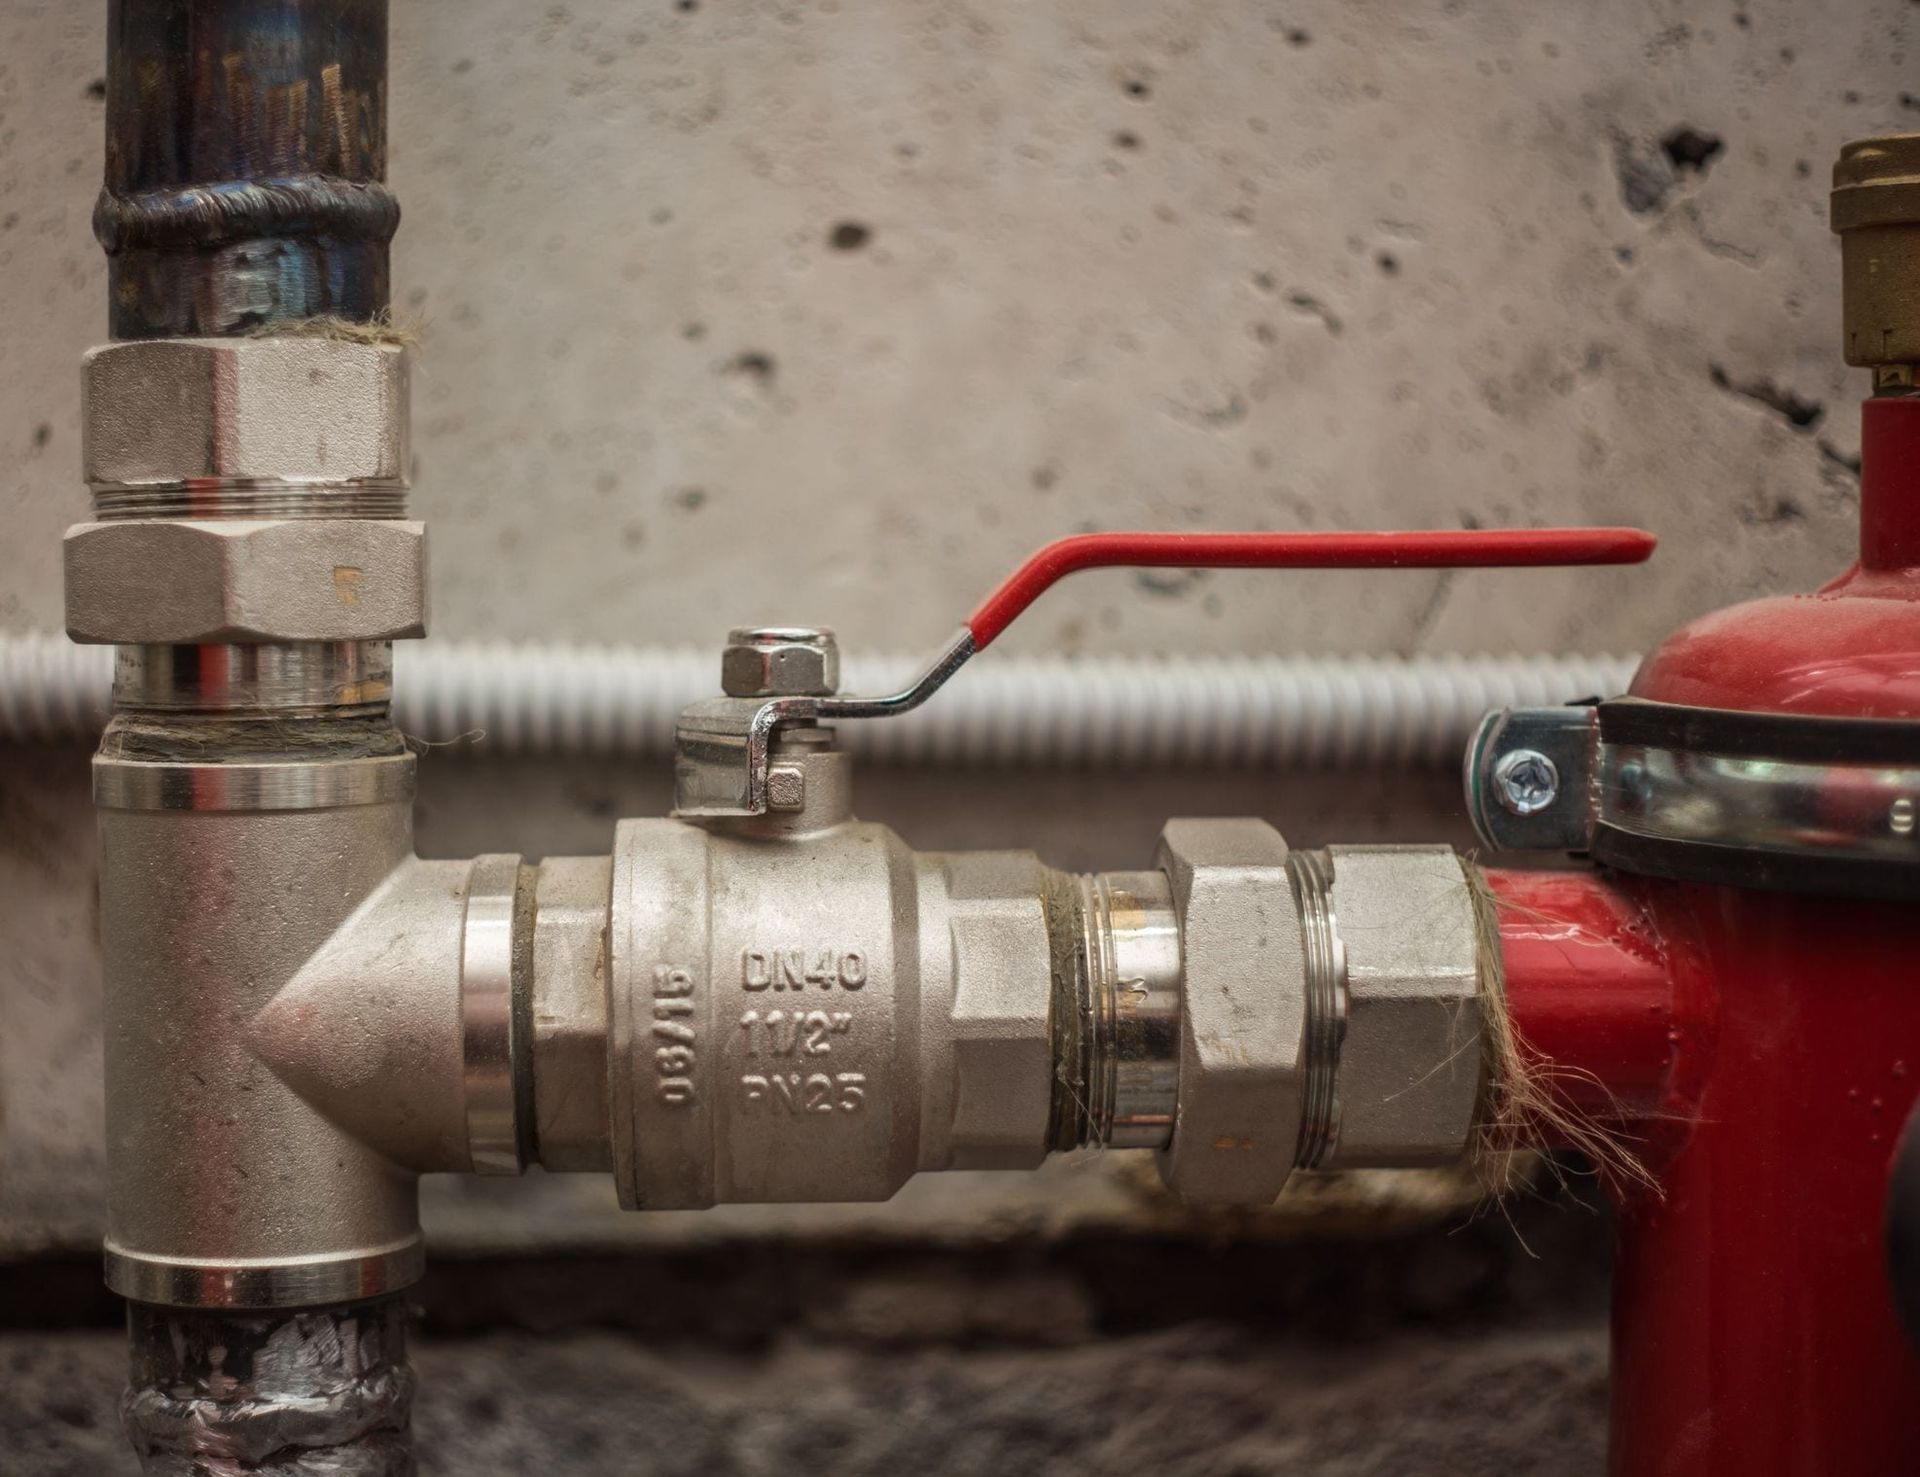
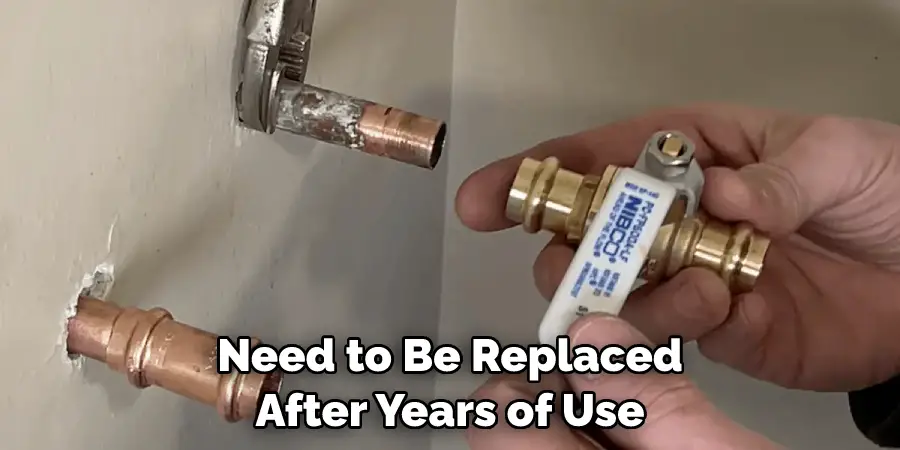
- Ball Valve (Quarter-Turn): These valves have a lever handle that only needs to be turned 90 degrees (a quarter-turn) to shut off the water. The handle is parallel to the pipe when the valve is open and perpendicular when closed. These are generally considered more reliable than gate valves.
6. Test the Valve (Carefully!)
Before an emergency strikes, it's a good idea to test the valve to ensure it's working correctly. Here's how:
- Inform Your Household: Tell everyone in the house that you're testing the water shut-off valve and that the water will be briefly interrupted.
- Turn Off the Valve: Slowly turn the valve to the "off" position.
- Check a Faucet: Open a faucet (preferably one on a lower floor) to see if the water flow stops completely. It might take a few moments for the water to drain from the pipes.
- Turn the Valve Back On: Slowly turn the valve back to the "on" position.
- Check for Leaks: Inspect the valve and surrounding pipes for any leaks. If you notice any leaks, do not force the valve. Contact a plumber immediately.
Important Note: If the valve is stiff or difficult to turn, do not force it. You could damage the valve and create a bigger problem. Call a qualified plumber to inspect and potentially replace the valve.
Basic Plumbing Troubleshooting: A DIY Approach (with Caution)
Now that you know where your main water shut-off valve is, let's briefly discuss some simple plumbing troubleshooting you can attempt. Remember, if you're unsure about anything, always call a professional plumber. Working with water and plumbing can quickly become messy and damaging if not done correctly.
Leaky Faucet
A dripping faucet is annoying and wastes water. Here are some common causes and potential fixes:
- Worn Washer: This is a common culprit, especially in older faucets.
- Turn Off the Water: Shut off the water supply to the faucet using the shut-off valves located beneath the sink.
- Disassemble the Faucet: Carefully disassemble the faucet, taking note of the order of the parts. You may need a screwdriver, pliers, and possibly a special faucet wrench.
- Replace the Washer: Remove the old washer and replace it with a new one of the same size and type.
- Reassemble the Faucet: Carefully reassemble the faucet, ensuring all parts are properly aligned.
- Turn On the Water: Slowly turn the water supply back on and check for leaks.
- O-Ring Issues: O-rings can also wear out over time. The replacement process is similar to replacing a washer.
- Corroded Valve Seat: If the valve seat (the part the washer presses against) is corroded, it may need to be cleaned or replaced. This is a more complex repair that might be best left to a professional.
If the leak persists after replacing the washer or O-ring, it's time to call a plumber.
Clogged Drain
A slow or clogged drain is another common plumbing issue. Here are a few things you can try:
- Plunger: A plunger is your first line of defense. Make sure there's enough water in the sink or tub to cover the cup of the plunger. Use firm, consistent plunges to try to dislodge the clog.
- Baking Soda and Vinegar: Pour one cup of baking soda down the drain, followed by one cup of vinegar. Let it fizz for about 30 minutes, then flush with hot water.
- Drain Snake (Auger): A drain snake can be used to physically remove clogs from the drainpipe. Carefully insert the snake into the drain and rotate it to break up or retrieve the clog.
If these methods don't work, the clog may be deeper in the drainpipe. A plumber has specialized tools and expertise to handle more stubborn clogs.
Running Toilet
A toilet that keeps running can waste a lot of water. Here are some common causes:
- Flapper Issues: The flapper is the rubber seal that covers the drain at the bottom of the tank.
- Check the Chain: Make sure the chain connecting the flapper to the handle isn't too long or too short. It should have a little slack.
- Inspect the Flapper: Check the flapper for damage, cracks, or mineral buildup. If it's damaged, replace it.
- Clean the Flapper Seat: Clean the flapper seat (the surface the flapper seals against) with a scrub brush.
- Fill Valve Problems: The fill valve controls the water level in the tank.
- Adjust the Float: Adjust the float to ensure the water level isn't too high.
- Clean or Replace the Fill Valve: If the fill valve is clogged or malfunctioning, you may need to clean or replace it.
Replacing toilet parts is generally a straightforward DIY project, but if you're uncomfortable, a plumber can quickly resolve the issue.
When to Call a Professional Plumber
While these DIY tips can help with minor plumbing issues, certain situations require the expertise of a licensed plumber. Never attempt repairs involving gas lines or complex electrical components yourself. Here are some instances when you should call a pro:
- Major Leaks or Flooding: If you have a burst pipe or significant water leak, call a plumber immediately.
- Gas Leaks: If you suspect a gas leak, evacuate the area and call your gas company and a qualified plumber.
- Sewer Backups: Sewer backups can be hazardous and require professional cleaning and repair.
- Complex Plumbing Repairs: Repairs involving soldering, pipe cutting, or working with the main water line should be left to professionals.
- Persistent Plumbing Problems: If you've tried DIY fixes and the problem keeps returning, it's time to call a plumber.
- Working with Drains That May Contain Asbestos - Homes built before the mid-1980's may have asbestos containing materials (ACM) as part of the drain piping. It's best to call a professional so they can safely test and, if positive, abate any asbestos containing materials.
Safety First!
Remember these crucial safety tips when attempting any plumbing repair:
- Turn Off the Water: Always turn off the water supply to the fixture or appliance you're working on before starting any repairs.
- Protect Yourself: Wear safety glasses to protect your eyes from debris. Use gloves to protect your hands.
- Work in a Well-Ventilated Area: If you're using any chemicals, work in a well-ventilated area to avoid inhaling harmful fumes.
- Follow Manufacturer's Instructions: Always follow the manufacturer's instructions for any parts or products you're using.
- If in Doubt, Call a Pro: If you're unsure about any aspect of the repair, call a licensed plumber. It's better to be safe than sorry.
Knowing how to find your main water shut-off valve and performing basic plumbing troubleshooting can save you time, money, and potential water damage. By following these tips and exercising caution, you can confidently handle minor plumbing issues and know when to call in the professionals. Remember to prioritize safety and never hesitate to seek expert help when needed.