How Do I Know If My Thermostat Is Broken

A malfunctioning thermostat can be a real headache. Imagine this: it’s freezing outside, and your furnace refuses to kick on, or conversely, it’s a sweltering summer day and your AC is stubbornly silent. A broken thermostat is often the culprit, and before you call a professional, it's worth exploring some simple troubleshooting steps. This guide will help you determine if your thermostat is truly the problem and walk you through basic DIY checks and fixes. Remember, safety is paramount, and we’ll clearly indicate when it's time to call in the experts.
Identifying the Problem: Is it Really the Thermostat?
Before diving in, let's ensure the issue isn't something else entirely. Consider these preliminary checks:
- Check the Obvious: Is the furnace switch (usually located near the furnace) turned on? Is the breaker for the HVAC system tripped? Are all vents open and unobstructed?
- Listen Carefully: Do you hear any unusual noises coming from the furnace or AC unit itself? Unusual sounds can indicate a mechanical problem beyond the thermostat.
- Consider Recent Events: Did you recently experience a power outage? Did you make any changes to your HVAC system or electrical panel?
If everything else seems in order, the thermostat is a likely suspect. But how do you know it's broken?
Symptoms of a Failing Thermostat
A broken thermostat can manifest in several ways. Look for these common signs:
- The System Doesn't Respond: The most obvious sign is that the furnace or AC simply doesn't turn on, regardless of the thermostat setting.
- Inconsistent Temperatures: The system turns on and off erratically, leading to fluctuating temperatures in your home. One room might be freezing while another is boiling.
- The System Runs Constantly: The furnace or AC runs non-stop, even after the desired temperature is reached. This wastes energy and can damage your equipment.
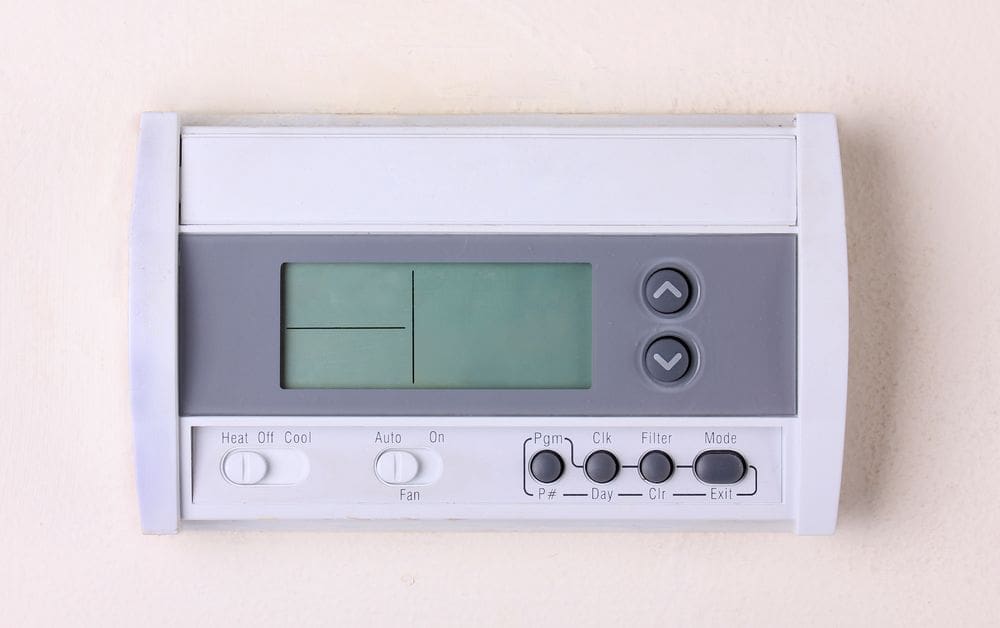
- Incorrect Temperature Readings: The thermostat displays a temperature that is significantly different from the actual room temperature.
- Blank Screen or Error Messages: A digital thermostat may have a blank screen or display error messages.
- Unresponsive Buttons: Buttons are hard to press, not working, or not responding after pressed.
If you observe one or more of these symptoms, proceed to the troubleshooting steps below.
Step-by-Step Thermostat Troubleshooting
Follow these steps in order. Remember to prioritize safety and call a professional if you're uncomfortable with any of these tasks.
1. Check the Power Supply
A dead thermostat is often due to a power issue. The steps to check vary depending on the type of thermostat.
For Digital Thermostats:
- Replace the Batteries: This is the simplest and most common fix. Open the thermostat housing and replace the batteries with fresh ones. Make sure to use the correct type of battery (usually AA or AAA).
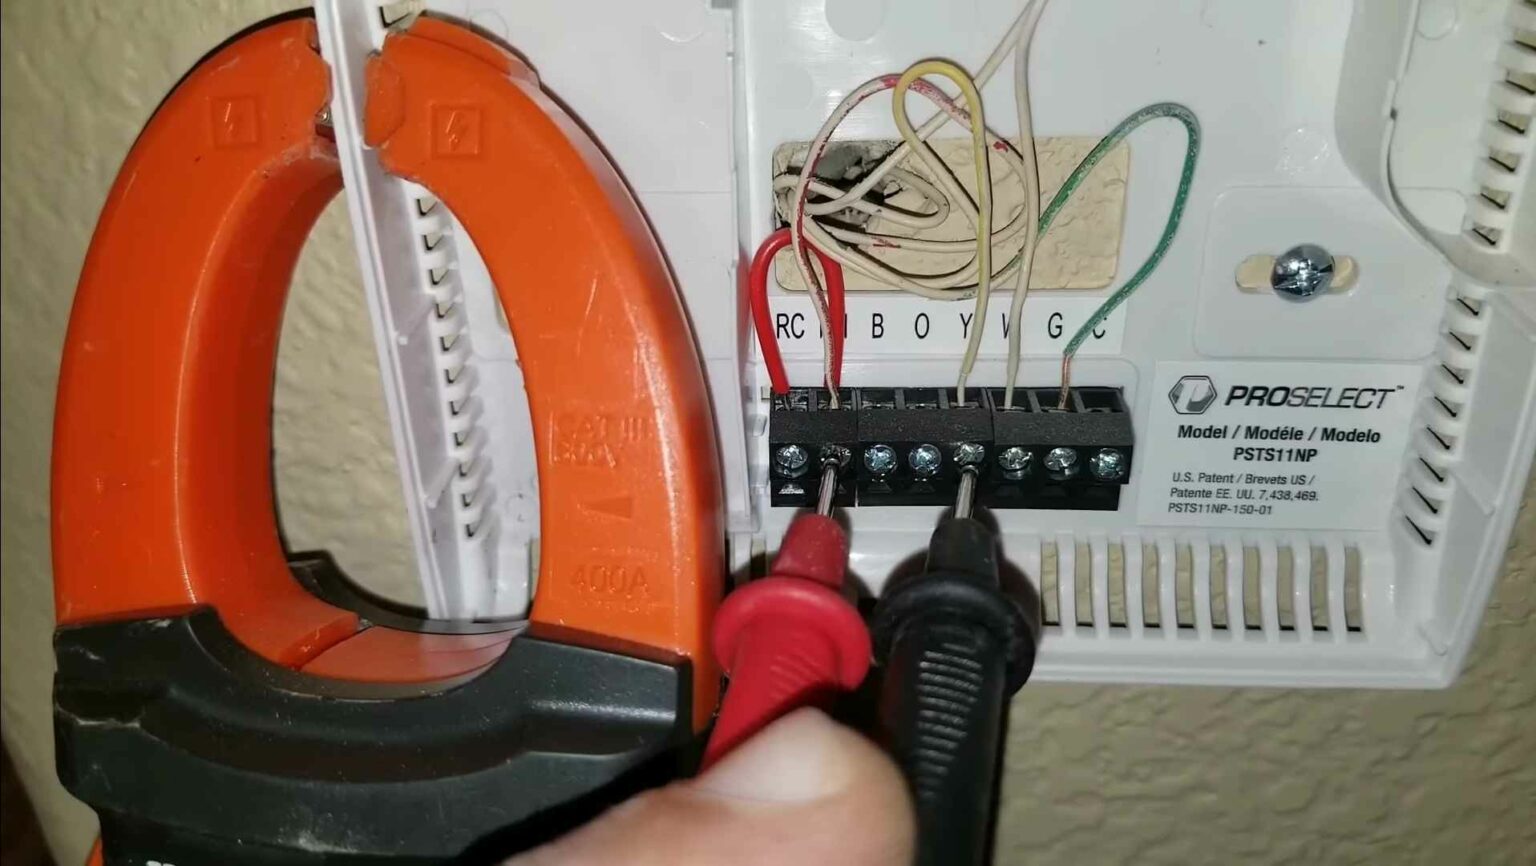
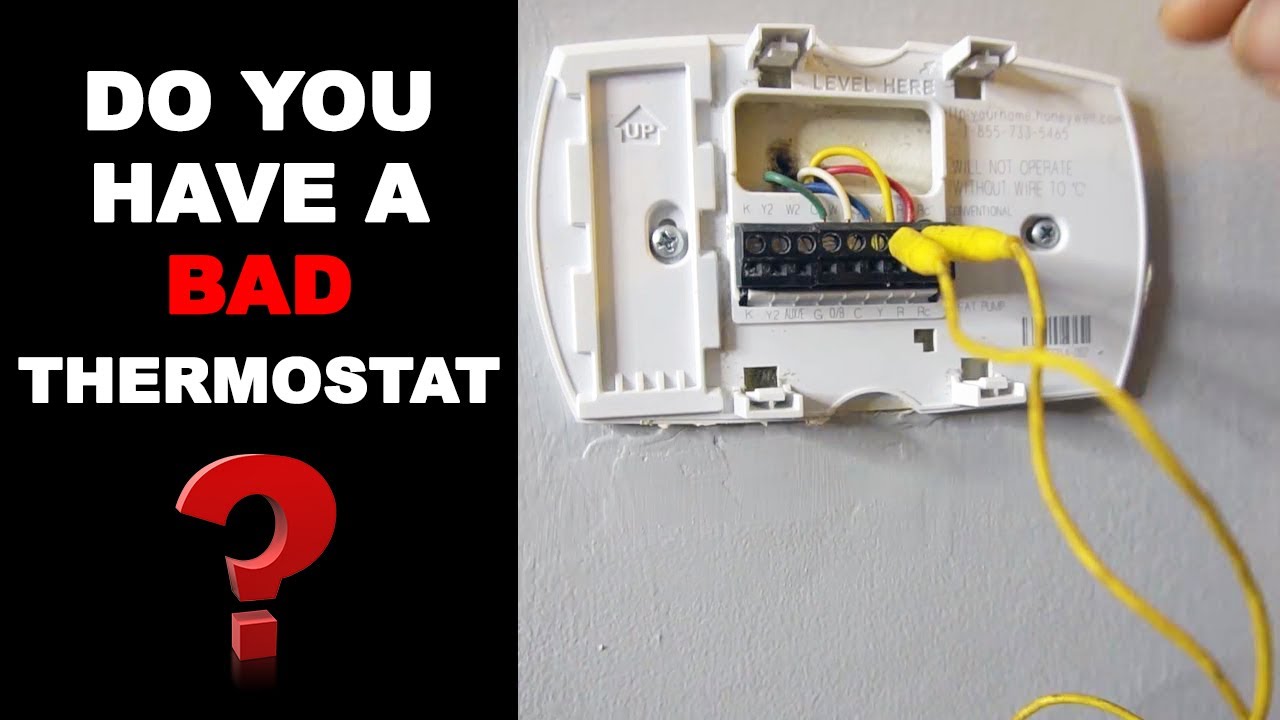
- Check the Wiring (Advanced - Proceed with Caution!): Digital thermostats may also be powered by a low-voltage wire (usually a "C" or common wire). Turn off the power to the HVAC system at the breaker box before inspecting the wiring. Loosen the screw terminals on the thermostat and ensure the wires are securely connected. If a wire is loose or damaged, carefully re-strip the end and re-attach it. If you're not comfortable working with electrical wiring, stop here and call a professional.
For Mechanical Thermostats:
- Check for Dust and Debris: Mechanical thermostats don't use batteries but can be affected by dust and debris. Gently clean the thermostat with a soft brush or compressed air.
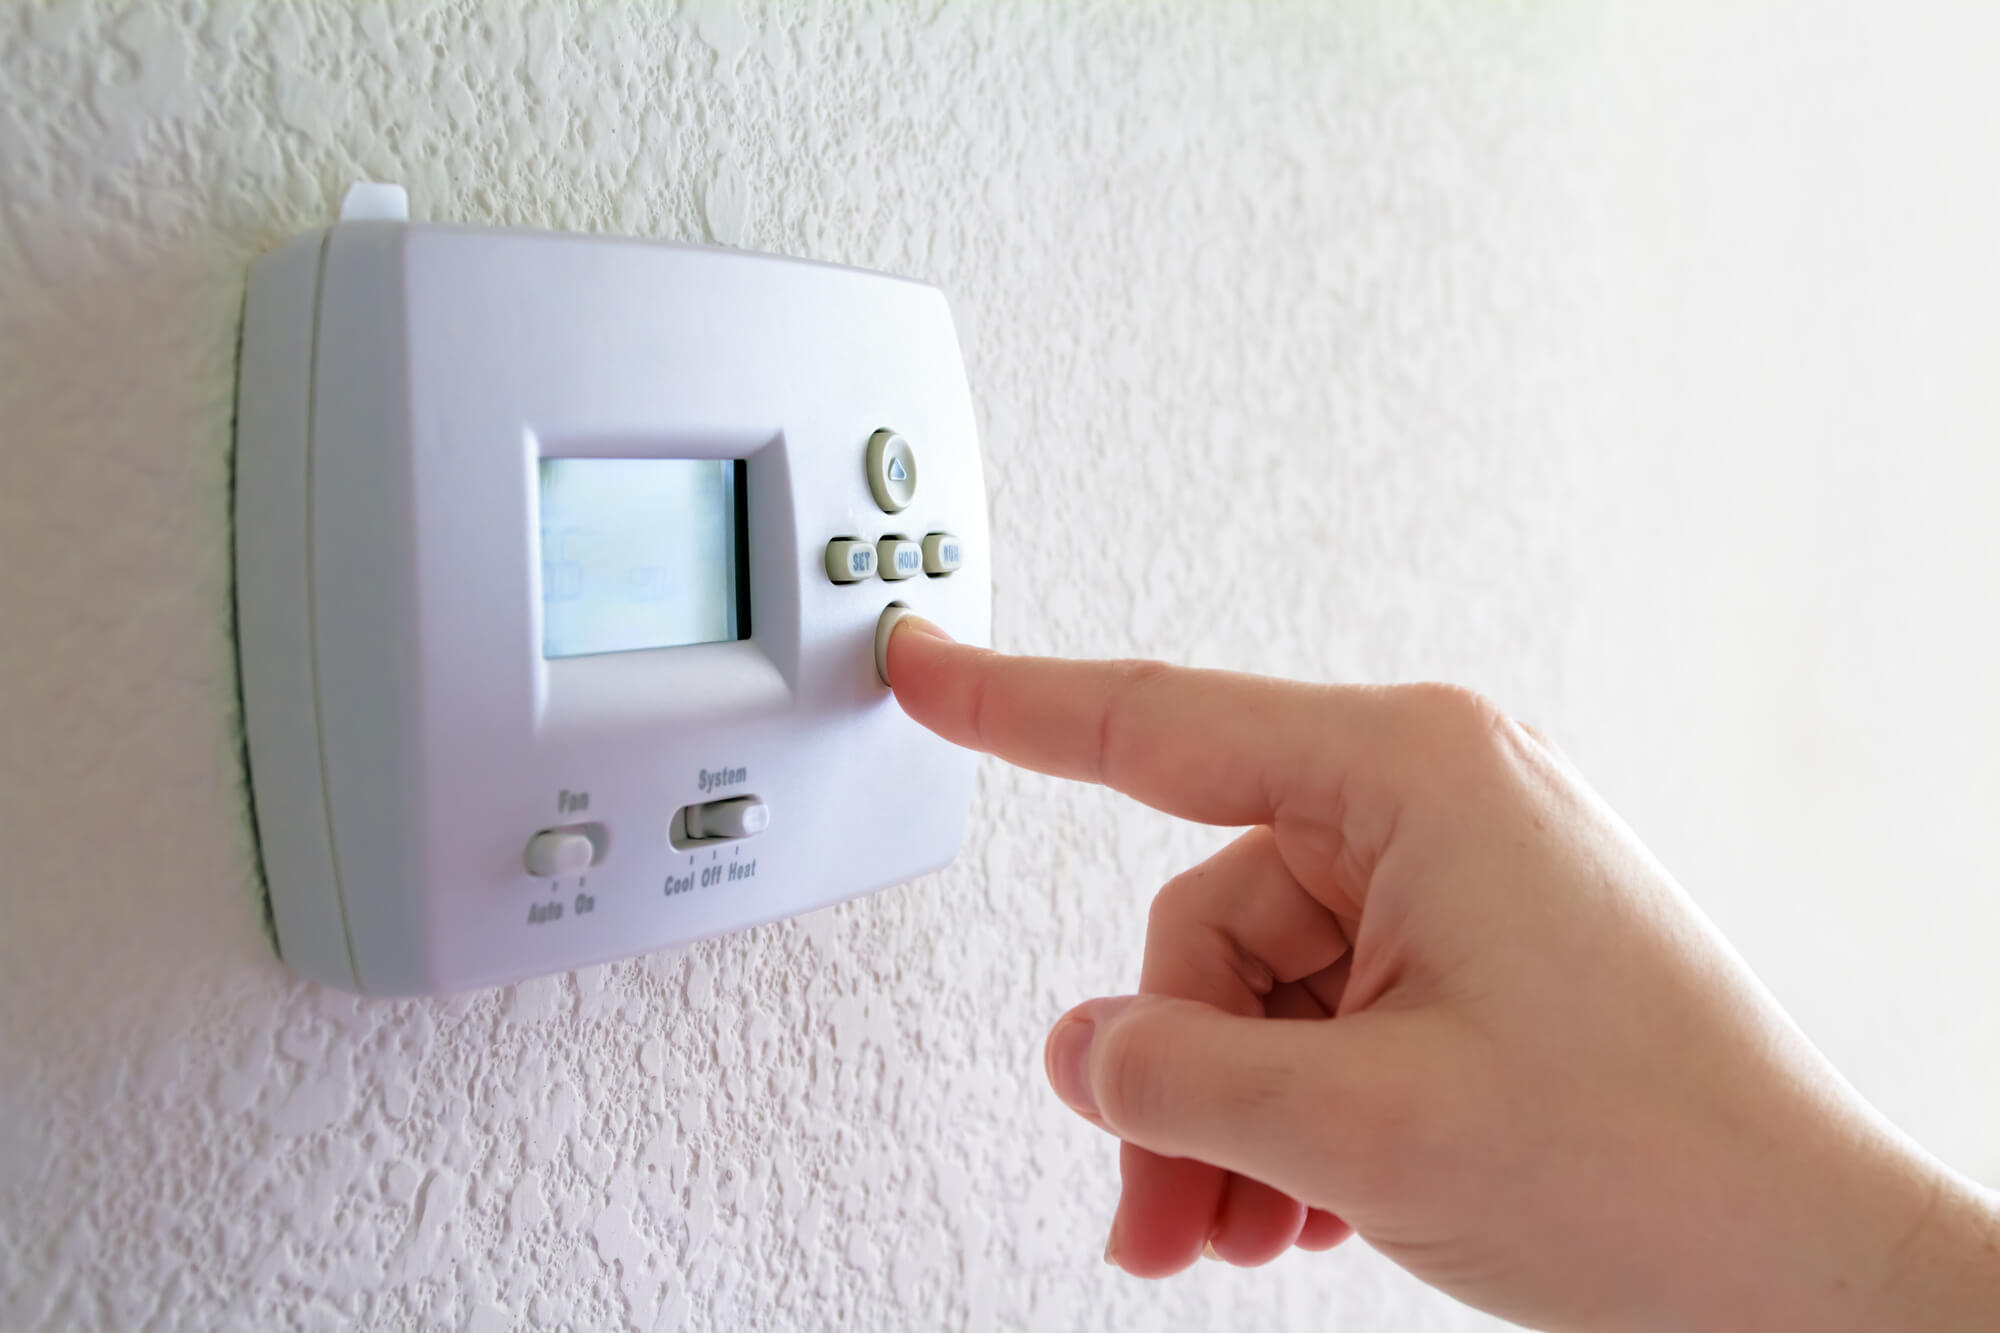
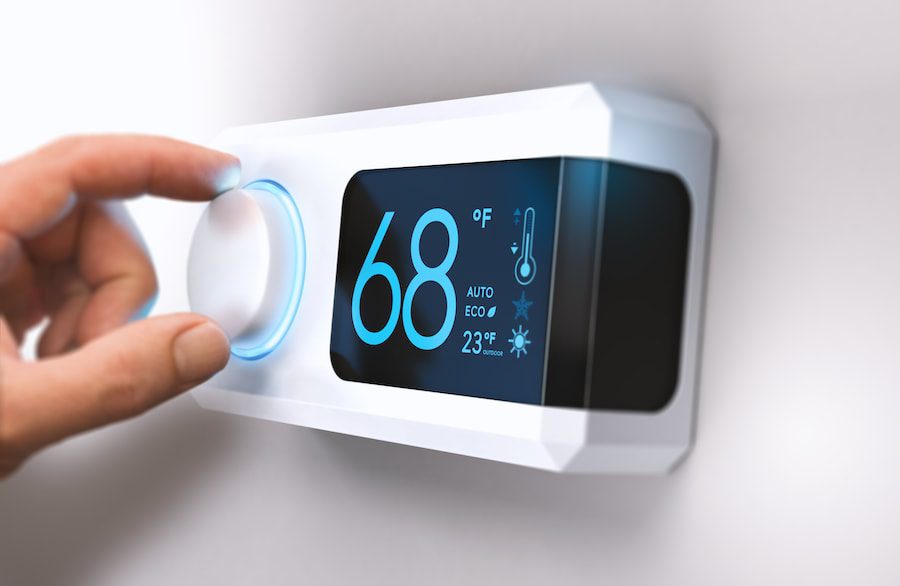
2. Verify the Thermostat Settings
Sometimes, the problem isn't a broken thermostat, but incorrect settings.
- Check the Mode: Ensure the thermostat is set to the correct mode (Heat, Cool, or Auto). If you want to turn on the AC, make sure the mode is on Cool.
- Set the Temperature Correctly: Make sure the set temperature is higher than the current room temperature if you want heat, or lower than the current room temperature if you want cooling.
- Review the Program Schedule: If your thermostat is programmable, review the schedule to ensure it's not set to an "off" period during the time you expect it to be working. Temporarily override the schedule to test if the system responds.
- Check the Fan Setting: Ensure the fan is set to "Auto" if you want it to cycle on and off with the heating or cooling system. If it's set to "On," the fan will run constantly, which can sometimes mask other problems.
3. Calibrate the Thermostat (If Possible)
Some thermostats allow you to calibrate the temperature reading. This can correct inaccuracies and ensure the system is responding to the correct temperature.
- Consult the User Manual: The calibration procedure varies depending on the thermostat model. Refer to the user manual for specific instructions.
- Compare to an External Thermometer: Place an accurate thermometer near the thermostat and compare the readings. If there's a significant difference (more than a few degrees), calibrate the thermostat to match the external thermometer.
4. Inspect the Thermostat's Location
The location of your thermostat can affect its performance.
- Avoid Direct Sunlight: Thermostats located in direct sunlight can register a higher temperature than the actual room temperature, causing the AC to run less frequently.
- Avoid Drafty Areas: Thermostats located near doors or windows can be affected by drafts, leading to inaccurate temperature readings and erratic system behavior.
- Ensure Proper Air Circulation: Make sure the thermostat isn't blocked by furniture or curtains, which can restrict airflow and affect its ability to accurately sense the room temperature.
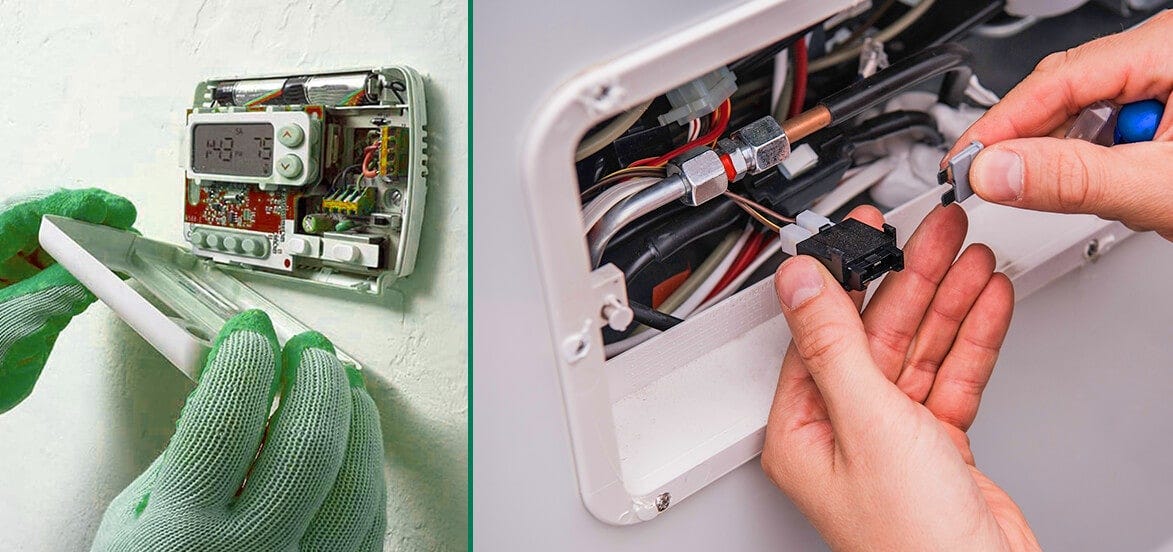
5. Clean the Thermostat
Dust and debris can interfere with the thermostat's sensors and mechanisms.
- Turn off the Power: Always turn off the power to the thermostat at the breaker box before cleaning it.
- Remove the Cover: Carefully remove the thermostat cover.
- Clean Gently: Use a soft brush or compressed air to gently remove dust and debris from the thermostat's components. Avoid using liquids, which can damage the thermostat.
- Reassemble: Carefully reassemble the thermostat cover and turn the power back on.
6. Check the Wiring Connections (Advanced - Proceed with Caution!)
Loose or corroded wiring connections can cause thermostat malfunctions. This step involves working with electrical wiring, so proceed with extreme caution and only if you're comfortable doing so. If not, call a professional.
- Turn off the Power: Turn off the power to the HVAC system at the breaker box before inspecting the wiring.
- Inspect the Wires: Carefully examine the wires connected to the thermostat. Look for loose connections, corrosion, or damaged insulation.
- Tighten Connections: Use a screwdriver to tighten any loose screw terminals.
- Clean Corroded Connections: If you find corrosion, gently clean the affected area with a wire brush or sandpaper.
- Re-strip Damaged Wires: If the insulation on a wire is damaged, carefully re-strip the end of the wire to expose fresh copper.
- Re-attach Wires: Securely re-attach all wires to the thermostat terminals. Ensure that each wire is connected to the correct terminal, referring to the thermostat's wiring diagram if necessary.
- Turn the Power Back On: Carefully turn the power back on at the breaker box and test the thermostat.
7. Reset the Thermostat
Some digital thermostats have a reset button or a reset procedure that can resolve minor software glitches. Consult your thermostat's user manual for instructions on how to reset it.
When to Call a Professional
While many thermostat problems can be resolved with simple DIY fixes, certain situations require the expertise of a qualified HVAC technician.
- You're Uncomfortable Working with Electricity or Gas: If you're not comfortable working with electrical wiring or gas lines, do not attempt any repairs yourself. Call a professional.
- You Suspect a Gas Leak: If you smell gas near your furnace or thermostat, immediately evacuate your home and call your gas company or 911.
- The Thermostat is Old or Damaged: If your thermostat is very old or visibly damaged, it may be time to replace it entirely. A professional can help you choose a new thermostat that is compatible with your HVAC system.
- You've Tried All the DIY Fixes and the Problem Persists: If you've followed all the troubleshooting steps above and the thermostat still isn't working properly, it's likely that there's a more complex underlying issue that requires professional diagnosis and repair.
- Your HVAC System is Under Warranty: Attempting repairs yourself may void your HVAC system's warranty. Check your warranty terms before attempting any DIY fixes.
- The Thermostat Controls a Complex System: If your thermostat controls a complex system, such as a multi-zone heating or cooling system, or a heat pump, it's best to consult a professional.
Replacing Your Thermostat (Simple Digital Thermostats)
If you've determined your thermostat is beyond repair, or you're simply upgrading to a newer model, replacing it yourself can be a relatively straightforward process, especially for simple digital thermostats. However, always turn off the power to the HVAC system at the breaker box before beginning the replacement.
- Take a Picture of the Wiring: Before disconnecting any wires, take a clear picture of the existing wiring connections. This will be invaluable when connecting the wires to the new thermostat.
- Label the Wires: Use masking tape and a pen to label each wire with its corresponding terminal designation (e.g., R, W, G, Y, C).
- Disconnect the Wires: Carefully disconnect the wires from the old thermostat.
- Mount the New Thermostat: Mount the new thermostat to the wall, following the manufacturer's instructions.
- Connect the Wires: Connect the wires to the corresponding terminals on the new thermostat, using the picture and labels you created earlier.
- Install Batteries (If Required): Install batteries in the new thermostat if required.
- Turn the Power Back On: Carefully turn the power back on at the breaker box.
- Test the Thermostat: Test the new thermostat to ensure it's working properly. Set the temperature and mode, and verify that the furnace or AC turns on and off as expected.
Important Note: For more advanced thermostats, like smart thermostats or those controlling heat pumps, it's generally recommended to have them installed by a professional to ensure proper wiring and configuration.
Conclusion
Troubleshooting a broken thermostat can seem daunting, but by following these steps, you can often diagnose and fix the problem yourself. Remember to prioritize safety, start with the simplest solutions, and don't hesitate to call a professional when needed. With a little patience and attention to detail, you can keep your home comfortable and avoid unnecessary repair bills.