How Do They Do Duct Cleaning

Is your home feeling stuffy, dusty, or just not as comfortable as it should be, even with your heating or cooling system running? Are you noticing unusually high energy bills, or perhaps even seeing more dust than usual settling on surfaces soon after cleaning? One potential culprit lurking behind these issues could be your ductwork. Over time, dust, allergens, and other debris can accumulate inside your duct system, hindering airflow and impacting the efficiency of your HVAC system. While professional duct cleaning offers a thorough solution, there are some initial troubleshooting steps you can take to assess the situation and potentially improve it yourself.
Diagnosing Potential Duct Problems
Before jumping to the conclusion that your ducts need professional cleaning, let's go through a process to identify the most likely causes of your home comfort issues. These steps will help you determine if the problem is indeed related to your ductwork, or if it stems from another aspect of your HVAC system.
Step 1: Check Airflow at Vents (No Tools Required)
The first and easiest check involves assessing the airflow at each of your supply vents (the ones blowing air into your rooms). Compare the airflow between different vents. Here's what to look for:
- Significantly Weaker Airflow: If some vents have noticeably weaker airflow compared to others, it could indicate a blockage in that specific duct run. This blockage could be due to accumulated dust, debris, or even a collapsed duct.
- No Airflow: A complete lack of airflow from a vent is a more serious sign, potentially indicating a major blockage, a disconnected duct, or a problem with the damper controlling that vent.
- Consistent Weak Airflow Throughout: If all vents are producing weak airflow, the problem may not be isolated to the ducts themselves. It could point to a problem with your blower motor, a dirty air filter, or a restricted return vent.
DIY Action: Visually inspect the vent openings themselves. Remove the vent cover (if possible) and use a flashlight to look inside the duct as far as you can see. Are there obvious signs of dust bunnies, pet hair, or other obstructions? Use a vacuum cleaner with a hose attachment to carefully remove any loose debris you can reach. Be gentle and avoid dislodging anything that seems firmly attached.
Step 2: Inspect the Air Filter (No Tools Required)
A dirty air filter is a common cause of reduced airflow throughout the system. A clogged filter restricts the amount of air that can pass through, forcing your system to work harder and reducing its efficiency. This can mimic symptoms of dirty ducts, even if the ducts themselves are relatively clean.
- Check the Filter Regularly: As a general rule, you should check your air filter at least once a month, especially during periods of heavy use (summer and winter).
- Replace When Dirty: A filter is considered dirty when it is visibly clogged with dust and debris. You should be able to hold it up to a light source and see light passing through it. If not, it's time for a replacement.
DIY Action: Locate your air filter (usually near the blower motor unit). Remove the old filter and hold it up to the light. If it's dirty, replace it with a new filter of the same size and type. Make sure to note the direction of airflow on the old filter and install the new one in the same orientation.
Step 3: Examine the Return Vents (No Tools Required)
Return vents are just as important as supply vents. They pull air from your home and return it to the HVAC system to be reconditioned. If return vents are blocked or obstructed, it can significantly reduce the system's overall efficiency.
- Check for Obstructions: Make sure furniture, rugs, or other objects are not blocking the return vents.
- Inspect for Dust Accumulation: Return vents tend to accumulate dust and debris over time.
DIY Action: Visually inspect all return vents in your home. Clear any obstructions and vacuum the vent covers to remove dust and debris. Use a flashlight to look inside the return duct as far as you can see and remove any visible obstructions with a vacuum cleaner.
Step 4: Inspect Ductwork Connections (Requires Basic Equipment)
This step requires a bit more effort and a few basic tools (flashlight, screwdriver, and potentially duct tape). You'll be looking for leaks or disconnections in your ductwork, especially in accessible areas like the attic, basement, or crawlspace.
- Check for Obvious Disconnections: Look for sections of ductwork that have become completely disconnected.
- Inspect for Tears and Holes: Examine the ductwork for any tears, holes, or cracks, especially at joints and seams.
- Feel for Air Leaks: With your HVAC system running, carefully run your hand along the seams and joints of the ductwork. You may be able to feel air escaping.
DIY Action: If you find any minor disconnections, you can try to reconnect them yourself, ensuring a tight fit. Use foil tape (specifically designed for ductwork) to seal any small tears or holes. Avoid using regular duct tape, as it tends to dry out and lose its adhesive properties over time. Do not attempt to repair or reconnect any ductwork that is difficult to reach or requires specialized tools.
Step 5: Checking the Blower Motor Compartment (Requires Caution and Basic Tools)
The blower motor is the heart of your HVAC system, responsible for circulating air through the ducts. If the blower motor is not functioning properly, it can result in weak airflow throughout your home. This step requires caution as you'll be working near electrical components.
Important Safety Note: Before attempting any work on the blower motor compartment, turn off the power to your HVAC system at the breaker box.
- Access the Blower Motor: Locate the access panel for the blower motor compartment (refer to your HVAC system's manual if needed). Use a screwdriver to remove the panel.
- Inspect the Blower Wheel: Visually inspect the blower wheel (the fan that circulates air). Look for excessive dust accumulation or any signs of damage.
- Listen for Unusual Noises: With the power off, try manually spinning the blower wheel. It should spin freely and quietly. If you hear any grinding or scraping noises, it could indicate a problem with the blower motor bearings.
DIY Action: If the blower wheel is covered in dust, you can carefully clean it with a soft brush or vacuum cleaner. Be gentle and avoid damaging the blades. If you suspect a problem with the blower motor bearings, do not attempt to repair it yourself. This requires specialized knowledge and tools.
When to Call a Professional for Duct Cleaning
While the above steps can help you identify and address some minor ductwork issues, there are certain situations where professional duct cleaning is highly recommended and even necessary. It's crucial to recognize these situations and avoid attempting repairs that are beyond your skill level.
- Visible Mold Growth: If you see or smell mold inside your ductwork, it's essential to call a professional immediately. Mold can pose serious health risks, and proper remediation requires specialized equipment and techniques.
- Vermin Infestation: If you suspect that rodents or insects have infested your ductwork, professional cleaning is necessary to remove droppings, nesting materials, and potential contaminants.
- Asbestos Concerns: If your home was built before the 1980s, there's a possibility that some of your ductwork may contain asbestos. Disturbing asbestos-containing materials can release harmful fibers into the air. If you suspect the presence of asbestos, contact a qualified asbestos abatement professional.
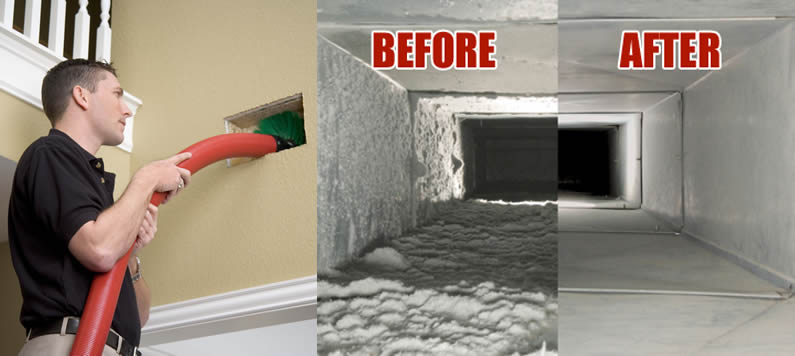
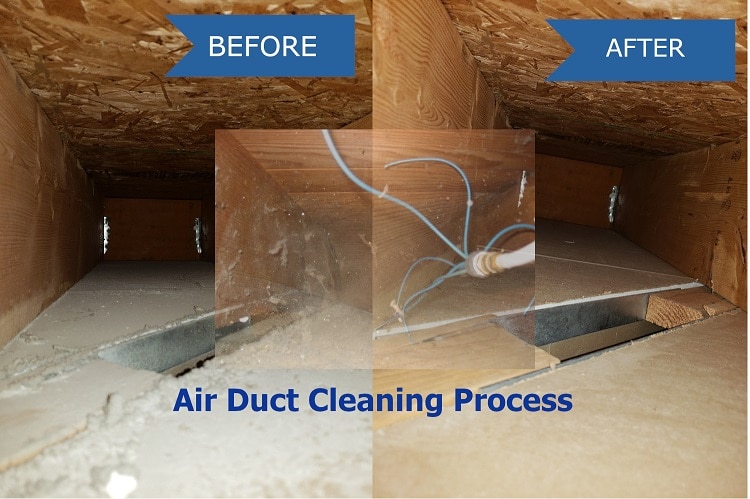
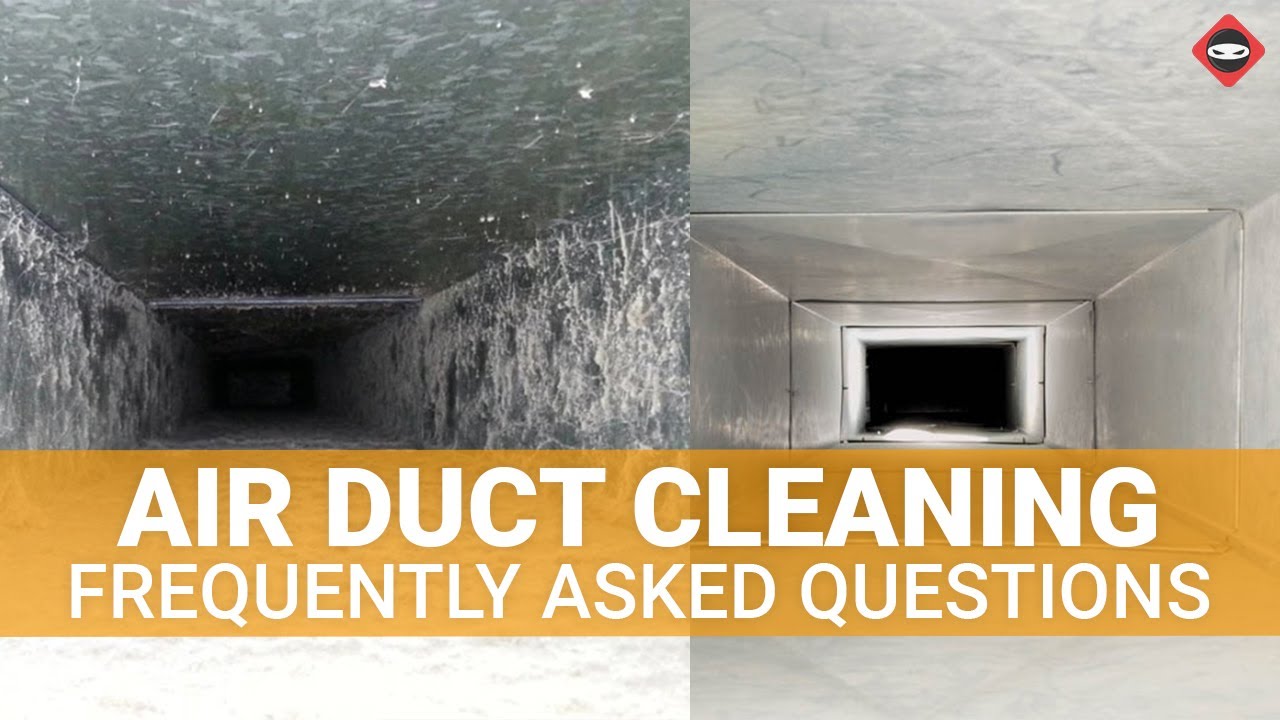
- Extensive Dust and Debris: If your ductwork is heavily contaminated with dust, debris, or allergens, DIY cleaning may not be sufficient. Professional duct cleaning equipment can remove even the most stubborn buildup.
- Persistent Allergy Symptoms: If you or your family members are experiencing persistent allergy symptoms, such as sneezing, coughing, or watery eyes, despite cleaning your home regularly, dirty ductwork could be a contributing factor.
- Uneven Heating or Cooling: If you've tried troubleshooting other potential causes of uneven heating or cooling, such as leaky windows and doors, and the problem persists, dirty ductwork could be the culprit.
- Old or Damaged Ductwork: If your ductwork is old, damaged, or poorly designed, professional inspection and repair may be necessary to improve its efficiency and performance.
What Does Professional Duct Cleaning Involve?
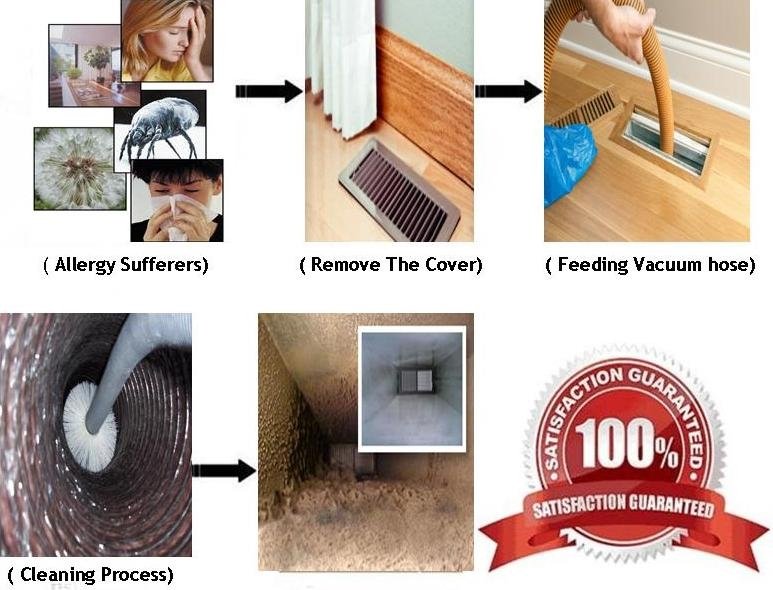
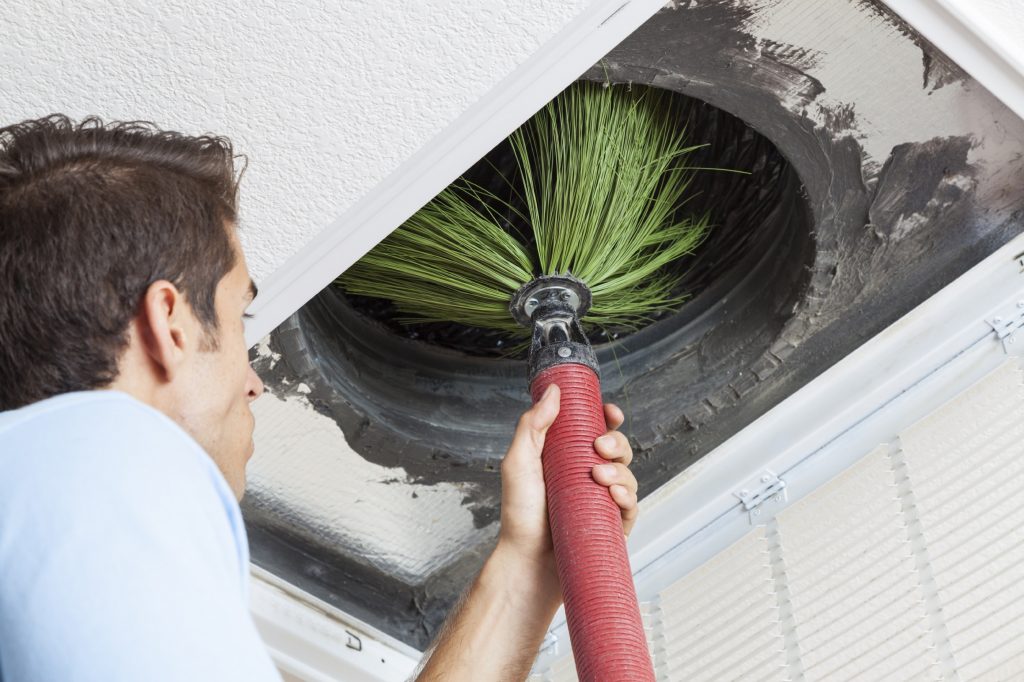
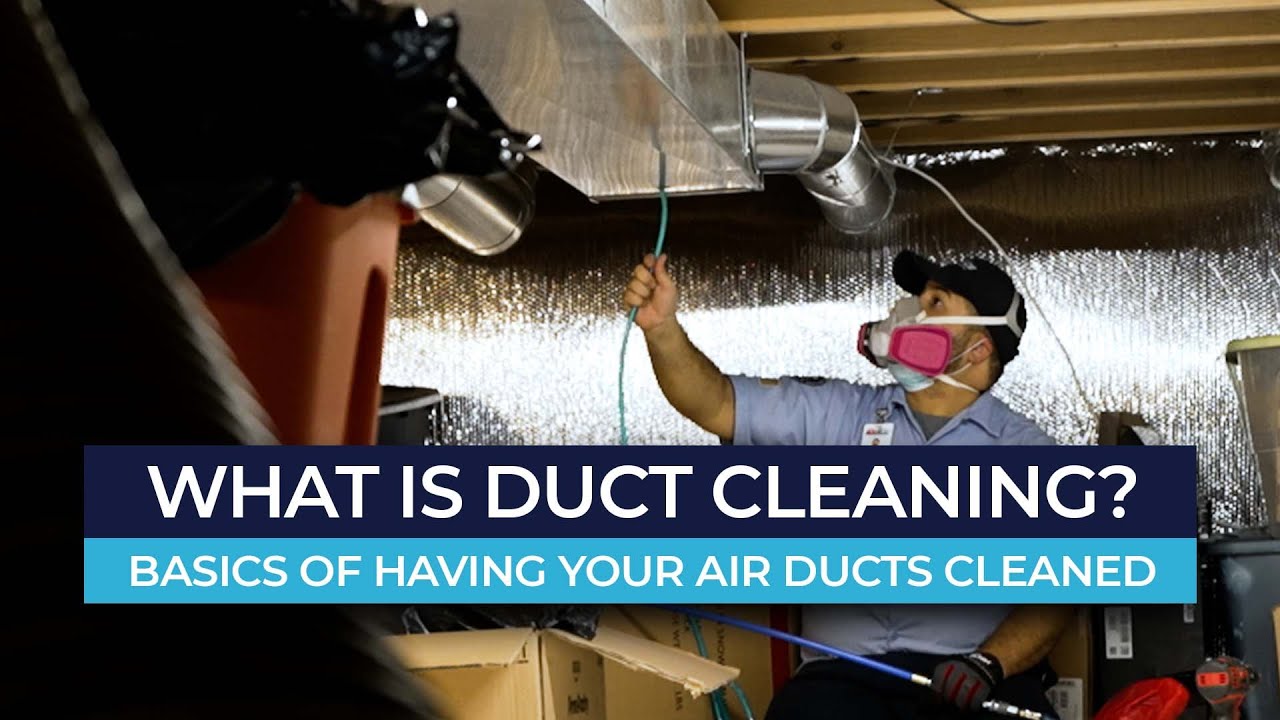
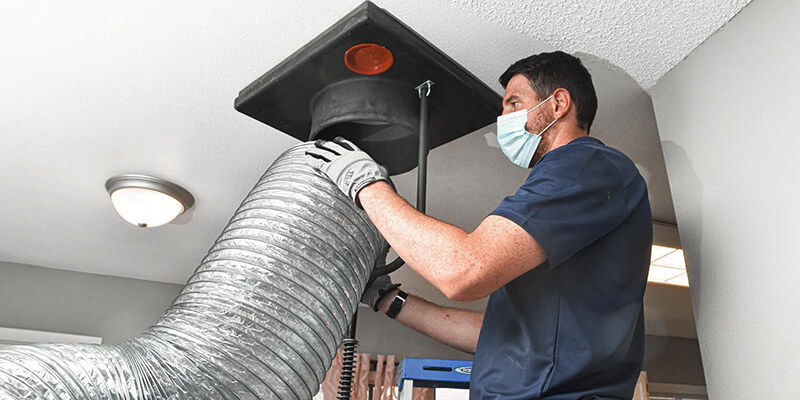
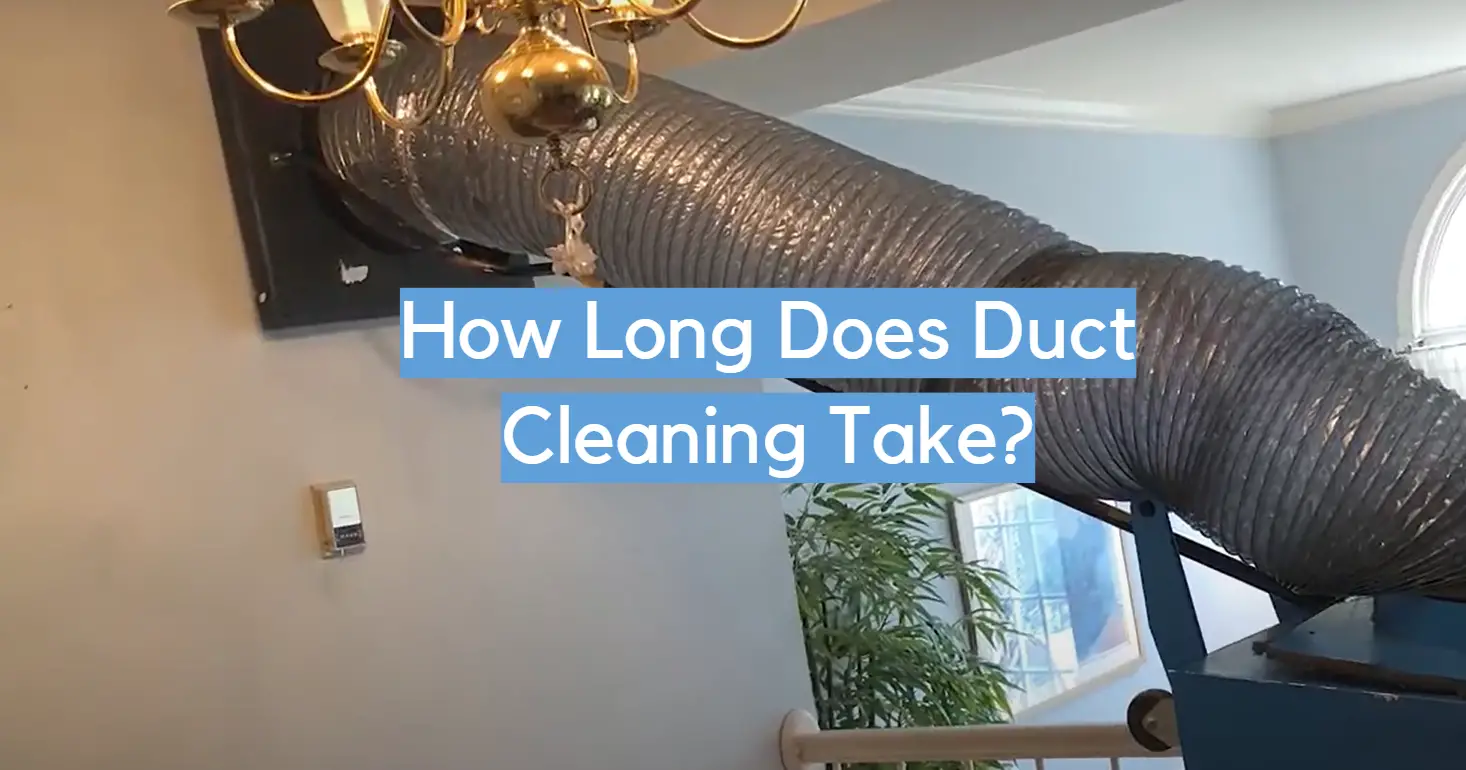
Professional duct cleaning typically involves the use of specialized equipment, such as high-powered vacuums, rotary brushes, and air whips, to dislodge and remove dust, debris, and other contaminants from your ductwork. The process usually includes:
- Inspection: A thorough inspection of your ductwork to assess its condition and identify any potential problems.
- Source Removal: Using specialized tools to dislodge and remove contaminants from the duct walls.
- Vacuuming: High-powered vacuums are used to remove the dislodged debris from the ductwork.
- Sanitization (Optional): In some cases, a sanitizing agent may be applied to the ductwork to kill mold, bacteria, and other microorganisms.
- Sealing (Optional): If any leaks or gaps are found in the ductwork, they may be sealed to improve efficiency.
Choosing a Duct Cleaning Professional
When choosing a duct cleaning professional, it's important to do your research and select a qualified and reputable company. Look for companies that are licensed, insured, and certified by organizations such as the National Air Duct Cleaners Association (NADCA). Ask for references and read online reviews to get a sense of the company's reputation. Be sure to get a written estimate before work begins and ask about the company's guarantee.
In Conclusion
Maintaining clean and efficient ductwork is essential for ensuring the comfort, health, and energy efficiency of your home. While some minor ductwork issues can be addressed with DIY solutions, it's important to recognize when professional duct cleaning is necessary. By following the troubleshooting steps outlined in this article and knowing when to call a professional, you can keep your ductwork in good condition and enjoy a healthier and more comfortable home environment. Remember, your HVAC system is a complex machine, and sometimes it's best to leave repairs to the qualified professionals.