How Do You Clean An Air Conditioner Coil
Is your home feeling stuffy and uncomfortable, even with the AC running full blast? Are your energy bills unexpectedly high? A dirty air conditioner coil could be the culprit. Over time, dust, pollen, and debris accumulate on the coils, hindering their ability to effectively transfer heat. This leads to reduced cooling efficiency, increased energy consumption, and potentially even premature AC failure. But don't panic! In many cases, cleaning your AC coils is a simple DIY task that can restore your system's performance. This guide will walk you through the process, step-by-step, ensuring you can tackle this common issue safely and effectively.
Diagnosing the Dirty Coil Problem
Before diving into cleaning, it's crucial to confirm that a dirty coil is indeed the problem. Here's a simple diagnostic process:
Step 1: Check the Obvious (No Tools Required)
Start with a visual inspection. Walk around your outdoor AC unit (the condenser) and look for obvious signs of dirt and debris. Pay close attention to the fins – the thin metal sheets surrounding the coil. Are they visibly clogged with dirt, leaves, or grass clippings? Also, check the indoor evaporator coil (usually part of your furnace or air handler). If you can access it without disassembling anything, look for similar build-up.
Next, listen to your AC unit. Is it running constantly without adequately cooling your home? Does it sound louder than usual? These can be indicators of an overworked system struggling against a dirty coil.
Finally, feel the air coming from your vents. Is it as cold as it used to be? Warmer than usual air is a strong sign of a problem.
Step 2: Basic Checks with Simple Tools
If the initial inspection is inconclusive, a few basic tools can help you gather more information. You'll need:
- A screwdriver (Phillips and flathead).
- A flashlight.
Power Off: Always begin by turning off the power to your AC unit at the breaker box. Safety first!
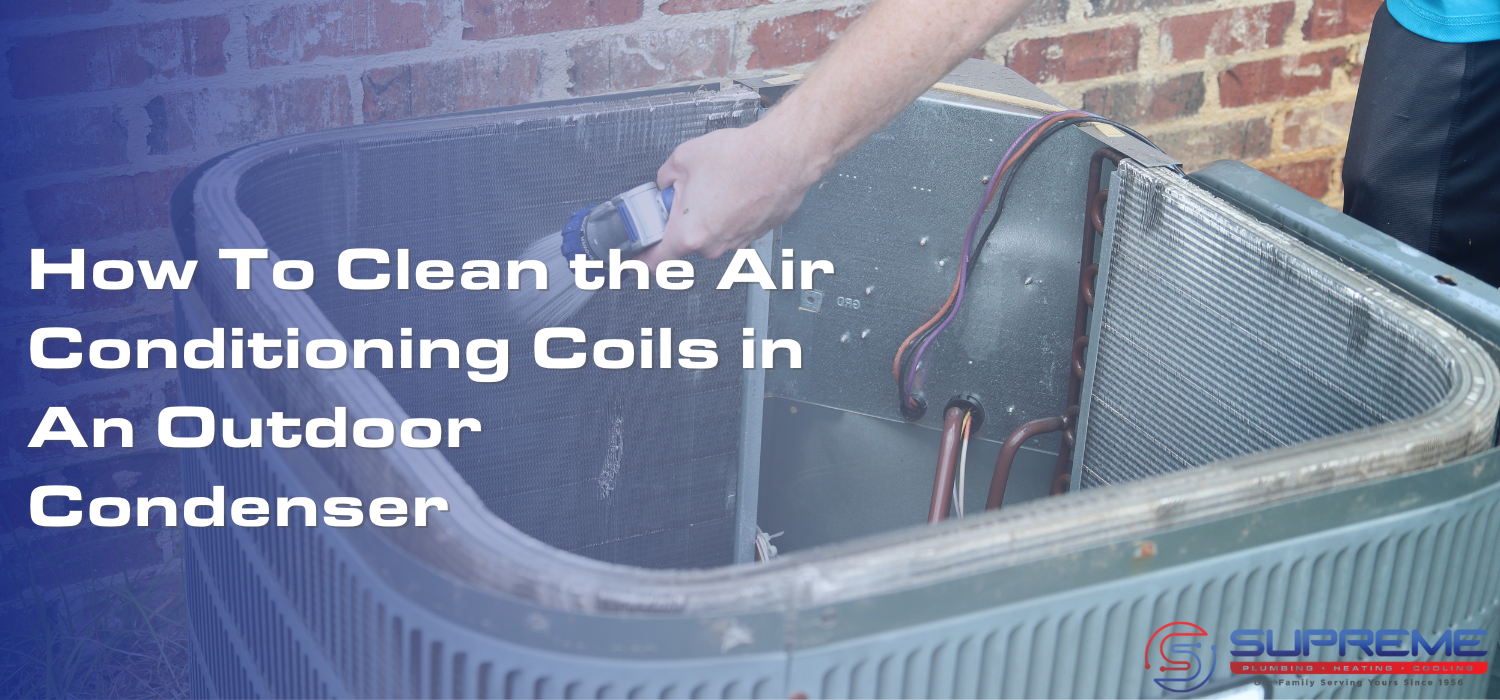
Condenser Inspection: Use the screwdriver to remove the outer panels of the condenser unit. This will give you a clearer view of the coil. Shine the flashlight to inspect the fins thoroughly. Look for matted debris, insect nests, or excessive dust build-up. Note: Some condenser units have a top fan grill that can be lifted off after removing screws. Others require complete panel removal.
Air Filter Check (Indoor Unit): Locate your air filter (usually near the blower motor). A dirty air filter can restrict airflow, exacerbating the problems caused by a dirty coil. Remove the filter and hold it up to the light. If you can barely see through it, it's time to replace it! A clogged air filter significantly reduces AC efficiency and puts extra strain on the system.
Step 3: Recognizing When to Call a Pro
Sometimes, the problem is beyond a simple cleaning. Here are situations where you should contact a qualified HVAC technician:
- Frozen Coils: If you see ice forming on your evaporator coil, do not attempt to clean it. This is a sign of a more serious issue, such as a refrigerant leak, that requires professional attention. Trying to chip away the ice can damage the coil.
- Refrigerant Leaks: If you suspect a refrigerant leak (e.g., hissing sounds, oily residue near connections), immediately turn off the AC and call a professional. Refrigerant is harmful to the environment and should only be handled by trained technicians.
- Damaged Fins: If the coil fins are severely bent or damaged, cleaning them may not be enough. A technician may need to straighten or replace the fins.
- Electrical Issues: If you notice any electrical problems (e.g., burning smells, sparks), do not attempt any repairs yourself. Electricity and water are a dangerous combination.
- Uncertainty: If you're uncomfortable working with electrical components or disassembling your AC unit, it's always best to err on the side of caution and call a professional.
Cleaning Your Air Conditioner Coil: A Step-by-Step Guide
If you've determined that your AC coil is simply dirty and you're comfortable proceeding, follow these steps:
Materials You'll Need:
- Screwdriver (Phillips and flathead)
- Fin Comb (for straightening bent fins - available at most hardware stores)
- Soft Brush Attachment for Vacuum Cleaner
- Garden Hose with a Gentle Spray Nozzle
- Coil Cleaner (specifically designed for AC coils - available at hardware stores; look for a non-acidic, self-rinsing formula)
- Safety Glasses
- Gloves
Step 1: Safety First!
As emphasized before, always turn off the power to your AC unit at the breaker box before starting any cleaning or maintenance. Wear safety glasses and gloves to protect your eyes and skin from dirt, debris, and cleaning solutions.
Step 2: Access the Coil
Use your screwdriver to remove the outer panels of the condenser unit, exposing the coil. Consult your AC unit's manual for specific instructions if needed. On the indoor unit, access may be more limited. Remove any access panels to expose as much of the evaporator coil as possible. Again, turn off power before removing any access panels near electrical components.
Step 3: Vacuum the Coil
Using the soft brush attachment on your vacuum cleaner, carefully vacuum the coil to remove loose dirt, dust, and debris. Work slowly and methodically, ensuring you cover all surfaces of the coil. Be gentle to avoid bending the fins.
Step 4: Straighten Bent Fins (Optional)
If the fins are bent, use a fin comb to gently straighten them. Insert the comb into the fins and slowly pull it along the coil. This will improve airflow and increase the efficiency of the AC unit. Choose the correct fin spacing on the comb to match your unit's fins. Trying to force an incorrect size will damage the fins further.
Step 5: Apply Coil Cleaner
Read and follow the instructions on your chosen coil cleaner. Typically, you'll spray the cleaner liberally onto the coil, ensuring you cover all surfaces. Allow the cleaner to sit for the recommended time (usually 10-15 minutes) to loosen the remaining dirt and grime.
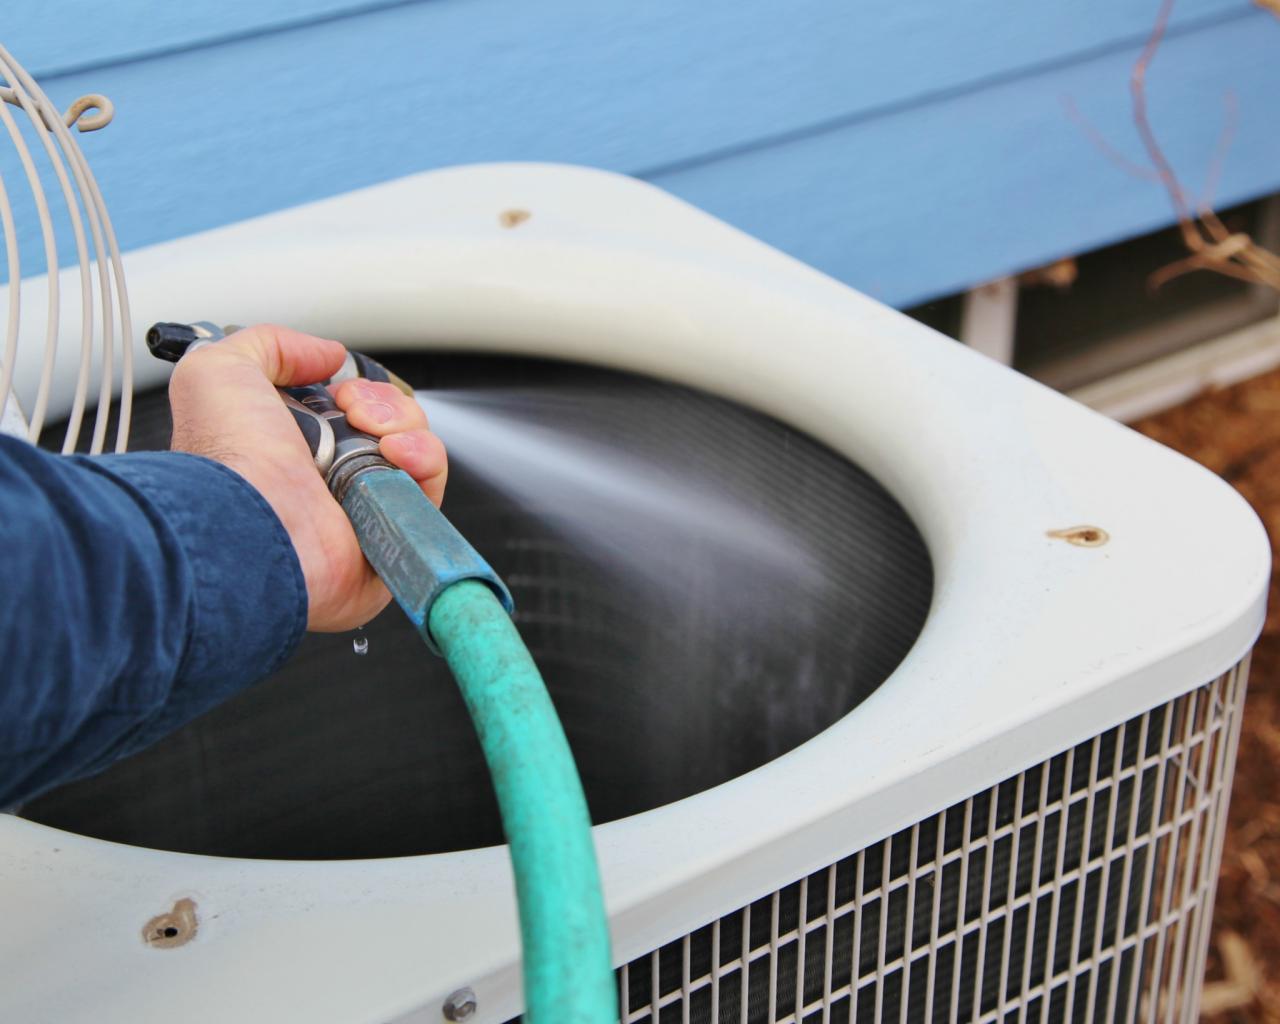
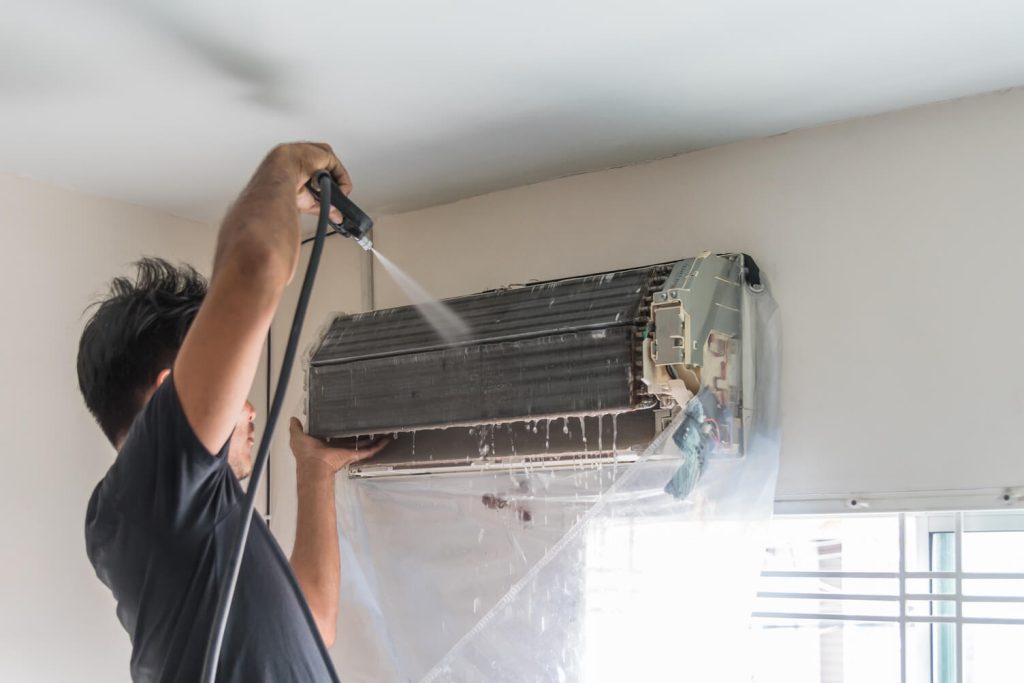
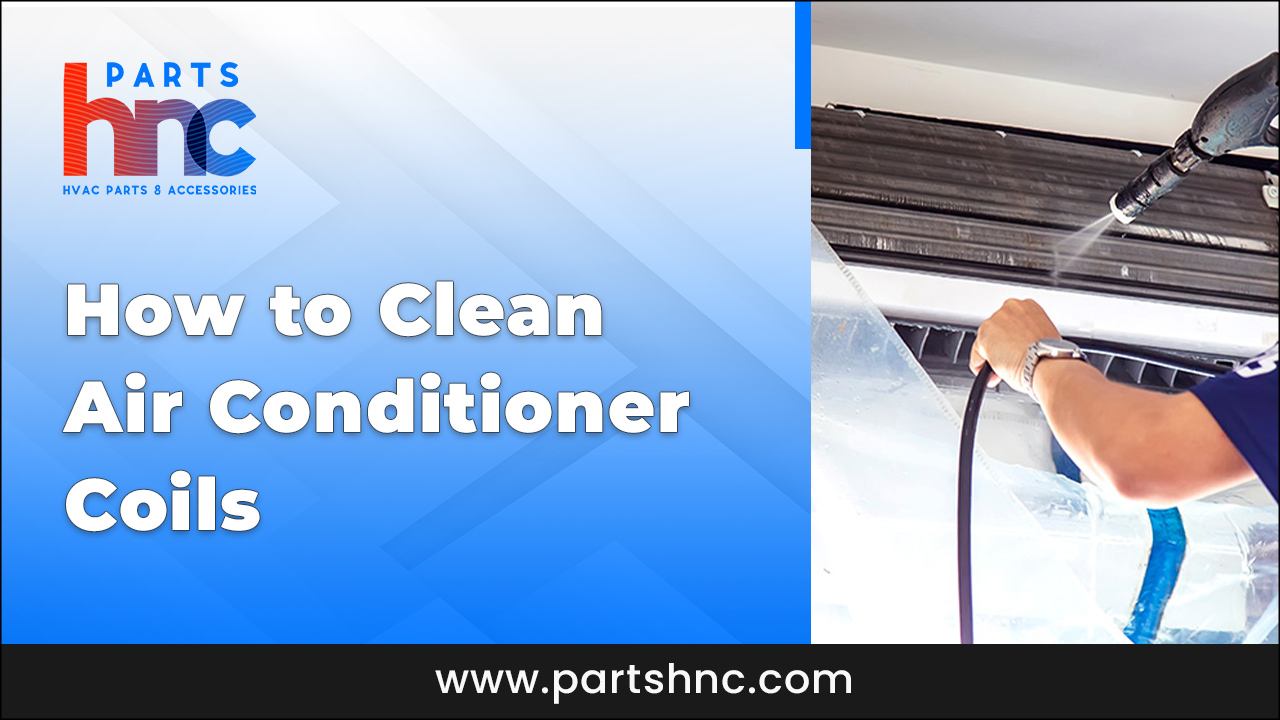
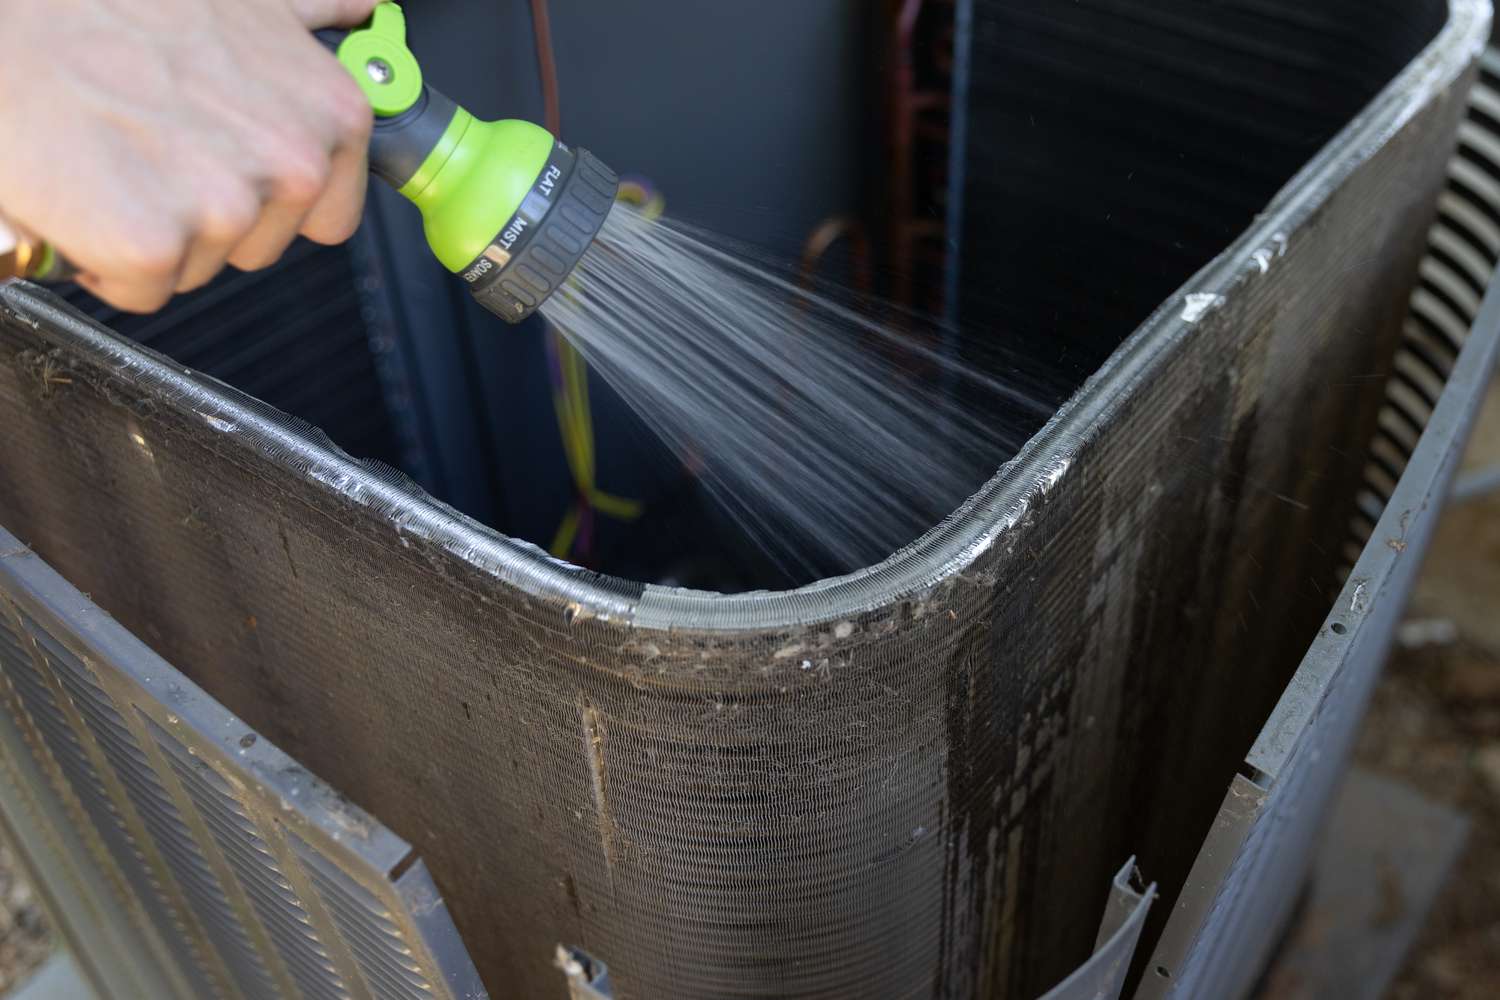
Step 6: Rinse the Coil
Using your garden hose with a gentle spray nozzle, rinse the coil thoroughly. Be careful not to use too much pressure, as this can damage the fins. Rinse from the inside out, flushing the dirt and cleaner away from the coil. Continue rinsing until the water runs clear.
Step 7: Allow to Dry
Allow the coil to air dry completely before reassembling the AC unit. This may take several hours, depending on the weather conditions. Avoid using a towel to dry the coil, as this can leave lint and debris behind.
Step 8: Reassemble and Power On
Once the coil is completely dry, reassemble the AC unit by replacing the panels you removed earlier. Make sure all screws are tightened securely. Finally, turn the power back on at the breaker box.
Step 9: Test the AC
Turn on your AC and monitor its performance. You should notice an improvement in cooling efficiency and airflow. Listen for any unusual noises or vibrations. If you still experience problems, you may need to call a professional.
Preventive Maintenance Tips
To prevent your AC coil from getting dirty in the first place, consider these tips:
- Regular Air Filter Changes: Change your air filter every 1-3 months, depending on usage and air quality. A clean air filter is essential for maintaining good airflow and preventing dirt from accumulating on the coil.
- Keep the Area Around the Condenser Clear: Remove any vegetation, debris, or obstructions from around the outdoor condenser unit. This will ensure adequate airflow and prevent leaves and grass clippings from being sucked into the coil.
- Professional AC Tune-Ups: Schedule regular AC tune-ups with a qualified HVAC technician. They can perform a thorough cleaning of the coil and other components, as well as identify and address any potential problems before they become major issues.
- Consider a Coil Coating: Talk to your HVAC technician about coil coatings. These coatings can help prevent dirt and grime from sticking to the coil, making it easier to clean and maintain.
By following these steps, you can effectively clean your air conditioner coil and restore your system's performance. Remember to prioritize safety and call a professional if you're uncomfortable performing any of these tasks. With a little effort, you can keep your AC running efficiently and enjoy a comfortable home all summer long.