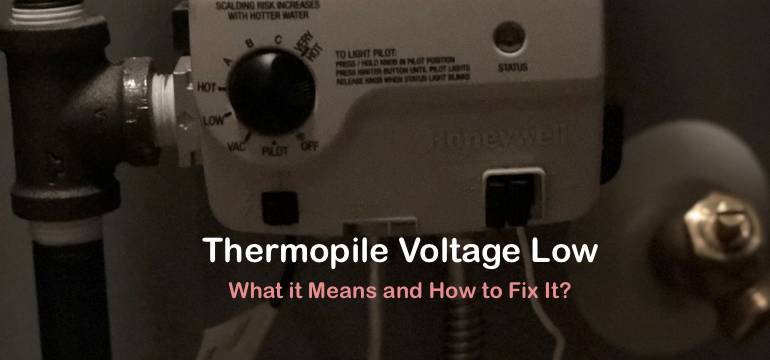
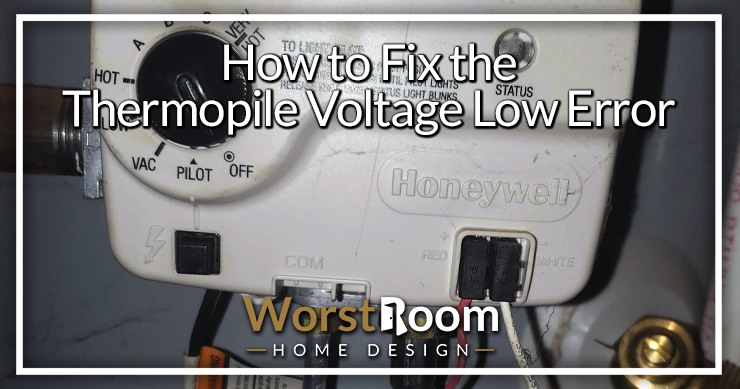
How Do You Fix A Low Thermopile Voltage

A gas furnace thermopile is a critical component that generates the electrical voltage needed to operate the gas valve. When a thermopile fails to produce sufficient voltage, your furnace will likely shut down, leaving you in the cold and potentially facing higher energy bills due to inefficient operation or reliance on alternative heating sources. Diagnosing and fixing a low thermopile voltage isn't always straightforward, but with the right knowledge, troubleshooting steps, and a focus on safety, you can often resolve the issue and restore your heating system's performance. This article provides a comprehensive guide to help homeowners, businesses, and HVAC professionals understand and address low thermopile voltage, optimizing energy efficiency and reducing heating costs.
Understanding the Thermopile and Its Function
Before delving into troubleshooting, it's important to understand what a thermopile is and what it does. A thermopile is essentially a series of thermocouples connected together. Each thermocouple generates a small voltage when its hot junction is heated. In a gas furnace, the pilot light or main burner flame heats the thermopile. The combined voltage from all the thermocouples creates enough electricity (typically 750 millivolts DC when new, with a minimum of 350mV required to keep the gas valve open) to power the gas valve, allowing gas to flow and maintain the heating cycle.
A low thermopile voltage prevents the gas valve from opening, which translates to no heat. Diagnosing the root cause of this issue is essential for efficient and cost-effective repairs. Ignoring the problem can lead to increased energy consumption from alternative heating methods or further damage to your furnace.
Symptoms of Low Thermopile Voltage
Several telltale signs indicate a potential problem with your thermopile:
- Furnace won't stay lit: The pilot light might ignite, but the main burner fails to ignite, or the furnace shuts down shortly after starting.
- Intermittent heating: The furnace cycles on and off erratically.
- Pilot light goes out: In some cases, a weak thermopile can even affect the pilot light.
- Error codes: Modern furnaces with electronic control boards may display error codes related to flame sensor issues or low voltage.
If you experience any of these symptoms, it's crucial to investigate the thermopile voltage before assuming a more complex furnace problem. Checking the thermopile is always a good first step, saving time and preventing costly misdiagnoses.
Tools and Safety Precautions
Before starting any troubleshooting or repair work, gather the necessary tools and prioritize safety. You will need:
- Multimeter: A multimeter is essential for measuring the DC voltage output of the thermopile.
- Screwdrivers: Various screwdrivers may be needed to access the thermopile and gas valve.
- Wire brush: A wire brush can be used to clean the thermopile and pilot assembly.
- Vacuum cleaner: A vacuum cleaner can remove dust and debris from the furnace interior.
- Work gloves: Protect your hands from sharp edges and potential contaminants.
- Safety glasses: Protect your eyes from dust and debris.
- Manufacturer's service manual: Refer to the furnace's service manual for specific instructions and wiring diagrams.
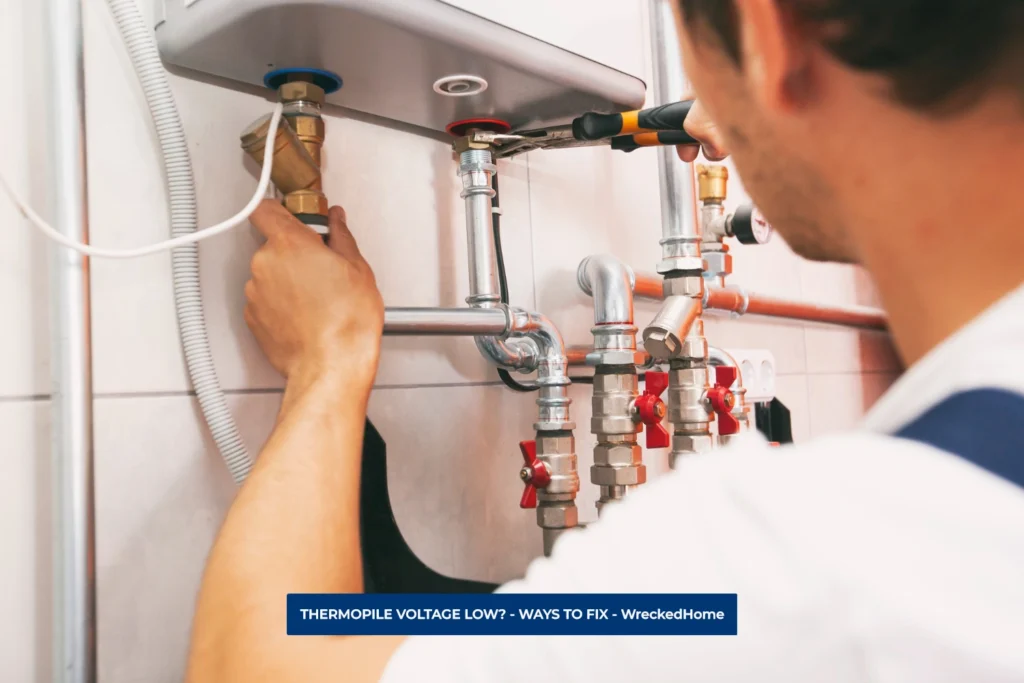
Safety is paramount. Before working on any electrical components, turn off the power to the furnace at the circuit breaker. Shut off the gas supply to the furnace at the gas shut-off valve. Never work on a gas appliance if you smell gas. If you suspect a gas leak, evacuate the area immediately and contact your local gas company or a qualified HVAC technician.
Troubleshooting Steps for Low Thermopile Voltage
Follow these steps to systematically diagnose and address low thermopile voltage:
1. Visual Inspection
Begin with a thorough visual inspection. Look for the following:
- Physical damage: Check the thermopile for any signs of physical damage, such as cracks, breaks, or corrosion.
- Loose connections: Inspect the wiring connections to the thermopile and gas valve for any loose or corroded connections.
- Pilot light condition: Ensure the pilot light is burning steadily and engulfing the thermopile. A weak or flickering pilot light can indicate a problem with the gas supply or pilot assembly.
- Dust and debris: Accumulated dust and debris can insulate the thermopile and reduce its efficiency.
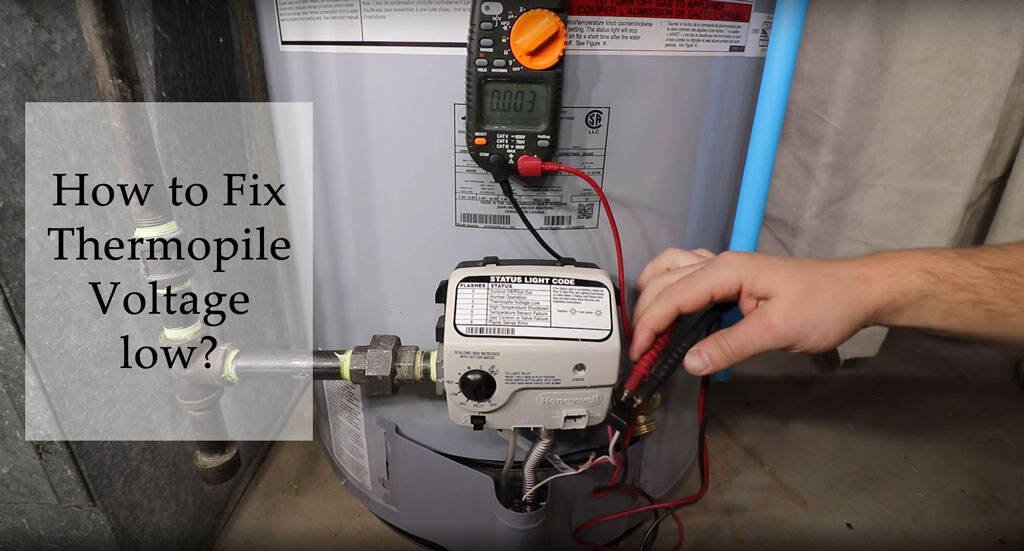
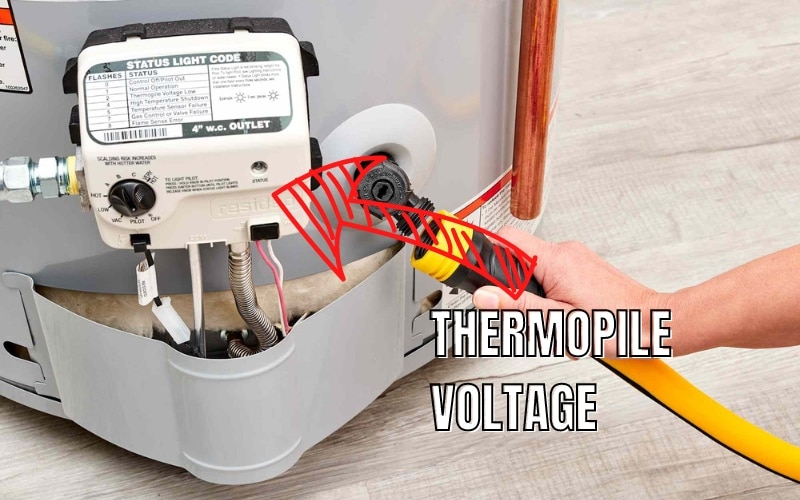
2. Measuring Thermopile Voltage
Use a multimeter to measure the DC voltage output of the thermopile. Refer to your furnace's service manual for the specific testing procedure and voltage specifications. Generally, you'll need to:
- Set your multimeter to measure DC voltage.
- Locate the thermopile wires, usually near the gas valve.
- Connect the multimeter probes to the thermopile terminals.
- Turn on the pilot light (or start the furnace cycle, if possible).
- Observe the voltage reading. A healthy thermopile should produce at least 350 mV DC under load and around 750 mV DC open circuit.
If the voltage is below the specified threshold, proceed to the next troubleshooting steps.
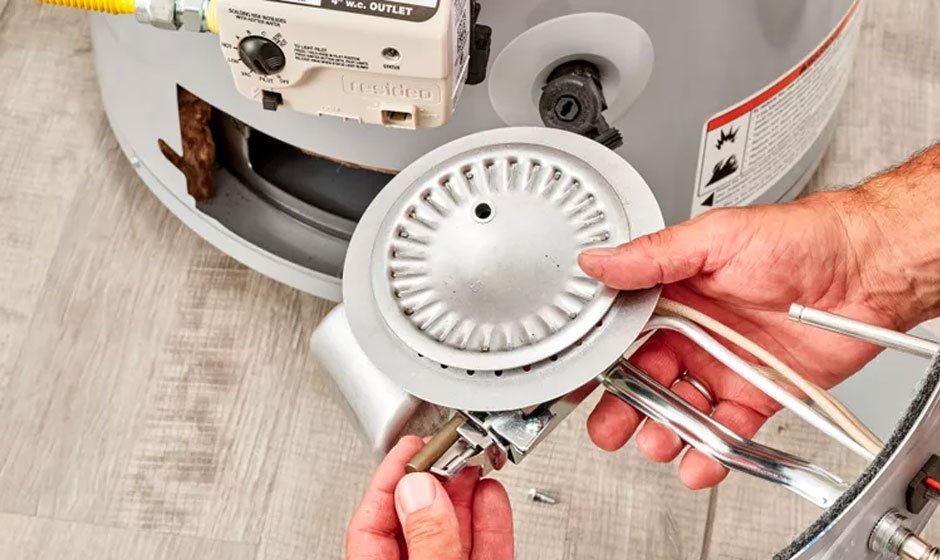
3. Cleaning the Thermopile and Pilot Assembly
Over time, the thermopile and pilot assembly can accumulate soot and carbon deposits, which can hinder heat transfer and reduce voltage output. Clean these components using a wire brush and vacuum cleaner.
- Carefully remove the thermopile from its mounting bracket.
- Gently brush away any soot or carbon deposits from the thermopile surface.
- Clean the pilot orifice to ensure a proper gas flow.
- Vacuum away any loose debris from the furnace interior.
- Reinstall the thermopile and ensure it is properly positioned in the pilot flame.
4. Checking Wiring Connections
Loose or corroded wiring connections can significantly reduce the voltage reaching the gas valve. Inspect all wiring connections associated with the thermopile and gas valve.
- Turn off the power to the furnace at the circuit breaker.
- Disconnect and reconnect each wire connection to ensure a secure fit.
- Clean any corroded connections with a wire brush or electrical contact cleaner.
- Check the wiring for any signs of damage, such as frayed insulation or broken wires.
- Replace any damaged wiring as needed.
5. Testing the Gas Valve
If the thermopile voltage is within the acceptable range but the furnace still fails to operate, the gas valve itself may be faulty. Testing the gas valve requires specialized knowledge and tools. It's generally recommended to consult a qualified HVAC technician for gas valve testing and replacement. Incorrect testing or tampering with the gas valve can create a dangerous situation.
6. Considering Other Furnace Components
Although a low voltage reading from the thermopile typically points to thermopile failure, a fault elsewhere may cause a problem. For example:
- Flame Sensor Malfunction: A faulty flame sensor could incorrectly signal that there is no flame present, leading to a safety shutdown.
- Control Board Issues: Issues with the central control board could interrupt voltage to essential components, potentially mimicking thermopile problems.
Replacing the Thermopile
If the troubleshooting steps indicate a faulty thermopile, replacement is necessary. Purchase a replacement thermopile that is compatible with your furnace model. Follow these steps for replacement:
- Turn off the power to the furnace at the circuit breaker and shut off the gas supply.
- Carefully disconnect the wiring from the old thermopile.
- Remove the old thermopile from its mounting bracket.
- Install the new thermopile in the same position.
- Reconnect the wiring to the new thermopile, ensuring correct polarity (if applicable).
- Turn on the gas supply and power to the furnace.
- Test the furnace to ensure proper operation.
Preventive Maintenance for Optimal Performance
Regular preventive maintenance can help prevent low thermopile voltage and other furnace problems, saving you money on energy bills and repairs. Consider the following:
- Annual furnace inspection: Schedule an annual furnace inspection with a qualified HVAC technician. They can inspect and clean the furnace components, check for gas leaks, and identify potential problems before they escalate.
- Filter replacement: Replace the furnace filter regularly (typically every 1-3 months) to ensure proper airflow. A dirty filter can restrict airflow, causing the furnace to work harder and reducing its efficiency.
- Pilot light maintenance: Periodically check the pilot light and clean the pilot assembly to ensure a steady flame.
Smart HVAC Integration for Enhanced Efficiency
Integrating your HVAC system with smart home technology can provide enhanced energy efficiency and cost savings. Consider installing a smart thermostat, which allows you to control your furnace remotely, set customized heating schedules, and monitor energy consumption. Many smart thermostats also offer features such as geofencing, which automatically adjusts the temperature based on your location. These technologies can often be linked to rebate or incentive programs, further lowering the initial investment.
Furthermore, consider installing smart sensors to monitor the health of your equipment. Certain units will record trends in your thermopile voltage levels that you can monitor for slow drops in voltage and address issues before the unit completely stops working.
Cost Savings and ROI
Addressing low thermopile voltage and implementing energy-efficient HVAC solutions can result in significant cost savings. A well-maintained furnace operates more efficiently, consuming less energy and reducing your monthly energy bills. By preventing furnace breakdowns, you can avoid costly repairs and extend the lifespan of your equipment. Furthermore, upgrading to energy-efficient equipment, such as a high-efficiency furnace or a smart thermostat, can qualify you for rebates and tax credits, further reducing your upfront costs.
According to Energy Star, replacing an old, inefficient furnace with a new, high-efficiency model can save homeowners up to 15% on their annual heating costs. These savings, combined with potential rebates and tax credits, can result in a significant return on investment over the lifespan of the equipment.
By understanding the function of the thermopile, troubleshooting low voltage issues, and implementing preventive maintenance measures, you can ensure your furnace operates efficiently and reliably, saving you money on energy bills and maximizing the lifespan of your heating system. When in doubt, consult a qualified HVAC technician for professional assistance.