How Do You Fix Uneven Heating In A House
Uneven Heating in Your Home? A Troubleshooting Guide
Is your living room toasty while your bedroom remains frigid? Uneven heating is a common problem many homeowners face. It’s frustrating, uncomfortable, and can even lead to higher energy bills. This guide will walk you through diagnosing and fixing uneven heating in your home, offering DIY solutions and when you should call a qualified HVAC technician.
Understanding the Root Causes
Before diving into solutions, let's explore potential causes. Many factors can contribute to temperature imbalances throughout your house:
- Airflow Obstructions: Blocked vents, closed doors, or furniture obstructing registers.
- Insulation Issues: Inadequate or uneven insulation in walls, attics, or crawl spaces.
- Ductwork Problems: Leaky, disconnected, or undersized ducts.
- Zoning System Problems: Issues with dampers or zone thermostats (if applicable).
- Furnace or Heat Pump Issues: Malfunctioning components affecting overall heating capacity.
- Window and Door Drafts: Air leaks around windows and doors.
- Sun Exposure: Rooms with more sun exposure will naturally be warmer.
- Thermostat Location: A thermostat placed in a sunny or drafty area will provide inaccurate readings.
DIY Troubleshooting Steps
Let's start with simple checks and fixes you can tackle yourself.
1. Check and Clear Vents and Registers
What to do: Ensure all vents and registers are fully open and unobstructed. Move furniture, rugs, or curtains that might be blocking airflow.
Why it works: Blocked vents restrict airflow, preventing warm air from reaching certain rooms.
2. Examine Your Air Filter
What to do: Inspect your air filter. If it's dirty, replace it with a new one. Check it monthly.
Why it works: A clogged air filter restricts airflow to the furnace, reducing its efficiency and causing uneven heating.
Tools Needed: New air filter (correct size for your furnace).
3. Inspect Ductwork (Visually)
What to do: Check accessible ductwork in basements or attics for obvious leaks or disconnections. Look for tears, gaps, or detached sections.
Why it works: Leaky ducts allow heated air to escape before it reaches the intended rooms.
Warning: Avoid disturbing asbestos-containing materials. If you suspect asbestos, call a professional.
Tools Needed: Flashlight.
4. Seal Obvious Duct Leaks (Temporarily)
What to do: For small, easily accessible leaks, use aluminum foil tape (not duct tape, which deteriorates quickly). Wrap the tape securely around the leak.
Why it works: This prevents heated air from escaping through small leaks.
Important Note: This is a temporary fix. For a permanent solution, hire a professional to properly seal and insulate your ductwork.
Tools Needed: Aluminum foil tape.
5. Address Window and Door Drafts
What to do: Caulk around windows and doors to seal gaps. Install weather stripping to create a tight seal when doors and windows are closed. Use door draft stoppers.
Why it works: Eliminating drafts prevents cold air from entering the room, making it easier to heat.
Tools Needed: Caulk gun, caulk, weather stripping, utility knife, door draft stopper.
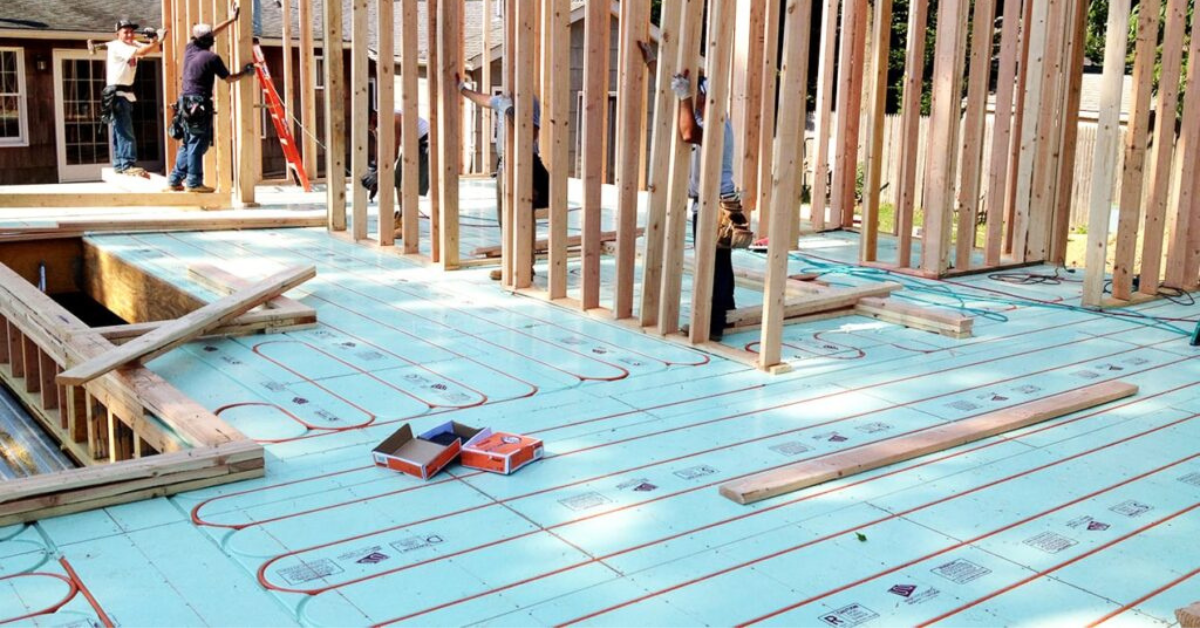
6. Evaluate Insulation
What to do: Check the insulation in your attic, walls, and crawl spaces. Look for areas where insulation is missing, damaged, or compressed. Focus on outer walls and above unheated spaces.
Why it works: Adequate insulation prevents heat loss, keeping rooms warmer. Areas with poor insulation will be colder. Check local building codes for required R-values.
Warning: Be cautious when working in attics and crawl spaces. Wear protective gear (mask, gloves, eye protection) to avoid inhaling dust and debris.
Tools Needed: Flashlight, measuring tape, safety glasses, dust mask, gloves.
7. Adjust Damper Settings (If Applicable)
What to do: If your home has a manual damper system in the ductwork (typically near the furnace), adjust the damper settings to direct more airflow to colder rooms. These are often levers or handles on the side of ductwork.
Why it works: Dampers control airflow distribution, allowing you to balance heating between different zones. Be careful when closing dampers too much, it can cause back pressure on the furnace.
Tools Needed: None.
8. Thermostat Check
What to do: Ensure your thermostat is properly calibrated and not located in a drafty or sunny spot. Consider a programmable thermostat for better temperature control.
Why it works: A poorly located or calibrated thermostat provides inaccurate readings, leading to uneven heating. Consider installing a smart thermostat for more personalized control.
Tools Needed: Small screwdriver, level (for thermostat installation).
When to Call a Professional
While some fixes are DIY-friendly, certain issues require professional expertise. Call an HVAC technician if you encounter any of the following:
- Suspect Ductwork Issues: Extensive ductwork problems, especially those involving asbestos or difficult-to-reach areas.
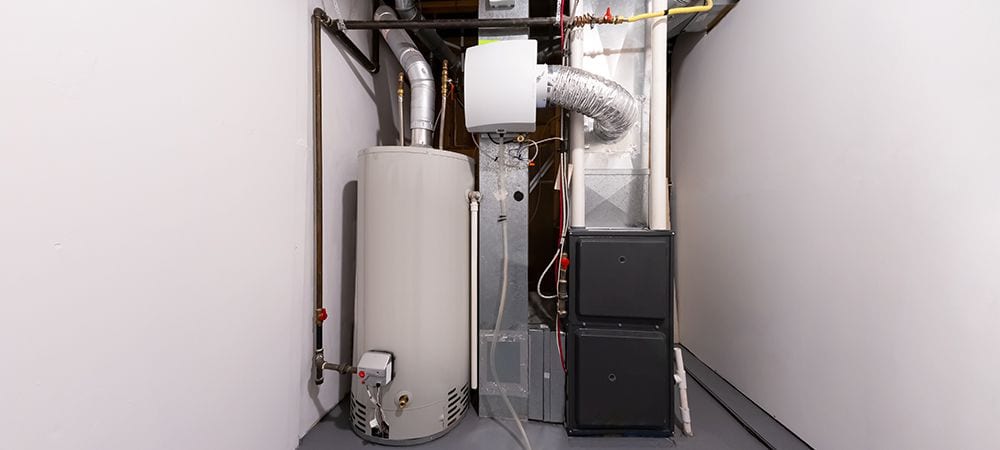
- Furnace Malfunctions: Issues with the furnace itself, such as a malfunctioning blower motor, igniter, or heat exchanger.
- Zoning System Problems: Complex zoning system malfunctions requiring specialized diagnostics and repairs.
- Refrigerant Leaks: If you suspect a refrigerant leak in a heat pump system.
- Electrical Problems: Any electrical issues related to the heating system.
- Gas Leaks: If you smell gas near your furnace or gas lines. Evacuate immediately and call your gas company and the fire department.
- If you are uncomfortable or unsure about performing any repair. Safety is paramount.
Professional HVAC Services: What to Expect
When you call an HVAC technician, they will typically perform the following:
- System Inspection: Thoroughly inspect the entire heating system, including the furnace, ductwork, and thermostat.
- Diagnostic Testing: Use specialized tools and equipment to diagnose the root cause of the uneven heating.
- Repairs and Replacements: Perform necessary repairs or replace faulty components.
- Ductwork Sealing and Insulation: Seal and insulate ductwork to improve efficiency and airflow.
- Zoning System Optimization: Optimize zoning system settings for balanced heating throughout the home.
Estimated Repair Costs
Repair costs vary depending on the complexity of the problem and your location. Here are some general estimates:
- Ductwork Sealing: $200 - $1000+ (depending on the extent of the leaks)
- Furnace Repair: $150 - $500+ (depending on the part needing replacement)
- Thermostat Replacement: $75 - $300+ (depending on the type of thermostat)
- Zoning System Repair: $200 - $800+ (depending on the complexity of the system)
- Insulation Installation: $1 - $4 per square foot (depending on the type of insulation)
Note: These are just estimates. Always get a quote from a qualified HVAC technician before proceeding with any repairs. A detailed inspection will uncover hidden damages that may need repair too.
Preventative Maintenance
Regular maintenance can prevent many heating problems. Consider these tips:
- Annual Furnace Tune-Up: Schedule an annual furnace tune-up with a qualified HVAC technician.
- Regular Air Filter Changes: Change your air filter every 1-3 months.
- Keep Vents Clear: Ensure vents are always open and unobstructed.
- Monitor for Leaks: Regularly inspect your home for drafts and leaks.
By following these troubleshooting steps and preventative maintenance tips, you can improve heating efficiency and comfort in your home. Remember to prioritize safety and call a professional when needed. A little bit of effort goes a long way to keeping your home warm and cozy all winter long!
Disclaimer: This information is for general guidance only and should not be considered a substitute for professional advice. Always consult with a qualified HVAC technician for specific issues related to your heating system.