How Do You Install A Chimney Cap

Is your home feeling drafty, especially near the fireplace, even when the fireplace isn't in use? Are you noticing a strange smell wafting from the chimney? Or perhaps you're finding debris – leaves, twigs, or even small animals – inside your fireplace? These are all common signs that you might need a chimney cap or that your existing one is damaged and needs replacing.
A chimney cap might seem like a small detail, but it plays a crucial role in maintaining the efficiency and safety of your home's heating and cooling systems. It acts as a barrier against rain, snow, leaves, animals, and other debris, preventing them from entering the chimney and causing problems. Without a cap, these elements can lead to:
- Reduced heating efficiency: Cold air entering the chimney can cool down the house, forcing your heating system to work harder.
- Damage to the chimney: Water can cause the brick and mortar to deteriorate, leading to costly repairs.
- Fire hazards: Debris buildup can create a fire hazard.
- Animal infestations: Birds, squirrels, and other animals can nest in the chimney, creating unpleasant odors and potential health hazards.
Fortunately, installing or replacing a chimney cap is often a DIY project that most homeowners can tackle with a little know-how and the right tools. This article will guide you through the process, step-by-step, ensuring a safe and successful installation.
Diagnosing the Chimney Cap Problem
Before you start buying tools and climbing onto your roof, it's important to accurately diagnose the problem. Here's a simple checklist to help you determine if you need a new chimney cap:
Step 1: Visual Inspection (No Tools Required)
Begin with a visual inspection from the ground. Use binoculars if necessary to get a closer look.
- Check for rust or corrosion: Is the existing cap visibly rusted or corroded? Rust weakens the metal and can lead to the cap falling apart.
- Look for damage: Are there any dents, holes, or missing pieces in the cap? Physical damage compromises its protective function.
- Inspect the mesh screen (if present): Is the mesh screen torn or damaged? A damaged screen allows debris and animals to enter the chimney.
- Check the mounting hardware: Is the cap securely attached to the chimney? Look for loose screws, rusted clamps, or other signs of instability.
Important: If you notice any of these issues, it's a good indication that you need to replace your chimney cap.
Step 2: Inspecting the Fireplace (No Tools Required)
Next, inspect the fireplace itself. This can give you clues about the chimney's overall condition.
- Check for debris: Is there an excessive amount of leaves, twigs, or other debris inside the fireplace? This suggests that the chimney is not properly protected.
- Look for signs of water damage: Are there water stains or dampness inside the firebox? This could indicate that rain is entering the chimney and damaging the interior.
- Sniff for unusual odors: Do you smell any unpleasant odors, such as mildew, rotting leaves, or animal waste? These smells could be coming from debris trapped in the chimney.
Note: While some debris is normal, an excessive amount suggests a problem with the chimney cap or flue. Water damage is a serious concern that needs to be addressed promptly.
Step 3: Closer Inspection (Requires a Ladder & Safety Precautions)
Warning: Working on a roof can be dangerous. If you are not comfortable working at heights, or if your roof is steep or slippery, DO NOT attempt this step. Hire a qualified professional.
If you feel comfortable and safe, carefully climb onto your roof and inspect the chimney cap up close.
- Check the fit: Is the cap the correct size for your chimney? An improperly sized cap won't provide adequate protection.
- Examine the liner: Look at the condition of the chimney liner. A damaged liner will need professional attention. You should not try to repair a damaged liner yourself.
- Check for obstructions: Are there any obstructions in the chimney flue, such as bird nests or creosote buildup? This can restrict airflow and create a fire hazard.
Important Safety Tips:
- Use a sturdy ladder: Ensure that your ladder is in good condition and properly positioned on a level surface.
- Wear appropriate footwear: Wear shoes with good traction to prevent slipping.
- Work in dry weather: Avoid climbing onto the roof when it is wet or icy.
- Have a spotter: If possible, have someone hold the ladder for you.
- Use a safety harness: If you are working on a steep roof, consider using a safety harness for added protection.
Installing a Chimney Cap: A Step-by-Step Guide
Once you've diagnosed the problem and determined that you need a new chimney cap, here's how to install it:
Step 1: Gather Your Materials and Tools
Before you start, gather the necessary materials and tools. You'll need:
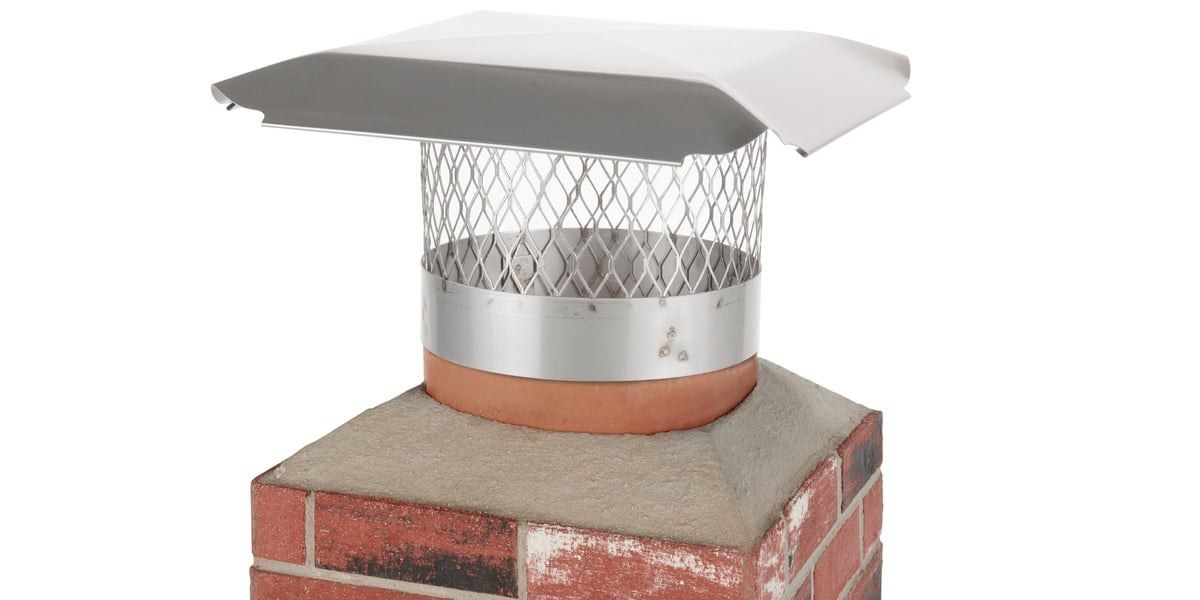
- New Chimney Cap: Choose a cap that is the correct size and type for your chimney. Measure your flue carefully!
- Measuring Tape: To measure the flue opening.
- Screwdriver or Wrench: Depending on the type of chimney cap you choose, you may need a screwdriver or wrench to tighten the mounting hardware.
- Drill with appropriate drill bits (potentially): Some caps require drilling pilot holes.
- Gloves: To protect your hands.
- Safety Glasses: To protect your eyes.
- Ladder: As mentioned before, use a sturdy ladder and follow all safety precautions.
- Wire Brush (optional): To clean the chimney flue if necessary.
- Sealant (optional): For added weather protection, you may want to use a sealant around the base of the cap. Make sure it is rated for high temperatures.
Step 2: Measure Your Chimney Flue
Accurate measurements are essential for selecting the correct chimney cap. Here's how to measure:
- For Round Flues: Measure the inside diameter of the flue.
- For Square or Rectangular Flues: Measure the inside length and width of the flue.
- For Clay Flues: Measure the outside dimensions of the flue, as the cap will typically sit on top of the clay flue.
Tip: When in doubt, it's always better to err on the side of a slightly larger cap. You can always shim it with sealant or other materials to ensure a snug fit.
Step 3: Prepare the Chimney Flue
Before installing the new cap, make sure the flue is clean and free of debris.
- Remove any existing debris: Use a wire brush or your hands (wearing gloves) to remove any loose debris from the top of the flue.
- Check for creosote buildup: If you notice a significant amount of creosote buildup, it's recommended to have the chimney professionally cleaned.
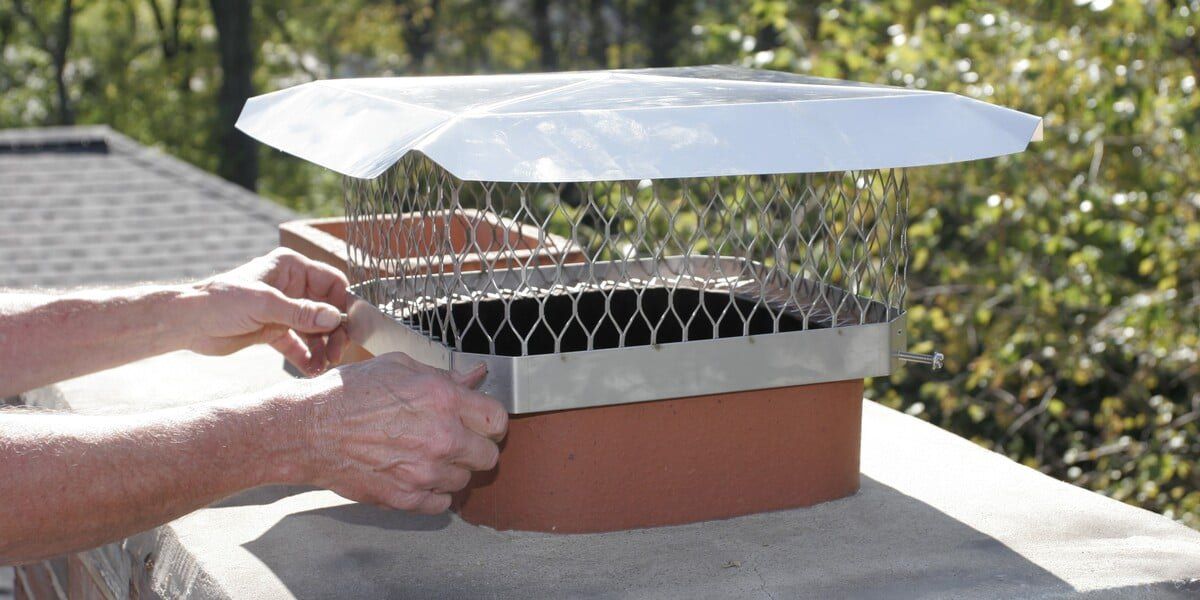
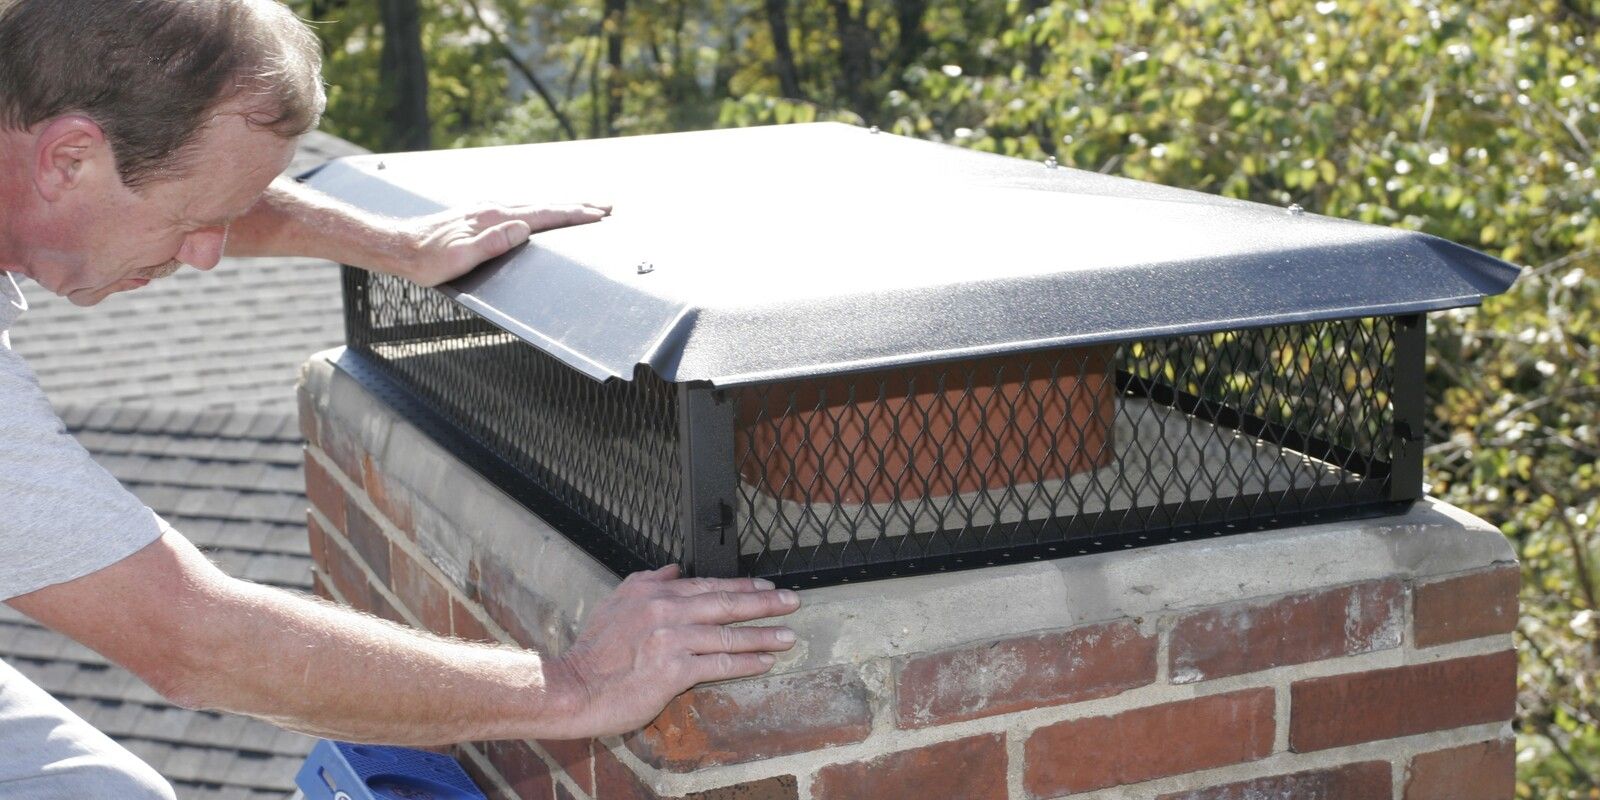
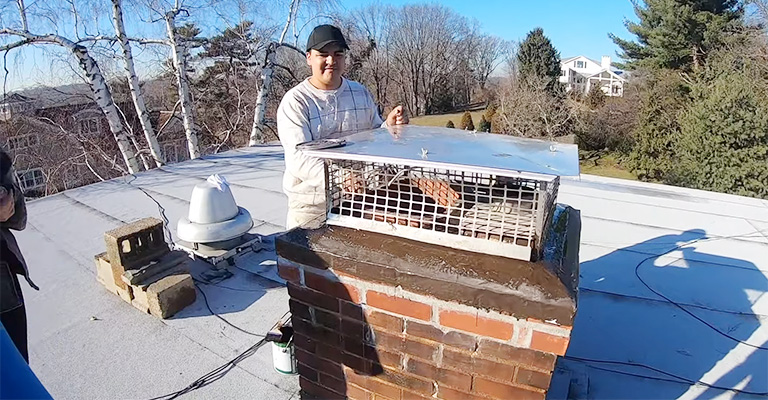
Step 4: Install the Chimney Cap
Now for the main event! Follow these steps to install your new chimney cap:
- Position the cap: Carefully place the cap over the flue opening.
- Secure the cap: Depending on the type of cap, you may need to tighten screws, clamps, or other mounting hardware. Follow the manufacturer's instructions carefully.
- Drill pilot holes (if required): Some caps require drilling pilot holes into the flue before attaching the mounting hardware. Be sure to use the correct size drill bit and avoid drilling too deep.
- Apply sealant (optional): For added weather protection, apply a bead of high-temperature sealant around the base of the cap where it meets the flue.
Tip: Make sure the cap is securely attached to the chimney. A loose cap can be blown off by strong winds.
Step 5: Final Inspection
Once you've installed the chimney cap, give it a final inspection to ensure it's properly installed and secure.
- Check for stability: Make sure the cap is firmly attached to the chimney and doesn't wobble.
- Inspect the sealant: Ensure the sealant is applied evenly and there are no gaps.
- Double-check the mounting hardware: Make sure all screws, clamps, or other fasteners are properly tightened.
When to Call a Professional
While installing a chimney cap is often a DIY project, there are situations where it's best to call a professional.
- If you are not comfortable working at heights: Working on a roof can be dangerous, especially for those who are not used to it.
- If your roof is steep or slippery: A steep or slippery roof can make it difficult to work safely.
- If you have a damaged chimney liner: A damaged chimney liner requires professional repair or replacement.
- If you suspect structural damage to the chimney: Structural damage to the chimney can be a safety hazard.
- If you find significant creosote buildup: Significant creosote buildup requires professional cleaning to prevent fire hazards.
- If you are unsure about any step of the installation process: It's always better to err on the side of caution and call a professional if you are unsure about anything.
Warning: If you notice any signs of carbon monoxide poisoning, such as headaches, dizziness, nausea, or confusion, IMMEDIATELY evacuate the building and call 911.
Conclusion
Installing a chimney cap is a relatively simple DIY project that can save you money on heating and cooling costs, prevent damage to your chimney, and protect your home from fire hazards. By following these steps and taking the necessary safety precautions, you can successfully install a chimney cap and enjoy the benefits for years to come. Remember, if you're ever unsure about any aspect of the process, don't hesitate to call a qualified professional.