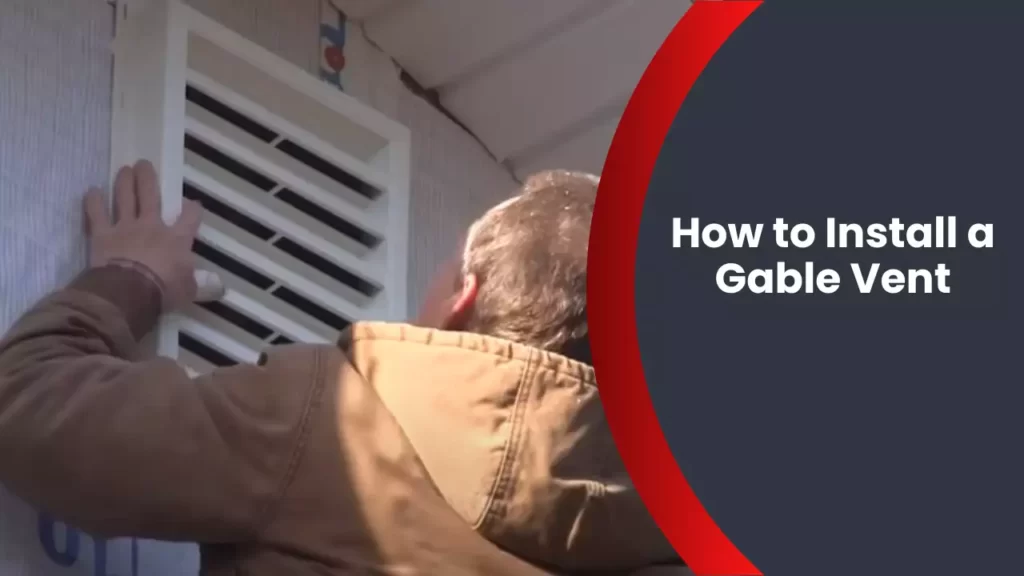
How Do You Install A Gable Vent
Is your home feeling stuffy, with uneven temperatures between rooms, and noticeably higher energy bills? You're not alone. A common culprit behind these problems is poor attic ventilation. Think of your attic as your home's breathing system. If it can't breathe properly, it leads to a host of issues.
A well-ventilated attic helps to regulate temperature, preventing heat buildup in the summer and moisture condensation in the winter. This not only improves your home's comfort but also protects your roof, insulation, and even the structural integrity of your house.
This article focuses on one specific aspect of attic ventilation: installing gable vents. We'll guide you through the process, step-by-step, so you can determine if this DIY project is right for you and, if so, complete it safely and effectively.
Diagnosing Attic Ventilation Problems
Before jumping into installation, let's determine if poor attic ventilation is indeed the cause of your discomfort. Here's a methodical approach:
Step 1: The Senses Don't Lie (No Tools Required)
Start with a simple sensory check. This requires no tools, just your observation skills:
- Hot Upstairs? During the summer, is the upstairs significantly warmer than the downstairs? This is a classic sign of trapped heat in the attic.
- Ice Dams? In winter, do you notice ice dams forming along the eaves of your roof? This indicates that warm air is escaping from your house into the attic, melting snow, which then refreezes at the colder edges.
- Musty Odor? A persistent musty or moldy odor, especially in the attic or upstairs, suggests moisture buildup due to poor ventilation.
- Visible Mold or Mildew? Look for visual signs of mold or mildew growth on the underside of the roof sheathing or on any exposed wood in the attic. This is a serious issue and requires immediate attention.
- Stuffy Air? Does the air in the attic feel stagnant and heavy, even with open windows?
If you answered "yes" to several of these questions, it's highly likely you have an attic ventilation problem.
Step 2: Visual Inspection of Your Attic (No Tools Initially)
Next, venture into your attic for a closer look. Safety first! Use a sturdy ladder, wear a dust mask, eye protection, and gloves.
- Check for Existing Vents: Are there any vents already in place? Gable vents, soffit vents, ridge vents – identify what you have.
- Are Vents Blocked? Carefully inspect existing vents. Are they clogged with insulation, debris, or bird nests? Use your hands (with gloves!) to gently clear any blockages.
- Insufficient Insulation? While not directly related to ventilation, inadequate insulation exacerbates temperature control issues. Look for areas where insulation is thin, compressed, or missing altogether. Note: improper insulation can contribute to moisture problems.
- Signs of Water Damage? Look for water stains on the roof sheathing, rafters, or attic floor. This could indicate leaks, condensation, or ice damming.
Step 3: Measuring Your Attic Space (Requires Measuring Tape)
To determine the necessary ventilation, you'll need to calculate your attic's square footage. Use a measuring tape to measure the length and width of your attic floor. Multiply these figures to get the square footage.
Ventilation Calculation: A general rule of thumb is 1 square foot of ventilation for every 150 square feet of attic floor space. This is known as the 1/150 rule. If you have a vapor barrier installed (a plastic sheet between your insulation and the drywall ceiling), you can use the 1/300 rule (1 square foot of ventilation for every 300 square feet of attic floor space).
Example: Let's say your attic is 30 feet long and 20 feet wide. The square footage is 30 x 20 = 600 square feet. Using the 1/150 rule, you would need 600 / 150 = 4 square feet of net free area (NFA) of ventilation.
Net Free Area (NFA) is the actual open area in the vent that allows air to flow through. This information is usually provided by the vent manufacturer. You'll need to add up the NFA of all your existing vents and see if it meets the required ventilation for your attic.
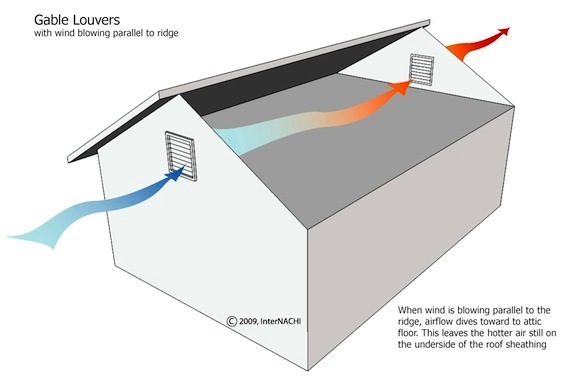
Step 4: Understanding Your Existing Ventilation System
It's crucial to understand how your existing ventilation system works (or doesn't work) before adding gable vents. The best ventilation system utilizes a combination of intake vents (usually soffit vents) and exhaust vents (gable vents, ridge vents, or roof vents). The key is to have a balanced system, where the intake and exhaust vents are roughly equal in area.
Why is balance important? If you have too much exhaust and not enough intake, the exhaust vents can actually draw air from inside your house, pulling conditioned air out and increasing your energy bills. Conversely, too much intake and not enough exhaust can lead to moisture buildup in the attic.
Installing Gable Vents: A DIY Guide
If you've determined that your attic ventilation is inadequate and adding gable vents is a suitable solution, here's a step-by-step guide. Remember, safety is paramount. If you're uncomfortable working at heights or with power tools, hire a professional.
Tools and Materials You'll Need:
- Gable Vent(s): Choose the appropriate size and style for your home. Consider the NFA rating.
- Measuring Tape
- Pencil or Marker
- Safety Glasses
- Dust Mask
- Gloves
- Ladder (sturdy and appropriate height)
- Drill with various drill bits
- Reciprocating Saw (or Keyhole Saw)
- Level
- Caulk Gun with exterior-grade caulk
- Screws or Nails (appropriate for the vent and siding material)
- Stud Finder (optional, but helpful)
- Utility Knife (for cutting through siding, if necessary)
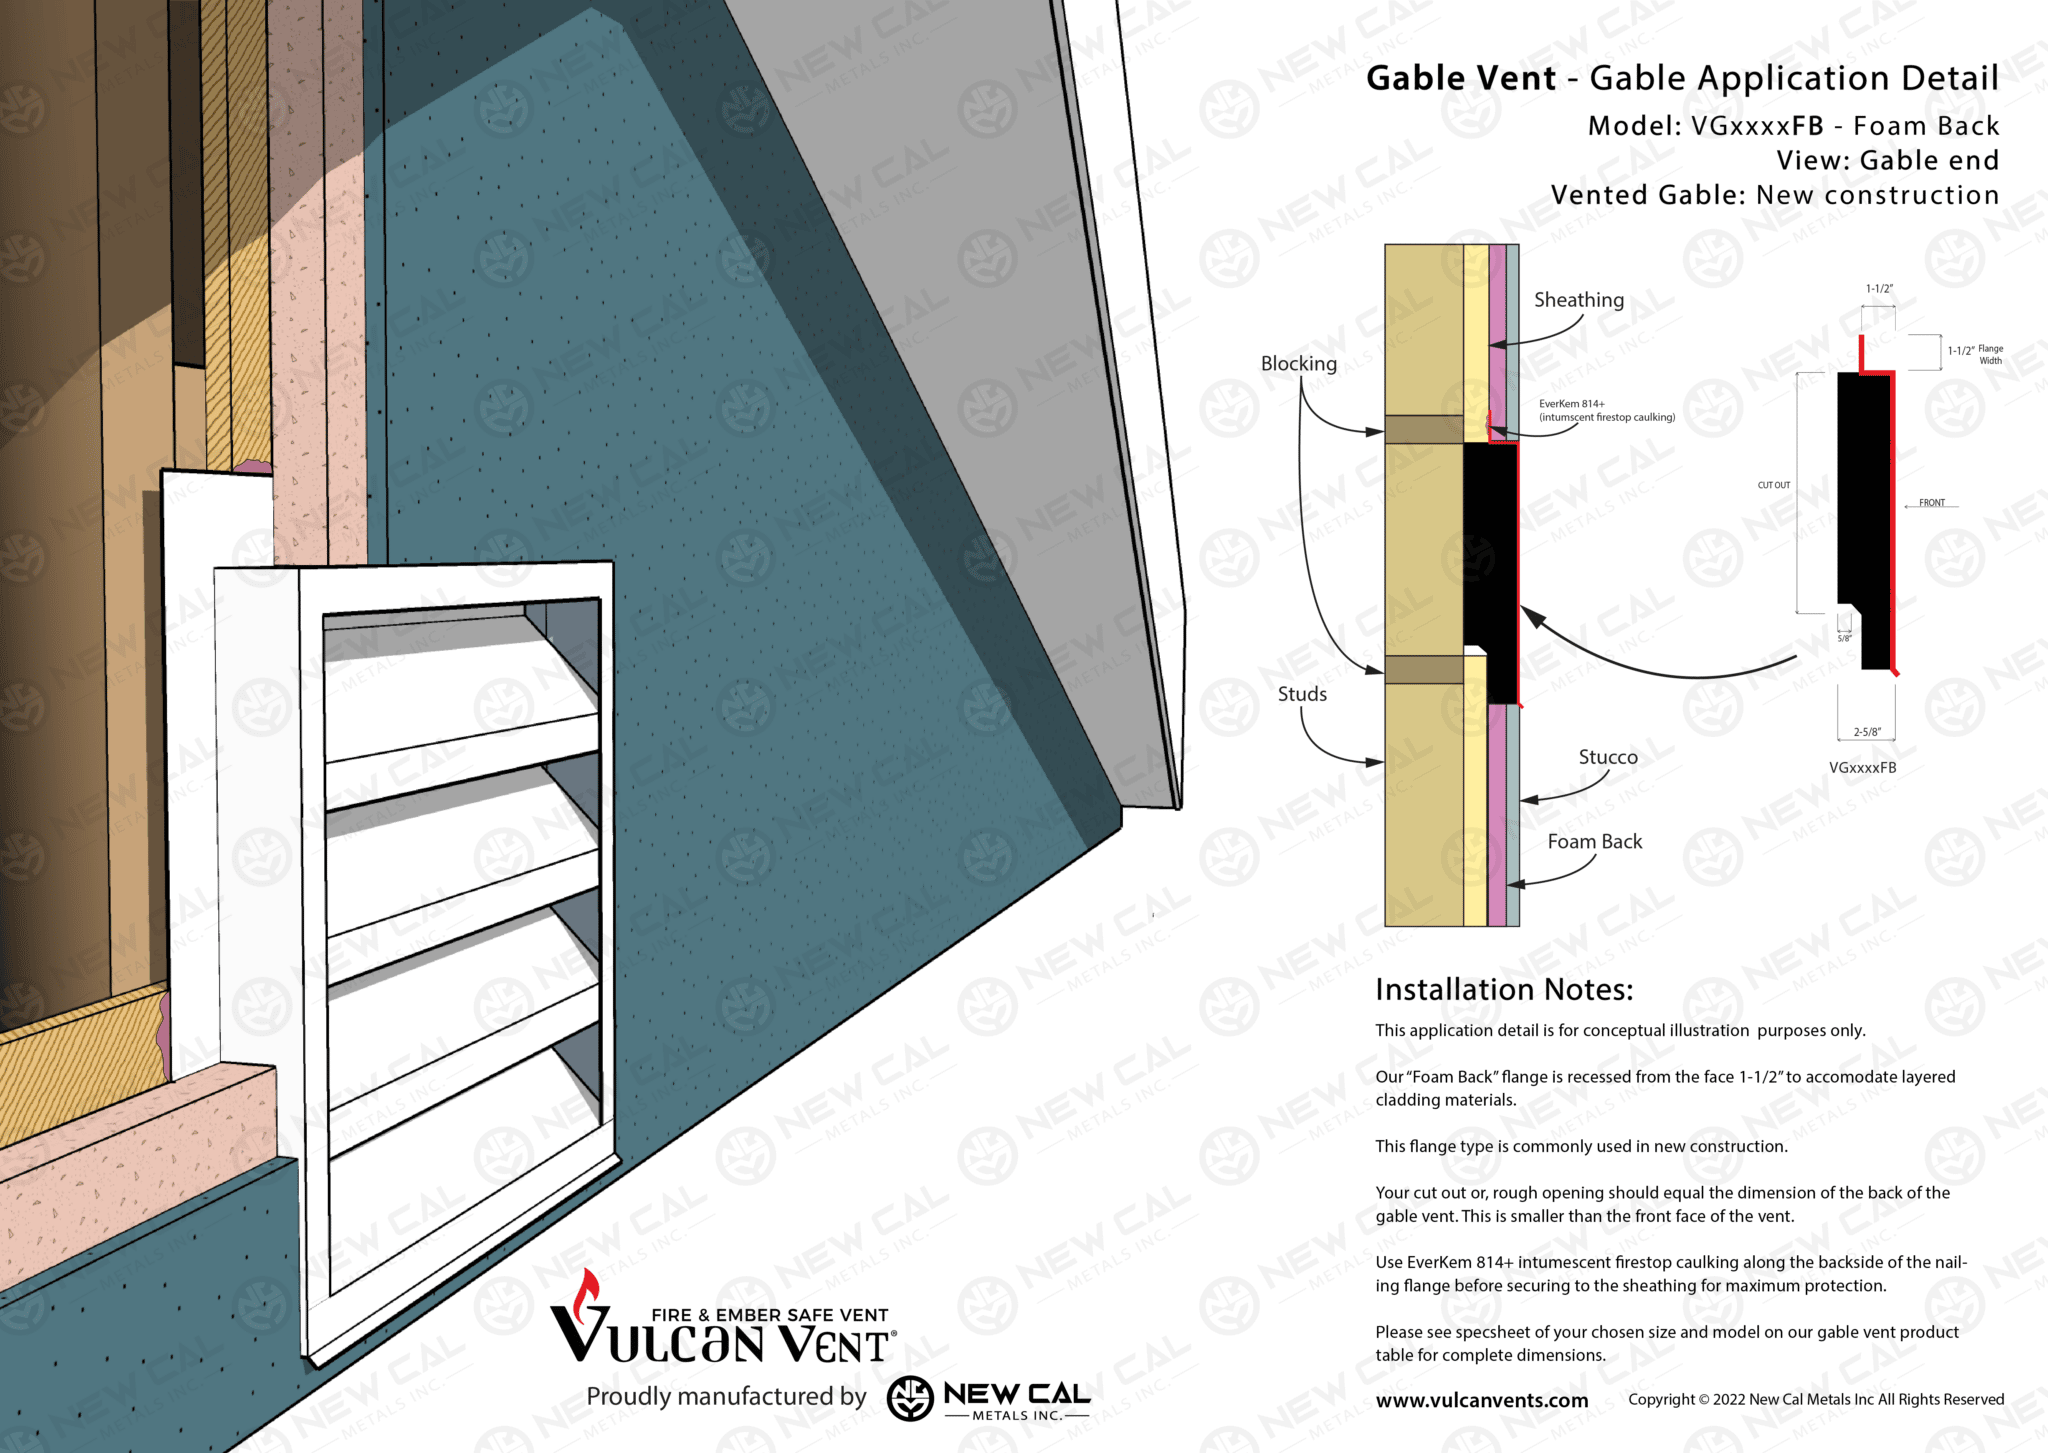
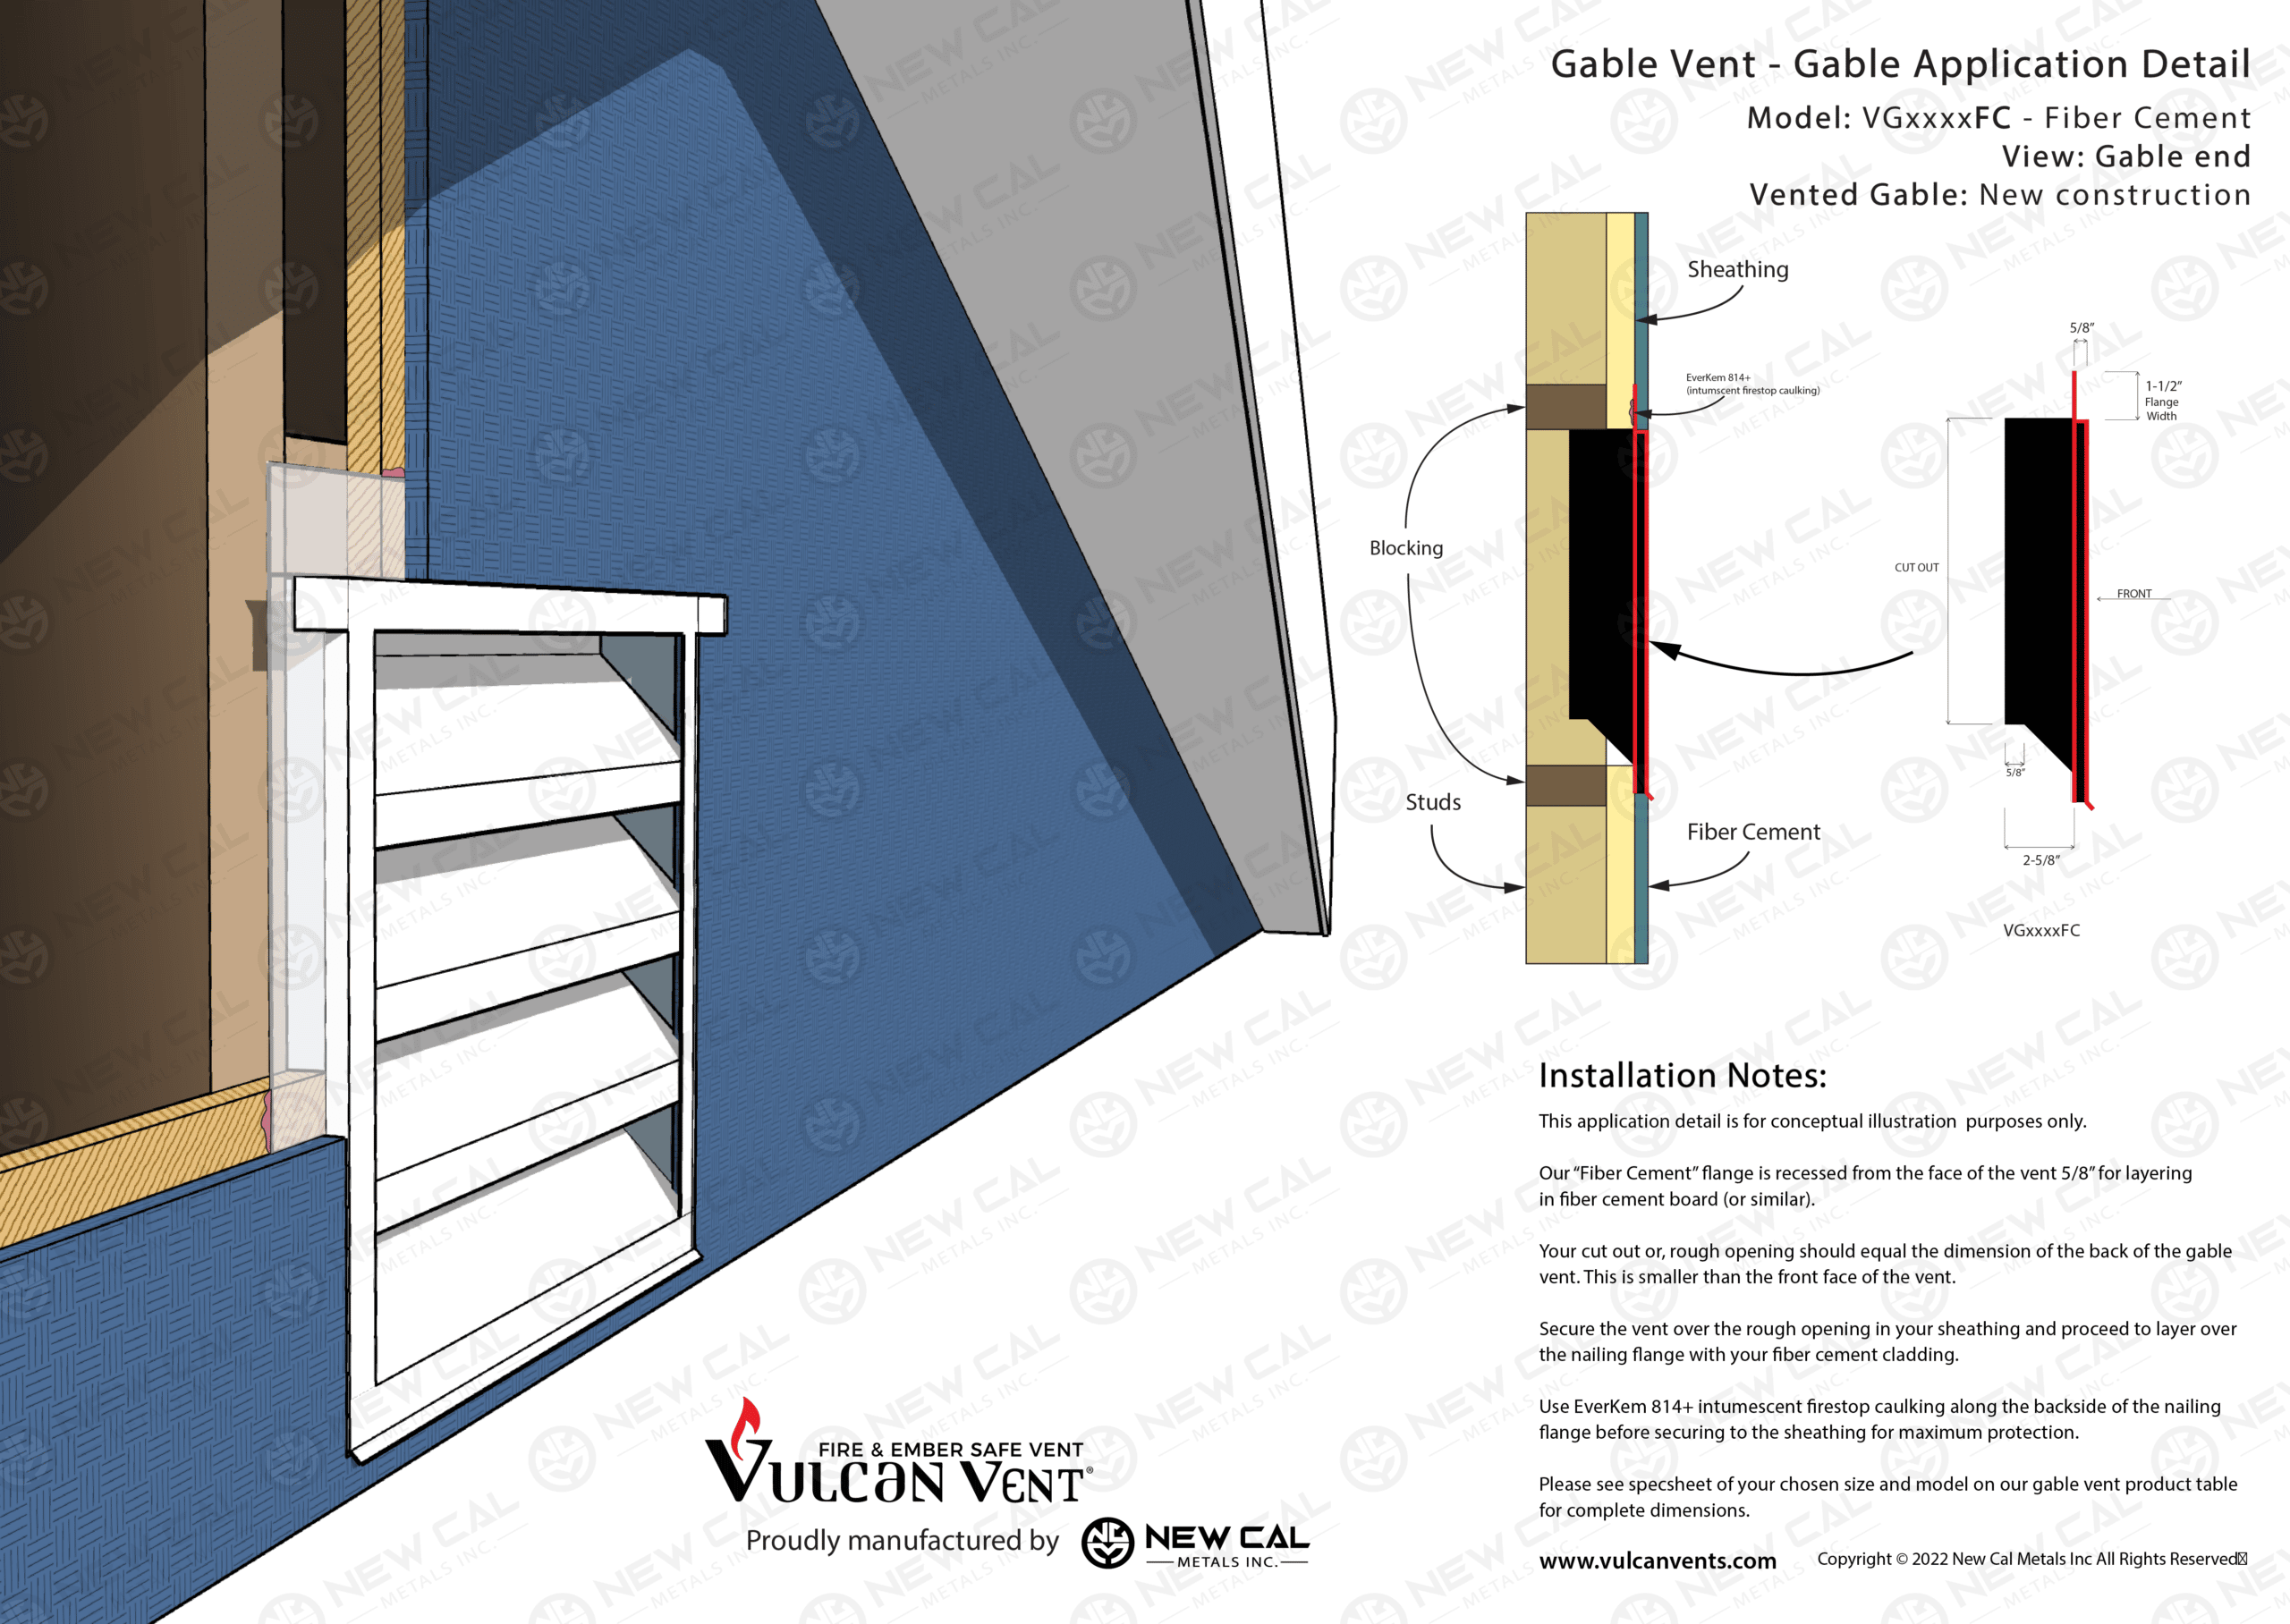
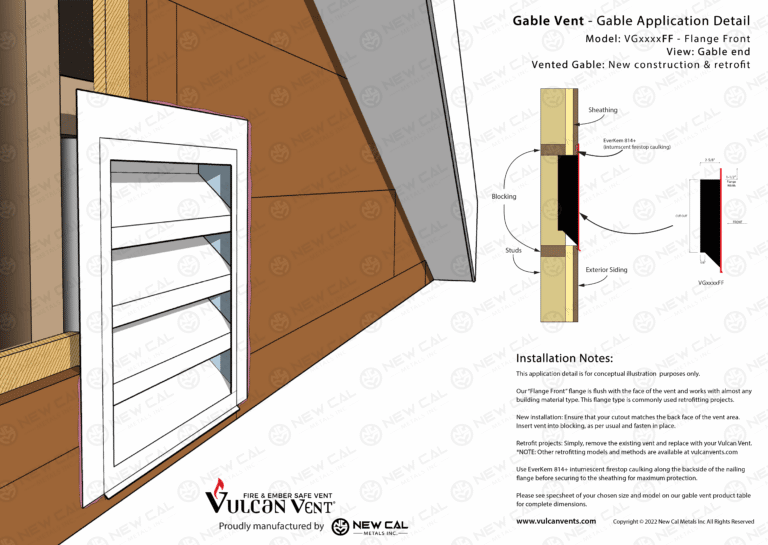
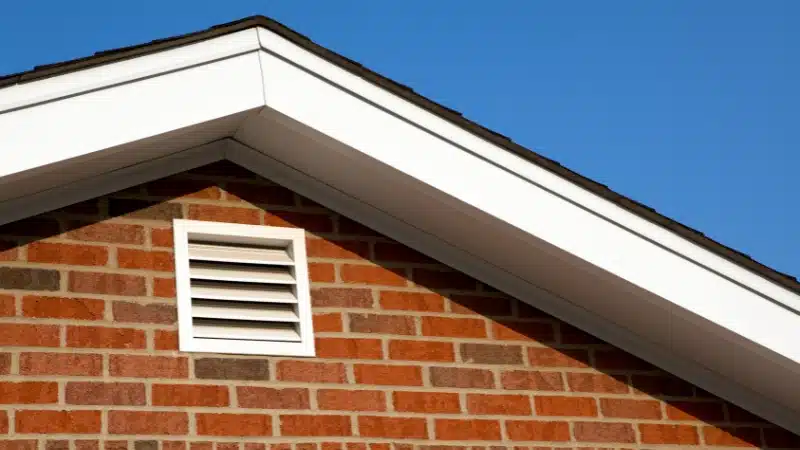
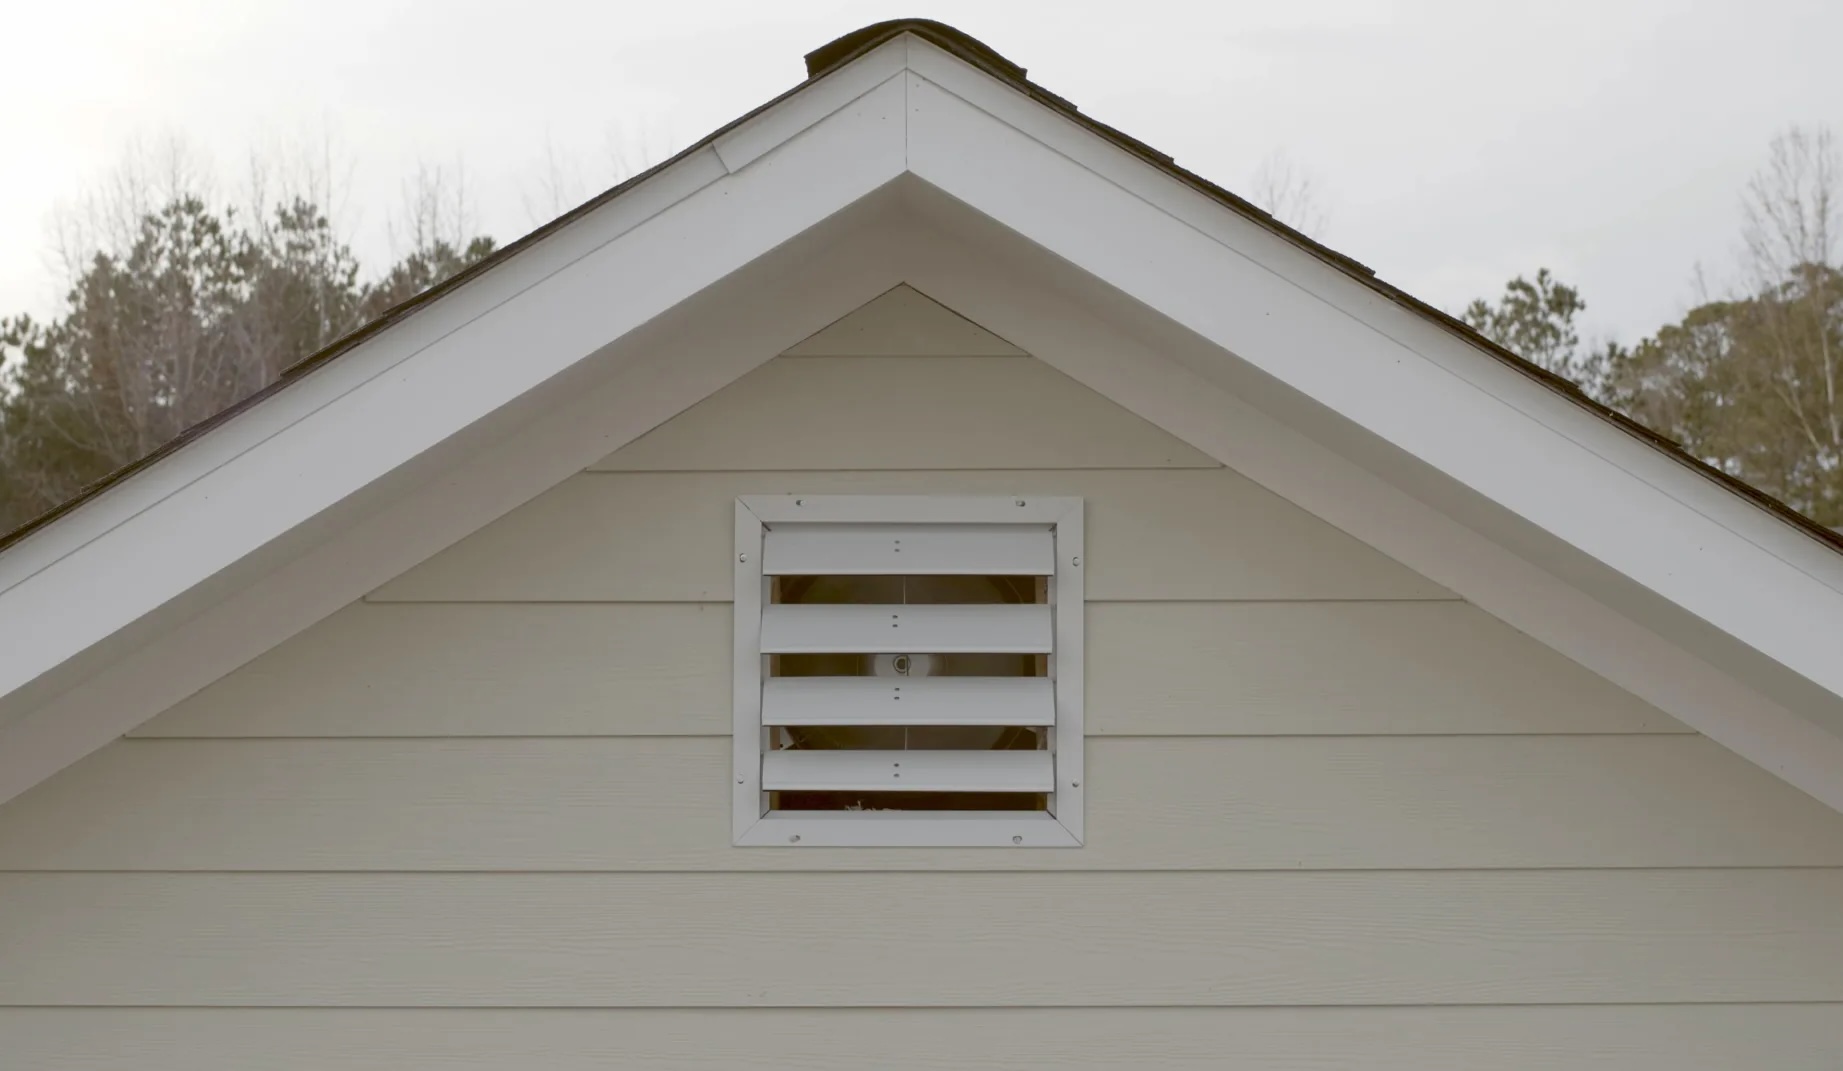
Step 1: Choose the Location
Select the location for your gable vent(s). Ideally, you want to position them high on the gable end of your house, as high as possible.
- Consider Aesthetics: Think about how the vent will look from the street. Symmetry is often desirable.
- Structural Obstructions: Before cutting, carefully inspect the area from inside the attic to ensure there are no pipes, wires, or other obstructions. This is crucial!
- Stud Location: Use a stud finder (if available) to locate the wall studs. You'll want to avoid cutting directly into a stud unless you're prepared to reinforce the opening later.
Step 2: Mark the Opening
Place the gable vent against the wall and trace its outline with a pencil or marker. Ensure the vent is level using a level. This outline will be your cutting guide.
Reduce the Size: Reduce the dimensions of your marked outline by about 1/2 inch to 1 inch all around. This smaller outline will be your *actual* cutting line. This allows the vent flange to overlap the siding for a cleaner, more weather-resistant installation.
Step 3: Drill a Pilot Hole
Inside the smaller outline, drill a pilot hole large enough to accommodate the blade of your reciprocating saw. Choose a spot that's easy to access and won't damage any underlying structures.
Step 4: Cut the Opening
Carefully insert the blade of your reciprocating saw into the pilot hole and begin cutting along the smaller outline. Wear safety glasses and a dust mask. Cut slowly and steadily, following the line as accurately as possible.
Cutting Through Siding: If you have siding, you may need to score it with a utility knife before using the reciprocating saw. This will help prevent chipping and splintering.
Be extremely cautious when cutting! Avoid cutting through any wires or pipes. If you encounter anything unexpected, stop immediately and assess the situation.
Step 5: Prepare the Opening (If Needed)
Once the opening is cut, remove the cutout piece of siding or sheathing. Inspect the opening for any rough edges or splinters. Use a utility knife or sandpaper to smooth them out.
Framing (Optional): If the opening is large or if you had to cut through a stud, you may need to add framing around the opening to provide additional support for the vent. This involves cutting pieces of wood to fit snugly around the opening and securing them to the existing studs.
Step 6: Install the Gable Vent
Apply a bead of exterior-grade caulk around the perimeter of the opening on the siding or sheathing.
Carefully position the gable vent into the opening, ensuring it's centered and level. Press it firmly against the caulked surface.
Secure the vent using screws or nails. Use the appropriate fasteners for your siding material. Space the fasteners evenly around the vent's perimeter. Avoid over-tightening, as this can damage the vent or siding.
Step 7: Seal the Edges
Apply another bead of caulk around the outside edge of the vent where it meets the siding. This will create a weathertight seal and prevent water from entering the attic.
Step 8: Repeat (If Installing Multiple Vents)
If you're installing multiple gable vents, repeat steps 1-7 for each vent.
Step 9: Clean Up
Remove any debris from the work area. Dispose of the cutout piece of siding or sheathing properly.
When to Call a Professional
While installing a gable vent can be a DIY project, there are certain situations where it's best to call a professional HVAC technician or contractor:
- Extensive Water Damage: If you discover significant water damage or mold growth in your attic, it's crucial to address the underlying cause before installing new vents. A professional can assess the extent of the damage and recommend the appropriate repairs.
- Structural Issues: If you encounter structural problems while cutting the opening, such as damaged studs or rafters, it's best to consult a professional. They can assess the structural integrity of your roof and make the necessary repairs.
- Complex Roof Design: If your roof has a complex design with multiple gables or dormers, it can be difficult to determine the optimal placement for the gable vents. A professional can assess your roof's design and recommend the best ventilation strategy.
- Electrical Wiring or Plumbing: If you encounter electrical wiring or plumbing while cutting the opening, do not attempt to work around it yourself. Contact a qualified electrician or plumber to relocate the wiring or plumbing.
- Uncomfortable with Heights: Working on a ladder can be dangerous, especially if you're not comfortable with heights. If you're not confident in your ability to safely work on a ladder, hire a professional.
- Permitting Requirements: Check with your local building department to see if a permit is required for installing gable vents. A professional contractor will be familiar with local building codes and can ensure that your installation is up to code.
Final Thoughts
Installing a gable vent can be a worthwhile DIY project that improves your home's comfort, protects its structure, and saves you money on energy bills. By following these steps carefully and prioritizing safety, you can successfully complete the project yourself. However, don't hesitate to call a professional if you encounter any challenges or feel uncomfortable with any aspect of the installation.
Remember, a well-ventilated attic is a happy attic, and a happy attic leads to a happy home!