How Do You Pressure Test A Gas Line
Imagine this: You're ready to cook dinner, turn on your gas stove, and… nothing. No flame. No click. Just the unsettling silence of a non-working appliance. Before you call a repair technician, let's explore some simple troubleshooting steps. While we'll touch on gas line testing, remember that working with gas can be dangerous. If you're ever uncomfortable or unsure, immediately contact a qualified professional.
Troubleshooting a Non-Working Gas Appliance (Stove Example)
Let's use a gas stove as our primary example, but many of these steps can be applied to other gas appliances like furnaces or water heaters.
Step 1: The Obvious - Power Check
Even gas stoves often require electricity for the igniter. Don't overlook the simple things:
- Check the Power Cord: Is it securely plugged into the outlet?
- Inspect the Outlet: Try plugging another appliance into the same outlet to see if it's working.
- Check the Circuit Breaker: Locate the circuit breaker panel and look for a tripped breaker labeled "Kitchen," "Stove," or similar. Flip the breaker to the "off" position and then back "on."
If there's no power, resolving this issue might solve the problem entirely.
Step 2: Check the Gas Supply
This is where things get more specific to gas appliances:
- Is the Gas Valve On? Locate the gas shut-off valve behind the stove (or near your other gas appliance). It's usually a small valve on the gas pipe. Make sure it's parallel to the pipe, indicating it's in the "on" position. If it's perpendicular to the pipe, it's "off."
- Check Other Gas Appliances: Are other gas appliances in your home working (e.g., furnace, water heater)? If none are working, the problem might be with the main gas supply to your house, requiring a call to the gas company.
Important Safety Note: If you smell gas at any time, immediately evacuate the area and call your gas company or emergency services from a safe location.
Step 3: Clean the Burners and Igniter
Sometimes, a clogged burner or a dirty igniter can prevent the stove from lighting.
- Remove Burner Caps and Heads: Carefully remove the burner caps and heads from the stove.
- Clean with a Wire Brush or Pin: Use a small wire brush or a pin to clean out any debris or food particles from the burner ports (the small holes around the burner).
- Clean the Igniter: The igniter is a small, often white or ceramic, nub near the burner. Gently clean it with a dry cloth or a non-abrasive pad. Be careful not to damage it.
- Reassemble: Once everything is clean and dry, reassemble the burner parts correctly.
Step 4: Inspect the Igniter
If cleaning doesn't work, the igniter itself might be faulty. This is where things start to lean towards professional repair, but here's a basic check:
- Visual Inspection: Look for any cracks, breaks, or signs of damage on the igniter.
- Listen for the "Click": When you turn the stove knob, do you hear a clicking sound from the igniter? If not, it's likely the igniter is not functioning.
Replacing an igniter often involves disconnecting electrical wiring and requires some technical skill. If you're not comfortable with this, it's best to call a qualified appliance repair technician.
Step 5: Troubleshooting Gas Leaks (and When to Call a Pro)
We need to address the possibility of a gas leak. Never attempt to repair a gas leak yourself. However, knowing how to identify a potential leak is crucial for safety.
- The Smell Test: Natural gas is odorless, but gas companies add a chemical called mercaptan, which smells like rotten eggs, to make leaks detectable. If you smell this, evacuate immediately and call the gas company.
- The Soapy Water Test (Proceed with Extreme Caution and Only if You Suspect a Very Minor Leak): Mix a solution of dish soap and water. Apply this solution to gas line connections (where pipes connect to each other or to the appliance). If bubbles form, it indicates a gas leak. Immediately turn off the gas supply and call a professional. Do NOT use this method if you smell a strong gas odor.
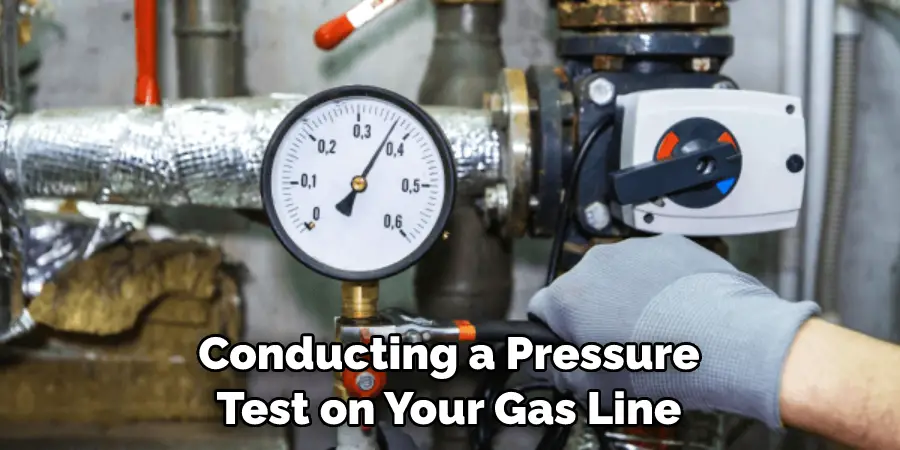
How Do You Pressure Test a Gas Line? (For Informational Purposes Only - Professional Task)
This section is for informational purposes only. Pressure testing a gas line is a complex and potentially dangerous procedure that should only be performed by a qualified and licensed gas technician. Incorrectly performing a pressure test can damage your gas lines, create dangerous leaks, and put your safety at risk.
A pressure test is performed to ensure that a gas line is free from leaks. Here's a general overview of the process, to understand what a professional might do:
Steps Involved in a Professional Gas Line Pressure Test
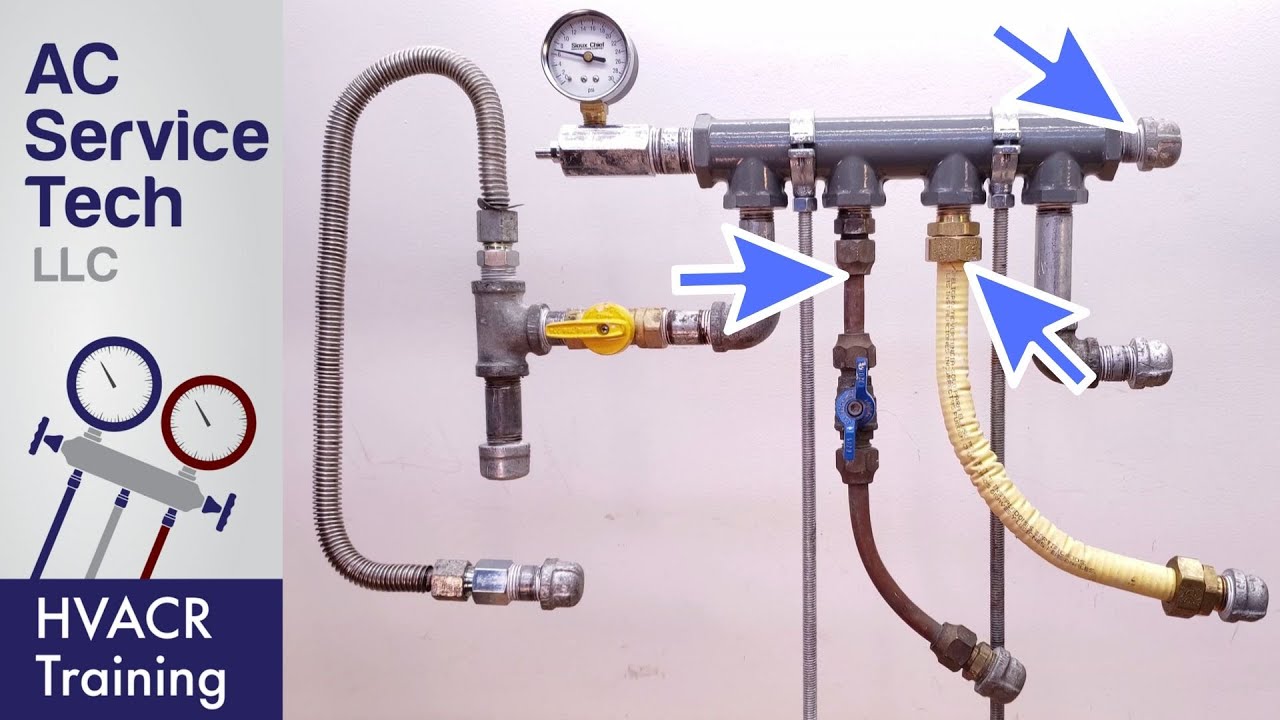
- Isolate the Gas Line: The technician will first isolate the section of gas line to be tested. This involves shutting off the gas supply to that section using shut-off valves.
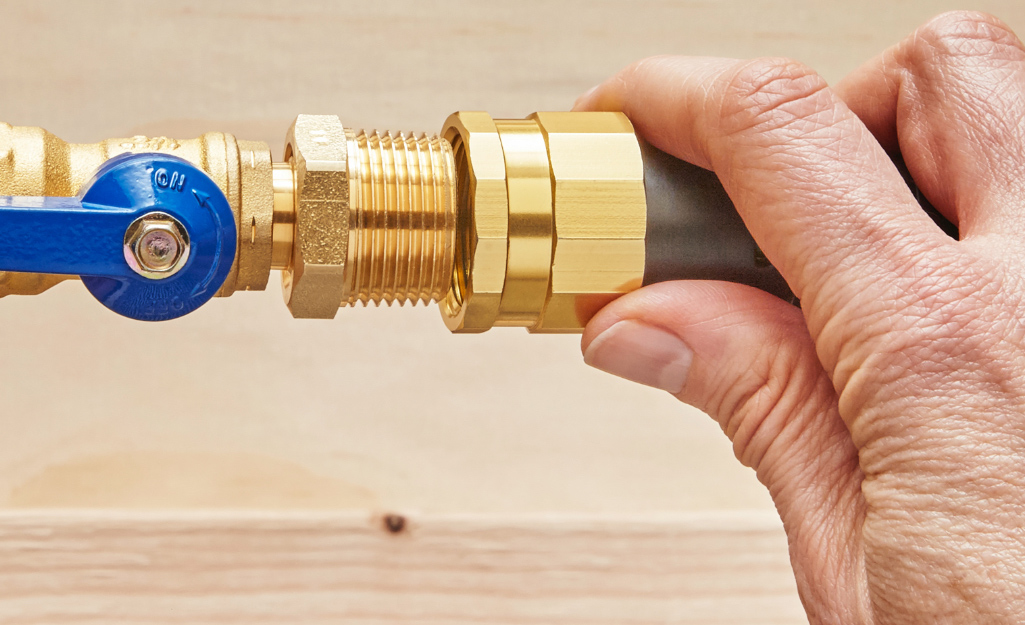
- Disconnect Appliances: All appliances connected to the section of gas line being tested must be disconnected. This ensures that the appliances don't interfere with the pressure test and aren't damaged by the pressure.
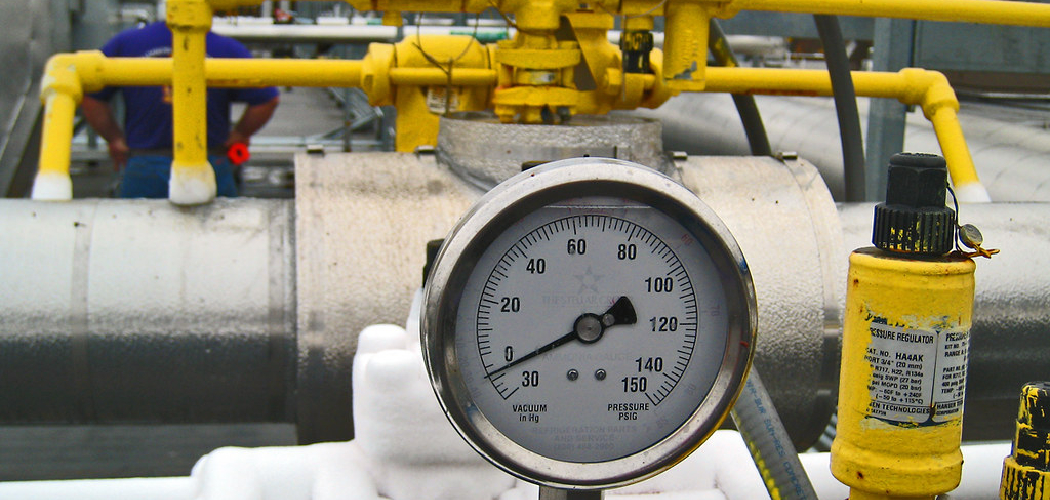
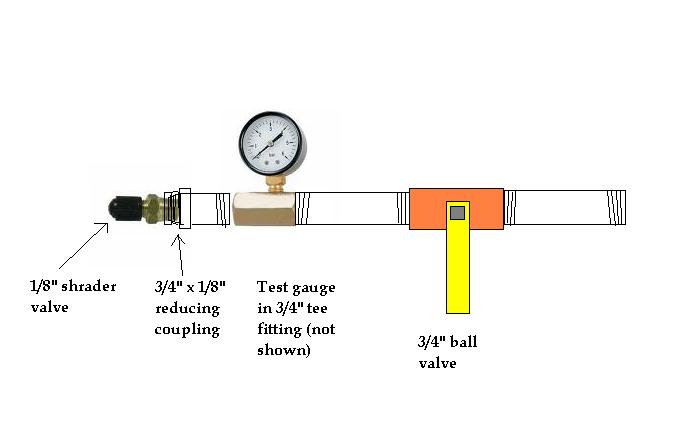
- Connect a Manometer: A manometer (a specialized gauge that measures pressure) is connected to the gas line.
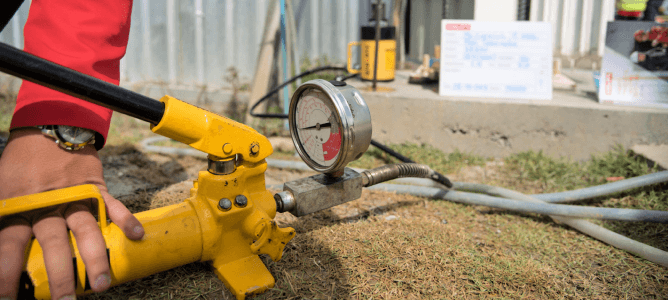
- Pressurize the Line: Using a hand pump or a regulated compressed air source, the technician will carefully pressurize the gas line to a specific pressure, as dictated by local codes and regulations. This pressure is significantly higher than the normal operating pressure of the gas line.
- Monitor the Pressure: The technician will then monitor the manometer for a specific period of time (often several hours). If the pressure drops during this time, it indicates a leak in the gas line.
- Leak Detection (If Necessary): If a pressure drop is detected, the technician will use a leak detection solution (similar to the soapy water test, but often with specialized equipment) to pinpoint the location of the leak.
- Repair the Leak: Once the leak is located, the technician will repair it using appropriate methods, such as tightening connections, replacing fittings, or repairing damaged sections of pipe.
- Re-test: After the repair, the technician will re-pressurize the gas line and monitor the pressure again to ensure that the leak has been completely fixed.
- Reconnection: Once the gas line passes the pressure test, the technician will reconnect the appliances and restore gas service.
Why You Shouldn't DIY a Gas Line Pressure Test
- Specialized Equipment: Pressure testing requires specialized equipment like manometers, pressure regulators, and leak detection solutions, which are not typically found in a homeowner's toolbox.
- Knowledge of Codes and Regulations: Gas line installations and testing are governed by strict local codes and regulations. A qualified technician will be familiar with these codes and ensure that the testing is performed correctly and safely.
- Risk of Damage: Incorrectly pressurizing a gas line can damage the pipes, fittings, and appliances.
- Safety Hazards: Working with gas always carries the risk of fire, explosion, and carbon monoxide poisoning. A qualified technician has the training and experience to handle these risks safely.
When to Call a Professional - A Summary
While some basic troubleshooting steps are within the realm of a handy homeowner, anything involving gas lines, electrical wiring beyond simple plug checks, or complex appliance components should be left to the professionals. Here's a recap of situations where you should immediately call a qualified appliance repair technician or your gas company:
- You smell gas.
- You suspect a gas leak.
- You are uncomfortable working with gas or electricity.
- The appliance requires disassembly beyond removing burner caps.
- You need to repair or replace gas lines.
- You are unsure about any step in the troubleshooting process.
- The appliance is still not working after attempting basic troubleshooting.
By following these steps and prioritizing safety, you can confidently troubleshoot some common gas appliance issues. Remember, when in doubt, call a professional!