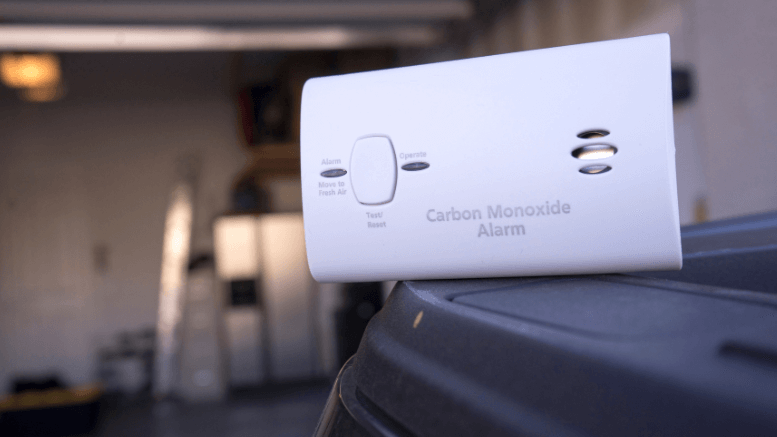
How Does A Carbon Monoxide Detector Work
Carbon monoxide (CO) is a silent killer. It’s an odorless, colorless gas produced by incomplete combustion. A malfunctioning furnace is a prime example of how CO can leak into your home, posing a serious health risk. Imagine waking up with a headache, feeling nauseous, or dizzy – these could be symptoms of CO poisoning. That's why a working carbon monoxide detector is so crucial.
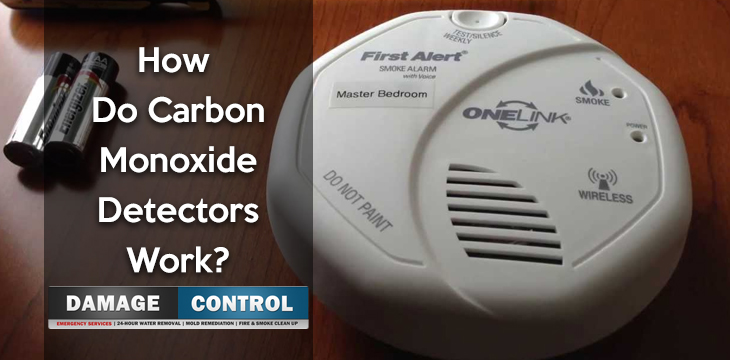
Understanding Your CO Detector
Before diving into troubleshooting, let's understand the basics of how a CO detector works. These devices are designed to alert you when CO levels in your home become dangerously high. There are primarily two types of CO detectors: biomimetic and electrochemical.
- Biomimetic Detectors: These use a gel that changes color when exposed to CO. This color change triggers the alarm. They are less common these days.
- Electrochemical Detectors: These are the most prevalent. They contain an electrode immersed in a chemical solution. When CO enters the detector, it causes a chemical reaction, generating an electrical current that triggers the alarm.
Regardless of the type, all CO detectors have a limited lifespan, usually around 5-7 years. After that, the sensor's accuracy degrades, and it needs to be replaced.
Troubleshooting a CO Detector: A Step-by-Step Guide
Is your CO detector beeping unexpectedly, showing a fault, or simply not working? Don't panic. Here's a logical troubleshooting guide you can follow:
Step 1: Identifying the Problem
The first step is to understand *why* your CO detector is acting up. Here are common scenarios:
- Constant Beeping (not an emergency): This often indicates a low battery, end-of-life signal, or a malfunction.
- Alarm Sounding: This means the detector *believes* it has detected CO. Evacuate the premises immediately and call emergency services. Don't try to troubleshoot if the alarm is sounding and you suspect CO.
- Detector Not Responding: No lights, no sounds, nothing. This suggests a power issue or a complete failure.
- Error Message on Display: Many digital detectors display error codes. Consult your owner's manual to understand what the code means.
Safety First! If your CO alarm is sounding, *do not* attempt to troubleshoot the device. Immediately evacuate everyone from the building, including pets, and call 911 or your local fire department from a safe location. Do not re-enter until cleared by professionals.
Step 2: Checking the Power Supply
A dead battery is the most common cause of a malfunctioning CO detector.
- Battery-Powered Detectors: Replace the batteries with new ones of the correct type (usually AA or 9V). Make sure you insert them correctly, matching the positive (+) and negative (-) terminals. After replacing the batteries, press the test button. If the detector beeps, the power issue was the problem.
- Hardwired Detectors with Battery Backup: Even if your detector is hardwired, it likely has a battery backup. Test the detector by pressing the test button. If it doesn't work, replace the battery backup. If the detector is still not functioning, it may need professional service or replacement.
- Checking Hardwired Power: If you suspect a problem with the hardwired connection (after replacing the battery backup and the detector still fails), you'll need to check the circuit breaker.
- Locate the circuit breaker panel in your home.
- Identify the breaker that controls the circuit the CO detector is connected to. It might be labeled "Smoke Detectors" or "General Lighting".
- Safety Note: Before working with electricity, turn off the breaker!
- Visually inspect the breaker to see if it's tripped (in the middle position). If so, flip it fully off and then back on.
- After resetting the breaker, test the CO detector again. If it still doesn't work, there could be a wiring issue. This is where you should call a qualified electrician. Do not attempt to work on electrical wiring yourself if you're not experienced.
Important Reminder: Always dispose of old batteries properly according to local regulations. Many stores offer battery recycling programs.
Step 3: Cleaning the Detector
Dust and debris can interfere with the sensor in your CO detector. Cleaning it regularly can prevent false alarms and ensure accurate readings.
- Unplug or Disconnect: If the detector is plugged in, unplug it. If it's hardwired, turn off the circuit breaker before cleaning.
- Gentle Cleaning: Use a vacuum cleaner with a soft brush attachment to gently remove dust from the outside of the detector.
- Do Not Use Liquids: Never spray cleaning fluids or use water to clean the detector. This can damage the sensor.
- Reinstall: Once cleaned, plug the detector back in or restore power at the circuit breaker. Then, test it.
Step 4: Checking the Detector's Location
The placement of your CO detector is crucial for its effectiveness.
- Ideal Placement: CO detectors should be installed on each level of your home, including the basement. Place them near sleeping areas, as people are most vulnerable when they're asleep.
- Avoid Obstructions: Don't place CO detectors behind furniture or curtains that could block airflow to the sensor.
- Keep Away From Appliances: Avoid placing detectors directly near fuel-burning appliances like furnaces, stoves, or water heaters. This can cause false alarms due to small, normal levels of CO produced during operation. However, placing them *nearby* those appliance areas is recommended.
- Ceiling or Wall: CO detectors can be mounted on the ceiling or wall. If mounting on the wall, place them about 5 feet from the floor.
Relocating the detector might resolve persistent false alarms if it was improperly placed.
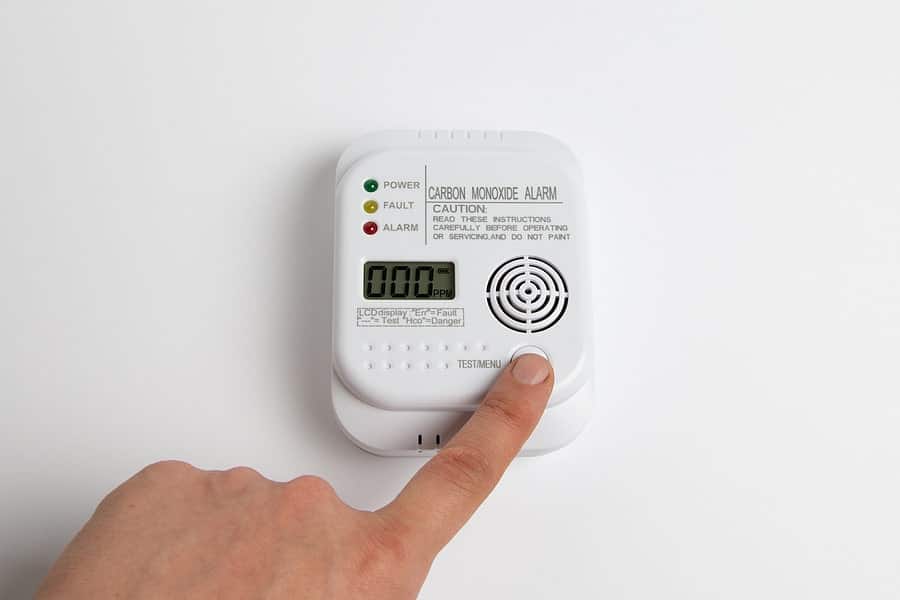
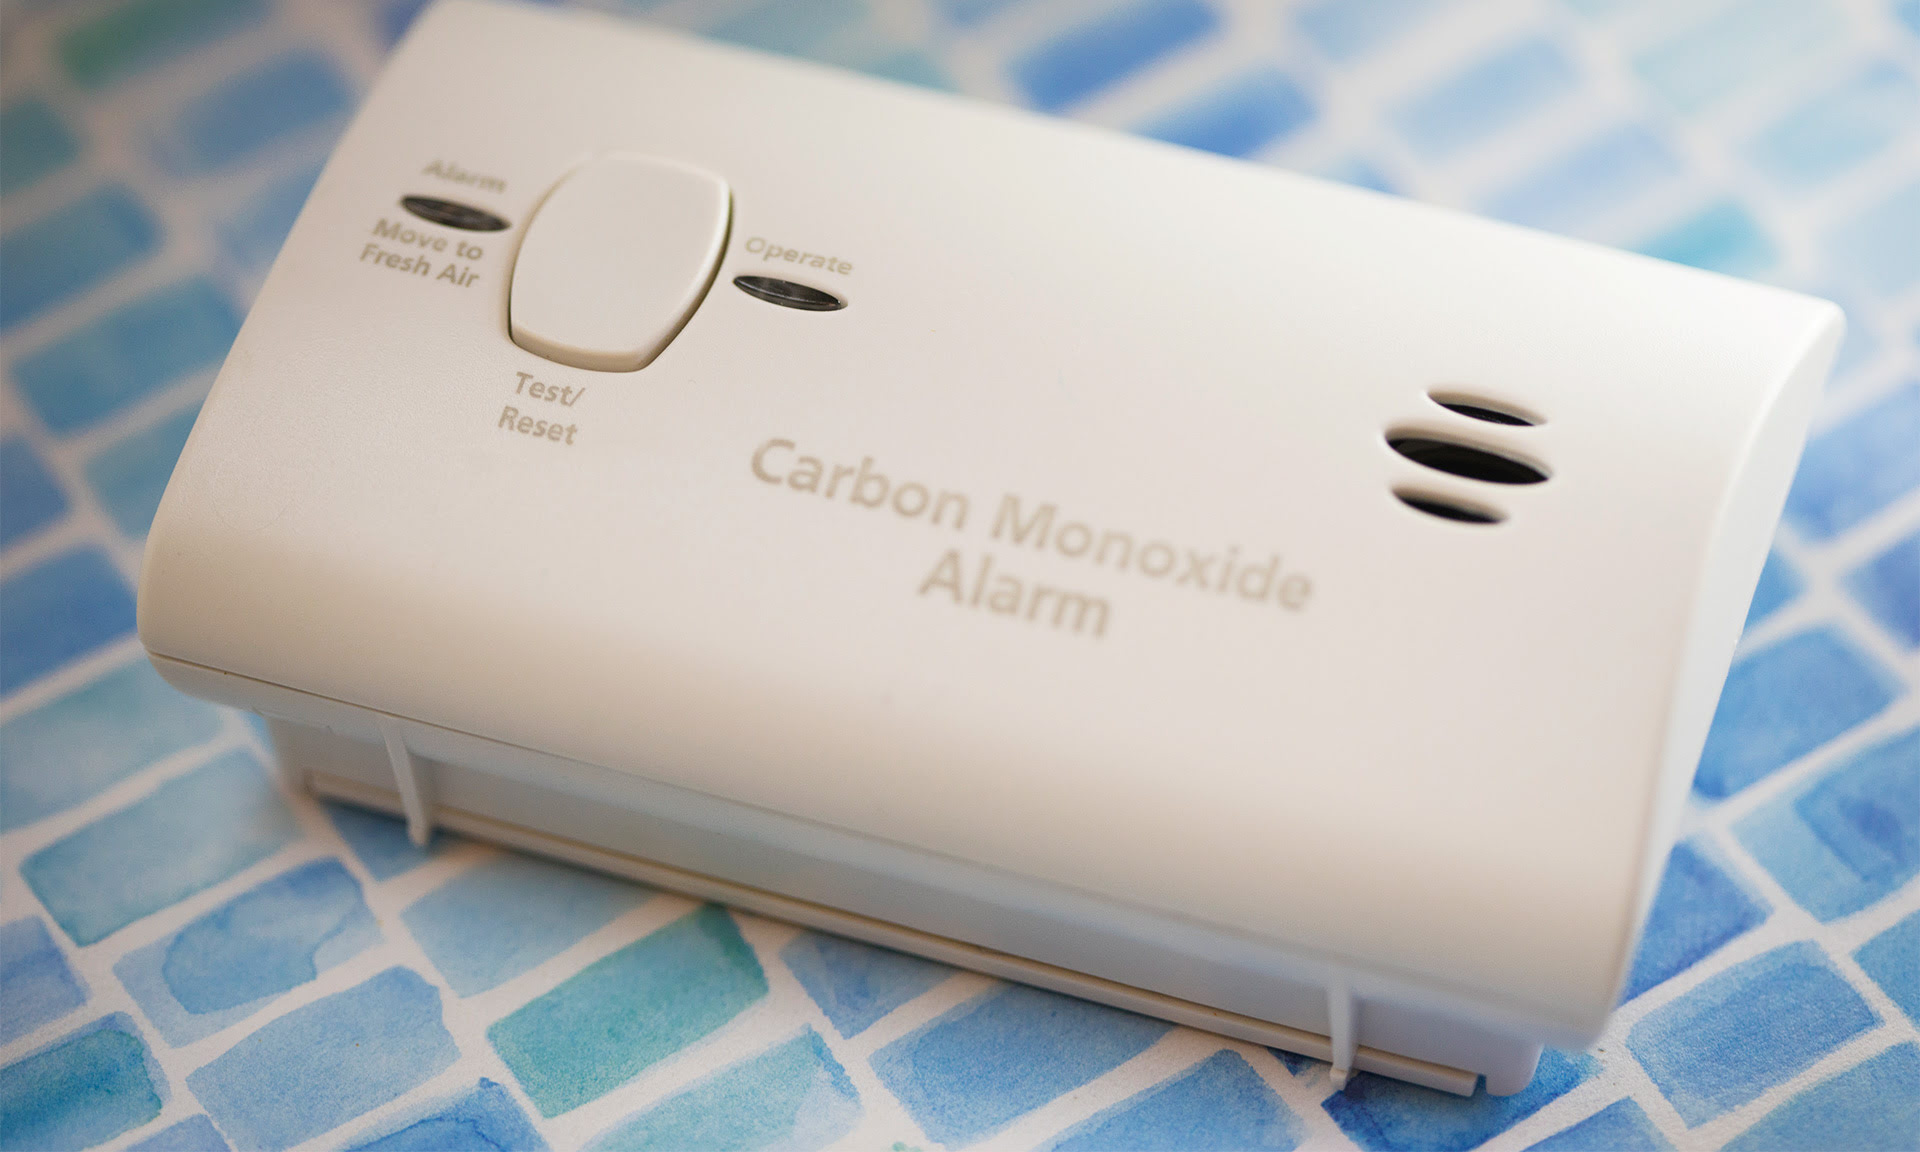
Step 5: Resetting the Detector
Many CO detectors have a reset button. This can clear error codes and sometimes resolve minor issues.
- Locate the Reset Button: Refer to your owner's manual to find the reset button. It's usually a small button labeled "Reset" or "Test/Reset".
- Press and Hold: Press and hold the reset button for the recommended amount of time (usually 5-10 seconds).
- Test Again: After resetting, test the detector to see if the problem is resolved.
Step 6: Addressing Nuisance Alarms
Sometimes, CO detectors can sound false alarms due to environmental factors or temporary spikes in CO levels.
- Investigate the Source: If your alarm goes off intermittently, try to identify the source. Could it be a car running in the garage, a fireplace being used, or a malfunctioning appliance?
- Ventilation: Open windows and doors to ventilate the area if you suspect a temporary CO spike.
- Check Appliances: Have your fuel-burning appliances inspected by a qualified technician to ensure they're functioning properly. A faulty furnace is a common cause of CO leaks.
- Rule Out Other Gases: Some detectors can be sensitive to other gases, such as methane or propane. Make sure you don't have any gas leaks. If you suspect a gas leak, evacuate the premises and call the gas company immediately.
Step 7: Checking the Expiration Date
As mentioned earlier, CO detectors have a limited lifespan. Check the expiration date on the detector. It's usually printed on the back or side of the unit. If the detector is past its expiration date, replace it immediately, regardless of whether it's working or not.
When to Call a Professional
While these DIY troubleshooting steps can resolve many common CO detector issues, there are situations where you should always call a qualified professional. These include:
- Suspected CO Leak: If your alarm is sounding and you suspect a CO leak, evacuate and call 911. Don't try to troubleshoot the detector yourself.
- Electrical Issues: If you suspect a problem with the hardwired connection to your CO detector, call a qualified electrician.
- Gas Appliance Problems: If you suspect a malfunctioning gas appliance is causing CO, call a qualified HVAC technician or gas company.
- Detector Still Malfunctioning: If you've tried all the troubleshooting steps and the detector is still not working properly, it's likely time to replace it.
Preventive Maintenance for Your CO Detector
To ensure your CO detector is always working correctly, follow these preventive maintenance tips:
- Test Regularly: Test your CO detector at least once a month by pressing the test button.
- Replace Batteries: Replace the batteries at least once a year, or whenever the detector indicates a low battery. A good time to do this is when you change your clocks for daylight saving time.
- Clean Regularly: Clean your CO detector every few months to remove dust and debris.
- Replace When Expired: Replace your CO detector every 5-7 years, or according to the manufacturer's instructions.
- Professional Inspections: Have your fuel-burning appliances inspected annually by a qualified technician.
Conclusion
A properly functioning carbon monoxide detector is a critical safety device that can save lives. By understanding how it works and following these troubleshooting steps, you can help ensure that your detector is always ready to protect you and your family. Remember, when in doubt, always call a professional. Your safety is paramount.

.jpg)