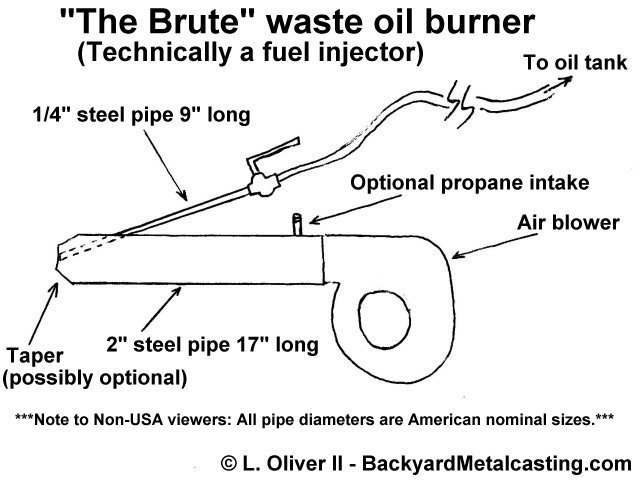
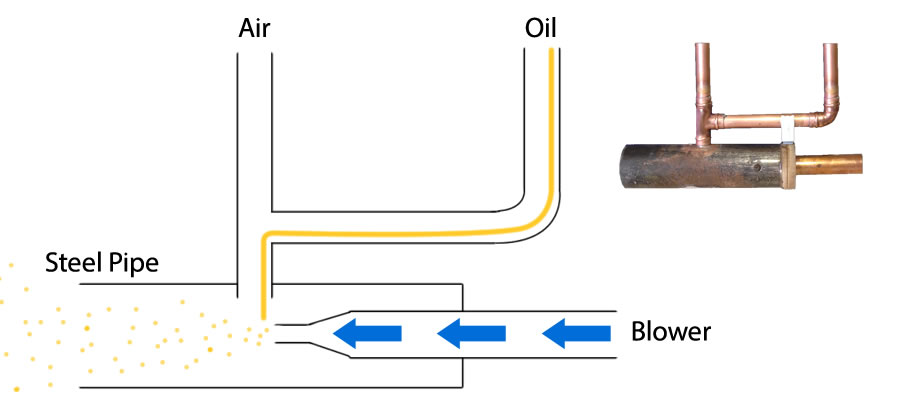
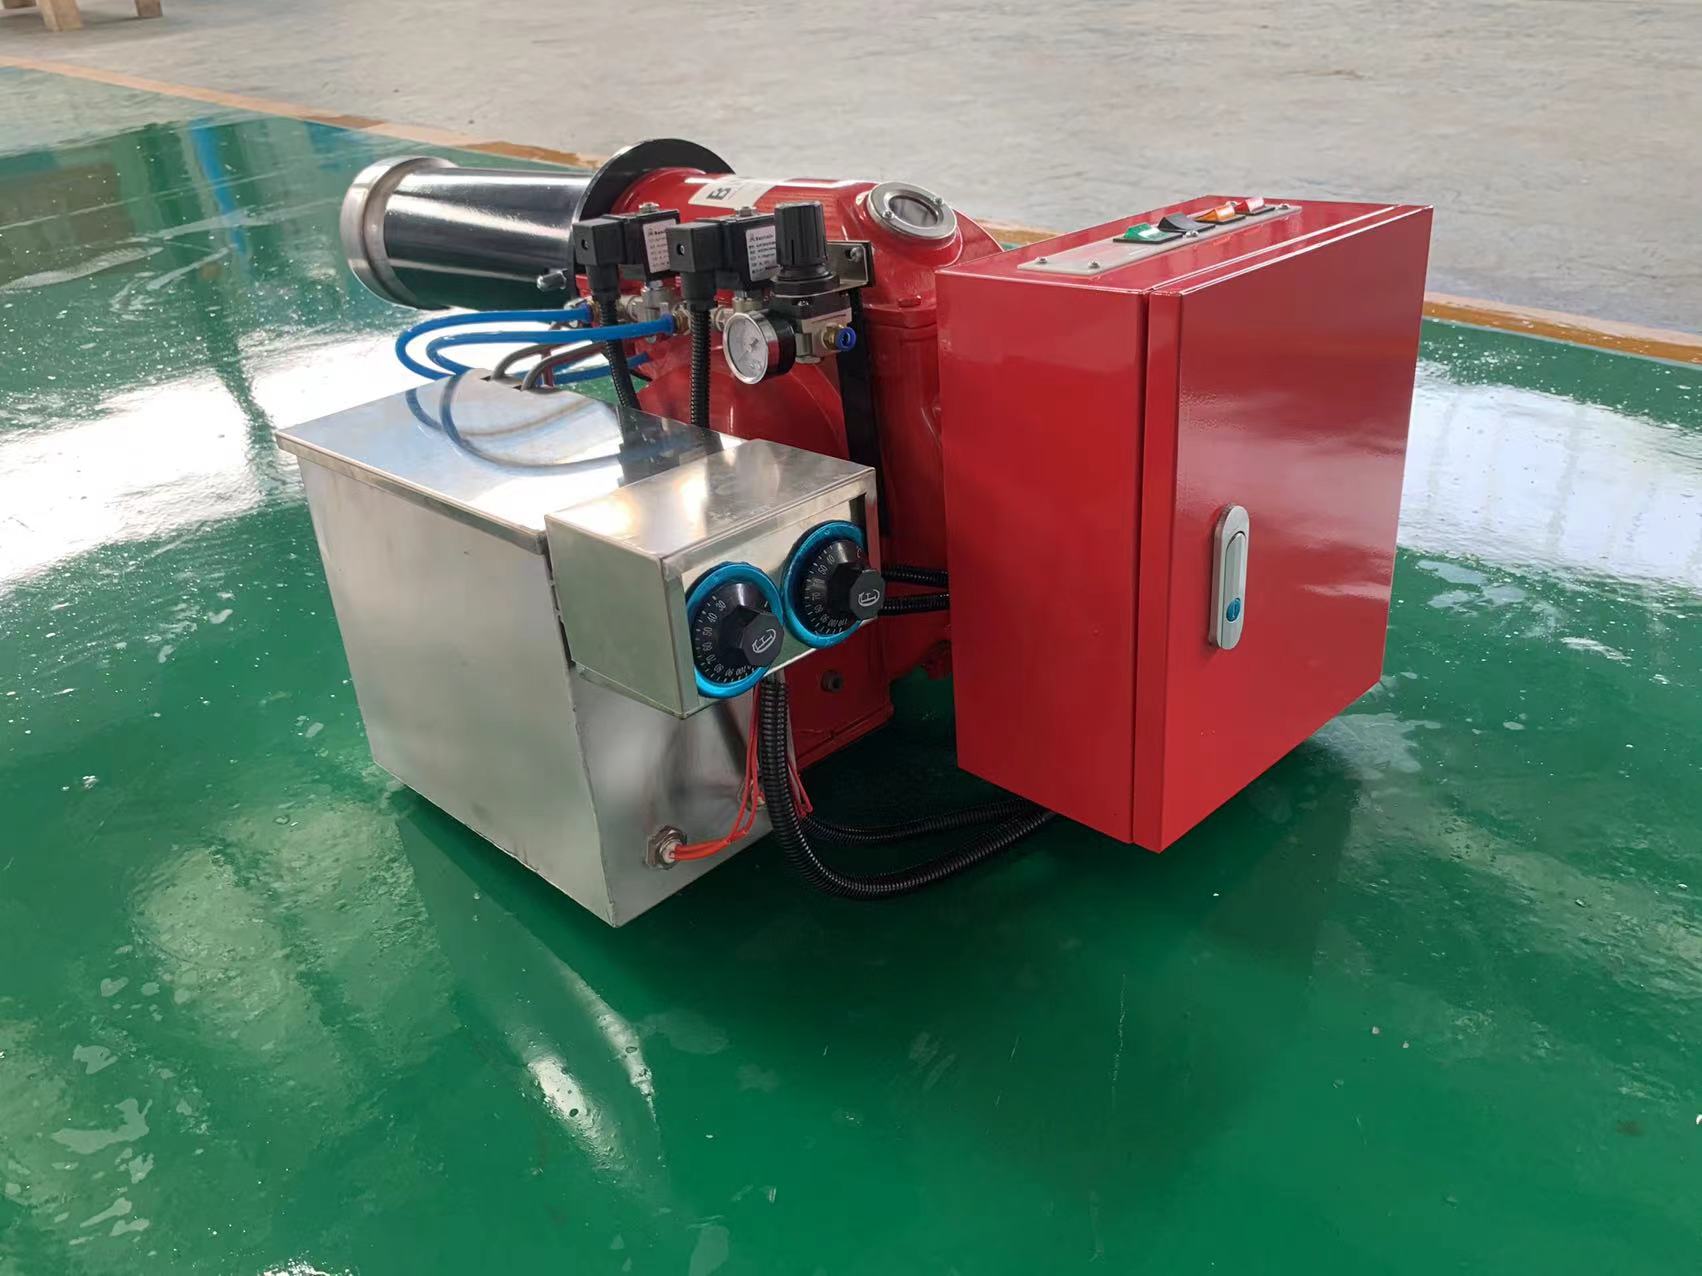
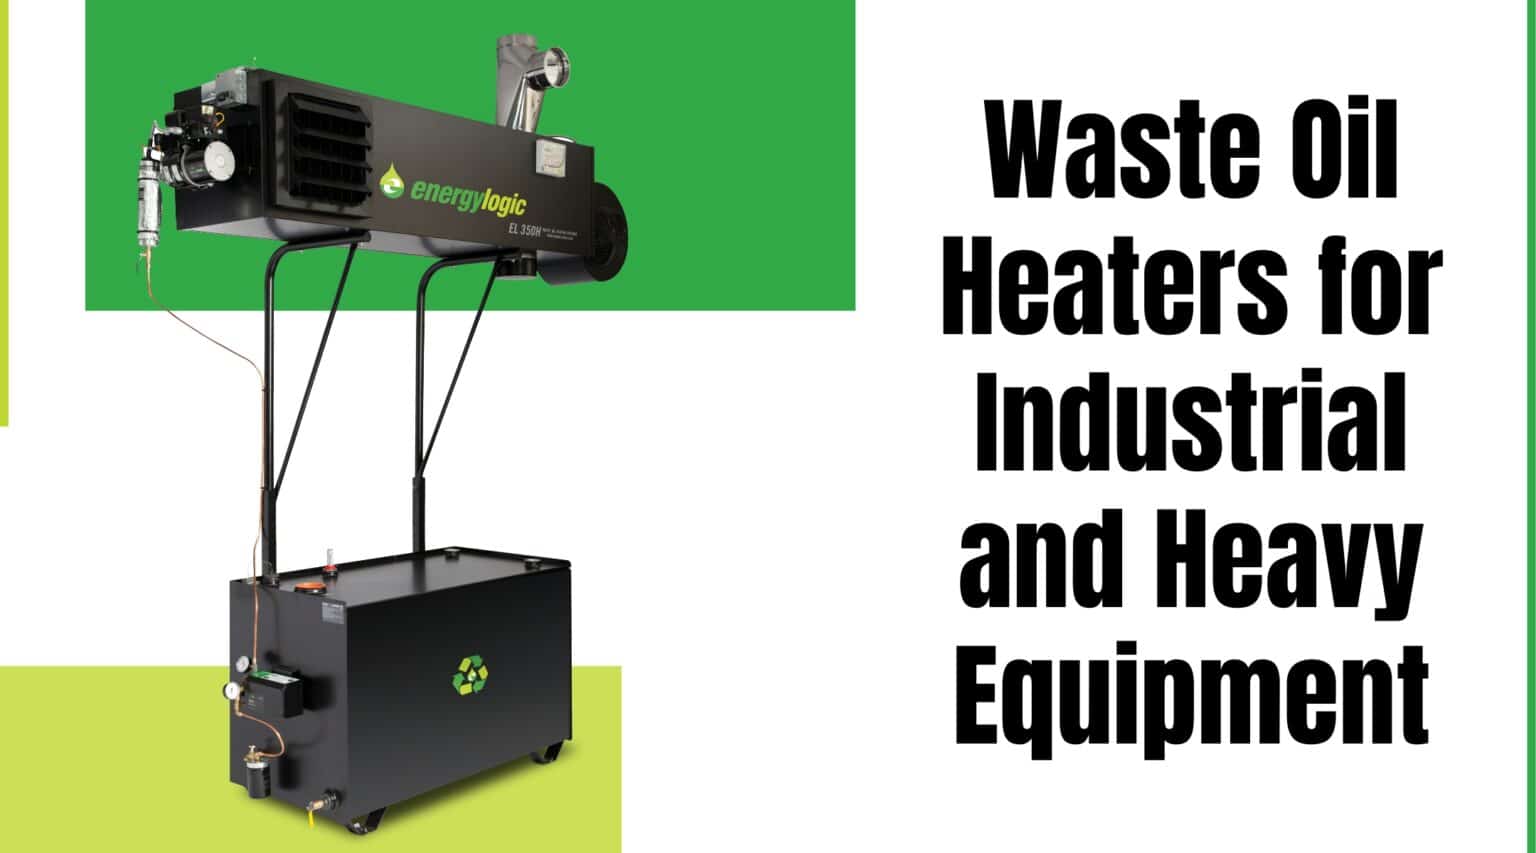
How Does A Waste Oil Burner Work
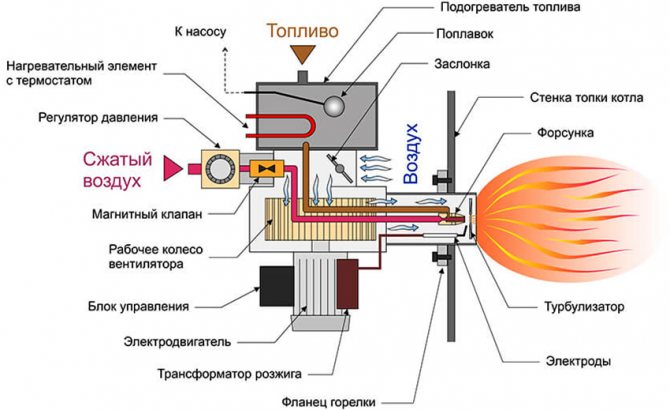
Many homeowners who rely on waste oil burners for heating enjoy the cost-effectiveness and environmentally friendly aspect of repurposing used oil. However, like any heating system, waste oil burners can experience issues. One of the most common problems homeowners face is a burner that fails to ignite or produces excessive smoke.
Before we dive into troubleshooting, remember that safety is paramount. Waste oil burners involve flammable materials and high temperatures. Always disconnect the power supply to the burner before performing any maintenance or inspection. Wear appropriate safety gear, including gloves and eye protection.
Step-by-Step Troubleshooting Guide
This guide provides a methodical approach to diagnosing and addressing common waste oil burner problems. We'll start with the simplest checks and gradually move to more complex areas.
Step 1: Confirm Fuel Supply
The first and most basic step is to ensure you have an adequate supply of waste oil in your storage tank. It might sound obvious, but it's easily overlooked. Check the tank level indicator. If it's low, the burner won't be able to draw enough fuel. Ensure the supply line isn't kinked or blocked.
Action: Visually inspect the tank level. If low, refill the tank, ensuring the oil meets the burner's specifications (viscosity, water content, etc.). Check the supply line for kinks or obstructions.
Step 2: Inspect the Oil Filter(s)
Waste oil often contains contaminants. The oil filter(s) prevent these contaminants from reaching and clogging the burner nozzle. Clogged filters are a frequent cause of ignition problems and smoky operation.
Action: Locate the oil filter(s). Most burners have at least one, and some have multiple filters in series. Carefully remove the filter(s) (refer to your burner's manual for the correct procedure). Examine the filter element. If it's heavily coated with sludge or debris, it needs to be cleaned or replaced. Depending on the filter type, you might be able to clean it with a solvent specifically designed for cleaning oil filters (follow the solvent manufacturer's instructions carefully). However, replacement is usually the best option to ensure optimal performance. After cleaning or replacing, prime the fuel line (again, refer to your manual for specific instructions) to remove any air that may have entered during the process.
Step 3: Check the Burner Nozzle
The nozzle atomizes the oil into a fine mist, which is then ignited. A dirty or clogged nozzle will disrupt the spray pattern, leading to poor combustion, ignition failure, or excessive smoke.
Action: Locate the burner nozzle (usually at the end of the blast tube). Carefully remove it. Inspect the nozzle tip for any signs of clogging or carbon buildup. Do not use sharp objects to clean the nozzle, as you could damage the precision orifice. Some specialized nozzle cleaning kits are available, using ultrasonic cleaners or fine brushes. If you're unsure about cleaning, replace the nozzle with a new one of the correct size and type for your burner. Important: Consult your burner's manual for the correct nozzle specifications.
Step 4: Examine the Ignition System
The ignition system creates the spark that ignites the oil mist. This typically consists of a spark plug or electrodes and a transformer. A faulty ignition system is a common cause of ignition failure.
Action: Visually inspect the spark plug or electrodes. Look for cracks, carbon buildup, or corrosion. Clean the electrodes with a wire brush. Check the gap between the electrodes; it should be within the range specified in your burner's manual. If the electrodes are severely damaged, replace them.
To test the ignition transformer (with the power disconnected!), use a multimeter to check for continuity across the primary and secondary windings. Consult your burner's manual for the correct resistance values. If the transformer is faulty, it will need to be replaced by a qualified technician.
Step 5: Verify Airflow
Proper airflow is crucial for complete combustion. Insufficient air leads to incomplete burning, resulting in smoke and reduced heating efficiency.
Action: Check the air intake openings on the burner for any obstructions. Leaves, dust, or debris can block the airflow. Clean the air intake screen or filter if present. Some burners have an adjustable air shutter or damper. Ensure it's properly adjusted according to your burner's manual. If the burner has a blower fan, check that it's operating correctly. Listen for unusual noises or vibrations, which could indicate a failing motor or damaged fan blades.
Step 6: Inspect the Combustion Chamber
The combustion chamber is where the oil burns. Carbon buildup or other obstructions in the combustion chamber can affect airflow and combustion efficiency.
Action: Carefully inspect the combustion chamber for any signs of excessive carbon buildup or other debris. Use a brush or vacuum to remove any loose material. Be careful not to damage any refractory lining in the combustion chamber. If the combustion chamber is heavily coated with carbon, it may require professional cleaning.
Step 7: Check the Safety Controls
Waste oil burners have several safety controls to prevent overheating or other hazardous conditions. These include flame sensors, high-limit switches, and oil pressure switches. A tripped safety control can shut down the burner.
Action: Consult your burner's manual to identify the location of these safety controls. Some flame sensors have a reset button. Try resetting the flame sensor. Check the high-limit switch; if it's tripped, it may indicate an overheating problem that needs to be addressed before resetting it. Oil pressure switches usually require professional testing to ensure they are functioning correctly.
When to Call a Professional
While many waste oil burner issues can be resolved with simple troubleshooting and DIY fixes, there are certain situations where professional help is essential. These include:
- Suspected fuel leaks: Oil leaks are a fire hazard and should be addressed immediately by a qualified technician.
- Electrical problems: Working with electrical components can be dangerous. If you're not comfortable working with electricity, call a professional.
- Faulty ignition transformer: Replacing a faulty ignition transformer requires specialized knowledge and equipment.
- Problems with the combustion chamber lining: Repairing or replacing damaged refractory lining requires specialized skills and materials.
- Persistent or recurring issues: If you've tried the troubleshooting steps above and the problem persists, it's likely a more complex issue that requires professional diagnosis and repair.
- Issues with oil pressure switch or other safety controls.
- If you are not comfortable or unsure about any of these steps.
Preventative Maintenance
Regular preventative maintenance is key to keeping your waste oil burner running smoothly and efficiently. Here are some essential maintenance tasks:
- Regularly inspect and clean or replace the oil filter(s).
- Clean the burner nozzle periodically.
- Inspect and clean the electrodes.
- Check the airflow openings for obstructions.
- Clean the combustion chamber.
- Have the burner professionally serviced annually.
By following this troubleshooting guide and performing regular preventative maintenance, you can keep your waste oil burner running efficiently and safely for years to come. Remember to always consult your burner's manual for specific instructions and safety precautions.
Disclaimer: This article provides general troubleshooting advice. Always consult your burner's manual and follow all safety precautions. If you are not comfortable performing any of these tasks, contact a qualified technician.