How Long Do Carbon Monoxide Sensors Last
Carbon monoxide (CO) is a silent killer. It's an odorless, colorless gas that can be deadly if inhaled in sufficient quantities. That's why having a working carbon monoxide detector is absolutely crucial in every home. But just like any other appliance, CO detectors don't last forever. A common question homeowners ask is, "How long do carbon monoxide sensors last?" Understanding the lifespan of your CO detector and knowing how to troubleshoot common issues is vital for your safety and the safety of your family.
The Case of the Unresponsive Carbon Monoxide Detector
Let's imagine a scenario. You're relaxing at home when suddenly, you realize you haven't heard your carbon monoxide detector beep in a while. You press the test button, but nothing happens. Panic starts to set in. What do you do?
Before calling a professional, there are several basic troubleshooting steps you can take to determine the cause of the problem and potentially fix it yourself. This guide will walk you through the process, emphasizing safety every step of the way.
Step-by-Step Troubleshooting Guide
Follow these steps in order, and always prioritize safety. If at any point you feel uncomfortable or unsure, call a qualified technician.
Step 1: Safety First!
Before doing anything, ensure the safety of your household. If you suspect a carbon monoxide leak (headache, dizziness, nausea), immediately evacuate the premises. Call emergency services or your local fire department from a safe location. Do not re-enter the building until it has been cleared by professionals.
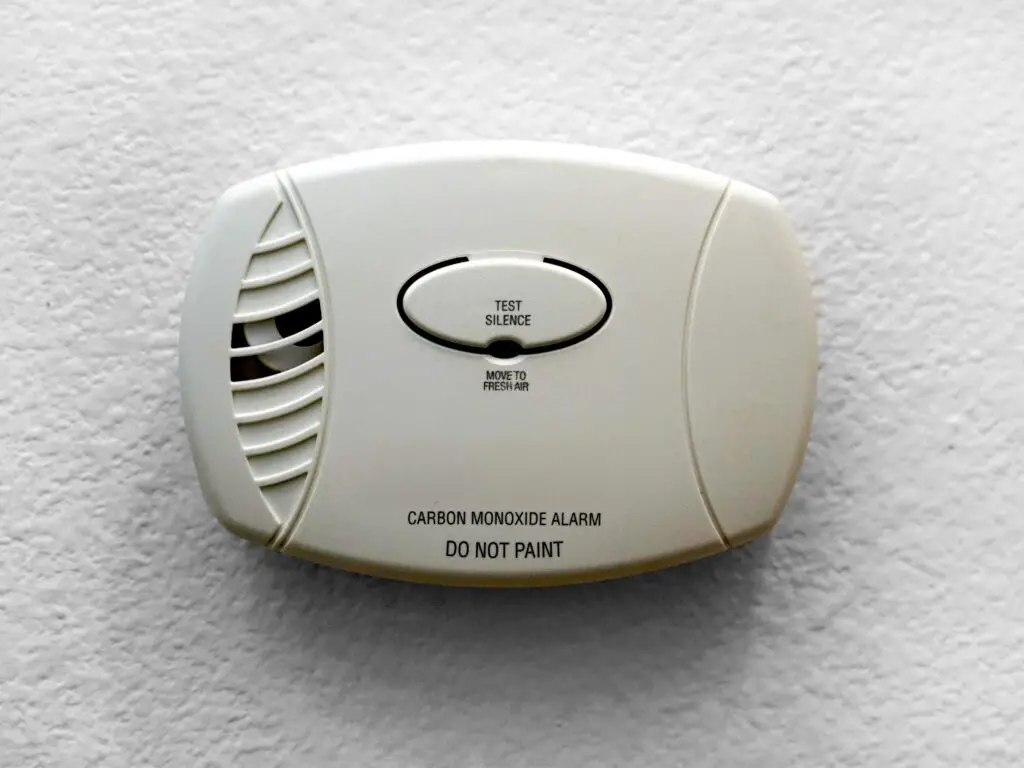
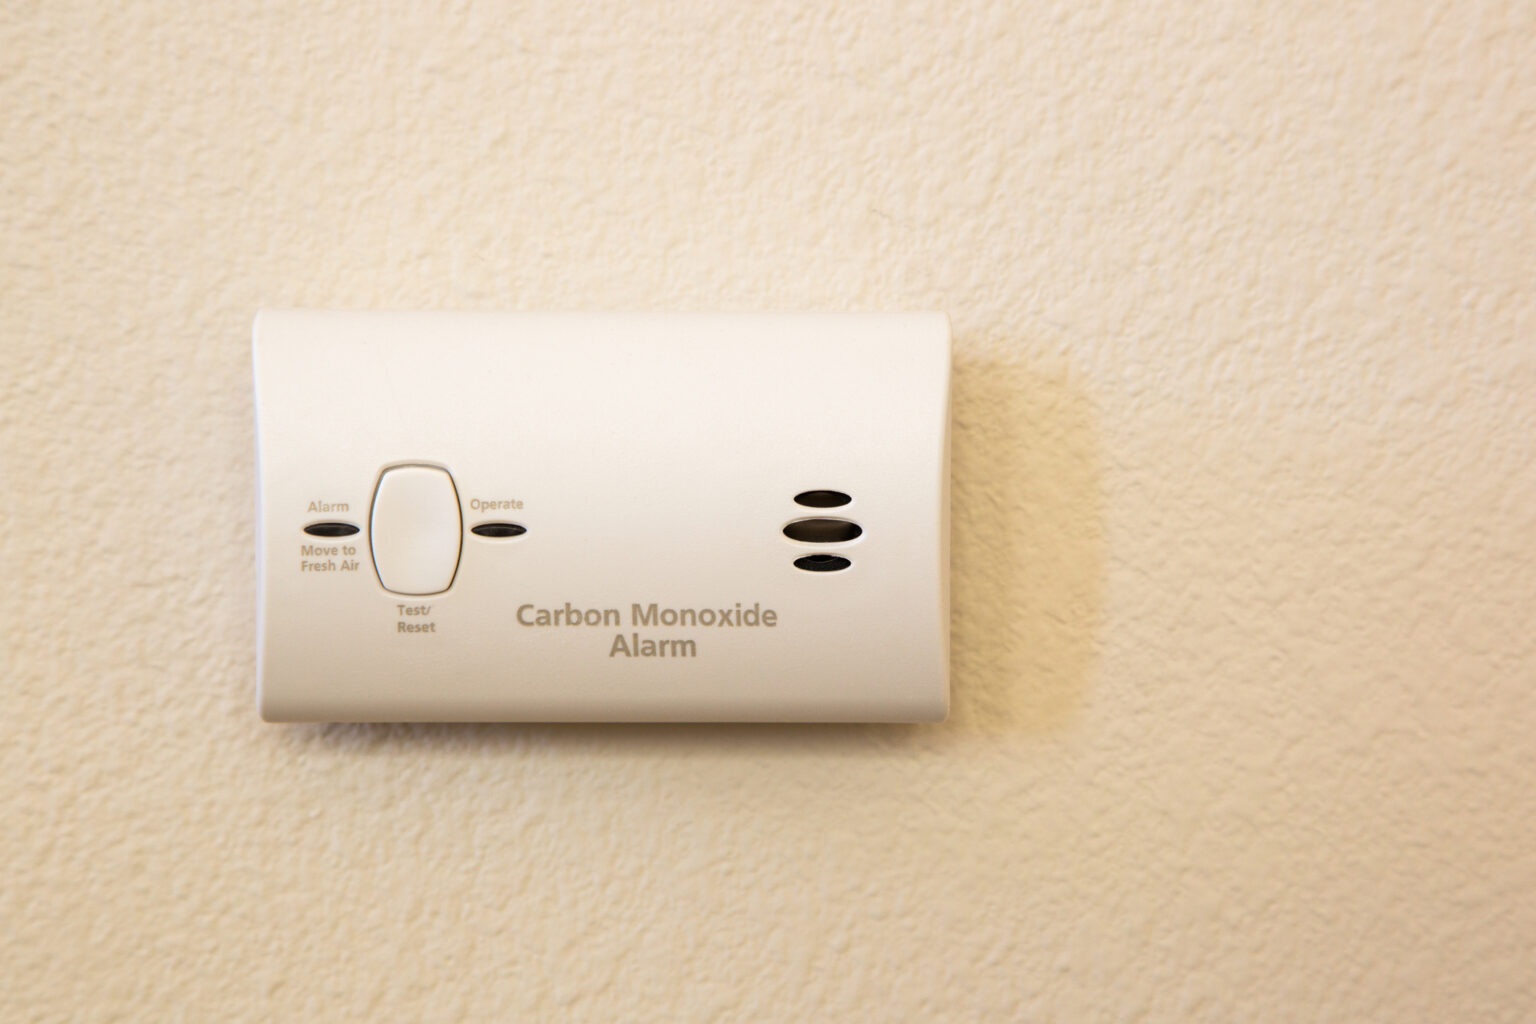
Step 2: Identify the Type of Detector
CO detectors come in several varieties:
- Battery-powered: These run solely on batteries (typically AA or 9V).
- AC-powered with battery backup: These plug into an electrical outlet and have a battery as a backup power source in case of a power outage.
- Smart CO Detectors: Connected to your home's Wi-Fi, offering advanced features and notifications.
Knowing the type of detector will help you narrow down the potential causes of the problem.
Step 3: Check the Power Supply (Battery-Powered Detectors)
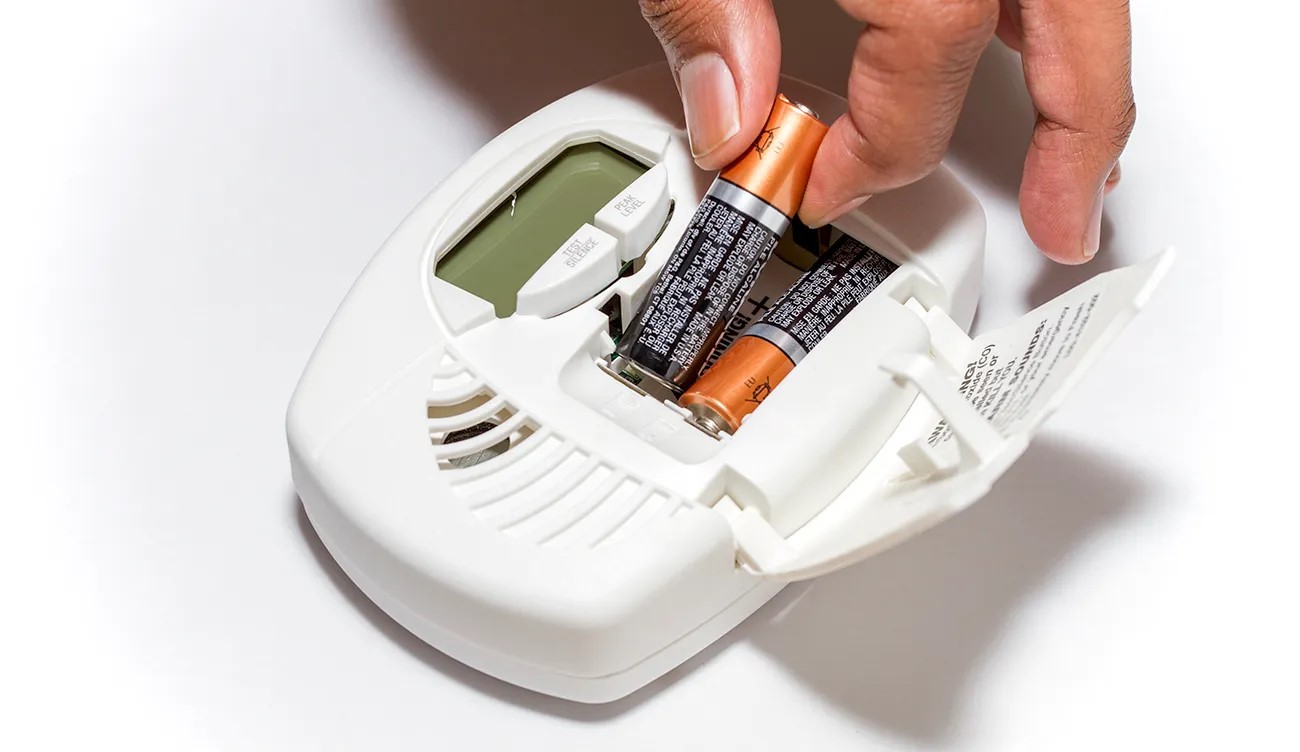
For battery-powered detectors, the most common culprit is dead batteries.
- Replace the Batteries: Always use fresh, high-quality batteries. Don't mix old and new batteries.
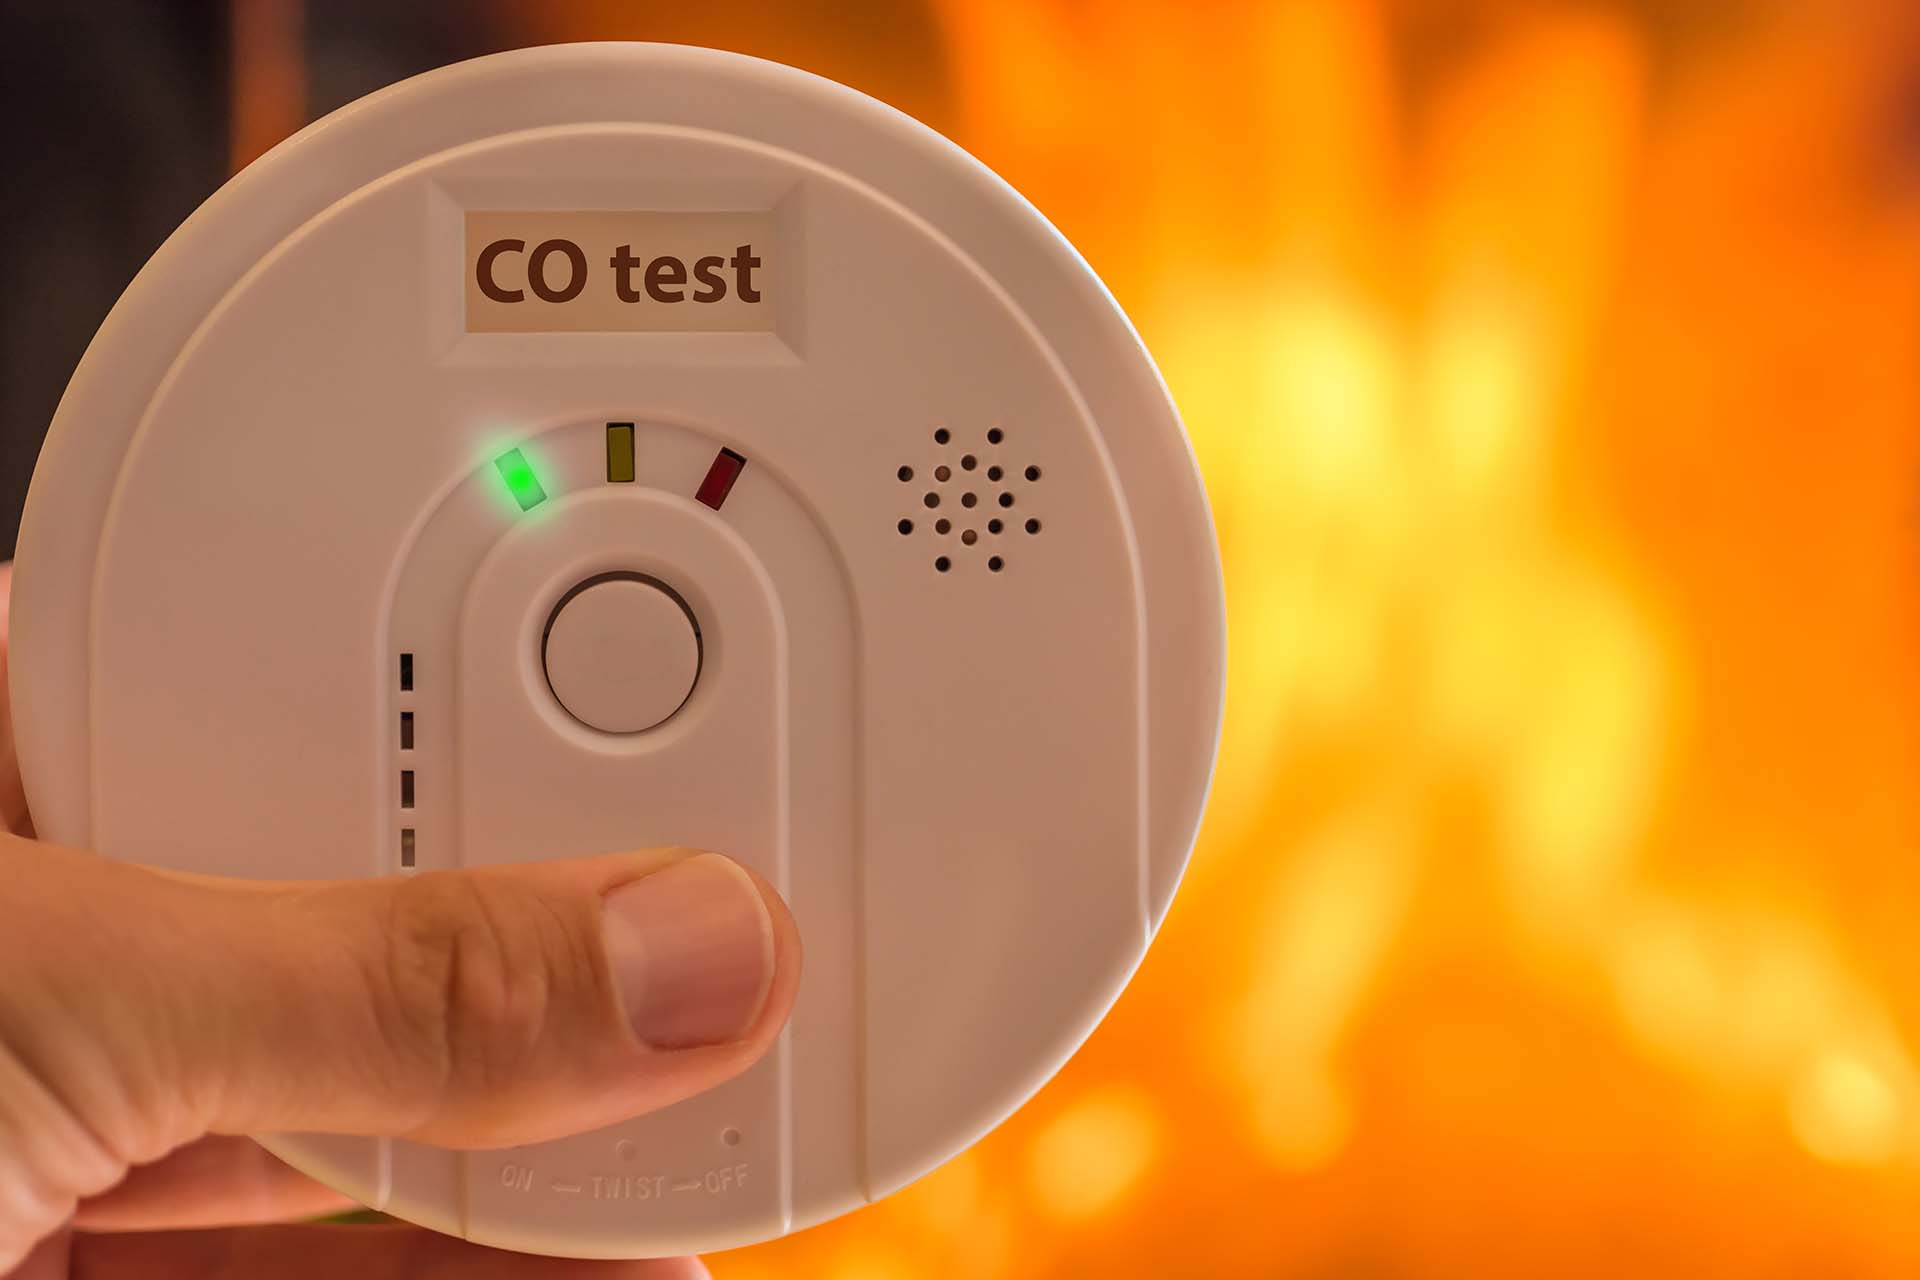
- Test After Replacement: After replacing the batteries, press the test button. If the detector beeps, the problem was likely the batteries.
- Clean the Battery Contacts: If the detector still doesn't work after replacing the batteries, the battery contacts might be corroded. Gently clean them with a cotton swab dipped in rubbing alcohol. Make sure the contacts are completely dry before reinserting the batteries.
- Check Battery Orientation: Ensure the batteries are inserted correctly according to the polarity markings (+ and -) inside the battery compartment.
Step 4: Check the Power Supply (AC-Powered Detectors)
For AC-powered detectors, the issue could be with the electrical outlet or the detector itself.
- Verify the Outlet is Working: Plug another small appliance (like a lamp) into the same outlet to see if it's working. If the outlet isn't working, check the circuit breaker.
- Check the Circuit Breaker: Locate the circuit breaker that controls the outlet where the detector is plugged in. If the breaker is tripped (in the "off" position), flip it to the "off" position and then back to the "on" position.
- Test After Resetting Breaker: Plug the CO detector back into the outlet and press the test button. If it works, the problem was a tripped breaker.
- Inspect the Cord and Plug: Check the detector's power cord and plug for any signs of damage, such as frayed wires or a loose connection. If you see any damage, do not attempt to repair it yourself. Contact a qualified electrician or replace the detector.
- Check the Battery Backup: Even if the detector is plugged into a working outlet, the battery backup might be dead. Replace the battery backup as described in Step 3.
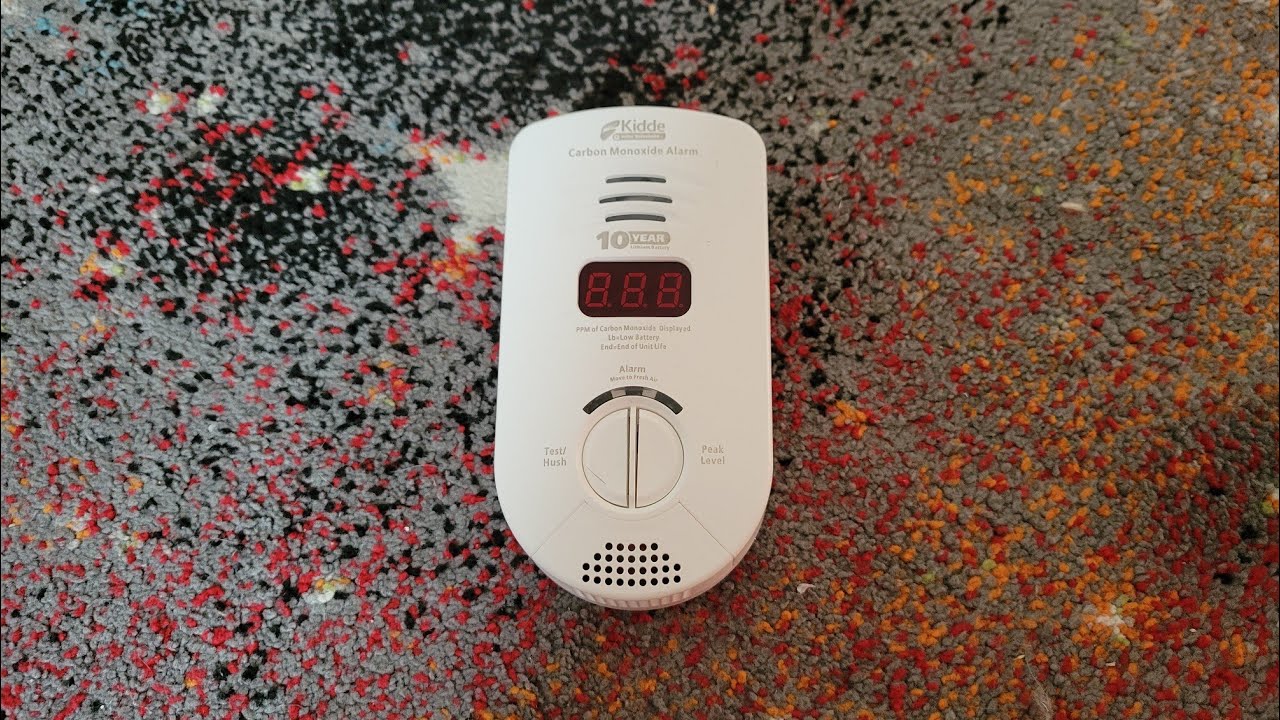
Step 5: Check the Detector's Age and Expiration Date
Carbon monoxide detectors don't last forever. Most detectors have a lifespan of 5-10 years, depending on the manufacturer and the type of sensor used.
- Locate the Expiration Date: Look for an expiration date on the detector itself. It's usually printed on the back or side of the unit.
- If Expired, Replace Immediately: If the detector is past its expiration date, it must be replaced, regardless of whether it's working or not. The sensor degrades over time and may not accurately detect CO levels.
- If No Expiration Date, Assume It's Old: If you can't find an expiration date, assume the detector is older than 7 years and replace it as a precaution.
Step 6: Clean the Detector (Carefully)
Dust and debris can sometimes interfere with the sensor's ability to detect carbon monoxide.
- Turn Off the Detector: If possible, unplug the detector or remove the batteries before cleaning.
- Use a Vacuum Cleaner: Use a vacuum cleaner with a brush attachment to gently remove dust and debris from the exterior of the detector, including the vents.
- Do Not Use Liquids or Solvents: Do not use water, cleaning solutions, or solvents to clean the detector. These can damage the sensor.
- Reassemble and Test: Reassemble the detector (if necessary) and test it by pressing the test button.
Step 7: Check the Location of the Detector
The placement of your CO detector can affect its performance.
- Follow Manufacturer's Instructions: Refer to the manufacturer's instructions for recommended placement.
- Avoid Obstructions: Make sure the detector isn't blocked by furniture, curtains, or other objects that could prevent CO from reaching the sensor.
- Avoid High-Humidity Areas: Avoid placing the detector in areas with high humidity, such as bathrooms or laundry rooms. Moisture can damage the sensor.
- Install at the Right Height: CO is slightly lighter than air and can rise. Install detectors on walls about 5 feet from the floor.
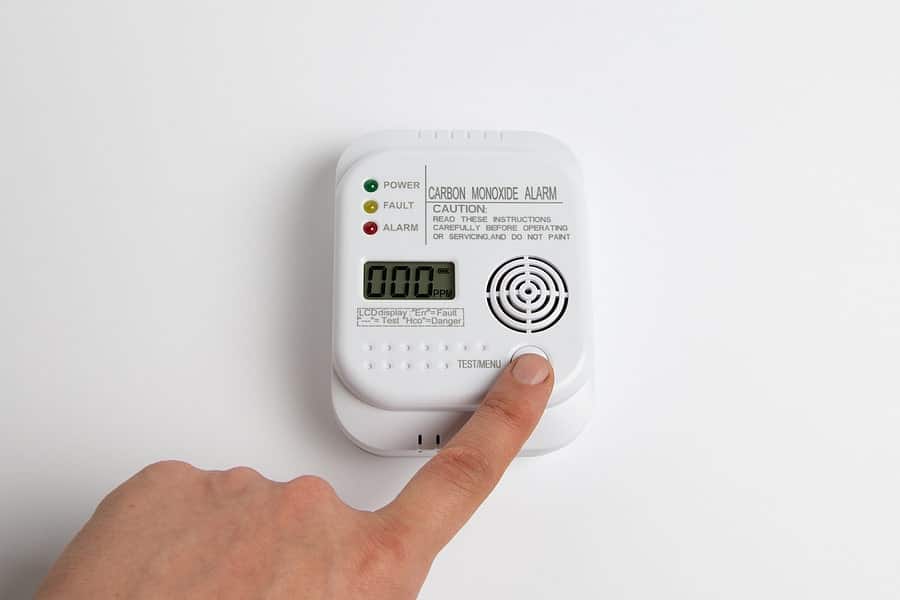
Step 8: Reset the Detector (If Applicable)
Some CO detectors have a reset button that can clear false alarms or resolve minor issues.
- Locate the Reset Button: The reset button is usually located on the front or side of the detector.
- Press and Hold the Reset Button: Press and hold the reset button for the amount of time specified in the manufacturer's instructions (usually 5-10 seconds).
- Test After Resetting: After resetting the detector, press the test button to see if it's working properly.
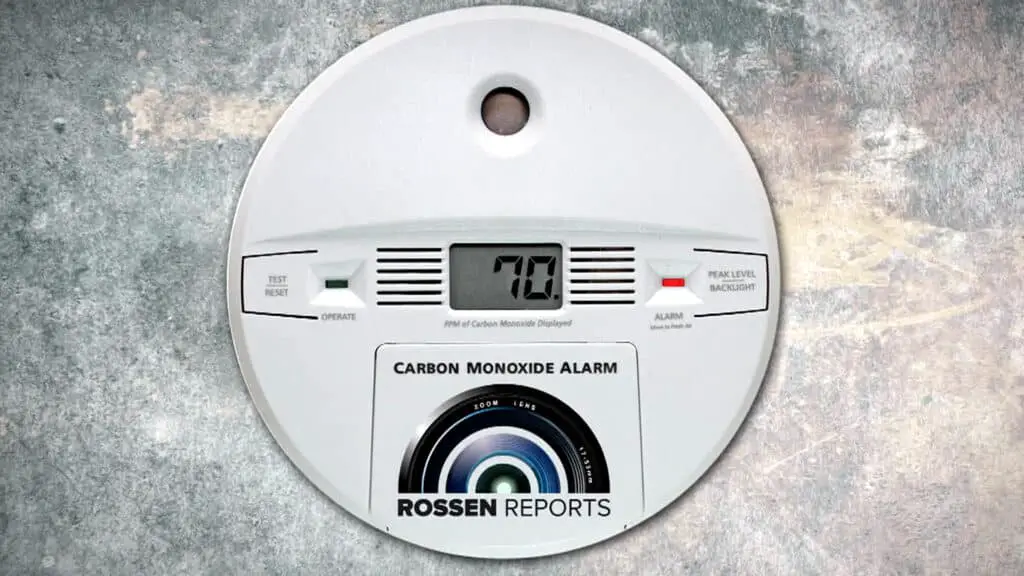
Step 9: Understanding False Alarms
Sometimes, CO detectors can trigger false alarms. This can be caused by various factors, including:
- Sensor Degradation: As the sensor ages, it can become more sensitive and prone to false alarms.
- High Humidity: As mentioned earlier, high humidity can damage the sensor and trigger false alarms.
- Dust and Debris: Dust and debris can also interfere with the sensor's performance and cause false alarms.
- Chemical Interference: Certain chemicals, such as cleaning solvents and aerosol sprays, can sometimes trigger false alarms.
If you experience frequent false alarms, consider replacing the detector, especially if it's older than 5 years.
Step 10: When to Call a Professional
There are several situations where you should always call a qualified technician or electrician:
- Suspected Carbon Monoxide Leak: If you suspect a carbon monoxide leak, evacuate the premises immediately and call emergency services. Do not attempt to investigate the source of the leak yourself.
- Electrical Issues: If you suspect an electrical problem, such as a short circuit or a damaged wiring, do not attempt to repair it yourself. Contact a qualified electrician.
- Gas Appliance Malfunction: If you suspect a gas appliance is malfunctioning, do not attempt to repair it yourself. Contact a qualified gas technician.
- Detector Still Not Working: If you've tried all the troubleshooting steps and the detector still isn't working, it's likely that the sensor is faulty or the detector is damaged. Replace the detector with a new one.
- Smart Detector Complications: If your smart detector isn't connecting to Wi-Fi or experiencing software issues, contact the manufacturer or a smart home specialist.
The Lifespan of a Carbon Monoxide Sensor
As mentioned previously, the sensor inside a CO detector has a limited lifespan. Even if the detector appears to be working, the sensor's ability to accurately detect carbon monoxide degrades over time.
- Electrochemical Sensors: These are the most common type of CO sensor. They typically last for 5-7 years.
- Biomimetic Sensors: These sensors use a gel that changes color when exposed to CO. They typically last for 7-10 years.
- Metal Oxide Semiconductor Sensors: These sensors use a metal oxide material that changes its electrical conductivity when exposed to CO. They typically last for 10 years or more.
Regardless of the type of sensor, it's essential to replace your CO detector every 5-10 years, or according to the manufacturer's recommendations.
Choosing a New Carbon Monoxide Detector
When purchasing a new CO detector, consider the following factors:
- Type of Sensor: Choose a detector with a reliable sensor and a long lifespan.
- Power Source: Decide whether you prefer a battery-powered, AC-powered with battery backup, or smart CO detector.
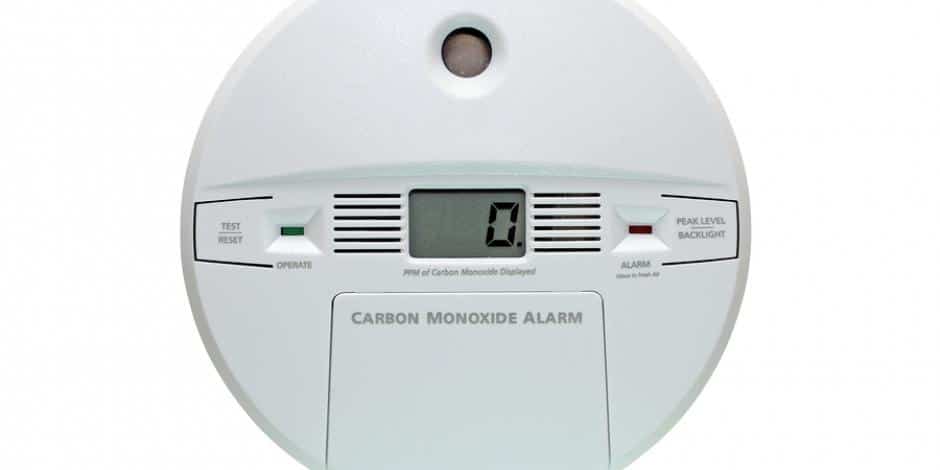
- Features: Consider features such as digital displays, voice alarms, and remote monitoring capabilities.
- Certification: Make sure the detector is certified by a recognized testing laboratory, such as UL (Underwriters Laboratories).
- Price: CO detectors range in price from around $20 to $100 or more. Choose a detector that fits your budget and meets your needs.
Prevention is Key
In addition to having working CO detectors, it's important to take steps to prevent carbon monoxide poisoning:
- Regularly Inspect Appliances: Have your gas appliances (furnace, water heater, stove, etc.) inspected and maintained by a qualified technician at least once a year.
- Proper Ventilation: Ensure that all fuel-burning appliances are properly vented to the outside.
- Never Use a Generator Indoors: Never use a generator inside your home, garage, or any enclosed space.
- Avoid Idling Cars in Garages: Never idle your car in a garage, even if the door is open.
- Be Aware of Symptoms: Learn the symptoms of carbon monoxide poisoning (headache, dizziness, nausea, vomiting, confusion, loss of consciousness) and seek medical attention immediately if you experience any of these symptoms.
Conclusion
Troubleshooting a malfunctioning carbon monoxide detector can be a straightforward process, but it's crucial to prioritize safety and know your limits. By following these steps, you can often identify the problem and resolve it yourself. However, remember that carbon monoxide is a serious threat, and if you're ever unsure about the safety of your home, don't hesitate to call a qualified professional. Knowing how long carbon monoxide sensors last is key to protecting yourself and your family. Regular maintenance, timely replacements, and a proactive approach to safety are the best defenses against this silent killer.