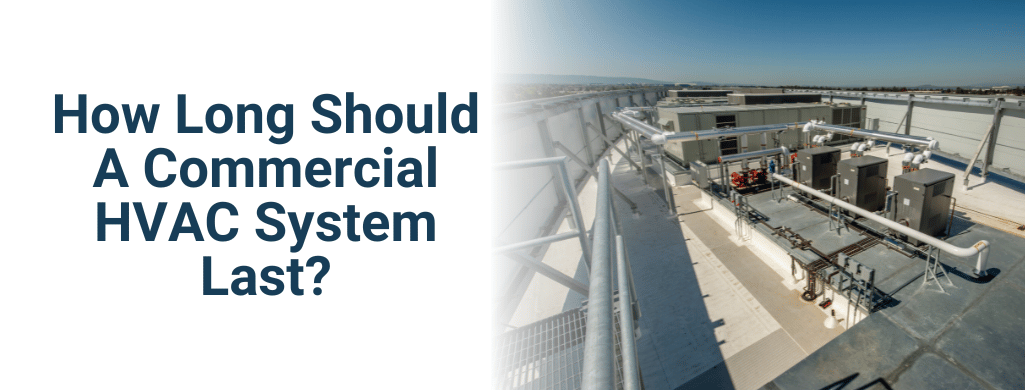
How Long Do Commercial Hvac Systems Last
Just like the refrigerator in your kitchen eventually needs replacing, your commercial HVAC system won't last forever. Understanding its lifespan and potential problems can save you money and headaches. We’ll explore the average lifespan of these systems and offer some basic troubleshooting tips. Please remember, safety is paramount. When dealing with electricity, gas, or complex components, always call a qualified HVAC technician.
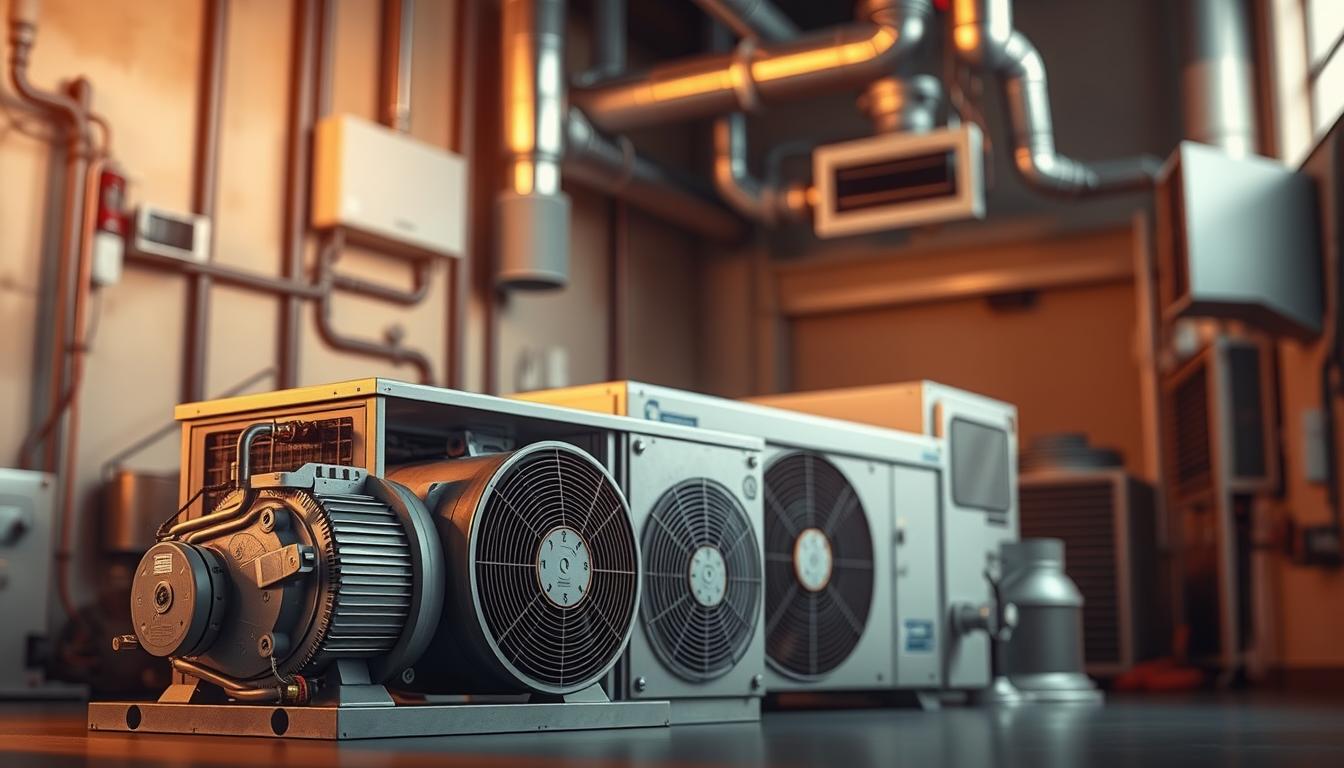
Commercial HVAC Lifespan: A General Overview
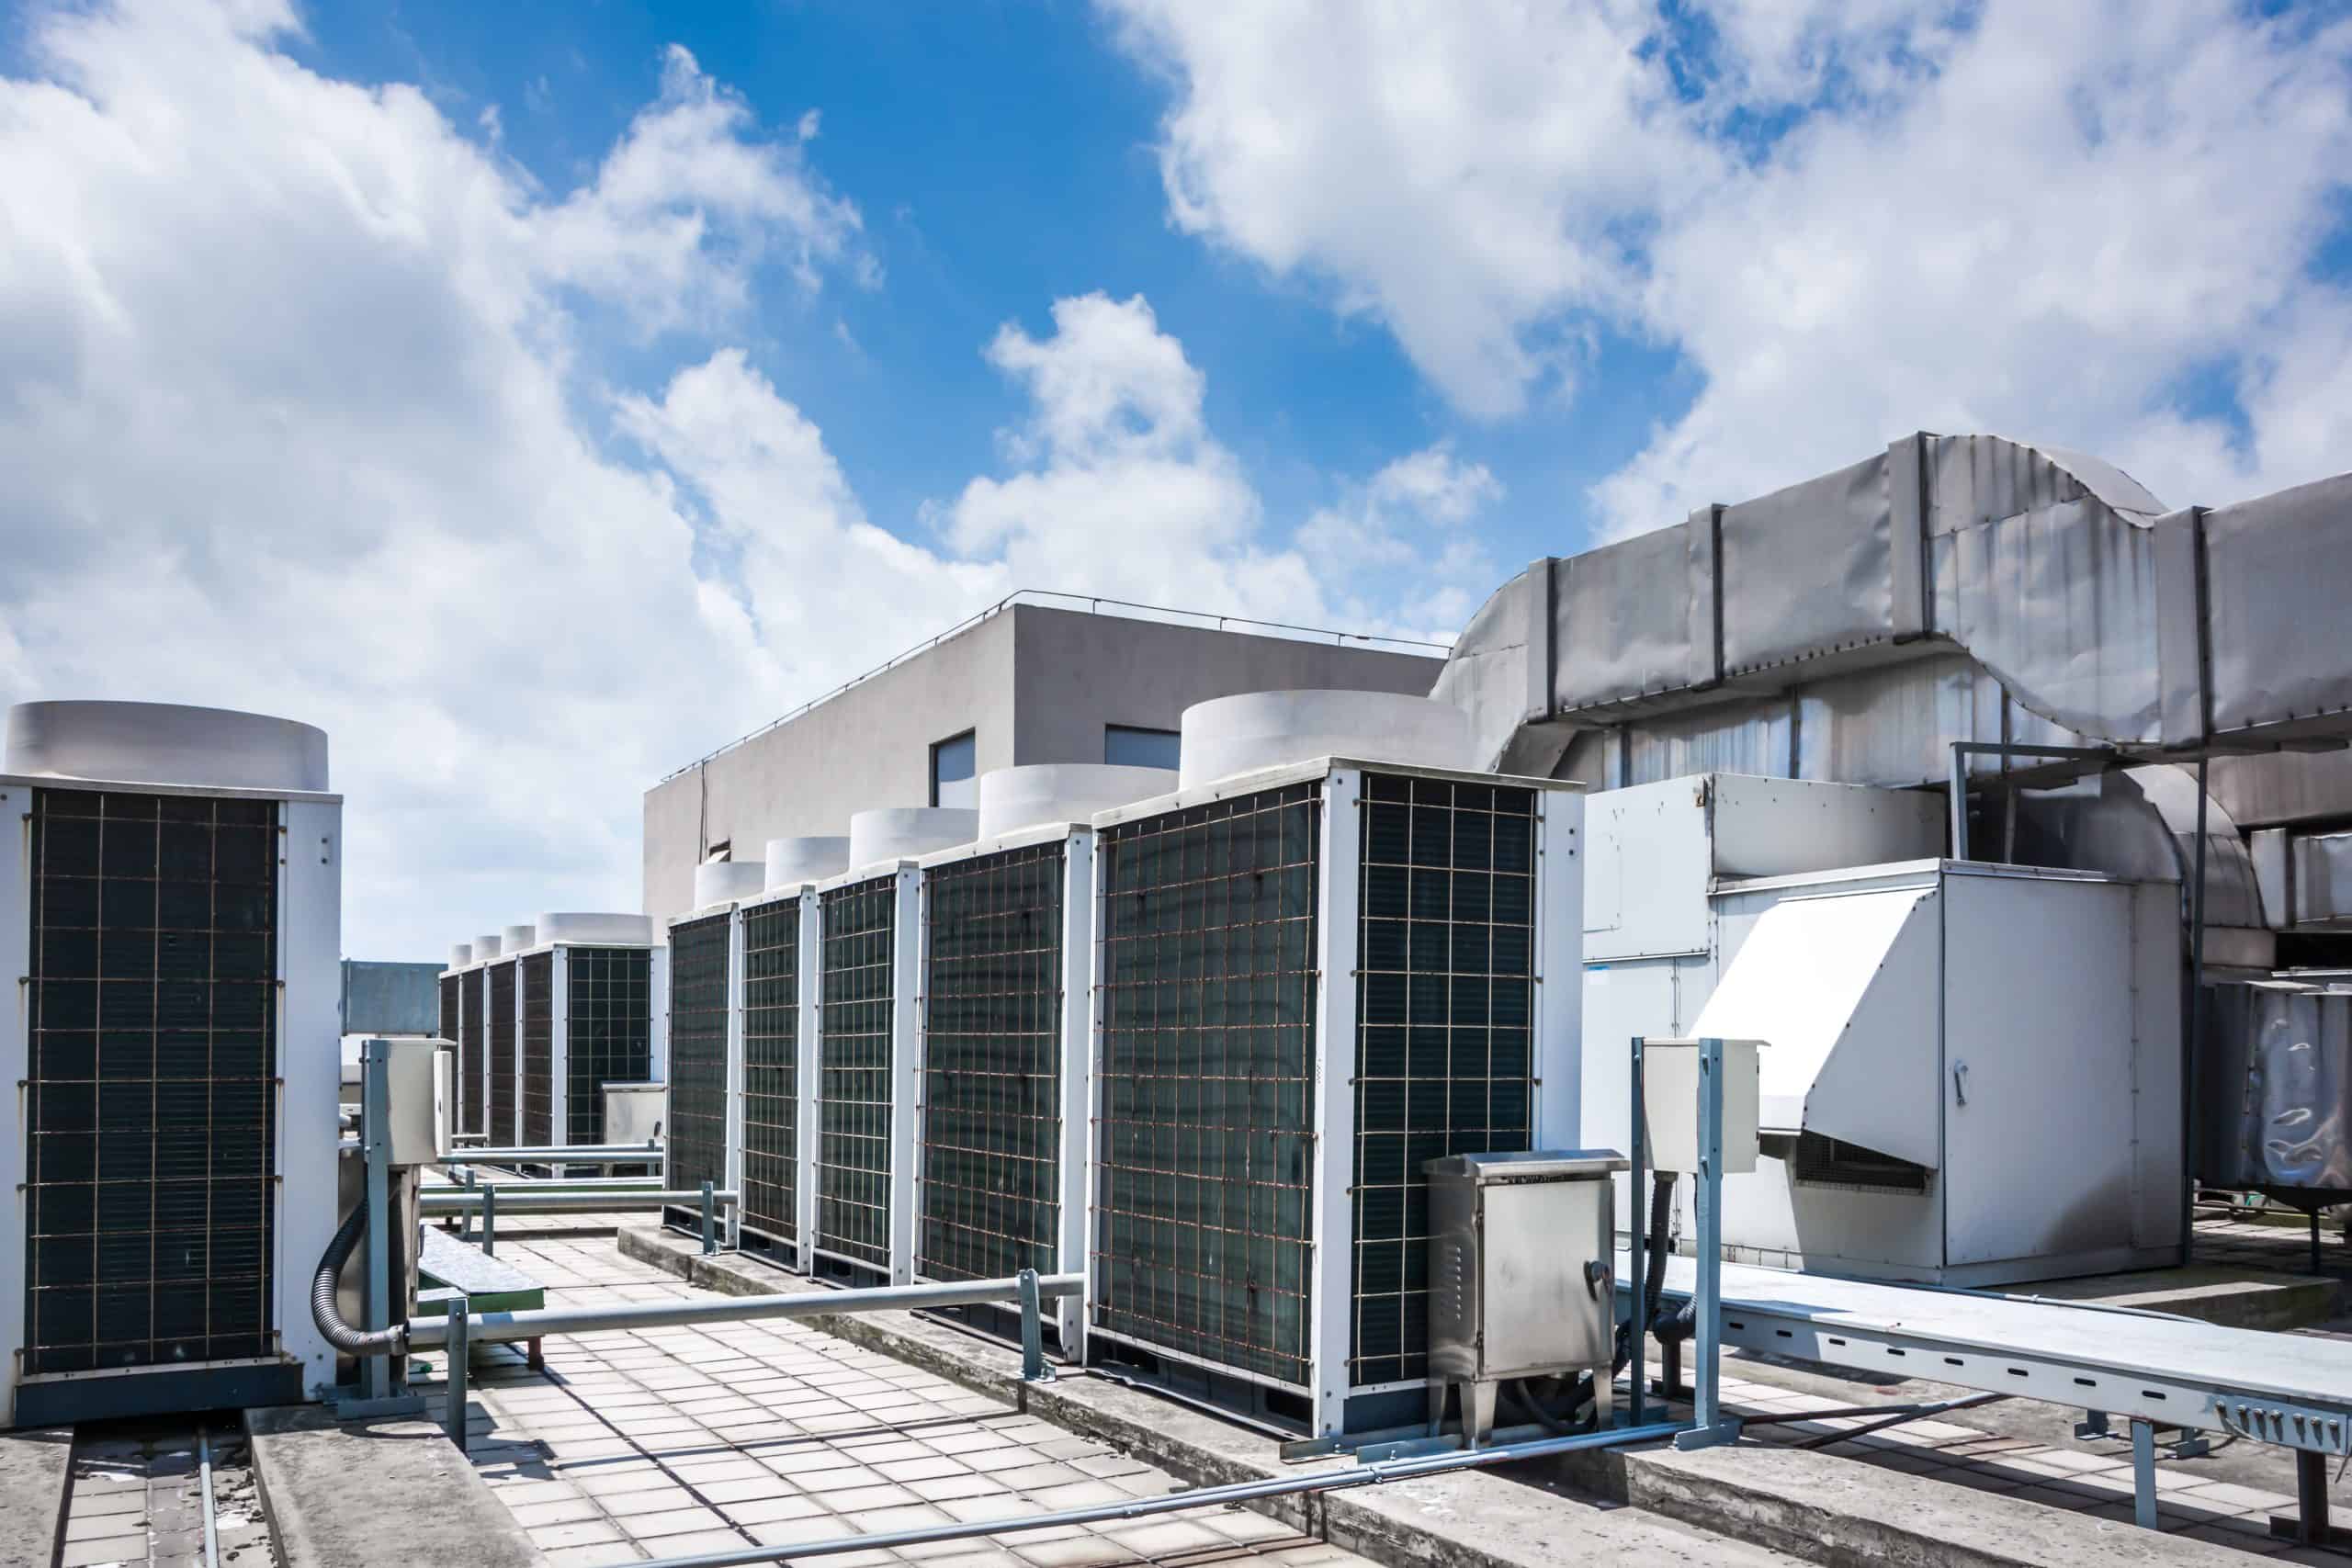
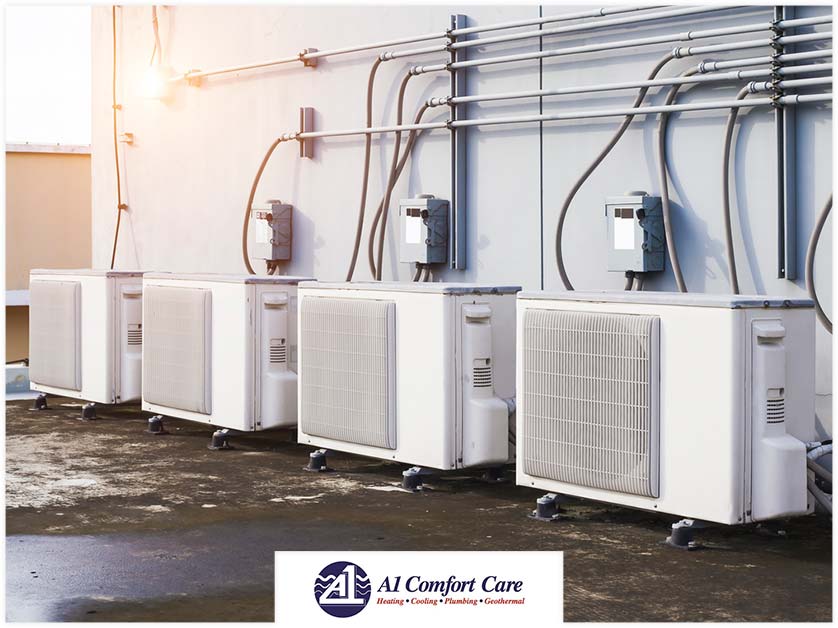
Unlike a residential HVAC system which might only service a family, commercial HVAC units work harder and longer. Factors affecting the lifespan of a commercial HVAC system include:
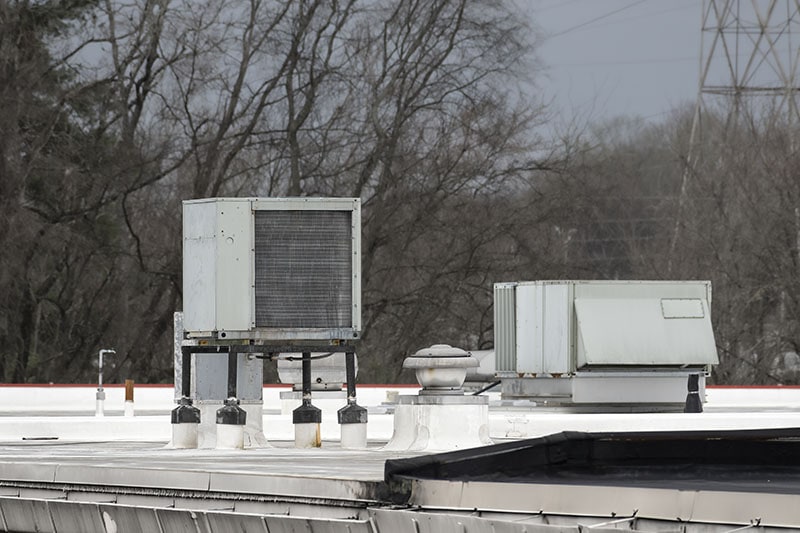
- System Type: Package units, split systems, chillers, and VRF systems all have varying lifespans.
- Usage: A restaurant running its HVAC 24/7 will likely see a shorter lifespan than an office building with regular operating hours.
- Maintenance: Neglecting regular maintenance is the quickest way to shorten the life of your system.
- Environment: Coastal environments or areas with extreme temperatures can accelerate wear and tear.
- Installation Quality: Improper installation can lead to inefficiencies and premature failures.
Generally speaking, you can expect the following lifespans:
- Packaged Units: 15-20 years
- Split Systems: 15-20 years (compressors might need replacement sooner)
- Chillers: 20-25 years (with proper maintenance)
- VRF (Variable Refrigerant Flow) Systems: 15-20 years
Keep in mind that these are averages. With meticulous maintenance, you might extend the lifespan. Conversely, neglect can drastically shorten it. Documenting maintenance and repairs is essential for tracking your system's health and making informed replacement decisions.
Troubleshooting a Non-Functional Commercial HVAC System: A Basic Guide
Before calling a technician, try these simple troubleshooting steps. Remember, always turn off the power to the unit at the breaker box before inspecting any components. If you're uncomfortable with any of these steps, stop and call a professional.
Step 1: The Obvious – Check the Thermostat
This is the simplest and often overlooked step. Ensure the thermostat is:
- Turned On: Sounds obvious, but double-check it isn't accidentally switched off.
- Set to the Correct Mode: Verify it's in "Cool" mode for air conditioning or "Heat" for heating.
- Set to the Correct Temperature: Make sure the setpoint is lower than the current room temperature for cooling or higher for heating.
- Batteries are Good: If your thermostat is battery-powered, replace the batteries. Low batteries can cause erratic behavior.
If the thermostat is unresponsive, try a simple reset. Some thermostats have a reset button; others require removing and reinserting the batteries. Consult your thermostat's manual for specific instructions.
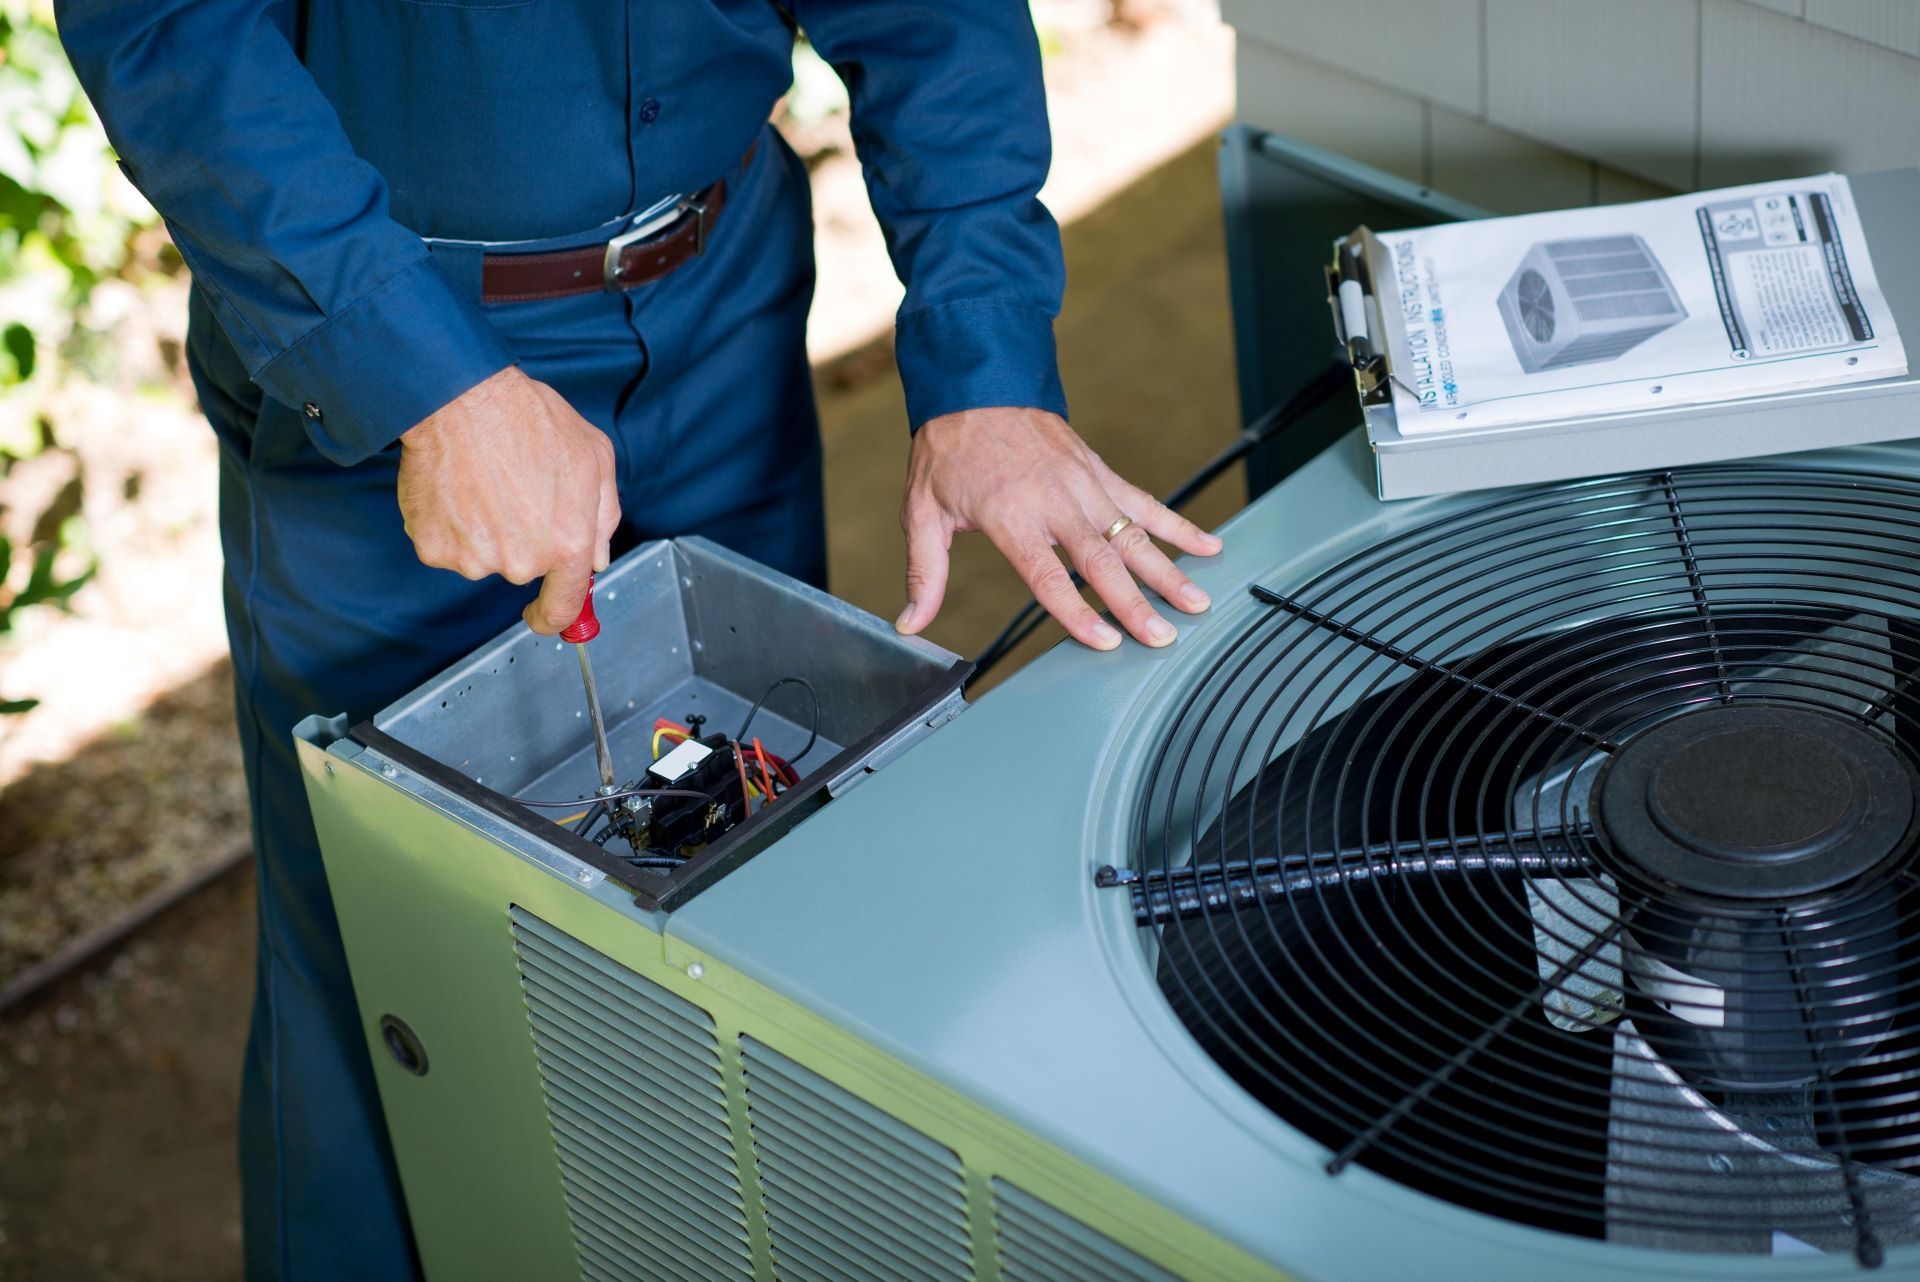
Step 2: Inspect the Power Supply
Next, confirm the unit is receiving power.
- Check the Breaker: Locate the breaker for the HVAC unit in your electrical panel. Ensure it hasn't tripped. If it has, reset it. If it trips again immediately, do not continue resetting it – this indicates a serious electrical problem requiring professional attention.
- Check the Disconnect Switch: Most commercial HVAC units have a disconnect switch located near the unit itself. Make sure it's in the "On" position.
Warning: Never attempt to repair electrical components yourself unless you are a qualified electrician. Incorrect wiring can be dangerous and potentially fatal.
Step 3: Airflow Obstructions: Filters and Vents
Restricted airflow is a common cause of HVAC problems. Check for these issues:
- Dirty Air Filters: This is the most frequent culprit. Replace the air filter regularly (usually every 1-3 months, depending on usage and air quality). A dirty filter restricts airflow, causing the unit to work harder and overheat.
- Blocked Vents: Ensure that supply and return vents are not blocked by furniture, boxes, or other obstructions.
- Damaged Ductwork: Visually inspect accessible ductwork for any obvious damage, such as disconnected sections or punctures. Seal any minor leaks with duct tape (but consider professional repair for larger issues).
Regular filter replacement is the single most important thing you can do to prolong the life of your HVAC system and maintain its efficiency.
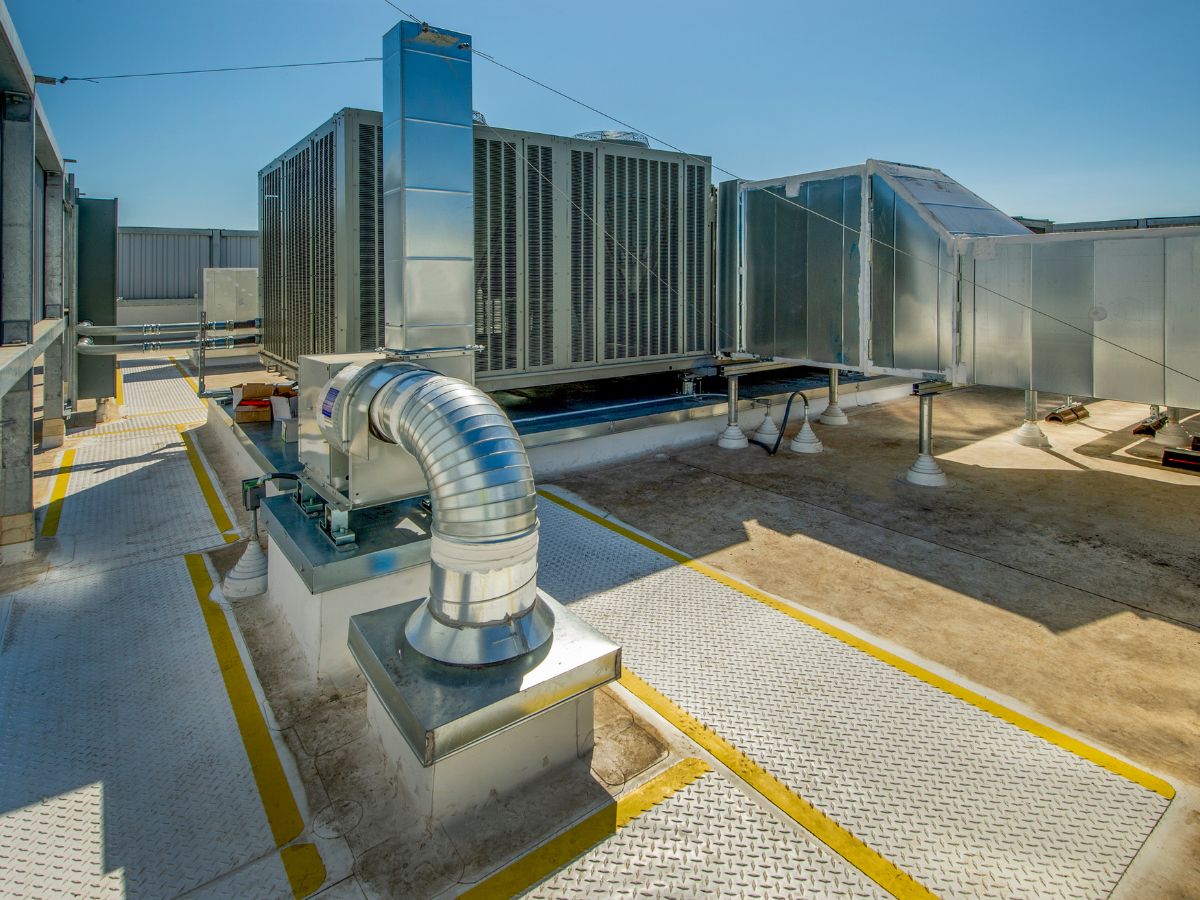
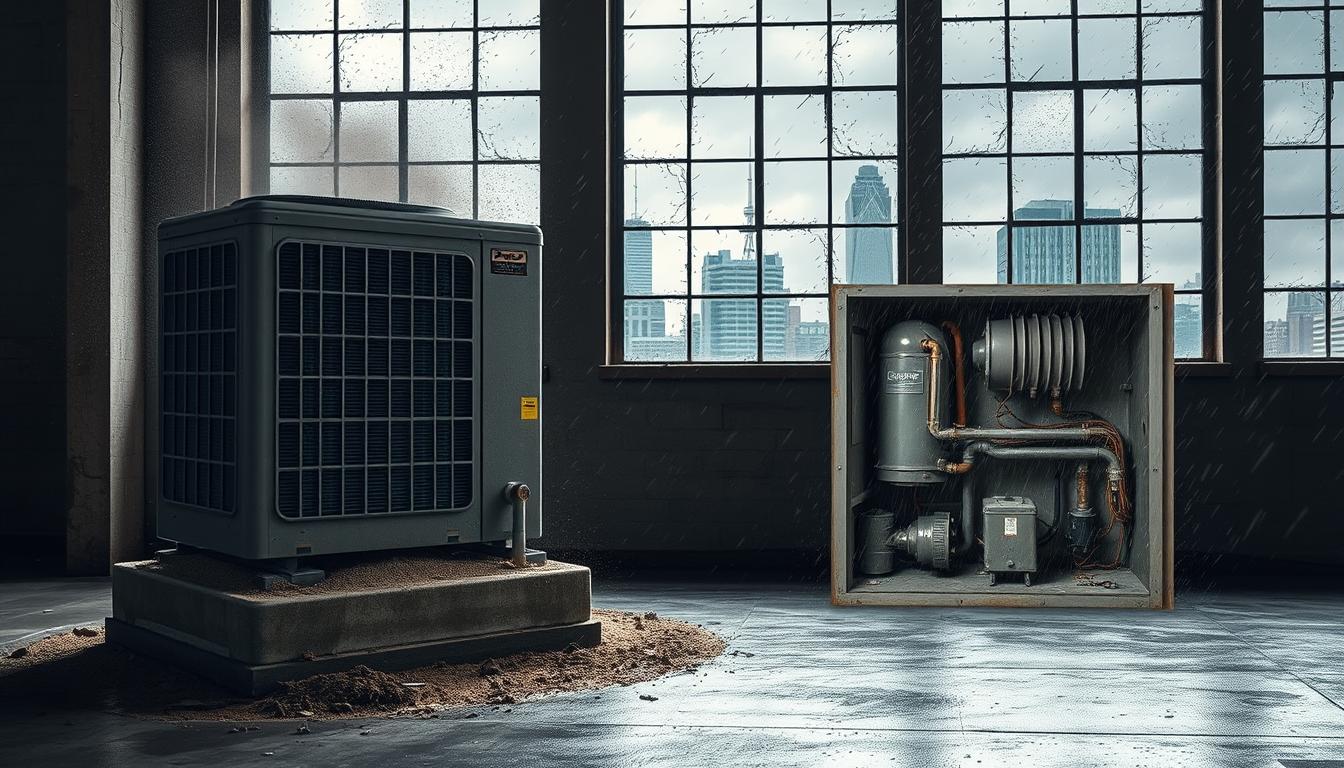
Step 4: Inspect the Outdoor Unit (Condenser)
The outdoor unit dissipates heat. Make sure it's free of obstructions.
- Clear Debris: Remove any leaves, branches, or other debris that may be blocking the unit. Pay particular attention to the fins around the unit, as these need to be clear for proper airflow. Gently use a brush or hose to clean them. Be careful not to bend the fins.
- Check for Ice Buildup: If the unit is running in cooling mode and you notice ice buildup, it could indicate a refrigerant leak or airflow problem. Turn off the unit and allow the ice to melt completely. If the problem persists after restarting, call a technician.
Caution: Never stick your hands or objects inside the outdoor unit while it's running. The fan blades can cause serious injury.
Step 5: Check the Condensate Drain
During cooling, the unit produces condensation. This water needs to drain properly. A clogged condensate drain can cause water damage and shut down the system.
- Locate the Drain Line: Find the PVC drain line exiting the indoor unit.
- Check for Clogs: Look for any visible obstructions in the drain line.
- Clear the Drain: You can try to clear the drain using a wet/dry vacuum. Attach the vacuum hose to the end of the drain line and suck out any clogs. You can also try pouring a cup of vinegar down the drain line to dissolve any buildup.
Preventive maintenance includes periodically flushing the condensate drain line to prevent clogs.
When to Call a Professional
The troubleshooting steps above are designed for simple problems. If you encounter any of the following, immediately contact a qualified HVAC technician:
- Refrigerant Leaks: Refrigerant is a hazardous substance, and only certified technicians can handle it. Signs of a leak include ice buildup, poor cooling performance, and a hissing sound.
- Electrical Problems: If you suspect any electrical issues beyond a tripped breaker, leave the repair to a professional.
- Gas Leaks: If you smell gas, evacuate the building immediately and call the gas company and a qualified HVAC technician.
- Compressor Issues: The compressor is the heart of the system. If it's making strange noises or not running, it likely needs professional repair or replacement.
- Complex Components: Repairs involving circuit boards, sensors, or other complex components require specialized knowledge and tools.
- Uncertainty: If you're unsure about any step or uncomfortable performing the repair, err on the side of caution and call a professional.
Extending the Life of Your Commercial HVAC System: Preventative Maintenance
The best way to avoid costly repairs and premature replacements is through preventative maintenance. A comprehensive maintenance plan should include:
- Regular Filter Changes: As mentioned earlier, this is crucial.
- Coil Cleaning: Keep the condenser and evaporator coils clean for efficient heat transfer.
- Belt and Pulley Inspection: Check belts for wear and tear and replace them as needed. Ensure pulleys are properly aligned.
- Lubrication: Lubricate moving parts, such as bearings and fan motors, according to the manufacturer's recommendations.
- Refrigerant Level Checks: Ensure the refrigerant level is within the optimal range.
- Electrical Inspections: Check electrical connections for corrosion and loose wiring.
- Drain Line Cleaning: Flush the condensate drain line regularly to prevent clogs.
- System Performance Monitoring: Track system performance metrics, such as temperature and pressure, to identify potential problems early on.
Consider a service contract with a reputable HVAC company. These contracts typically include regular maintenance visits and priority service in case of breakdowns. This proactive approach will not only extend the life of your system but also improve its energy efficiency, saving you money on utility bills.
Making the Replacement Decision
Even with meticulous maintenance, your HVAC system will eventually reach the end of its lifespan. Here are some signs that it might be time for a replacement:
- Age: If your system is approaching or exceeding its expected lifespan (as outlined earlier), consider replacement.
- Frequent Repairs: If you're constantly calling for repairs, it might be more cost-effective to replace the system.
- Decreased Efficiency: If your energy bills are rising even though your usage hasn't changed, your system might be losing efficiency.
- Obsolete Refrigerant: If your system uses R-22 refrigerant, which is being phased out, you'll eventually need to replace the system when repairs are needed.
- New Technology: Newer systems are often more energy-efficient and offer advanced features, such as smart controls.
Get quotes from multiple contractors before making a replacement decision. Be sure to compare the total cost, energy efficiency ratings, and warranty terms. Investing in a high-quality, energy-efficient system can save you money in the long run.
By understanding the lifespan of your commercial HVAC system, performing basic troubleshooting, and implementing a preventative maintenance plan, you can keep your system running efficiently and avoid costly breakdowns. Remember, safety is always the top priority. When in doubt, call a professional.