How Long Does A Thermocouple Last
A malfunctioning furnace can be a homeowner's nightmare, especially during the colder months. One of the most common culprits behind a furnace that won't stay lit is a faulty thermocouple. This small but mighty component is crucial for safe and efficient furnace operation. Understanding its lifespan, how to diagnose problems, and when to replace it can save you time, money, and a lot of frustration.
What is a Thermocouple and What Does It Do?
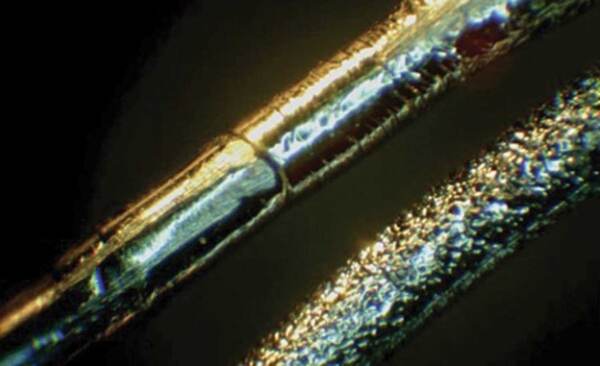
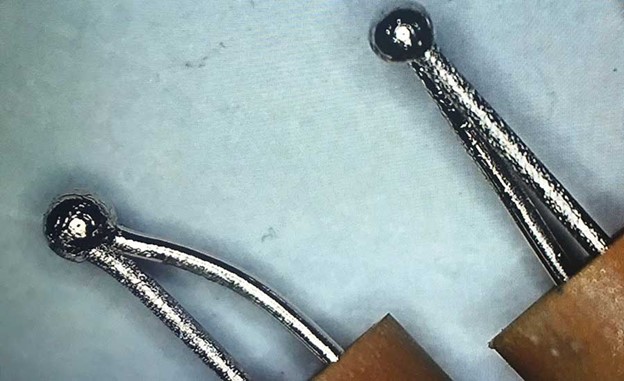
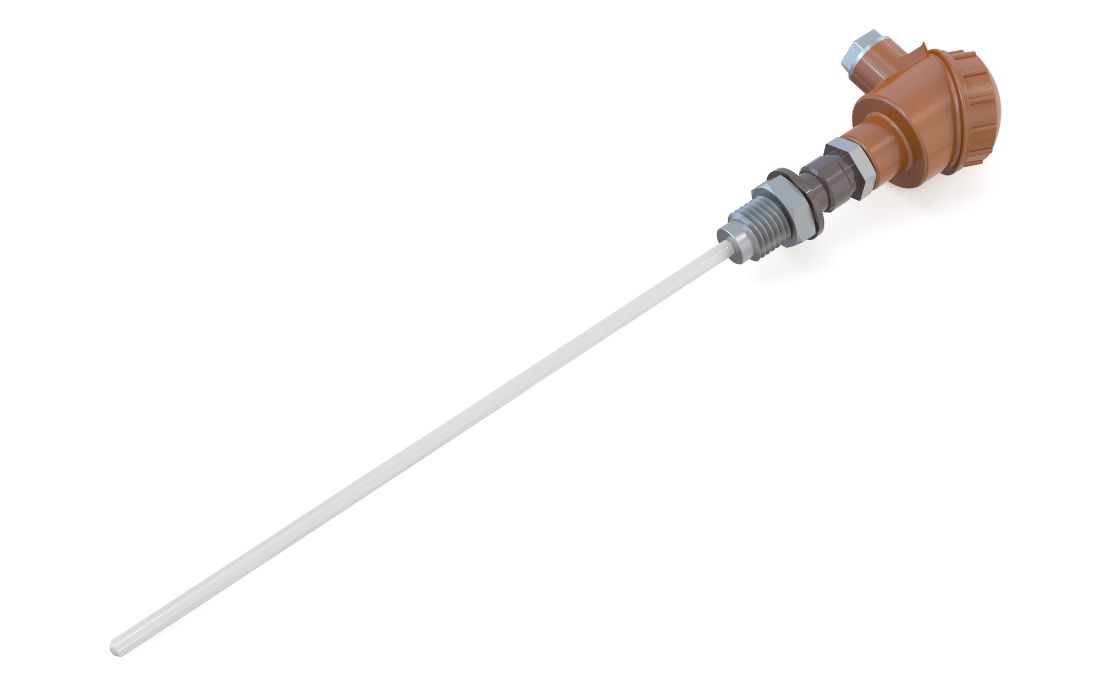
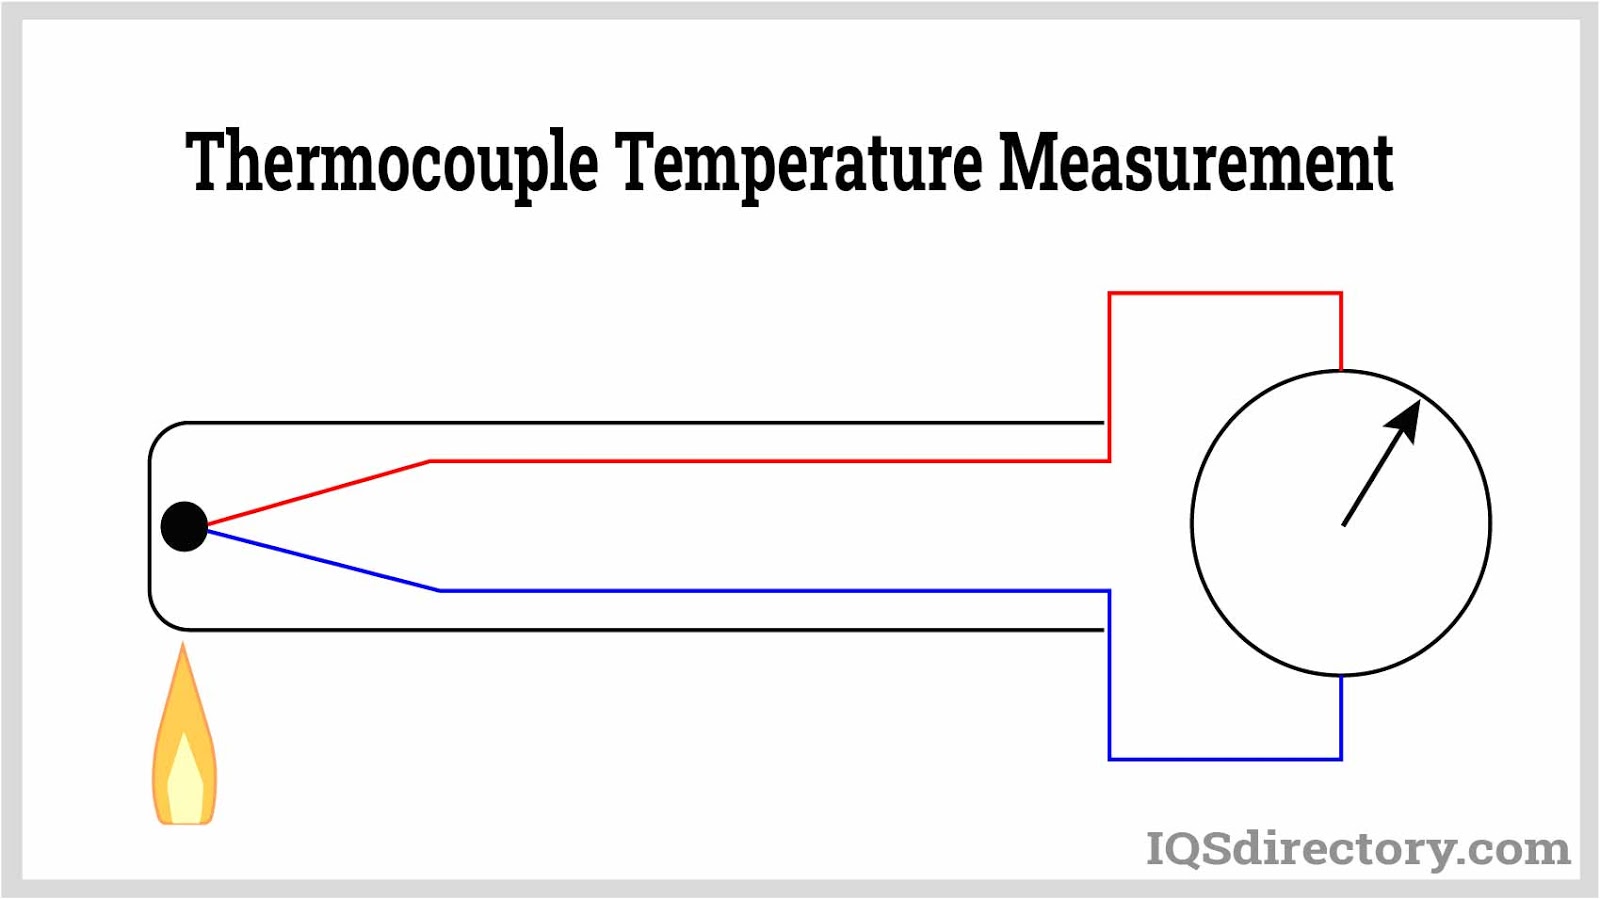
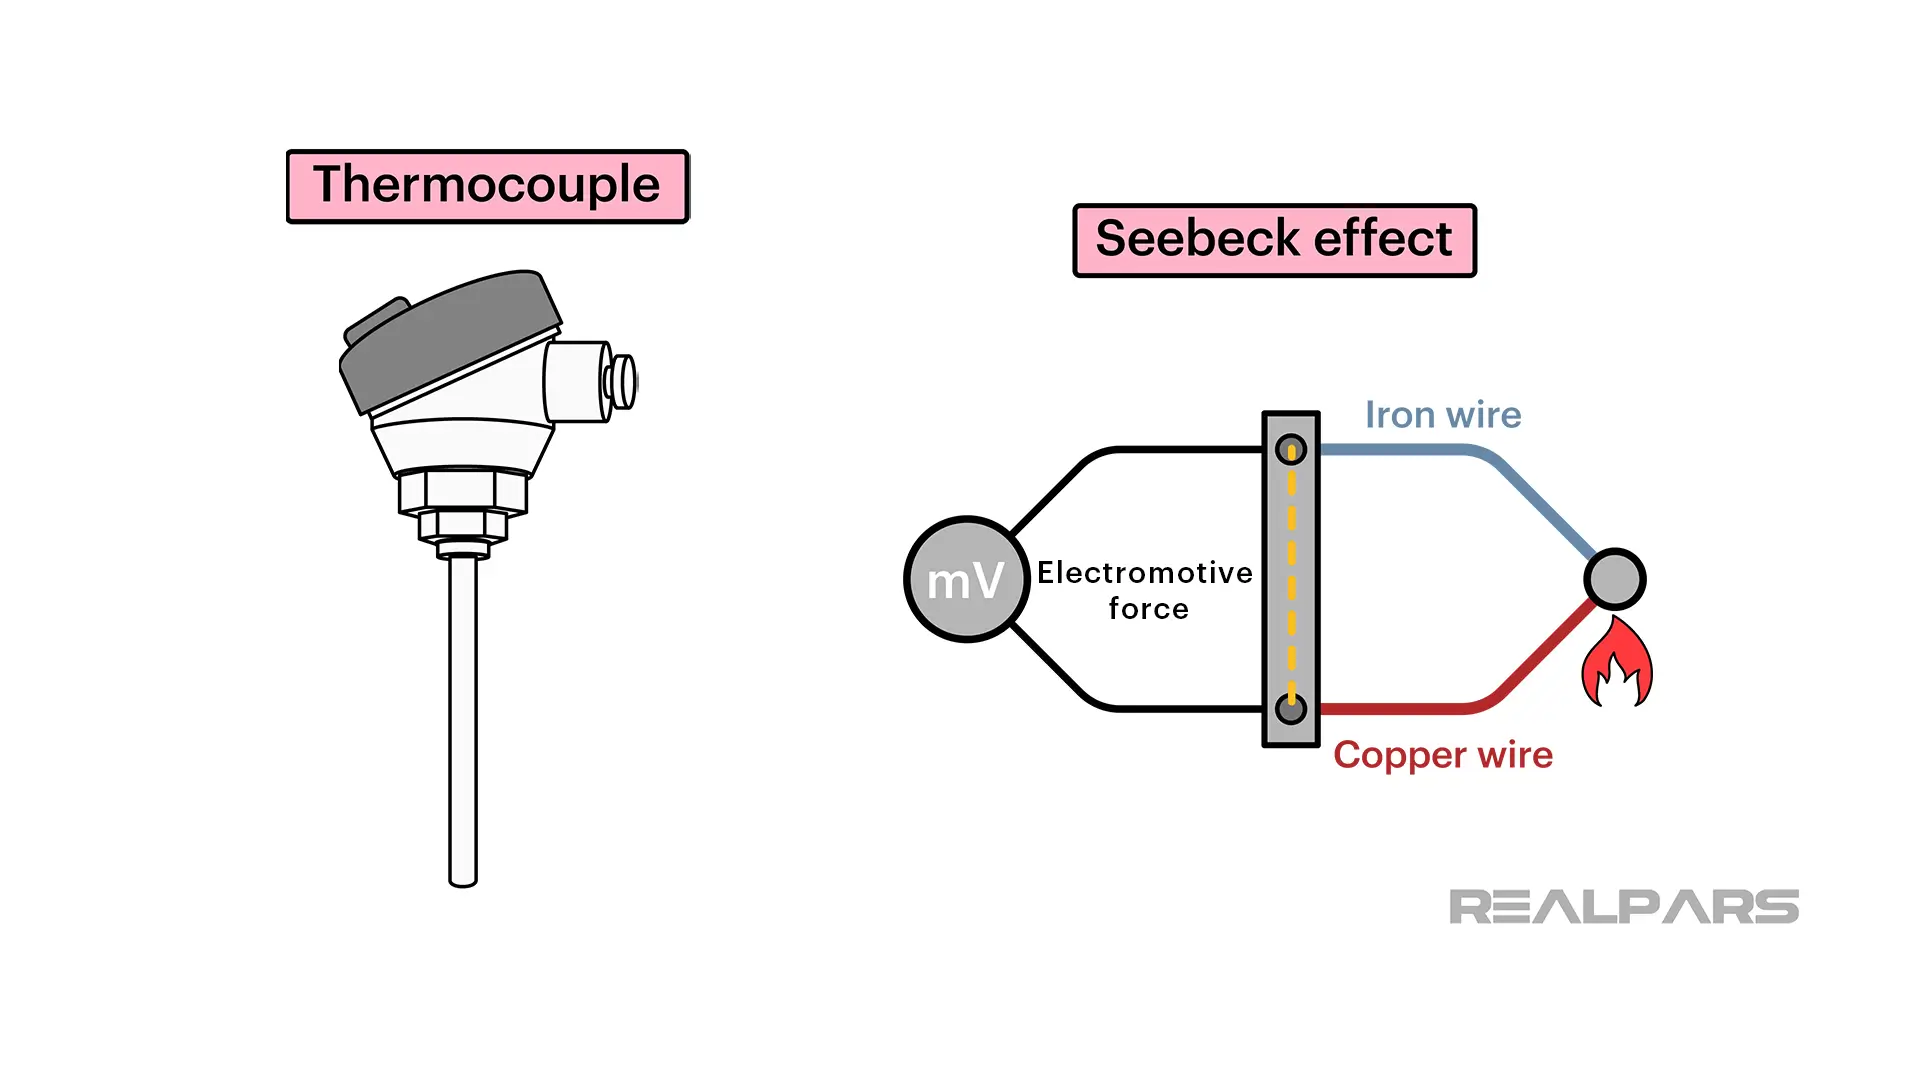
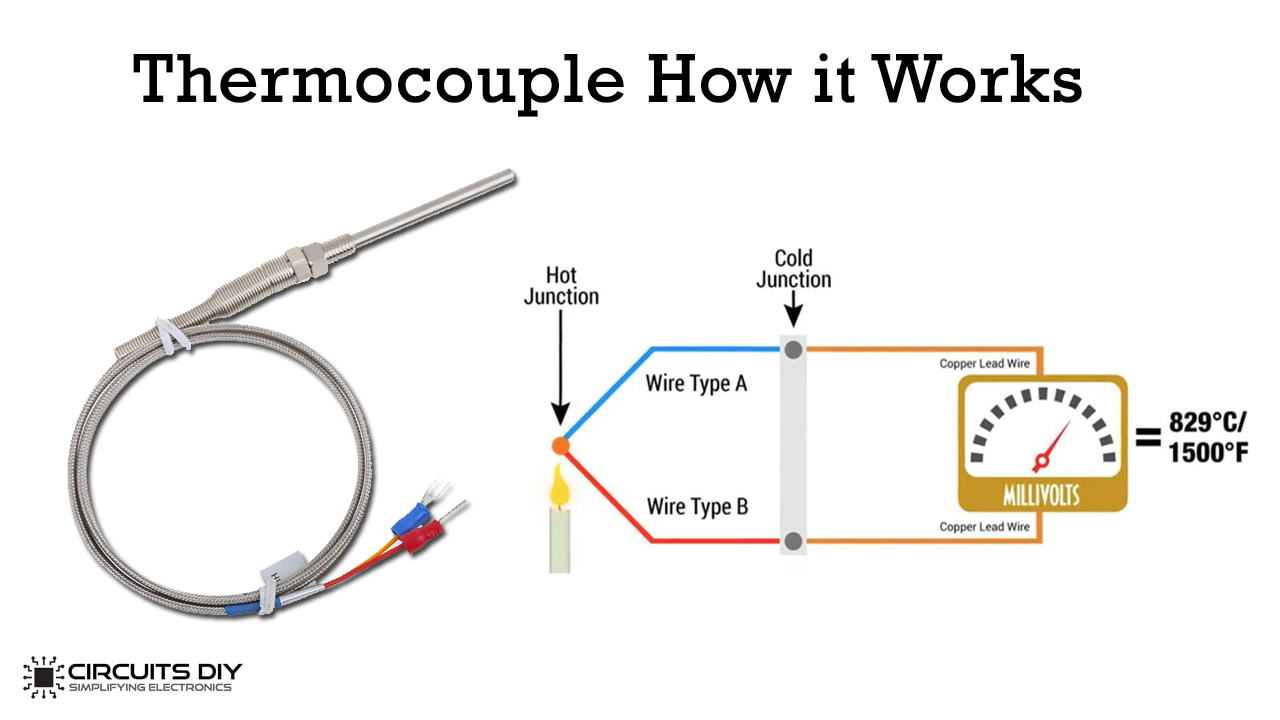
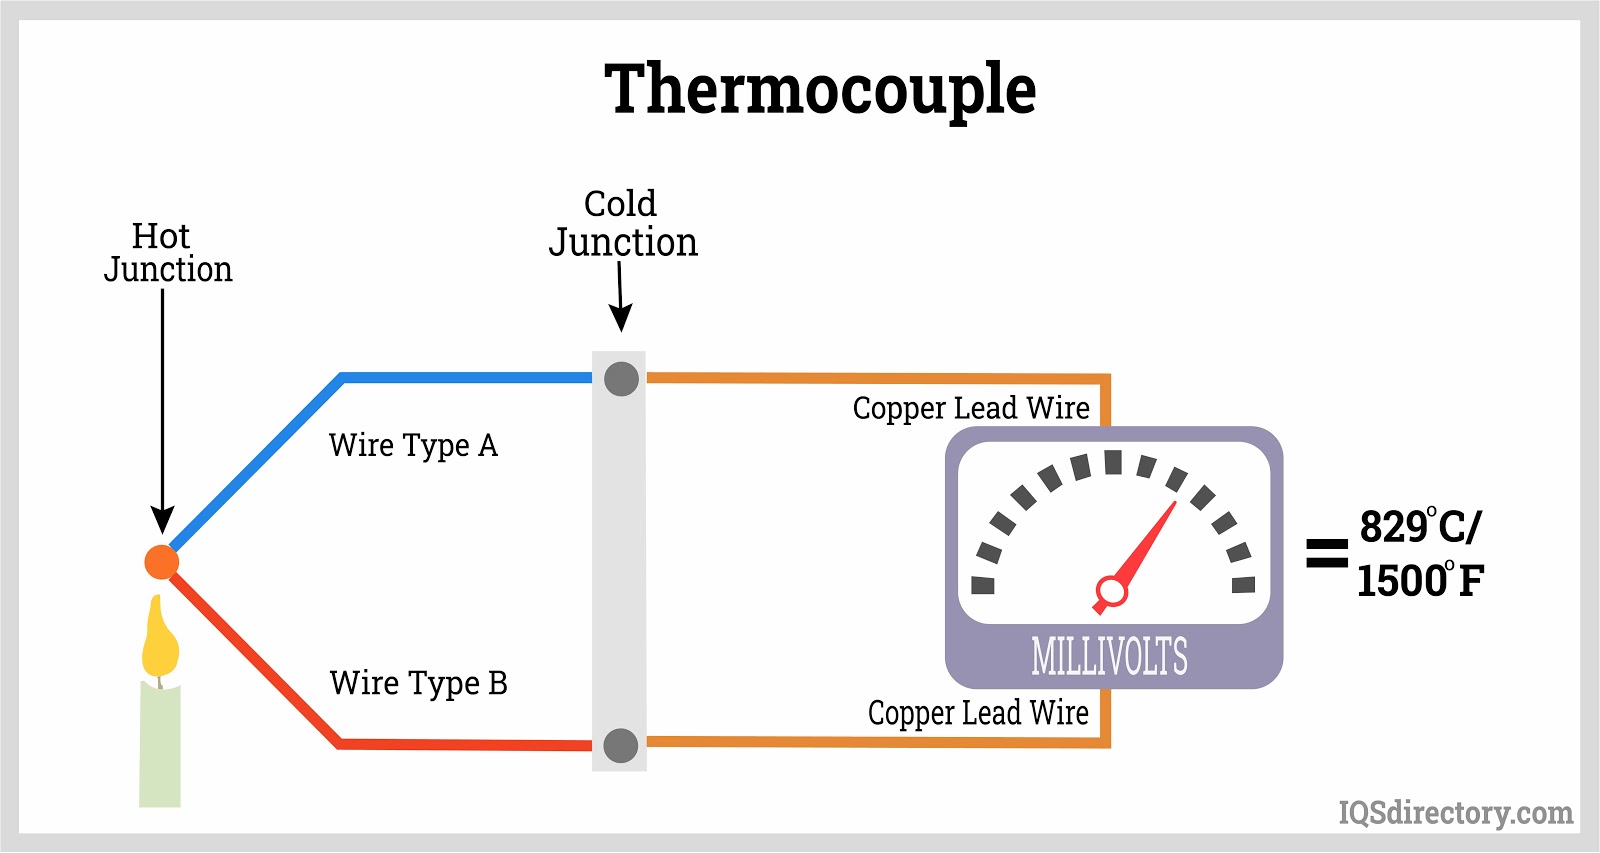
The thermocouple is a safety device that detects the presence of a pilot light flame in gas furnaces and some gas water heaters. It's typically a thin, copper rod positioned directly in the pilot flame. When the flame heats the thermocouple, it generates a tiny electrical current (around 30 millivolts DC). This current keeps the gas valve open, allowing gas to flow to the main burner. If the pilot light goes out, the thermocouple cools, the current stops, and the gas valve shuts off, preventing a potentially dangerous gas leak.
How Long Does a Thermocouple Typically Last?
A thermocouple's lifespan isn't precisely defined, but under normal operating conditions, you can generally expect it to last anywhere from 1 to 3 years. However, this can vary significantly depending on factors such as:
- Usage Frequency: Furnaces used heavily during long, cold winters will put more strain on the thermocouple.
- Environmental Conditions: Dusty or corrosive environments can accelerate wear and tear.
- Pilot Flame Quality: A weak or flickering pilot flame can cause inconsistent heating and shorten the thermocouple's life.
- Manufacturing Quality: Not all thermocouples are created equal. Higher quality components tend to last longer.
It's important to note that while a thermocouple might last longer than 3 years, its reliability decreases with age. Regular inspection and preventative maintenance are key to ensuring safe and efficient furnace operation.
Signs of a Failing Thermocouple
Recognizing the signs of a failing thermocouple can help you address the problem before it leads to a complete furnace shutdown. Here are some common indicators:
- Furnace won't stay lit: This is the most common symptom. The pilot light ignites, but when you release the gas control knob, the flame goes out.
- Pilot light flickers or is weak: A weak or unstable pilot light can indicate a problem with the gas supply, the burner, or the thermocouple itself.
- Frequent furnace shutdowns: The furnace might run for a short period, then shut down unexpectedly. This can be due to the thermocouple intermittently failing.
- Yellow or orange pilot flame: A healthy pilot flame should be blue. A yellow or orange flame indicates incomplete combustion, which can deposit soot on the thermocouple and reduce its effectiveness.
DIY Thermocouple Testing and Replacement
Before attempting any repairs, always turn off the gas supply to the furnace. Your safety is paramount.
Tools and Materials Needed:
- New thermocouple (ensure it's compatible with your furnace model)
- Adjustable wrench
- Screwdrivers (Phillips and flathead)
- Wire brush or sandpaper
- Multimeter (optional, for advanced testing)
- Work gloves
- Safety glasses
Step-by-Step Replacement Guide:
- Safety First: Turn off the gas supply to the furnace at the gas shut-off valve. Also, turn off the electrical power to the furnace at the breaker box.
- Access the Thermocouple: Remove the furnace access panel(s). You may need a screwdriver to loosen screws. Locate the thermocouple near the pilot light assembly.
- Disconnect the Old Thermocouple: Use an adjustable wrench to loosen the fitting that connects the thermocouple to the gas valve. Be careful not to overtighten or strip the threads.
- Remove the Thermocouple: Carefully remove the thermocouple from its mounting bracket. Note how it's positioned so you can install the new one correctly.
- Clean the Pilot Assembly: Use a wire brush or sandpaper to clean any corrosion or soot from the pilot light assembly. This will ensure good contact with the new thermocouple.
- Install the New Thermocouple: Insert the new thermocouple into the mounting bracket, ensuring it's positioned correctly in the pilot flame.
- Connect to the Gas Valve: Tighten the fitting that connects the thermocouple to the gas valve. Don't overtighten.
- Turn on the Gas and Power: Turn the gas supply back on and restore electrical power to the furnace.
- Test the Pilot Light: Follow the furnace manufacturer's instructions to relight the pilot light. Hold the gas control knob in for the recommended time (usually 20-30 seconds). If the pilot light stays lit after you release the knob, the replacement was successful.
- Replace the Access Panel(s): Securely reattach the furnace access panels.
Advanced Testing with a Multimeter (Optional):
If you have a multimeter and are comfortable using it, you can test the thermocouple's output voltage. Set the multimeter to measure DC millivolts. Connect the multimeter leads to the thermocouple wires. With the pilot light lit and the thermocouple heated, a healthy thermocouple should produce around 25-30 millivolts. If the voltage is significantly lower, the thermocouple is likely faulty.
Common Issues and Troubleshooting Tips
- Dirty Thermocouple: Soot and carbon buildup can insulate the thermocouple and prevent it from generating enough voltage. Clean the thermocouple with fine-grit sandpaper or a wire brush.
- Loose Connection: A loose connection at the gas valve can interrupt the electrical circuit. Ensure the fitting is properly tightened.
- Bent or Damaged Thermocouple: A bent or damaged thermocouple can affect its performance. Replace it with a new one.
- Faulty Gas Valve: In some cases, the gas valve itself may be faulty and not responding to the thermocouple's signal. This requires professional diagnosis and repair.
- Drafts: Strong drafts can blow out the pilot light. Ensure there are no drafts near the furnace.
When to Call a Professional HVAC Technician
While replacing a thermocouple is a relatively straightforward task, some situations require the expertise of a qualified HVAC technician. Call a professional if:
- You are uncomfortable working with gas lines or electrical components.
- You suspect a gas leak. If you smell gas, evacuate the area immediately and call your gas company or 911.
- The furnace continues to malfunction after replacing the thermocouple.
- You suspect a more complex problem, such as a faulty gas valve, a damaged heat exchanger, or a problem with the furnace control board.
- You are not confident in your ability to diagnose and repair the problem safely.
Estimated Thermocouple Replacement Cost
The cost of replacing a thermocouple can vary depending on whether you do it yourself or hire a professional.
- DIY Replacement: The cost of a new thermocouple typically ranges from $10 to $30.
- Professional Replacement: A professional HVAC technician will typically charge between $75 and $200 for a thermocouple replacement, including the cost of the part and labor. This cost can increase if other issues are discovered during the service call.
Preventative Maintenance for a Longer Lifespan
Regular preventative maintenance can help extend the lifespan of your thermocouple and ensure your furnace operates safely and efficiently. Consider these tips:
- Annual Furnace Inspection: Schedule an annual furnace inspection with a qualified HVAC technician. They can inspect the thermocouple, clean the burner assembly, and identify any potential problems before they become major issues.
- Clean the Pilot Light Assembly: Regularly clean the pilot light assembly to remove any soot or debris that can affect the thermocouple's performance.
- Check for Gas Leaks: Periodically check for gas leaks around the furnace and gas lines. If you smell gas, evacuate the area immediately and call your gas company or 911.
- Replace Air Filters Regularly: Clogged air filters can restrict airflow and cause the furnace to overheat, which can shorten the lifespan of various components, including the thermocouple.
By understanding the role of the thermocouple, recognizing the signs of a failing unit, and following these tips, you can keep your furnace running smoothly and safely for years to come.