How Long Does An Ac Unit Last In Arizona
Arizona summers are brutal, and a functioning AC unit isn't just a luxury; it's a necessity. A common worry for Arizona homeowners is: "How long will my AC unit actually last in this heat?" The average lifespan is 10-15 years, but that can vary significantly based on usage, maintenance, and the unit's initial quality. One of the first signs of trouble many face is reduced cooling efficiency. The AC runs constantly, your energy bills skyrocket, but the house just doesn't feel cool enough. Before you panic and call for a replacement, let's troubleshoot a few common culprits.
Diagnosing Reduced Cooling Efficiency
Start with the basics. Don't jump to the conclusion of a failing compressor right away. A methodical approach can save you time and money.
Step 1: Check the Thermostat
This may seem obvious, but it’s a frequent oversight. Is the thermostat set to COOL and at a temperature lower than the current room temperature?
- Solution: Ensure the thermostat is properly set. Try lowering the temperature setting by a few degrees to see if the AC kicks on and blows colder air.
- Also, check the thermostat's batteries. A weak battery can cause inaccurate readings and prevent the AC from operating correctly. Replace them with fresh batteries.
Step 2: Inspect the Air Filter
A dirty air filter is the #1 cause of reduced AC efficiency. A clogged filter restricts airflow, forcing the AC unit to work harder and less effectively. This increased strain can lead to premature failure of other components.
- Diagnosis: Locate the air filter (usually behind a grille inside your home or in the air handler unit). Remove the filter and hold it up to the light. If you can barely see through it, it's time for a change.
- DIY Fix: Replace the filter with a new one of the correct size and type (refer to your AC unit's manual or the old filter for specifications). Aim to replace your filter every 1-3 months, especially during peak summer months.
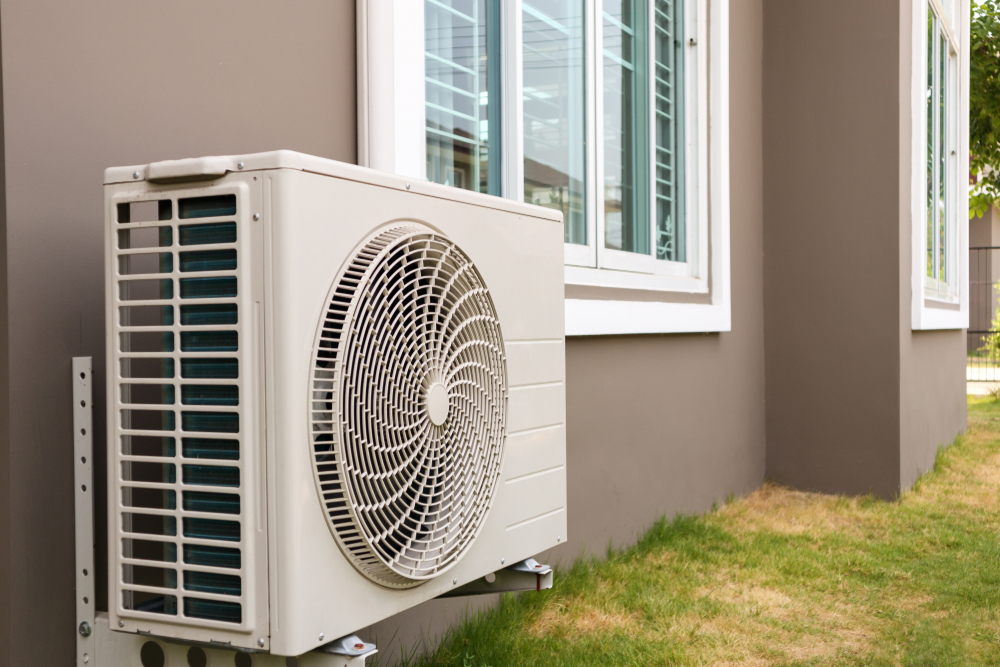
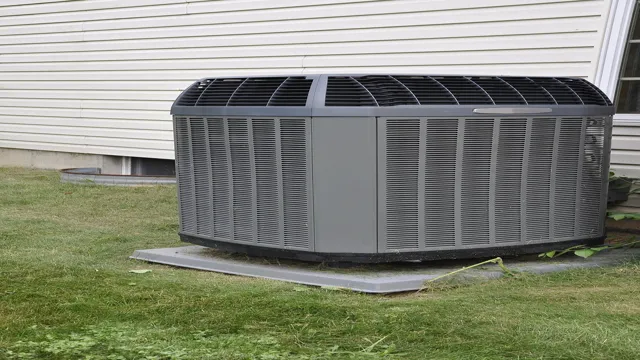
Step 3: Examine the Outdoor Unit (Condenser)
The outdoor condenser unit is crucial for releasing heat from your home. If it's blocked or dirty, it can't do its job properly.
- Diagnosis: Visually inspect the condenser unit. Look for:
- Debris: Leaves, grass clippings, branches, or other obstructions blocking airflow around the unit.
- Bent Fins: The thin metal fins surrounding the condenser coils are easily bent.
- Dirt and Dust: A layer of grime can insulate the coils, reducing their ability to release heat.
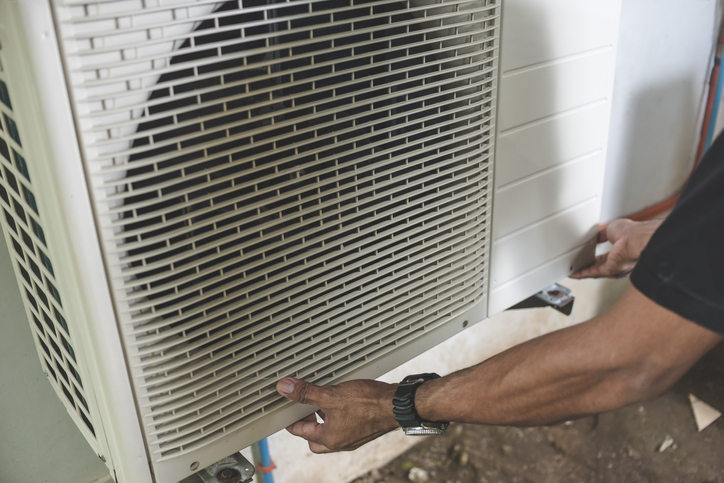
- DIY Fix (with caution!):
- Clear Debris: Carefully remove any debris blocking airflow around the unit. Use gloves to protect your hands.
- Straighten Bent Fins: You can gently straighten bent fins using a fin comb (available at most hardware stores). Be careful not to damage the fins further.
- Clean the Coils: Turn off the power to the AC unit at the breaker box! Use a garden hose with a gentle spray nozzle to rinse the condenser coils from the inside out. Avoid using high pressure, as it can damage the fins. A specialized coil cleaner can be used for tougher grime, but follow the product instructions carefully. Allow the unit to dry completely before turning the power back on.
Step 4: Check the Indoor Unit (Evaporator Coil)
Similar to the condenser coil, the evaporator coil (located inside the air handler) can also become dirty, reducing cooling efficiency.
- Diagnosis: Accessing the evaporator coil often requires removing panels from the air handler. If you're not comfortable with this, it's best to call a professional. However, if you're experienced with basic HVAC maintenance, you can carefully remove the access panel (after turning off the power, of course!). Look for a buildup of dust, dirt, or mold on the coil.
- DIY Fix (Proceed with Extreme Caution!):
- Cleaning: Cleaning the evaporator coil is more complex than cleaning the condenser coil. You can try using a vacuum cleaner with a brush attachment to carefully remove loose dust and debris. However, for a thorough cleaning, a specialized evaporator coil cleaner is recommended. Again, follow the product instructions precisely and ensure the area is well-ventilated. Wear appropriate safety gear, including gloves and eye protection. Improper cleaning can damage the coil and lead to costly repairs.
- If you see signs of mold, it's crucial to call a professional for mold remediation.
Step 5: Inspect Ductwork for Leaks
Leaky ductwork can waste a significant amount of cooled air, forcing your AC unit to work harder and longer. In Arizona's hot attics, this is a major problem.
- Diagnosis: Inspect your ductwork, especially in the attic or crawlspace. Look for:
- Visible tears or gaps in the ductwork.
- Loose connections between duct sections.
- Areas where the ductwork has become detached from vents or registers.
- DIY Fix:
- Seal Small Leaks: Use aluminum foil tape (not duct tape, which dries out and cracks over time) to seal small leaks and gaps in the ductwork. Ensure the surface is clean and dry before applying the tape.
- Reconnect Loose Connections: Use metal clamps or straps to secure loose connections between duct sections. Wrap the connections with aluminum foil tape for an airtight seal.
- For large tears or damaged sections of ductwork, it's best to call a professional. Replacing sections of ductwork requires specialized tools and knowledge.
When to Call a Professional
While many AC problems can be addressed with simple DIY fixes, there are times when professional help is essential. Attempting to repair complex AC issues without the proper knowledge and tools can be dangerous and can void your warranty.
Call a qualified HVAC technician if you experience any of the following:
- Refrigerant Leaks: Refrigerant is a hazardous substance, and leaks require specialized equipment and expertise to repair. Signs of a refrigerant leak include:
- Ice buildup on the refrigerant lines.
- A hissing sound coming from the AC unit.
- Reduced cooling performance despite other troubleshooting efforts.
- Compressor Problems: The compressor is the heart of your AC unit. If it fails, the entire unit may need to be replaced. Signs of compressor problems include:
- Unusual noises coming from the outdoor unit (grinding, screeching, or banging).
- The AC unit not turning on at all.
- The circuit breaker tripping frequently when the AC unit is running.
- Electrical Issues: Working with electricity can be dangerous. If you suspect an electrical problem with your AC unit, such as a short circuit or faulty wiring, do not attempt to fix it yourself. Call a qualified electrician or HVAC technician.
- Evaporator Coil Freezing: While a dirty air filter can cause the evaporator coil to freeze, other factors, such as low refrigerant levels or a malfunctioning blower motor, can also be to blame. A professional can diagnose the underlying cause and repair the problem.
- Strange Smells: Burning smells, musty odors, or other unusual smells coming from your AC unit could indicate a serious problem, such as a burnt-out motor or mold growth.
- Unit is Older Than 10 Years and Requires Frequent Repairs: At a certain point, continually repairing an old AC unit becomes more expensive than replacing it with a new, more efficient model. A professional can assess the condition of your unit and advise you on the best course of action.
- You are Not Comfortable Performing the Repairs: If you are not comfortable working with electrical components, handling refrigerant, or disassembling your AC unit, it's always best to call a professional.
Extending the Life of Your AC Unit in Arizona
While 10-15 years is the average lifespan, you can significantly extend the life of your AC unit with proper care and maintenance. Here are some tips:
- Regular Maintenance: Schedule annual maintenance with a qualified HVAC technician. They can inspect the unit, clean the coils, check refrigerant levels, and identify potential problems before they become major issues.
- Change Air Filters Regularly: As mentioned earlier, replacing your air filter every 1-3 months is crucial for maintaining efficiency and prolonging the life of your AC unit.
- Keep the Outdoor Unit Clear: Regularly clear debris from around the outdoor condenser unit to ensure proper airflow.
- Use a Programmable Thermostat: A programmable thermostat allows you to adjust the temperature settings based on your schedule, reducing energy consumption and wear and tear on your AC unit. Consider raising the temperature a few degrees when you're away from home or asleep.
- Consider Shade: Providing shade for your outdoor unit can help it run more efficiently. Plant trees or shrubs around the unit (but be sure to keep them trimmed so they don't block airflow). You can also build a simple shade structure.
- Seal Windows and Doors: Properly sealing windows and doors prevents air leaks, reducing the strain on your AC unit.
- Improve Insulation: Adequate insulation in your attic and walls helps keep your home cooler in the summer, reducing the amount of work your AC unit has to do.
By following these troubleshooting steps and maintenance tips, you can help ensure that your AC unit lasts as long as possible and keeps you cool and comfortable throughout the scorching Arizona summers. Remember, when in doubt, always err on the side of caution and call a professional. Your comfort and safety are worth it.