How Long Does It Take To Replace An Evaporator Coil

Understanding the lifespan and eventual replacement of your HVAC system's evaporator coil is critical for maintaining optimal energy efficiency and keeping your cooling costs down. A failing evaporator coil can significantly impact your energy bills, reduce cooling capacity, and even lead to more serious and expensive HVAC problems down the line. So, how long does it *actually* take to replace an evaporator coil, and what factors influence that timeframe? Let's dive in.
The Evaporator Coil Replacement Timeline: A Breakdown
The duration of an evaporator coil replacement isn't a one-size-fits-all answer. It can range from a few hours to a full day, or even longer, depending on several key variables. Here's a detailed look at what to expect:
Phase 1: Diagnosis and Preparation (1-2 Hours)
Before any tools are even touched, a qualified HVAC technician needs to properly diagnose the issue. This involves:
- System Inspection: A thorough examination of your entire HVAC system to identify the source of the problem. This includes checking refrigerant levels, airflow, and other components.
- Leak Detection: Locating the refrigerant leak in the evaporator coil is crucial. Techniques include using electronic leak detectors, soap bubble tests, and UV dye.
- Coil Assessment: Determining the extent of the damage to the evaporator coil. Is it a minor leak, or is the coil severely corroded? This will influence the type of repair or replacement needed.
- System Shutdown: Properly shutting down the HVAC system to ensure safety and prevent further damage. This includes disconnecting the power supply and isolating the refrigerant circuit.
Once the diagnosis is confirmed and the replacement is deemed necessary, the technician will prepare the work area. This includes gathering necessary tools and materials, protecting the surrounding area, and obtaining the correct replacement coil. This phase can take between 1 to 2 hours.
Phase 2: Evaporator Coil Removal (2-4 Hours)
Removing the old evaporator coil is often the most labor-intensive part of the process. Here's what's involved:
- Refrigerant Recovery: All remaining refrigerant must be recovered using specialized equipment, in compliance with EPA regulations. This prevents harmful emissions into the atmosphere.
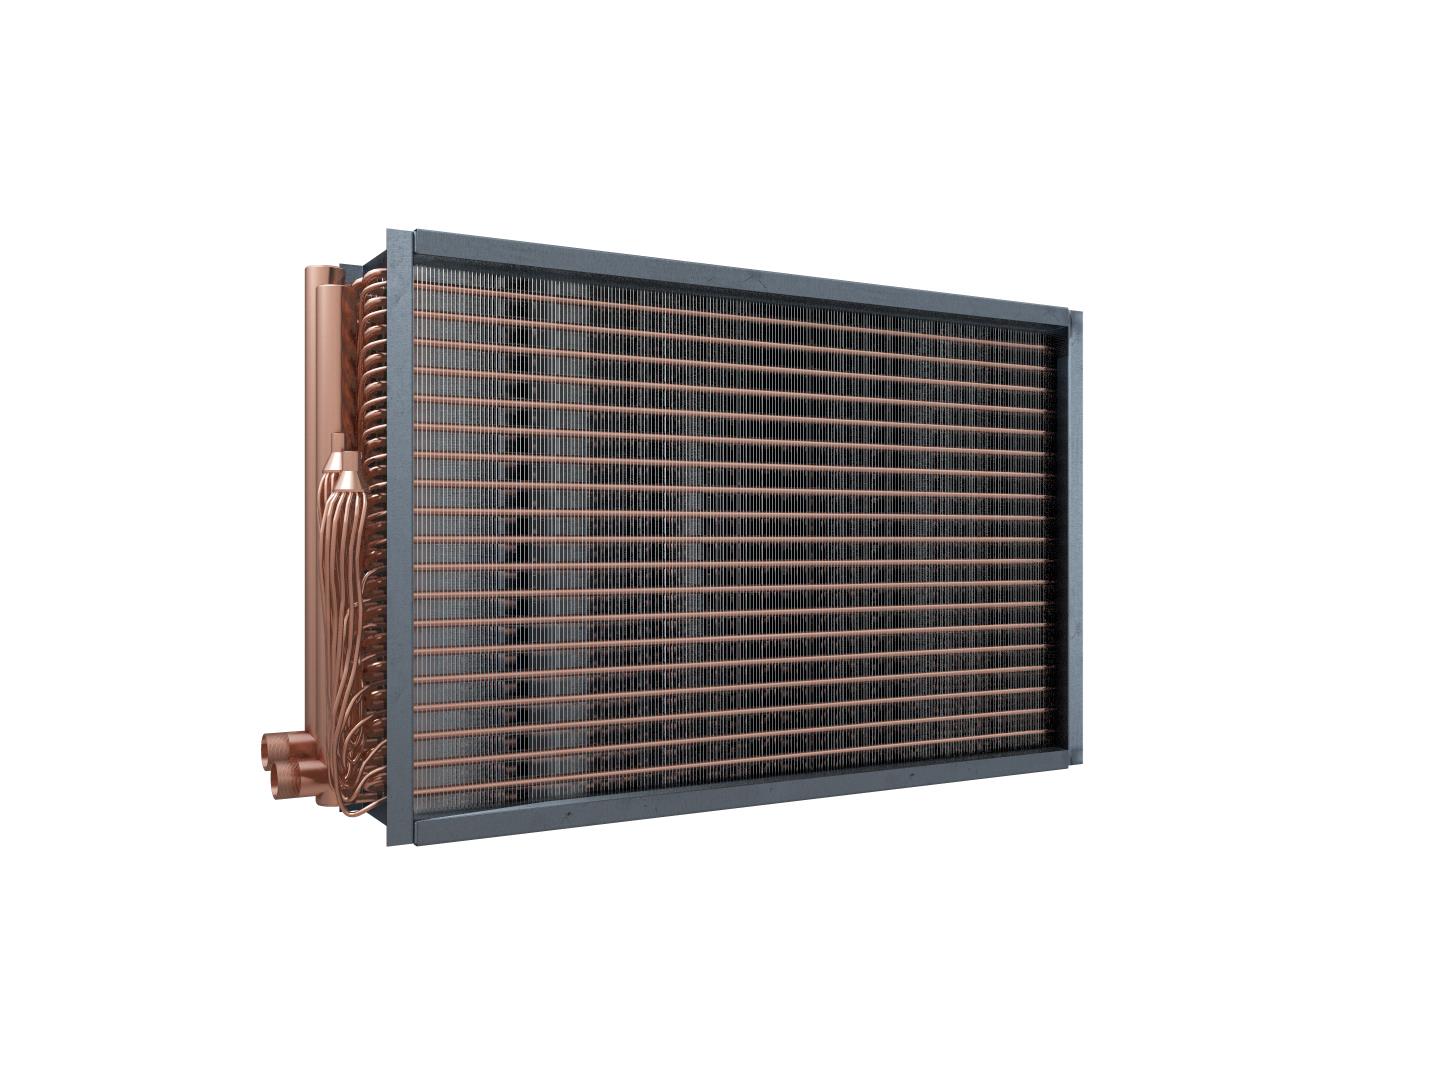
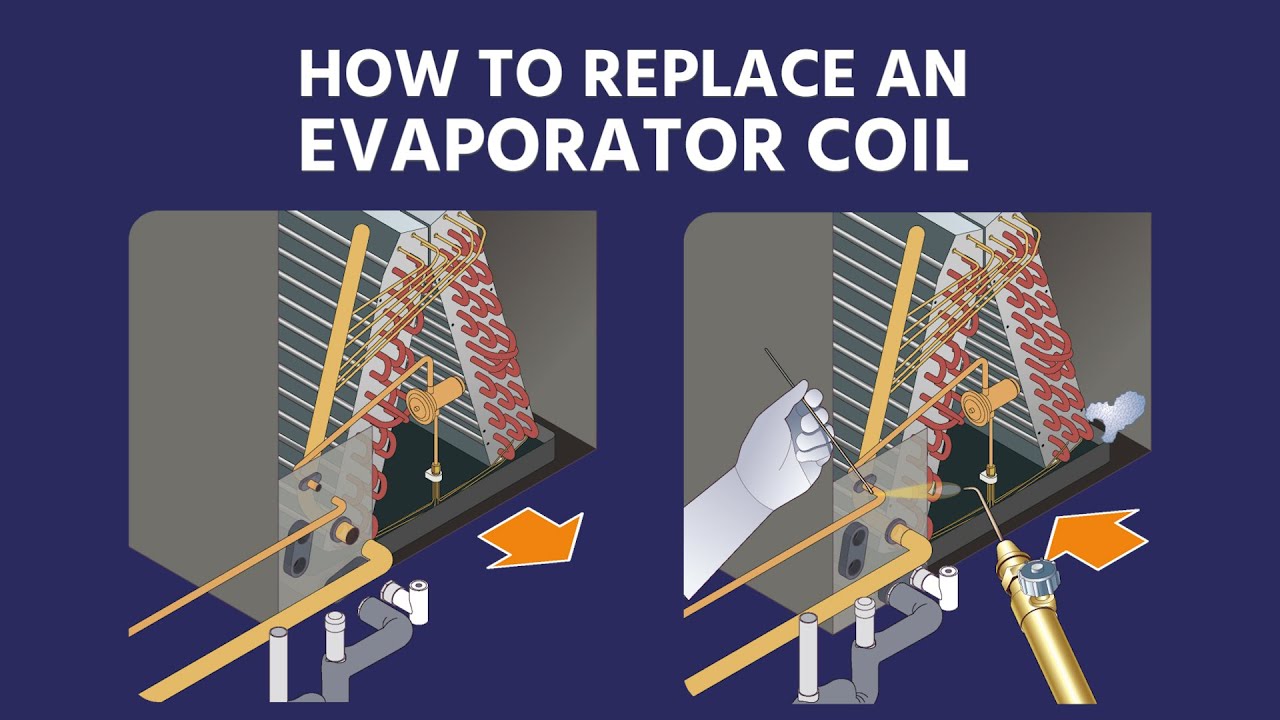
- Disconnecting Lines: Carefully disconnecting the refrigerant lines connected to the evaporator coil. This often involves cutting or brazing copper tubing.
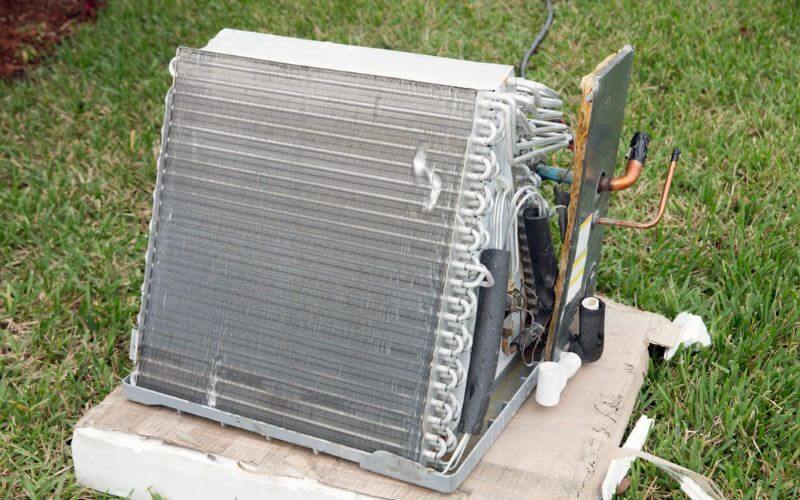
- Coil Removal: Physically removing the old coil from its housing. This can be challenging depending on the location of the coil and the design of the air handler.
- Cleaning the Area: Removing any debris or corrosion from the coil compartment to ensure a clean surface for the new coil.
This phase can take anywhere from 2 to 4 hours, depending on the accessibility of the coil and the complexity of the connections.
Phase 3: New Evaporator Coil Installation (2-4 Hours)
Installing the new evaporator coil requires precision and attention to detail:
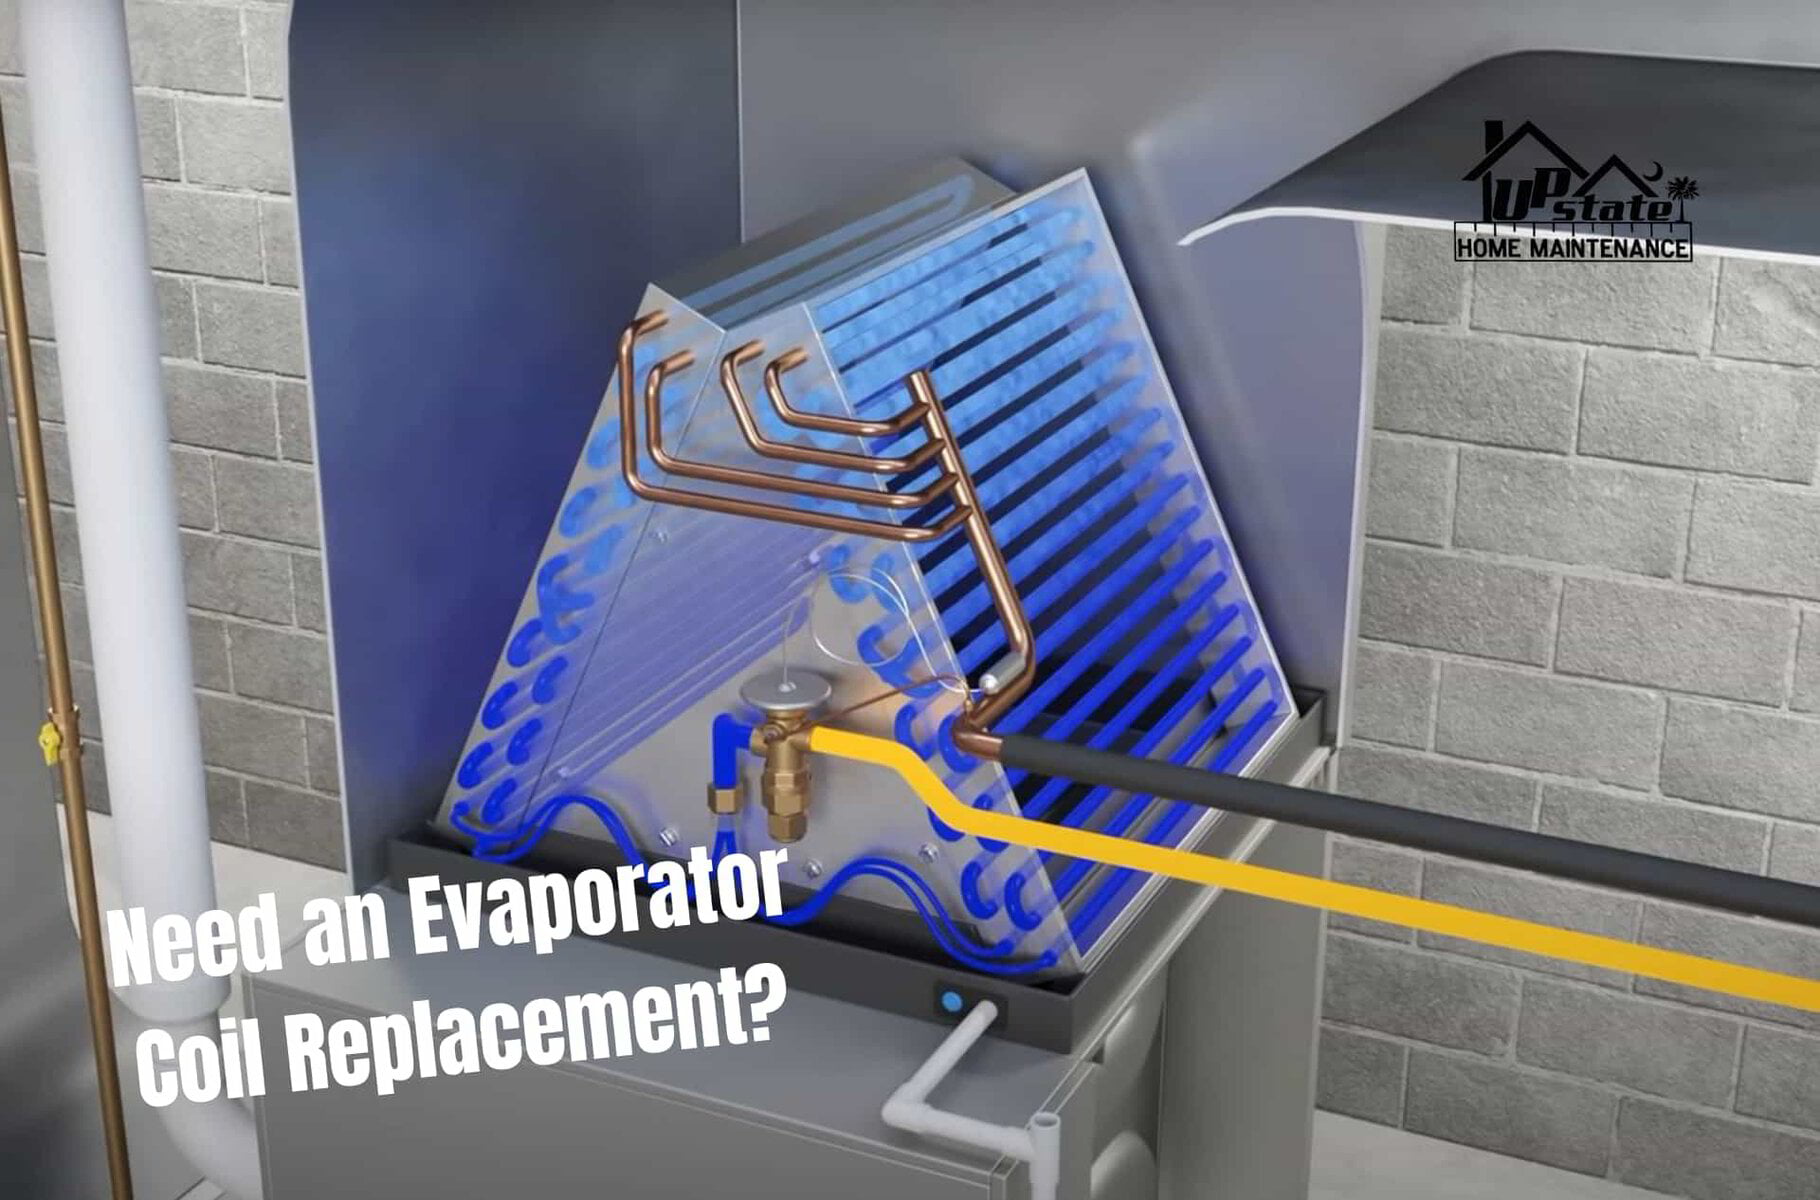
- Coil Placement: Carefully positioning the new coil in the air handler, ensuring it is properly aligned and secured.
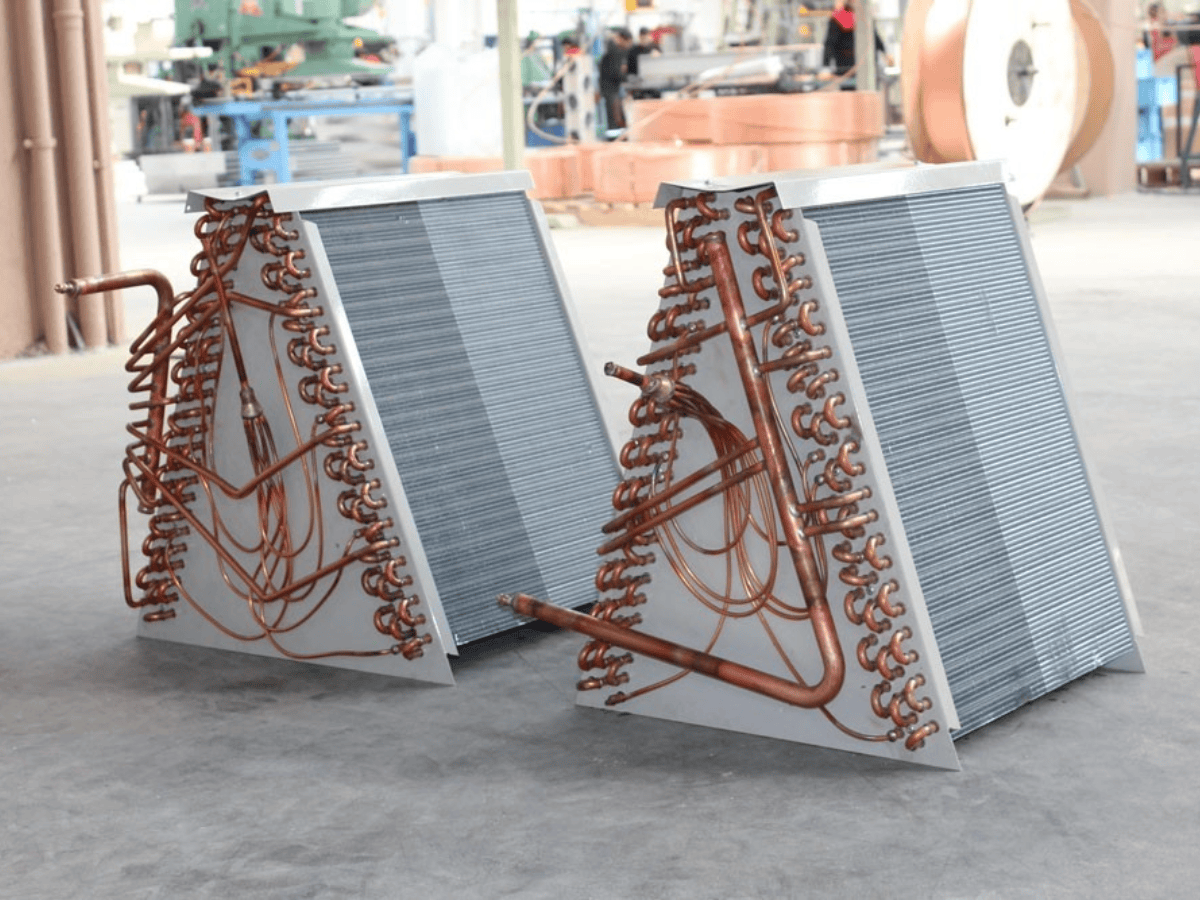
- Connecting Lines: Reconnecting the refrigerant lines to the new coil. This typically involves brazing copper tubing to create a secure and leak-proof seal.
- Pressure Testing: Pressurizing the system with nitrogen to check for leaks before recharging with refrigerant.
- Insulation: Insulating the refrigerant lines to prevent condensation and energy loss.
Similar to the removal phase, installation usually takes 2 to 4 hours. Proper brazing is critical to prevent future leaks, which can negate the energy savings from the new coil.
Phase 4: System Recharge and Testing (1-2 Hours)
The final phase involves bringing the system back online and verifying its performance:
- Refrigerant Recharge: Carefully recharging the system with the correct amount of refrigerant, according to the manufacturer's specifications.
- System Startup: Powering on the HVAC system and monitoring its operation.
- Performance Testing: Checking the supply and return air temperatures to ensure the system is cooling properly. Measuring airflow and refrigerant pressures to verify optimal performance.
- Final Inspection: A final inspection to ensure all connections are secure, insulation is properly installed, and the system is running smoothly.
This final phase typically takes 1 to 2 hours. Getting the refrigerant charge *exactly* right is essential for energy efficiency. Overcharging or undercharging can significantly impact performance and increase energy consumption.
Factors Affecting Replacement Time
As mentioned, the timeframe can vary significantly. Several factors influence the overall replacement time:
- Accessibility: How easy is it to access the evaporator coil? Difficult-to-reach coils in tight spaces will naturally take longer to replace.
- System Age: Older systems may have corroded or damaged components that are difficult to disconnect.
- Technician Experience: An experienced and skilled HVAC technician will be able to complete the job more efficiently and accurately.
- Coil Location: Evaporator coils can be located indoors, often within the air handler, or outdoors, as part of a packaged unit. Outdoor units are generally easier to access.
- System Complexity: More complex HVAC systems, such as those with multiple zones or advanced features, may require more time to diagnose and repair.
- Permits: Depending on local regulations, you may need permits for refrigerant handling, which can add time to the project.
The Energy Savings and ROI of a New Evaporator Coil
Replacing a faulty evaporator coil isn't just about restoring your cooling capacity; it's about improving energy efficiency and saving money in the long run. Here's how:
- Increased Efficiency: A new coil operates at peak efficiency, reducing energy consumption and lowering your utility bills. According to the Energy Star program, upgrading to a high-efficiency HVAC system can save you up to 20% on your heating and cooling costs.
- Reduced Refrigerant Leaks: Leaks not only harm the environment but also force your system to work harder, consuming more energy. A new coil eliminates this problem.
- Improved Comfort: A properly functioning evaporator coil ensures consistent and even cooling throughout your home.
- Extended System Lifespan: Addressing a faulty coil early can prevent further damage to other HVAC components, extending the lifespan of your entire system.
The ROI of a new evaporator coil depends on factors like your climate, energy rates, and the efficiency of your new coil. However, in many cases, the energy savings can offset the cost of replacement within a few years. Don't forget to check for local rebates and tax credits for energy-efficient HVAC upgrades. Many utility companies offer incentives for installing Energy Star certified equipment.
Smart HVAC Integration: Maximizing Energy Savings
To further enhance your energy savings, consider integrating your new evaporator coil with a smart HVAC system. Smart thermostats and sensors can provide valuable insights into your energy usage and allow you to optimize your cooling settings. Here's how:
- Smart Thermostats: Learn your temperature preferences and automatically adjust the thermostat to save energy when you're away or asleep. Some models even offer geofencing capabilities, adjusting the temperature based on your location.
- Smart Sensors: Monitor temperature and humidity levels in different rooms, allowing you to fine-tune your cooling settings and ensure consistent comfort throughout your home.
- Remote Control: Control your HVAC system from anywhere using your smartphone or tablet. This allows you to adjust the temperature remotely, ensuring your home is comfortable when you arrive.
- Energy Monitoring: Track your energy usage in real-time, providing valuable data that can help you identify areas where you can save even more energy.
By combining a new, energy-efficient evaporator coil with a smart HVAC system, you can significantly reduce your energy consumption, lower your utility bills, and create a more comfortable and sustainable home environment.
Choosing the Right HVAC Contractor
The success of your evaporator coil replacement hinges on choosing a qualified and reputable HVAC contractor. Here are some tips:
- Check Credentials: Ensure the contractor is licensed and insured in your state.
- Read Reviews: Look for online reviews and testimonials from previous customers.
- Get Multiple Quotes: Obtain quotes from at least three different contractors to compare pricing and services.
- Ask About Experience: Inquire about the contractor's experience with evaporator coil replacements, particularly with the type of system you have.
- Verify Certifications: Look for contractors who are certified by organizations like NATE (North American Technician Excellence), which indicates a high level of training and expertise.
- Warranties: Clarify what warranties are offered on both the parts and labor. A good contractor will stand behind their work.
Don't be afraid to ask questions and request references. A reputable contractor will be happy to provide you with all the information you need to make an informed decision.
Conclusion
Replacing an evaporator coil is an investment in your home's comfort, energy efficiency, and long-term sustainability. While the replacement process can take anywhere from a few hours to a full day, the energy savings and improved cooling performance make it a worthwhile investment. By understanding the factors that influence replacement time, integrating smart HVAC technology, and choosing a qualified contractor, you can ensure a smooth and efficient replacement process that saves you money and enhances your home's comfort for years to come. Remember to always prioritize energy efficiency and sustainability when making HVAC decisions. You can save money while also making a positive impact on the environment.