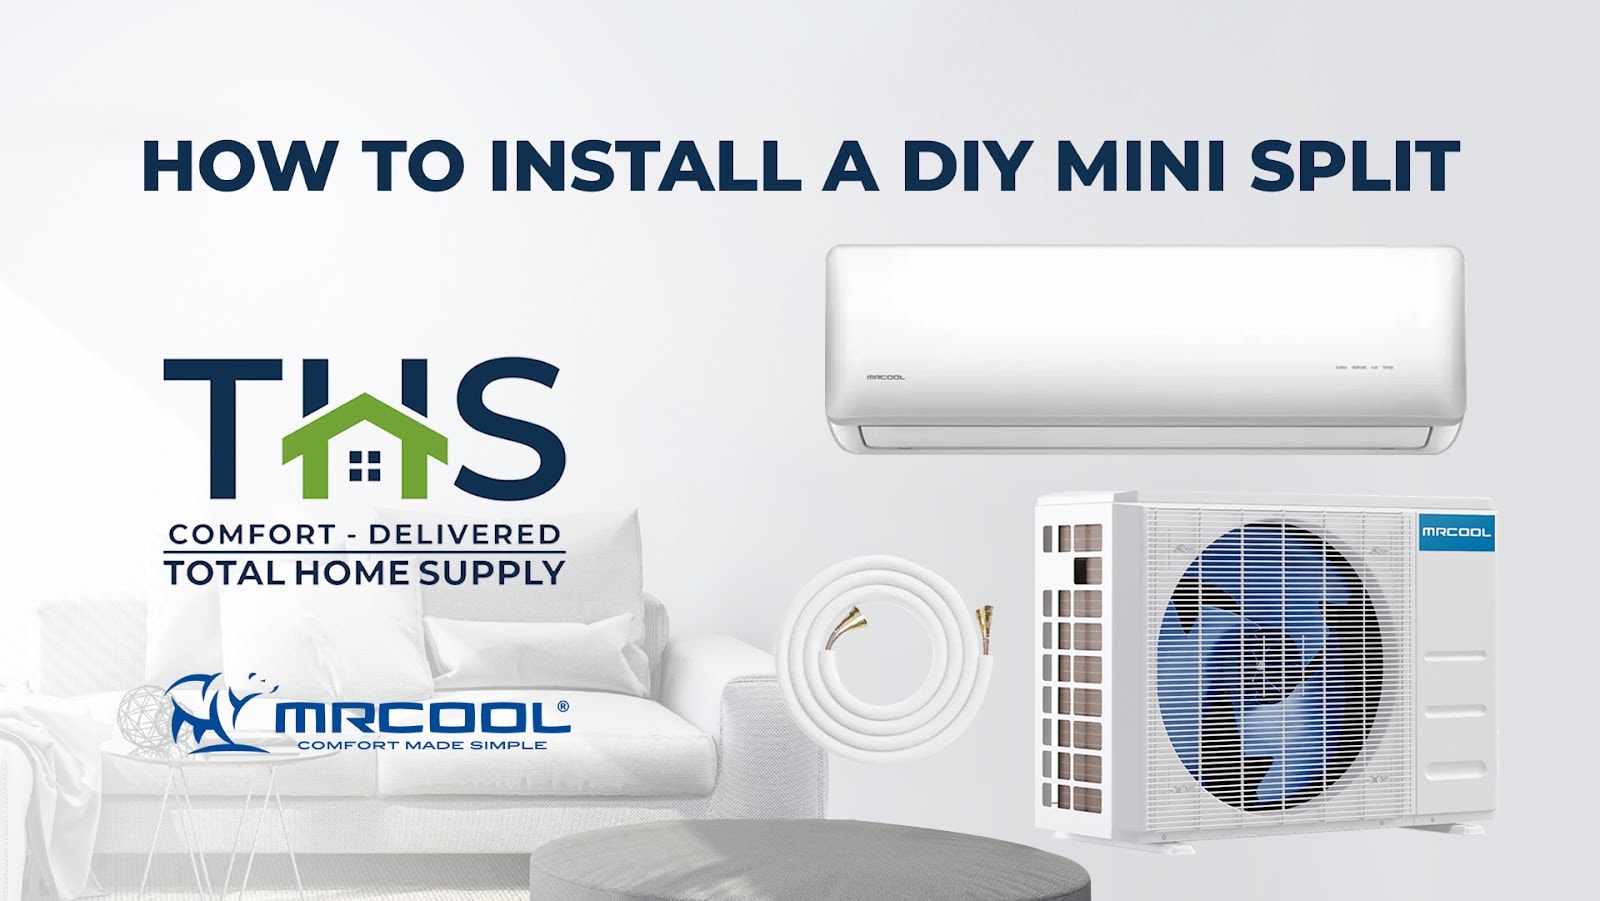
How Long To Install A Mini Split
Are you considering installing a mini split system for your home? Maybe you're tired of uneven temperatures, struggling with inefficient window units, or simply want more targeted heating and cooling. Understanding the installation process and the time involved is key to a smooth transition. This article breaks down the factors that influence the installation timeline and helps you estimate how long it will take to enjoy the benefits of your new mini split.
Factors Affecting Mini Split Installation Time
The time it takes to install a mini split system can vary greatly depending on several factors. It's not a one-size-fits-all answer, so let's delve into the main aspects that influence the duration:
1. System Complexity and Size
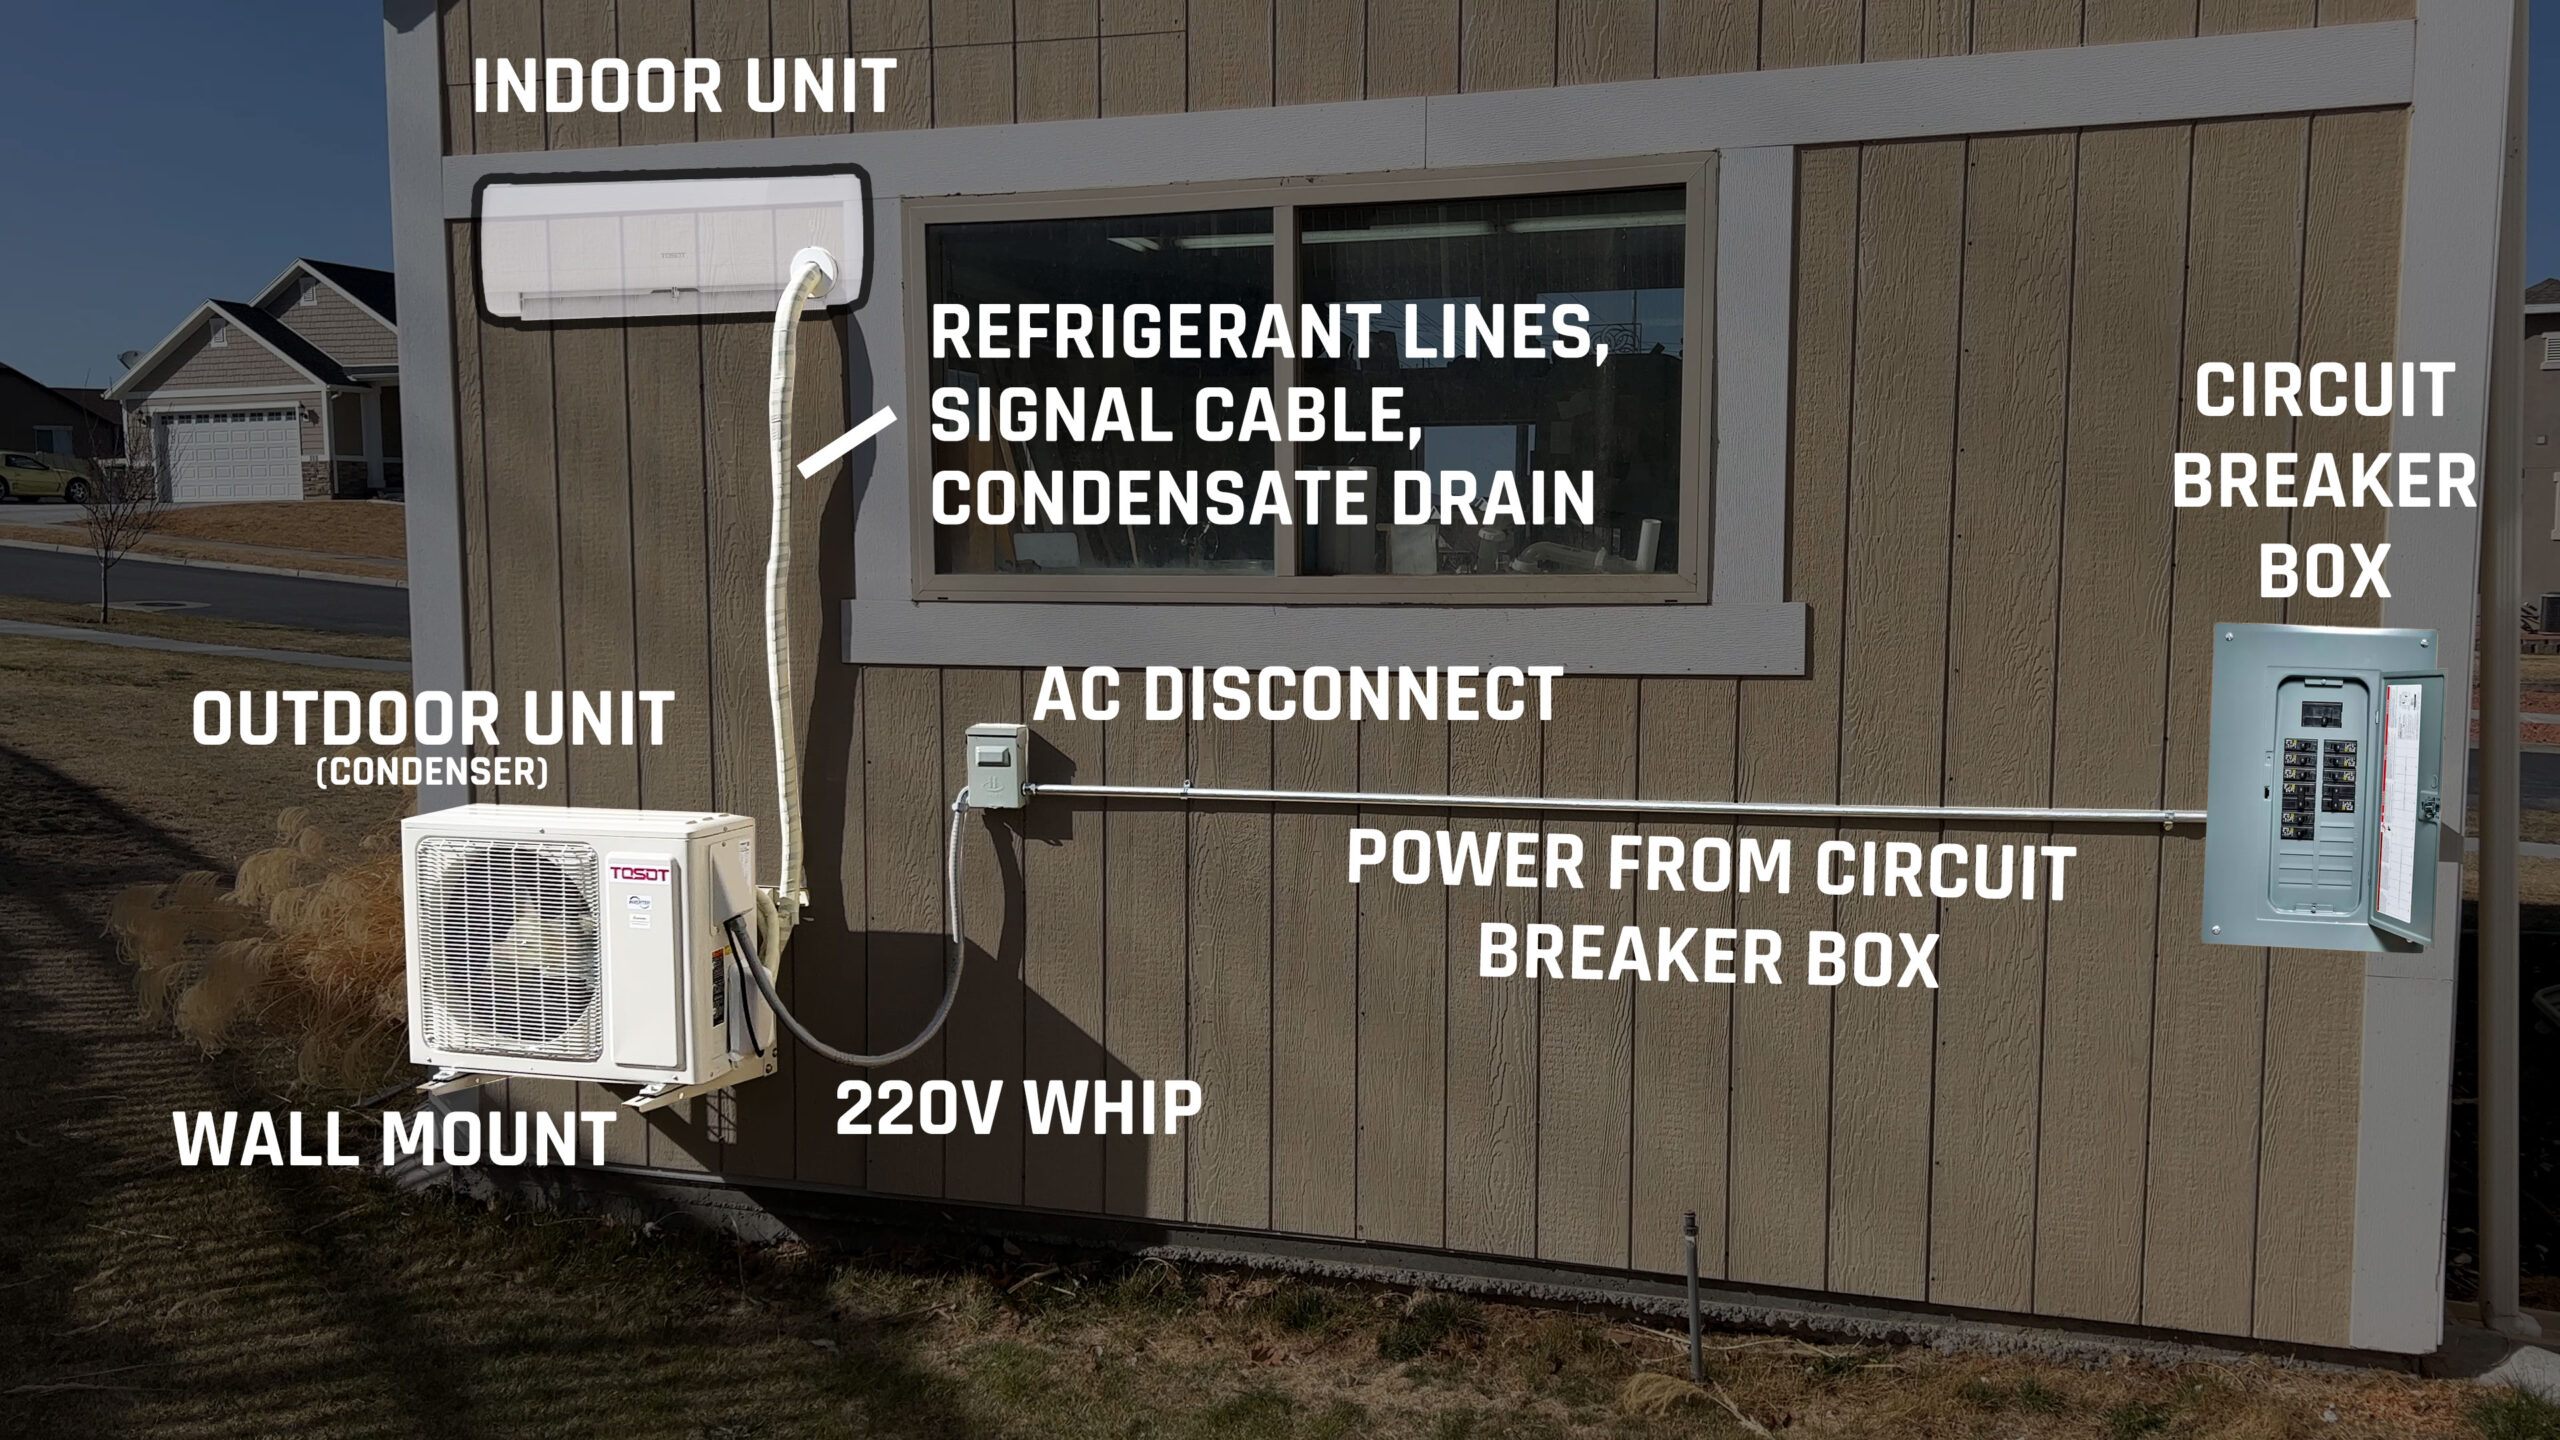
A single-zone system, with one indoor unit connected to one outdoor unit, is naturally quicker to install than a multi-zone system that involves multiple indoor units connected to a single outdoor condenser. The more zones, the more piping, wiring, and mounting that needs to be done, thus extending the installation time. Think of it as installing one light fixture versus installing several across multiple rooms.
2. Installer Experience and Expertise
An experienced and licensed HVAC technician will complete the installation more efficiently than someone unfamiliar with mini split systems. Their expertise allows them to navigate potential challenges, troubleshoot issues quickly, and ensure all connections are properly made according to manufacturer specifications and local codes. A seasoned pro can save you time and prevent costly mistakes.
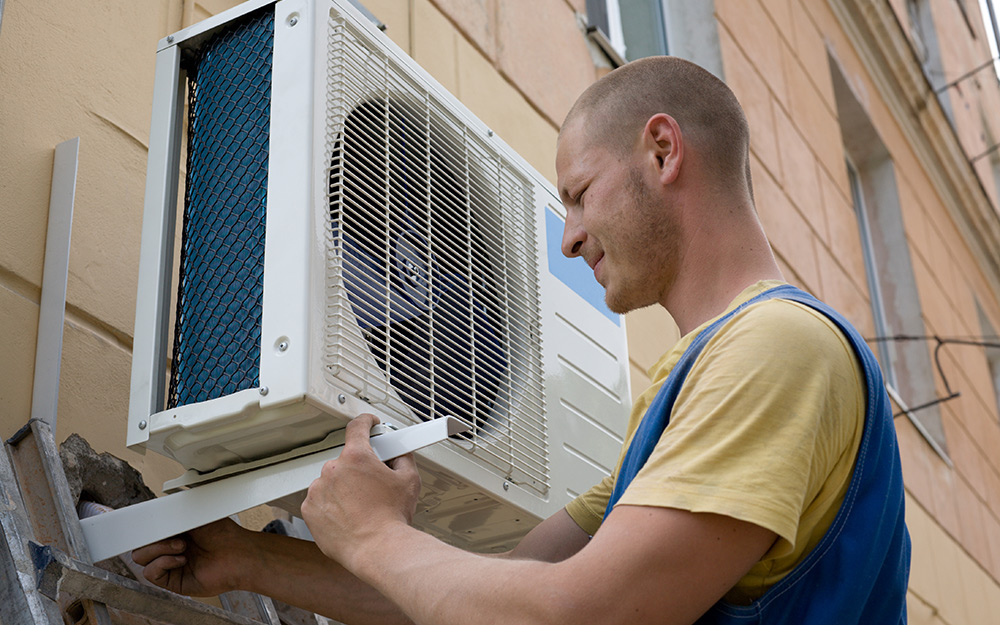
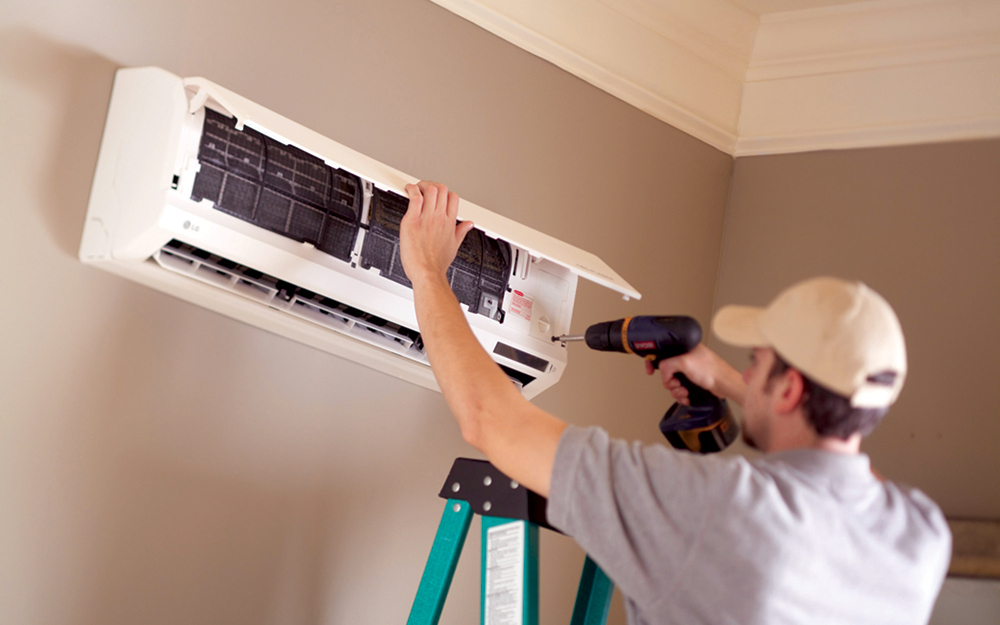
3. Site Accessibility and Preparation
How easy is it to access the installation locations for both the indoor and outdoor units? Are there obstacles in the way, such as landscaping, electrical wiring, or plumbing? Clearing the area beforehand will drastically speed up the process. Also, the type of wall where the indoor unit is to be mounted will influence the speed of the installation. Exterior walls require drilling for refrigerant lines and wiring to pass through, whereas interior walls present different challenges with running the lines. The easier it is to work in the space, the faster the installation.
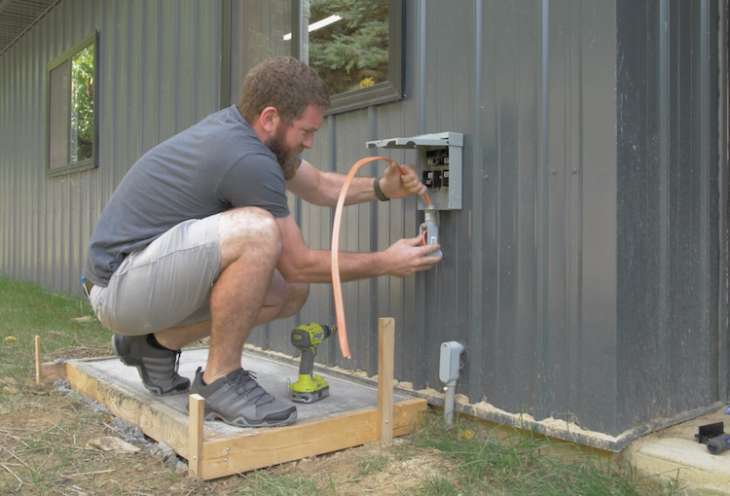
4. Electrical Work Requirements
Mini split systems require a dedicated electrical circuit. If you already have a suitable circuit available, that’s great! However, if you need to run a new circuit from your electrical panel to the outdoor unit, this will add considerable time to the installation. This is typically best left to a qualified electrician to ensure safety and code compliance. Improper electrical work can be dangerous and lead to system malfunction or even fire hazards.
5. Local Permits and Inspections
Depending on your location, you may need to obtain permits for installing a mini split system. This can involve submitting plans, waiting for approval, and scheduling inspections after the installation is complete. The permit process itself can add days or even weeks to the overall timeline, even though the actual installation may only take a few hours.
6. Type of Installation
Standard wall-mounted units are typically faster to install compared to ceiling cassettes or floor-mounted units, as they generally require less structural modification. Also, installing on a ground floor is always going to be easier and faster than installing on a higher floor that requires ladders and careful maneuvering of heavy equipment.
Estimating the Installation Time: A Realistic View
Given the factors mentioned above, here’s a general idea of the time you can expect for mini split installation:
* Single-Zone System (Simple Installation): 4-8 hours. This assumes easy access, a pre-existing electrical circuit, and no major obstacles. * Single-Zone System (Complex Installation): 8-12 hours. This includes running new electrical circuits, dealing with difficult access, or needing to modify the existing structure. * Multi-Zone System: 12-24 hours (or more). Multi-zone systems are much more complex and require more time for running refrigerant lines, wiring, and mounting multiple indoor units. * Permit and Inspection Process: Add several days to weeks, depending on your local regulations.Remember these are estimates. Always get a detailed quote from a qualified installer, which should include a timeline based on your specific situation.
DIY vs. Professional Installation: Knowing Your Limits
While some homeowners might be tempted to DIY a mini split installation to save money, it's generally not recommended unless you have extensive HVAC and electrical experience. Mini split systems require specialized tools, knowledge of refrigerant handling, and precise electrical connections. A mistake can not only damage the equipment but also create safety hazards and void the manufacturer's warranty.
What You Can Do to Prepare (DIY-Friendly Tasks):
* Clear the Installation Area: Remove any furniture, plants, or other obstructions from the areas where the indoor and outdoor units will be installed. * Clean the Walls: Wash the walls where the indoor unit will be mounted to ensure proper adhesion. * Check for Obstacles: Identify any potential obstacles, such as pipes or wiring, that might interfere with the installation. * Review the Manual: Familiarize yourself with the manufacturer's instructions for your specific mini split model. * Research Local Codes: Investigate local building codes and permit requirements to understand what's needed for a legal installation. * Gather Quotes: Obtain quotes from several qualified HVAC contractors to compare prices and services.Tasks Best Left to the Professionals:
* Refrigerant Handling: This requires EPA certification and specialized equipment to prevent leaks and environmental damage. * Electrical Wiring: Working with electrical wiring can be dangerous and should only be done by a qualified electrician. * Pressure Testing and Evacuation: Ensuring the system is properly sealed and evacuated of air and moisture requires specialized tools and expertise. * System Startup and Calibration: Setting up the system parameters and calibrating the sensors ensures optimal performance and efficiency. * Leak Detection and Repair: Identifying and repairing refrigerant leaks requires specialized equipment and expertise.Troubleshooting Common Issues After Installation
Even with professional installation, occasional issues can arise. Here's how to tackle some common problems:
1. System Not Turning On
* Check the Power: Ensure the unit is plugged in and the circuit breaker is switched on. This sounds basic, but it's often the culprit! * Remote Control Batteries: Replace the batteries in the remote control. * Thermostat Settings: Verify the thermostat is set to the correct mode (heating or cooling) and temperature. * Air Filter: Ensure the air filter is clean and not clogged. A dirty filter can restrict airflow and cause the system to shut down.2. Weak Airflow
* Air Filter: As above, a dirty filter is the most common cause of weak airflow. Clean or replace it regularly. * Blocked Vents: Make sure the vents on the indoor unit are not blocked by furniture or curtains. * Coil Obstruction: Check the outdoor unit for any debris (leaves, grass clippings) blocking the coils. * Fan Speed: Verify that the fan speed is set to a high enough level.3. System Not Cooling or Heating Properly
* Thermostat Settings: Double-check that the thermostat is set to the correct mode and temperature. * Refrigerant Leaks: If the system is not cooling or heating effectively, it may have a refrigerant leak. This requires professional repair. Do not attempt to handle refrigerant yourself. * Condenser Unit: Ensure the outdoor condenser unit is clean and free of debris. * Air Filter: Again, a dirty air filter can restrict airflow and reduce the system's efficiency.4. Strange Noises
* Rattling: Check for loose panels or screws on the indoor and outdoor units. * Hissing: This could indicate a refrigerant leak and requires professional attention. * Buzzing: This could be a sign of electrical issues and should be checked by a qualified electrician.When to Call a Professional
While some minor issues can be addressed with simple troubleshooting, certain problems require professional help. It's always best to err on the side of caution and call a qualified HVAC technician when:
* You suspect a refrigerant leak. * You hear unusual or loud noises from the system. * The system is not turning on or is malfunctioning. * You are uncomfortable working with electrical wiring. * You lack the necessary tools or expertise to diagnose the problem. * The issue is beyond your troubleshooting abilities. * If the unit is icing up. This is a sign of a serious problem.By understanding the factors that affect mini split installation time, knowing your DIY limits, and being prepared to troubleshoot common issues, you can ensure a smooth and successful transition to efficient and comfortable heating and cooling. Remember, when in doubt, always consult a qualified HVAC professional to ensure your system is installed and maintained safely and effectively. A qualified professional can also offer advice and insight specific to your system and environmental condition. The best of luck installing your new mini split.