How Much Does A Whole Home Humidifier Cost

Ah, the dreaded dry air of winter! It cracks your skin, dries out your sinuses, and makes your furniture creak. A whole-home humidifier can be a lifesaver, but what happens when it stops working? Before you call a professional, let's troubleshoot some common issues and see if you can get it running again yourself.
Understanding Your Whole-Home Humidifier
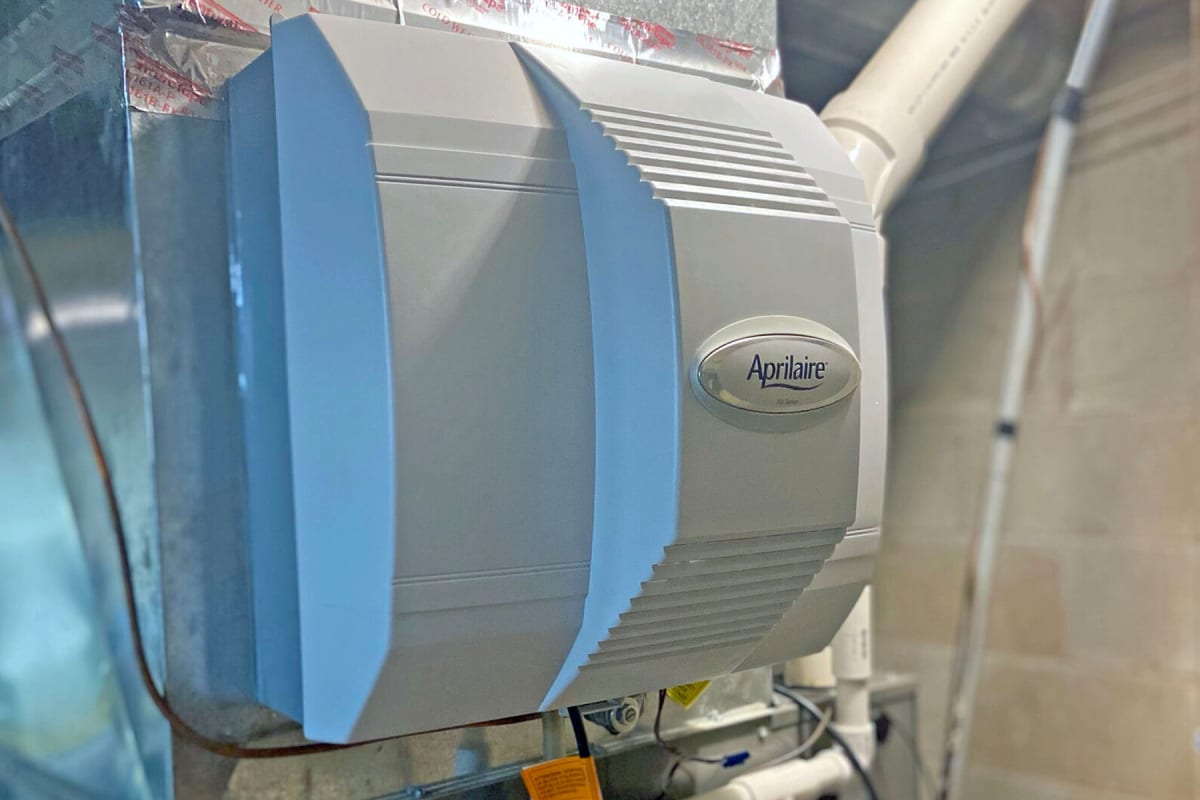
First, let's clarify what we're dealing with. A whole-home humidifier connects directly to your HVAC system, adding moisture to the air as it circulates through your house. They are typically either bypass or fan-powered models. Understanding your specific type is crucial for effective troubleshooting.
Common Problems and DIY Troubleshooting
Many humidifier problems are surprisingly simple to fix. Let's break down the most common issues and how you can approach them, emphasizing safety throughout.
1. No Humidity Output at All
This is the most frustrating scenario. Let's start with the basics:
- Check the Power Supply:
Is the humidifier plugged in? If it's hardwired, check the circuit breaker. A tripped breaker is a common culprit. Reset it and see if the humidifier starts working.
- Verify Water Supply:
Whole-home humidifiers need a water supply. Make sure the water valve connected to the humidifier is fully open. If it's partially closed, the humidifier won't receive enough water to function. Look for kinks in the water line.
- Humidistat Setting:
The humidistat controls the humidity level. Is it set high enough? A setting that's too low will prevent the humidifier from turning on. Try increasing the setting a few degrees to see if it kicks in.
- Check the HVAC System:
Whole-home humidifiers typically only operate when the furnace is running. Make sure your furnace is actually calling for heat. If the furnace isn't on, the humidifier won't be either. If your system is on 'fan only' the humidifier won't work.
Important Safety Note: When working with any electrical appliance, always turn off the power at the breaker before attempting any repairs or inspections.
2. Low Humidity Output
The humidifier is running, but you're not noticing a significant increase in humidity. Here's what to investigate:
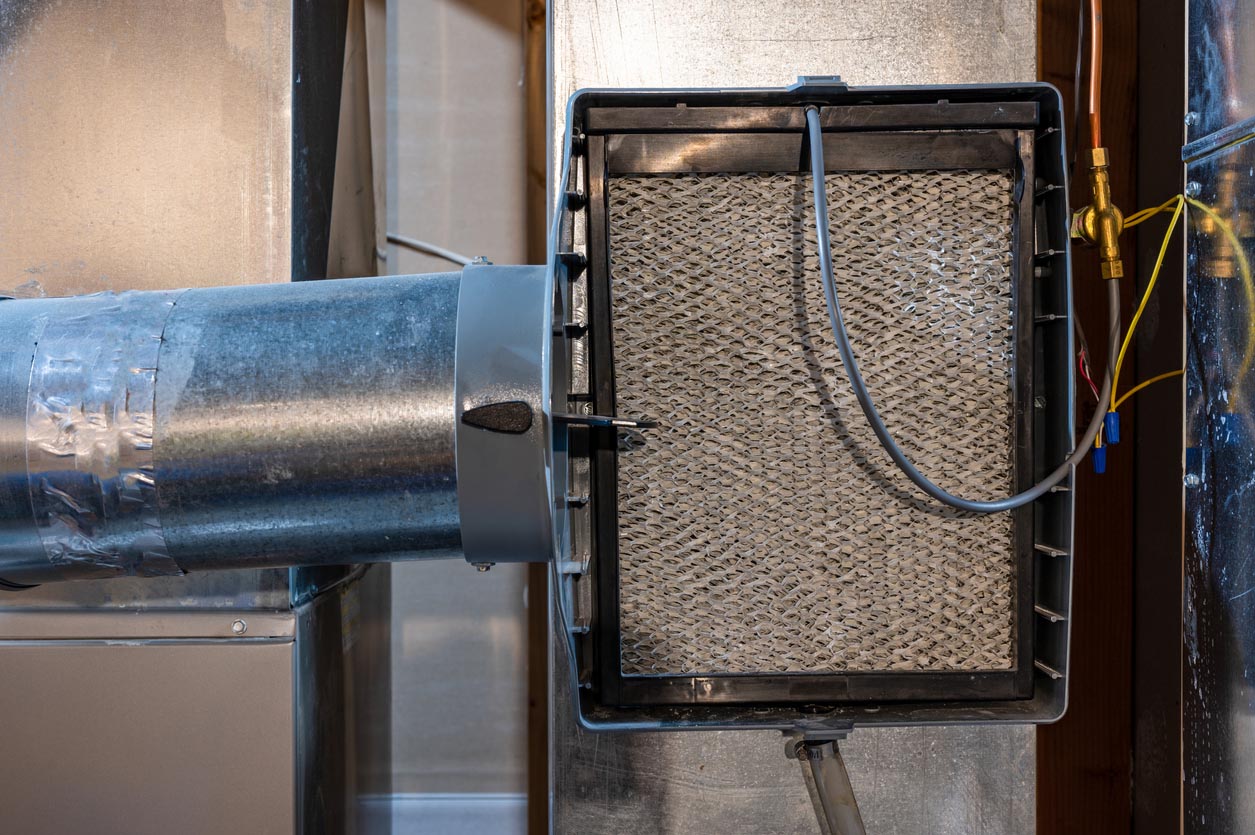
- Clogged Water Panel (Evaporator Pad):
This is the most common cause of low humidity output. The water panel, also known as an evaporator pad or filter, is responsible for absorbing water and allowing it to evaporate into the air stream. Over time, it can become clogged with mineral deposits, reducing its effectiveness. Inspect the panel; if it's coated in white or greenish buildup, it needs to be replaced. Replacement is usually a simple DIY task. Your humidifier's manual will show you where it's located. You can usually purchase a replacement at any home improvement store.
DIY Tip: Soak the old water panel in vinegar for a few hours to help dissolve mineral deposits before disposing of it.
- Humidistat Calibration:
The humidistat might not be accurately measuring the humidity level. You can test this by using a separate hygrometer (humidity meter) to measure the humidity in your home. Compare the reading to the humidistat setting. If there's a significant discrepancy, the humidistat might need to be recalibrated or replaced. Refer to your humidifier's manual for recalibration instructions. Replacing a humidistat is generally a straightforward process.
- Air Leaks:
If your home has significant air leaks, the humidifier will have to work harder to maintain the desired humidity level. Seal any obvious drafts around windows and doors.
- Bypass Damper (for Bypass Models):
Bypass humidifiers have a damper that controls the airflow through the humidifier. Make sure the damper is open when you want the humidifier to operate. In the summer, you want the damper closed to prevent hot, humid air from entering the HVAC system.
3. Leaking Humidifier
Water leaks can cause significant damage. Address them promptly. Here's what to check:
- Water Line Connections:
Inspect the water line connections to the humidifier for leaks. Tighten any loose fittings. If the connections are corroded, you might need to replace them. If you are unsure of how to make this repair, call a professional.
- Drain Line Clog:
Humidifiers have a drain line to remove excess water. If the drain line is clogged, water can back up and leak. Check the drain line for any obstructions and clear them. You can use a wet/dry vacuum to suck out any debris.
- Internal Components:
Leaks from internal components (like the solenoid valve) usually indicate a more serious problem. Do not attempt to repair these yourself. Call a qualified HVAC technician.
Important Safety Note: Water leaks can cause electrical hazards. Turn off the power to the humidifier at the breaker before inspecting or repairing any water lines.
4. Unusual Noises
Strange noises emanating from your humidifier can be alarming. Here's what to listen for:
- Fan Motor (for Fan-Powered Models):
If the fan motor is making a grinding or squealing noise, it might be failing. Inspect the fan blades for any obstructions. If the blades are clear, the motor might need to be lubricated or replaced. Replacing a fan motor involves electrical work and should be left to a qualified technician.
- Water Valve:
A chattering or clicking noise from the water valve might indicate that it's not opening or closing properly. This could be due to mineral buildup or a faulty valve. Replacing a water valve involves working with plumbing and should be done by a professional.
When to Call a Professional
While many humidifier problems can be resolved with simple DIY troubleshooting, there are certain situations where it's best to call a qualified HVAC technician. These include:
- Any work involving gas lines or gas-fired appliances.
- Complex electrical repairs, such as replacing a fan motor or control board.
- Leaks from internal components that you can't easily identify or access.
- If you're uncomfortable working with electricity or plumbing.
- If you've tried the basic troubleshooting steps and the humidifier still isn't working.
Remember, your safety and the proper functioning of your HVAC system are paramount. Don't hesitate to call a professional if you're unsure about any aspect of the repair.
Preventative Maintenance
The best way to avoid humidifier problems is to perform regular preventative maintenance. This includes:
- Replacing the water panel (evaporator pad) at least once a year, or more often if you have hard water.
- Cleaning the humidifier regularly to remove mineral deposits.
- Inspecting the water lines for leaks and corrosion.
- Having your HVAC system professionally inspected and maintained annually.
By following these simple steps, you can keep your whole-home humidifier running smoothly and enjoy comfortable, humidified air throughout the winter.
Understanding Humidifier Costs: Repair vs. Replace
Sometimes, despite your best efforts at troubleshooting and DIY repair, your whole-home humidifier may still fail. At this point, it’s important to consider whether to invest in further repairs or to opt for a complete replacement. Here’s a breakdown to guide your decision:
Factors Influencing Repair Costs
Repair costs can vary significantly depending on the nature of the problem and the parts required. Here's what you need to consider:
- Type of Issue: Simple repairs like replacing a water panel or unclogging a drain line will be relatively inexpensive, typically ranging from $20 to $100 if you do it yourself. However, more complex issues such as a faulty solenoid valve, a malfunctioning humidistat, or a failing fan motor can significantly increase the cost.
- Labor Costs: If you hire a professional HVAC technician, labor costs can add up quickly. Expect to pay anywhere from $75 to $150 per hour, depending on your location and the technician's experience. A complex repair could easily take several hours, resulting in a substantial bill.
- Parts Costs: Replacement parts for whole-home humidifiers can range from a few dollars for simple components to several hundred dollars for more complex parts like a new control board or fan motor. The brand and model of your humidifier will also affect parts availability and cost.
- Warranty Coverage: Check your humidifier's warranty to see if the repair is covered. Many manufacturers offer warranties on parts and labor for a specific period. If your humidifier is still under warranty, you may be able to get the repair done for free or at a reduced cost.
Factors Influencing Replacement Costs
Replacing your whole-home humidifier is a more significant investment, but it may be the most cost-effective option in the long run if your current unit is old or requires extensive repairs. Here's what to consider:
- Humidifier Type and Size: The cost of a new humidifier will depend on its type (bypass, fan-powered, or steam) and its capacity (the square footage it can effectively humidify). Bypass humidifiers are generally the least expensive, while steam humidifiers are the most expensive.
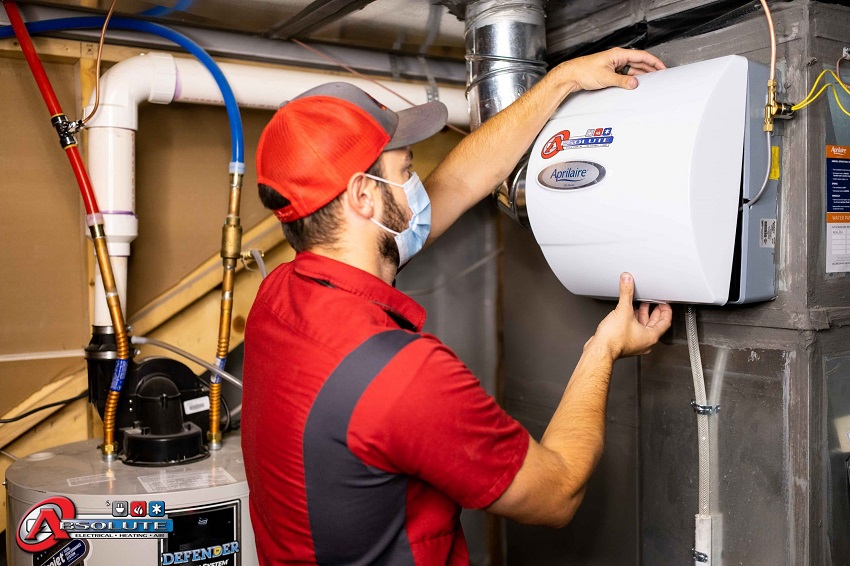
- Installation Costs: Professional installation is typically recommended for whole-home humidifiers, as it involves connecting the unit to your HVAC system and water supply. Installation costs can range from $200 to $800 or more, depending on the complexity of the installation and your location.
- Energy Efficiency: Newer humidifiers are often more energy-efficient than older models, which can save you money on your utility bills over time. Consider the energy efficiency rating of the humidifier when making your decision.
- Features and Technology: Some humidifiers come with advanced features such as automatic humidity control, digital displays, and remote monitoring. These features can add to the cost of the unit but may also provide added convenience and performance.
- Long-Term Costs: Consider the long-term costs of owning a humidifier, including maintenance, repairs, and energy consumption. A newer, more efficient model may have a higher upfront cost but could save you money in the long run.
Making the Decision: Repair or Replace?
Here's a general guideline to help you decide whether to repair or replace your whole-home humidifier:
- Repair if:
- The humidifier is relatively new (less than 5-7 years old).
- The problem is minor and the repair cost is less than half the cost of a new humidifier.
- The humidifier is still under warranty.
- You are comfortable performing the repair yourself.
- Replace if:
- The humidifier is old (more than 10 years old).
- The problem is major and the repair cost is more than half the cost of a new humidifier.
- The humidifier is inefficient and consumes a lot of energy.
- You are planning to upgrade your HVAC system.
- You are experiencing frequent problems with the humidifier.
Get a Professional Opinion: Before making a final decision, it's always a good idea to get a professional opinion from a qualified HVAC technician. They can assess the condition of your humidifier and provide you with a recommendation based on their expertise.
By carefully considering these factors, you can make an informed decision about whether to repair or replace your whole-home humidifier and ensure that you have comfortable, humidified air in your home for years to come.


:max_bytes(150000):strip_icc()/spr-humidifiers-aug-24-test-levoit-superior-6000s-smart-evaporative-hwortock-002-011-1-03540b24874545a481f065887fe4e41e.jpeg)