How Much Does Central Air Cost Per Month

One of the most common frustrations homeowners face is unexpectedly high central air conditioning bills. You've set the thermostat, expect a certain level of comfort, and then *BAM* – the energy bill arrives, leaving you wondering, "How much does central air *really* cost per month?" Understanding the factors that influence your cooling costs and proactively troubleshooting potential issues can save you a significant amount of money and keep your home comfortable.
Diagnosing High Central Air Costs: A Step-by-Step Approach
Before calling a professional, let's walk through a methodical process to identify potential culprits behind your inflated cooling bill. We'll cover everything from simple visual checks to more involved (but still manageable) DIY actions.
Step 1: Gather Information
The first step is to understand the baseline. Collect the following information:
- Review past energy bills: Look at your cooling costs from previous months and years. Are the current bills significantly higher? Consider the weather differences.
- Check your thermostat settings: What temperature are you setting your thermostat to? Even a few degrees difference can impact your energy consumption.
- Note the weather: Was the past month unusually hot or humid? This can naturally increase your AC usage.
- Track your AC usage: How many hours per day is your AC running? If it's constantly running, there's likely an underlying issue.
Step 2: Visual Inspection (No Tools Required)
This is the easiest step and can often reveal obvious problems. Carefully inspect the following:
- Air Vents: Are all the vents in your home open and unobstructed? Closed or blocked vents force your system to work harder. Make sure furniture or rugs aren't blocking them.
- Air Filter: This is crucial! A dirty air filter restricts airflow, making your AC work overtime. Check your filter and replace it if it's visibly dirty. This should be done monthly or every other month, depending on usage. A clogged filter is one of the most common causes of high energy bills.
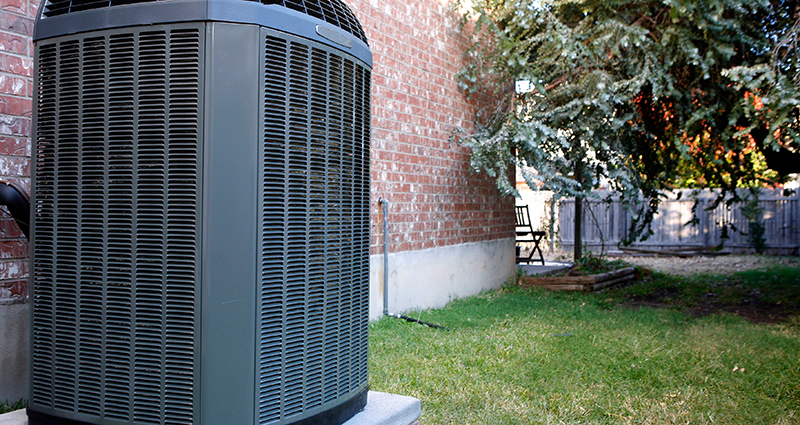
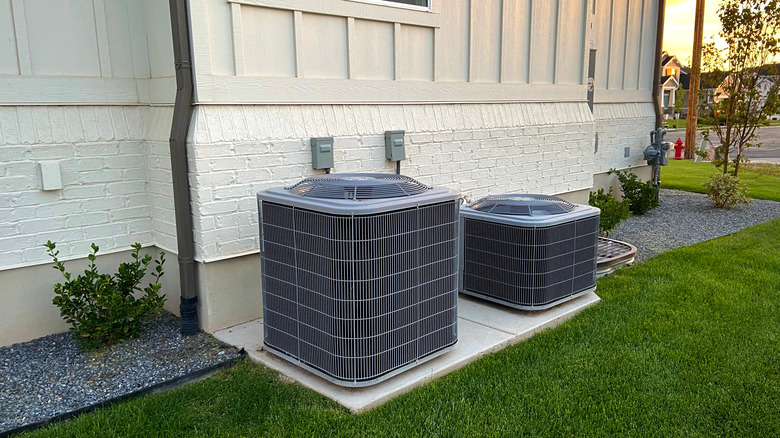
- Outdoor Unit: Check for debris around the outdoor condenser unit (the big box outside your house). Leaves, branches, and grass clippings can restrict airflow. Ensure there is at least 2-3 feet of clear space around the unit.
- Indoor Unit (Evaporator Coil Access Panel): *CAUTION: Turn off the power to the unit at the breaker before opening the panel*. Visually inspect the evaporator coil (the coils inside your indoor unit). If it's caked with dust, it will severely limit its ability to cool the air. Do not attempt to clean it yourself without proper guidance and safety precautions (discussed later).
- Ductwork (Visually Accessible Sections): Inspect any exposed ductwork (typically in basements or attics) for obvious leaks or tears. Look for disconnections at joints or signs of damage.
- Windows and Doors: Check for drafts around windows and doors. Seal any gaps or cracks with weather stripping or caulk.
Step 3: Basic DIY Actions (Minimal Tools Required)
If the visual inspection didn't reveal any obvious problems, try these simple DIY solutions:
- Replace the Air Filter: As mentioned before, this is the most common and easiest fix. Use the correct size and type of filter recommended by your AC manufacturer.
- Seal Window and Door Leaks: Use weather stripping or caulk to seal any drafts around windows and doors. This prevents conditioned air from escaping and reduces the strain on your AC.
- Clean the Outdoor Unit (Condenser): *CAUTION: Turn off the power to the unit at the breaker before cleaning*. Gently remove debris from around the unit. You can use a garden hose with a gentle spray nozzle to clean the fins. Avoid using high pressure, as this can damage the fins. Spray from the inside out to help dislodge dirt.
- Check Thermostat Calibration (Requires Thermometer): Place a thermometer near your thermostat. If the thermometer reading differs significantly from the thermostat setting (more than a degree or two), your thermostat may be miscalibrated. While some thermostats allow for calibration adjustments, others may need to be replaced. Consult your thermostat's manual.
Step 4: More Advanced Troubleshooting (Basic Equipment Needed)
These steps require a bit more knowledge and some basic equipment. If you're not comfortable with any of these, *seek professional help*.
- Check Refrigerant Lines (Requires Infrared Thermometer - Optional): *This is for informational purposes only. Do not attempt to add or remove refrigerant yourself. It requires specialized equipment and licenses.* With the AC running, use an infrared thermometer (optional, but helpful) to check the temperature of the refrigerant lines. The larger, insulated line (suction line) should be cool to the touch. The smaller line (liquid line) should be warm to the touch. If either line is significantly different than expected, it could indicate a refrigerant issue. This is a sign you need a professional.
- Inspect Ductwork More Closely (Requires Flashlight and Duct Tape): Use a flashlight to thoroughly inspect accessible ductwork for leaks. Even small leaks can significantly reduce efficiency. Seal any leaks with *foil duct tape* (not regular duct tape, which will dry out and crack over time). For larger holes or tears, consider using mastic sealant.
- Check the Capacitor (Requires Multimeter - *CAUTION: HIGH VOLTAGE!*): *This step is potentially dangerous and should only be performed by someone with experience working with electrical components.* The capacitor is a small, cylindrical component in the outdoor unit that helps start the motor. A failing capacitor is a common cause of AC problems. Use a multimeter to test the capacitor's capacitance. If the reading is significantly lower than the rated capacitance (printed on the capacitor), it needs to be replaced. Unless you are experienced with electrical work, call a professional. Incorrect handling can result in serious injury or death.
When to Call a Professional HVAC Technician
While many problems can be addressed with simple DIY solutions, some issues are best left to the professionals. Here's when to call an HVAC technician:
- Refrigerant Leaks or Low Refrigerant: Refrigerant is essential for cooling. Leaks require specialized equipment to locate and repair. Adding or removing refrigerant requires certification and proper disposal methods.
- Compressor Issues: The compressor is the heart of your AC system. If it's making strange noises, not turning on, or overheating, it likely needs to be repaired or replaced. This is a complex and expensive repair that requires professional expertise.
- Evaporator Coil Cleaning (Deep Cleaning): If your evaporator coil is heavily soiled and you're uncomfortable cleaning it yourself, call a professional. They have the tools and knowledge to safely and effectively clean the coil without damaging it. They can use specialized cleaners and techniques.
- Electrical Problems: Any electrical issues, such as blown fuses, tripped breakers, or wiring problems, should be handled by a qualified electrician or HVAC technician.
- Ductwork Problems in Inaccessible Areas: If you suspect ductwork problems in walls or ceilings, you'll need a professional to inspect and repair them.
- Unsure of the Problem: If you've gone through all the troubleshooting steps and still can't identify the problem, it's best to call a professional for a diagnosis.
- System is Old: If your system is old, it may be time to consider replacing it with a more energy-efficient model. A professional can help you assess your needs and recommend the best options.
- Any work involving opening the sealed refrigerant system: This includes adding refrigerant, repairing leaks, or replacing components that are part of the sealed system.
Factors Affecting Monthly Central Air Costs
Even with a perfectly functioning AC system, your monthly costs can vary depending on several factors:
- Climate: Hotter climates naturally require more cooling.
- Home Insulation: Poor insulation allows heat to enter your home, forcing your AC to work harder.
- Window Efficiency: Single-pane windows are less efficient than double-pane windows and allow more heat to transfer.
- Thermostat Settings: Lower thermostat settings require more energy.
- Home Size: Larger homes require more energy to cool.
- Energy Rates: Electricity rates vary by location and time of year.
- System Efficiency (SEER Rating): Higher SEER ratings indicate more energy-efficient systems.
- Usage Habits: Running your AC only when needed can save energy.
Tips for Reducing Central Air Costs
Here are some additional tips to help you reduce your monthly central air costs:
- Use a Programmable Thermostat: Set your thermostat to a higher temperature when you're away from home or sleeping.
- Close Curtains and Blinds: During the hottest part of the day, close curtains and blinds to block sunlight.
- Use Ceiling Fans: Ceiling fans can help circulate air and make you feel cooler, allowing you to raise your thermostat setting.
- Cook Outdoors: Avoid using your oven during the hottest part of the day, as it generates heat.
- Schedule Regular Maintenance: Have your AC system professionally serviced annually to ensure it's running efficiently.
- Consider a Smart Thermostat: These thermostats learn your habits and automatically adjust the temperature to optimize energy savings.
- Improve Insulation: Adding insulation to your attic and walls can significantly reduce heat transfer.
- Upgrade Windows: Replacing single-pane windows with double-pane windows can improve energy efficiency.
- Plant Trees and Shrubs: Shade your home from the sun to reduce heat gain.
- Use Energy-Efficient Appliances: Energy Star certified appliances use less energy.
By following these troubleshooting steps and implementing these energy-saving tips, you can take control of your central air costs and keep your home comfortable without breaking the bank. Remember to prioritize safety and consult a professional when needed. Understanding how much central air *should* cost per month empowers you to make informed decisions and save money in the long run.