How Much Does It Cost To Replace Ac Evaporator Coil

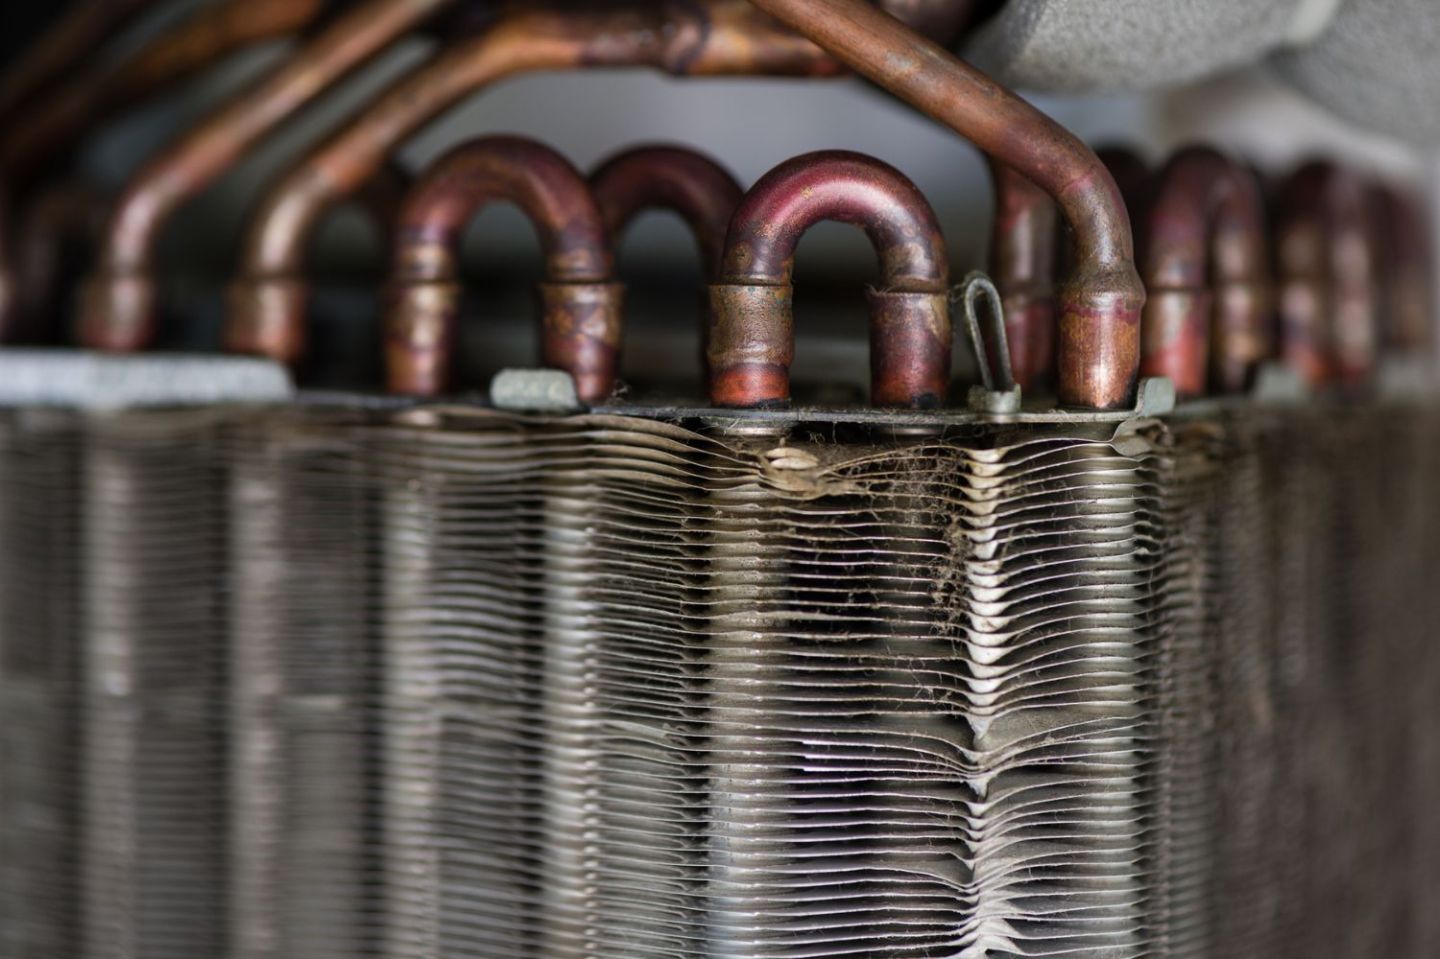
The evaporator coil is a crucial component of your air conditioning system. Located inside your indoor unit, it's responsible for absorbing heat from your home's air, providing that cool, refreshing relief on a hot day. When it fails, you'll likely notice a significant drop in cooling performance, or even a complete shutdown of your AC.
One of the first questions that comes to mind when facing this issue is: "How much does it cost to replace an AC evaporator coil?" The answer, unfortunately, isn't straightforward. Several factors influence the final price, including the coil type, the complexity of the installation, and your geographic location. This guide will break down the cost factors, helping you understand the potential expenses and make informed decisions.
Factors Affecting Evaporator Coil Replacement Cost
The cost to replace an evaporator coil can range from $800 to $4,500, or even more, depending on the following:
Coil Type
There are primarily two types of evaporator coils:
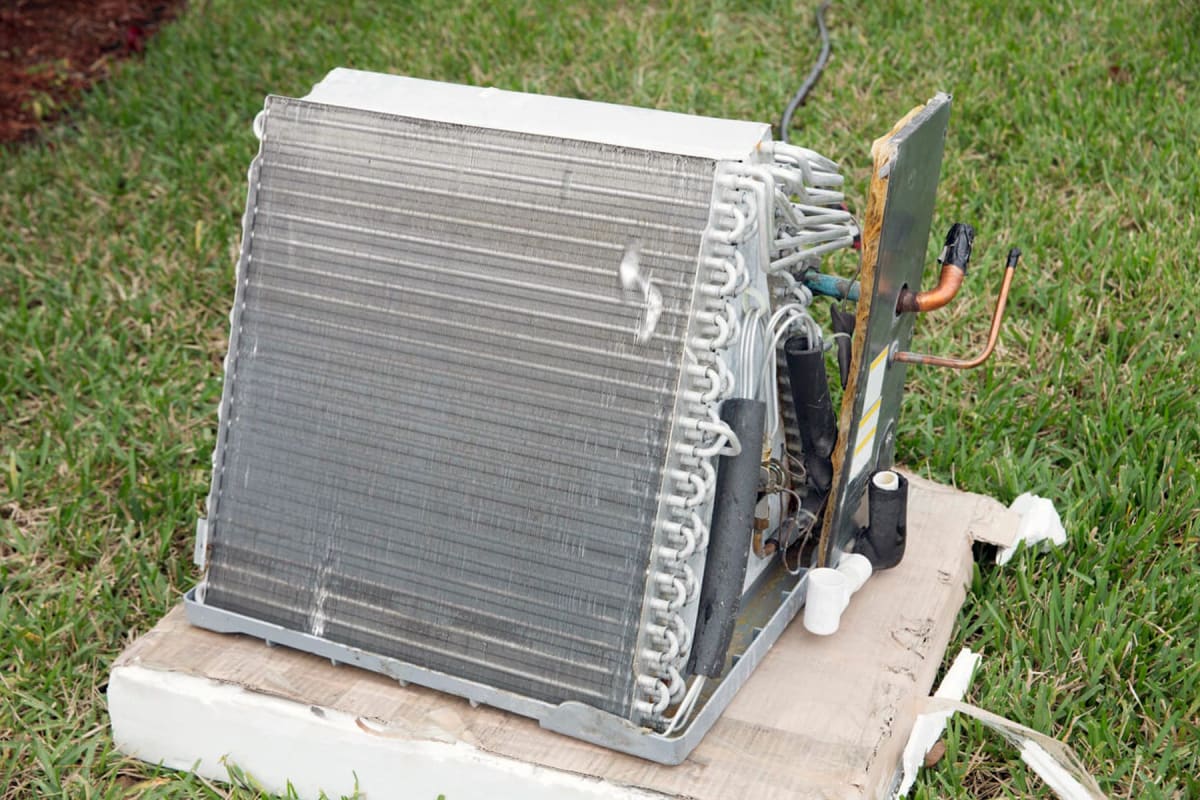
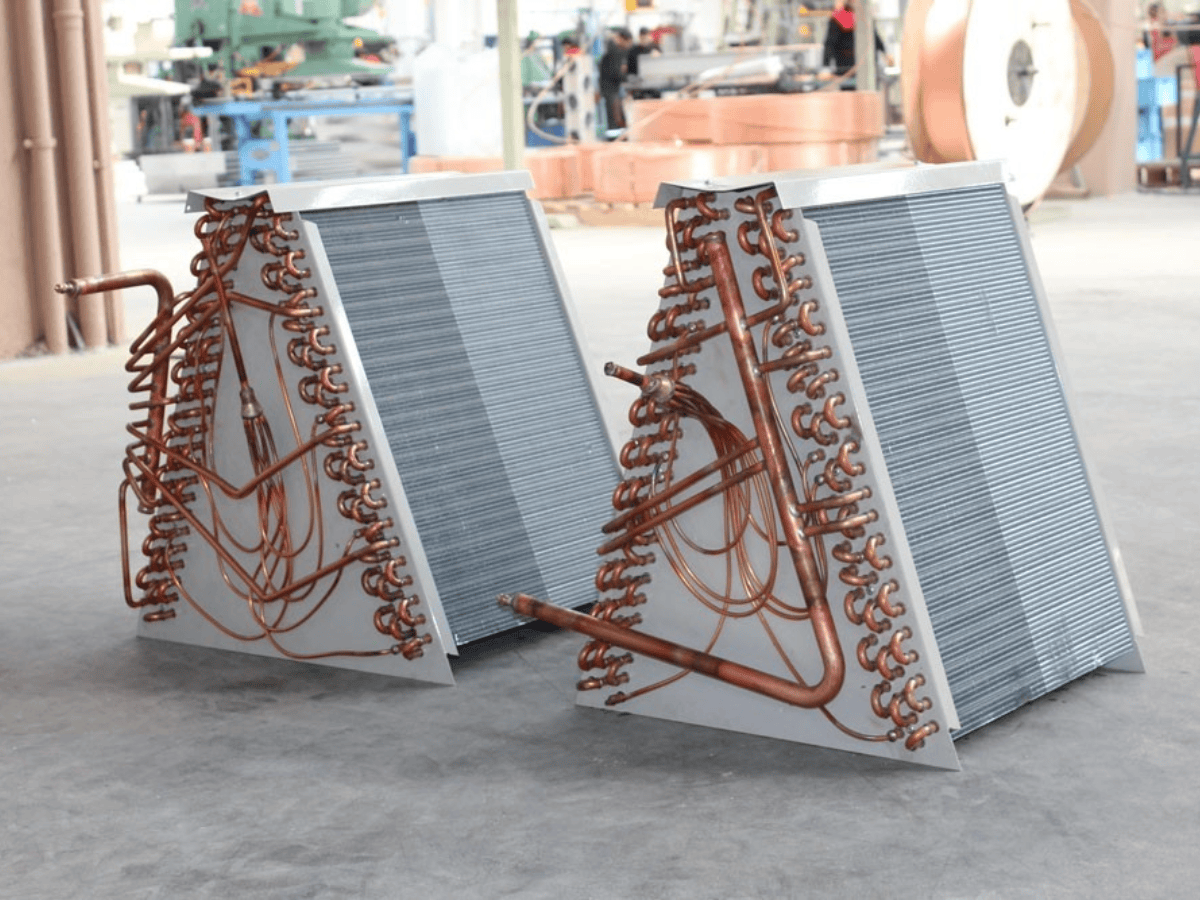
- A-Coils: These are the most common type, shaped like an "A". They are typically more affordable, with replacement costs ranging from $800 to $2,500.
- Slab Coils: These are flat and rectangular, often found in older or less common AC systems. They tend to be more expensive, with replacement costs ranging from $1,200 to $4,500. The increased cost is often due to their unique design and potentially higher labor costs associated with installation.
Refrigerant Type
The type of refrigerant your system uses also plays a role in the cost. Older systems may use R-22, which is being phased out. Replacing an evaporator coil in an R-22 system might necessitate converting to a newer refrigerant like R-410A, adding significantly to the overall expense. R-410A systems are generally more common and therefore less expensive when it comes to coil replacement.
Accessibility and Installation Complexity
The accessibility of your indoor unit can heavily influence labor costs. If the unit is located in a cramped attic, a tight closet, or requires significant disassembly of ductwork to access the coil, the labor hours will increase. A straightforward installation is typically less expensive.
Labor Costs
Labor costs vary significantly depending on your location and the HVAC contractor's rates. Expect to pay anywhere from $75 to $200 per hour for labor. Replacing an evaporator coil is not a quick task, often requiring several hours of work.
Warranty
Check your HVAC system's warranty. The evaporator coil might still be covered under warranty, potentially reducing the cost of replacement. However, keep in mind that warranties often only cover the cost of the part itself, not the labor.
Additional Components
In some cases, replacing the evaporator coil might necessitate replacing other components, such as the refrigerant lines, the filter drier, or even the entire indoor unit. This is especially true if the existing coil failure has contaminated the system with debris.
Geographic Location
HVAC service rates vary by region. Larger metropolitan areas tend to have higher labor costs than smaller towns. It's always a good idea to get multiple quotes from local contractors to compare prices.
Signs Your Evaporator Coil Needs Replacing
Identifying a faulty evaporator coil early can prevent further damage to your system and potentially save you money. Here are some common signs to watch out for:
- Reduced Cooling Performance: Your AC struggles to cool your home, and the air coming from the vents isn't as cold as it used to be.
- Warm Air: In some cases, the air coming from the vents might be warm, even when the AC is running.
- Frozen Evaporator Coil: Ice buildup on the coil restricts airflow and reduces cooling capacity. This can be caused by low refrigerant, a dirty air filter, or a malfunctioning blower motor.
- Water Leaks: A leaking evaporator coil can cause water damage to your home. Look for water stains around the indoor unit.
- Strange Noises: Hissing or bubbling sounds coming from the indoor unit can indicate a refrigerant leak in the coil.
- Increased Energy Bills: A failing evaporator coil forces your AC system to work harder, resulting in higher energy consumption.
DIY vs. Professional Replacement
While some minor HVAC repairs can be tackled by homeowners, replacing an evaporator coil is generally not a DIY project. It requires specialized knowledge, tools, and safety precautions. Working with refrigerant can be dangerous and requires EPA certification. Improper installation can lead to further damage to your system and potentially void your warranty.
When to Consider DIY
There are a few situations where a DIY approach might be considered, but only with extreme caution and proper research:
- Replacing a Coil with an Exact Match: If you're replacing an identical coil in an older system and have the necessary HVAC experience and tools, it might be possible. However, even in this case, professional assistance is highly recommended.
- Minor Repairs Around the Coil: Cleaning a dirty coil or replacing a clogged condensate drain line might be within the scope of a DIY project. However, always disconnect the power to the unit before performing any maintenance.
Why Professional Replacement is Recommended
Replacing an evaporator coil involves working with refrigerant, electrical components, and intricate ductwork. Here's why professional replacement is generally the best option:
- Refrigerant Handling: Licensed HVAC technicians are trained to handle refrigerant safely and legally. They have the necessary equipment to recover and dispose of refrigerant properly, preventing environmental damage and avoiding fines.
- Proper Installation: A professional will ensure the new coil is properly installed, sealed, and connected to the refrigerant lines. This is crucial for optimal performance and longevity.
- System Optimization: A technician can check the refrigerant charge, airflow, and other system parameters to ensure the AC is operating efficiently after the coil replacement.
- Warranty Protection: Professional installation often comes with a warranty on the labor and parts, providing peace of mind.
- Safety: Working with electricity and refrigerant can be hazardous. A trained technician knows how to safely handle these components and avoid potential risks.
Steps Involved in Evaporator Coil Replacement
Here's a general overview of the steps involved in replacing an evaporator coil:
- System Diagnosis: The technician will diagnose the problem to confirm the evaporator coil is indeed the source of the issue.
- Refrigerant Recovery: The technician will safely recover the refrigerant from the system using specialized equipment.
- Coil Removal: The old evaporator coil will be carefully removed from the indoor unit. This might involve disconnecting refrigerant lines, electrical connections, and ductwork.
- Coil Installation: The new evaporator coil will be installed, ensuring proper alignment and sealing.
- Refrigerant Recharge: The system will be recharged with the correct amount of refrigerant, according to the manufacturer's specifications.
- Leak Testing: The technician will perform a leak test to ensure there are no refrigerant leaks in the system.
- System Testing: The AC system will be tested to ensure it's operating properly and efficiently.
Cost-Saving Tips
While evaporator coil replacement can be expensive, there are a few things you can do to potentially reduce the cost:
- Get Multiple Quotes: Obtain estimates from at least three different HVAC contractors to compare prices and services.
- Check Your Warranty: Review your HVAC system's warranty to see if the evaporator coil is covered.
- Consider a Second Opinion: If you're unsure about a diagnosis, get a second opinion from another HVAC professional.
- Maintain Your System: Regular maintenance, such as cleaning the air filter and scheduling annual tune-ups, can help prevent evaporator coil failures.
- Ask About Financing Options: Some HVAC contractors offer financing options to help homeowners pay for expensive repairs.
Tools and Materials (For Informational Purposes Only - Not for DIY)
This list is for informational purposes only and should not be interpreted as encouragement for DIY evaporator coil replacement. This work should be done by a licensed professional.
- Refrigerant recovery machine
- Vacuum pump
- Manifold gauge set
- Refrigerant scale
- Nitrogen tank and regulator
- Torch and brazing rods
- Leak detector
- Wrenches and screwdrivers
- Safety glasses and gloves
- Evaporator coil (matching the system specifications)
- Refrigerant
Conclusion
Replacing an AC evaporator coil is a significant investment. Understanding the factors that influence the cost, recognizing the signs of a failing coil, and choosing a qualified HVAC professional are crucial steps in ensuring a successful and cost-effective repair. While DIY attempts might seem tempting, the complexity and potential risks associated with this repair make professional intervention the safer and more reliable option. By taking a proactive approach to HVAC maintenance and seeking expert advice when needed, you can keep your cooling system running smoothly and efficiently for years to come.