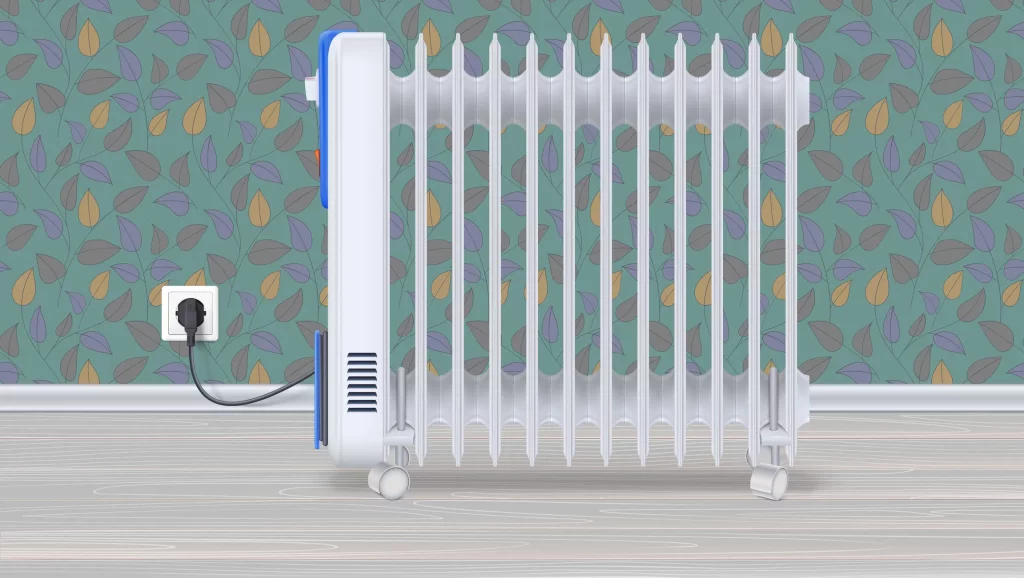
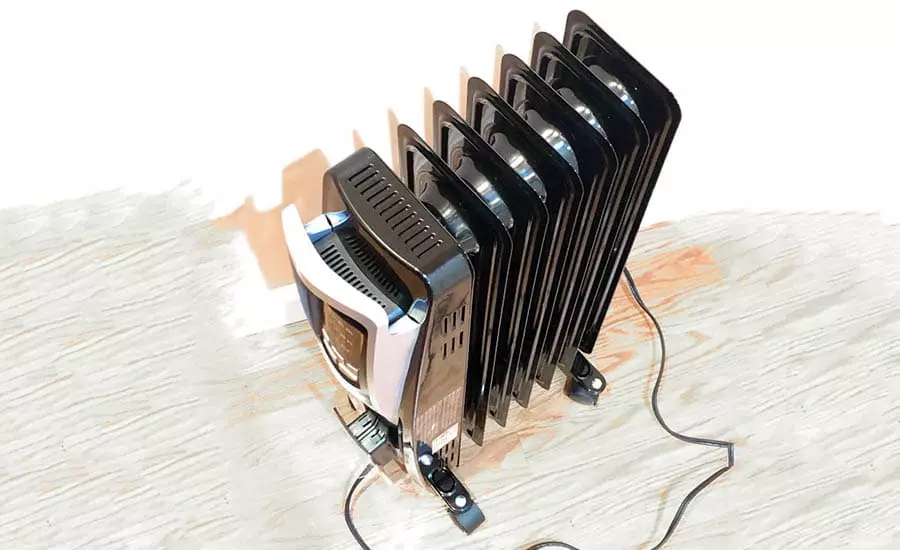
How Much Electricity Does An Oil Heater Use Per Hour

One of the most common frustrations homeowners face during the colder months is unexpectedly high electricity bills, especially when relying on portable oil heaters for supplemental warmth. You might be thinking, "I'm just using this little heater to take the edge off, how much can it really cost?" But the reality is, oil heaters, while effective, can be energy-intensive. Understanding how much electricity your oil heater uses per hour, and knowing how to troubleshoot potential inefficiencies, is key to keeping your home comfortable without breaking the bank.
Understanding Your Oil Heater's Energy Consumption
Before diving into troubleshooting, let's establish a baseline. The power consumption of an oil heater is usually measured in watts (W). Most oil heaters have multiple power settings, such as low, medium, and high. These settings dictate the amount of electricity the heater draws. You can usually find the wattage rating of your heater on a sticker located on the back or bottom of the unit, or in the owner's manual.
Here's a general guide:
- Small oil heaters (around 700-1000W): Suitable for small rooms.
- Medium oil heaters (around 1000-1500W): Ideal for medium-sized rooms.
- Large oil heaters (around 1500-2500W): Designed for larger spaces.
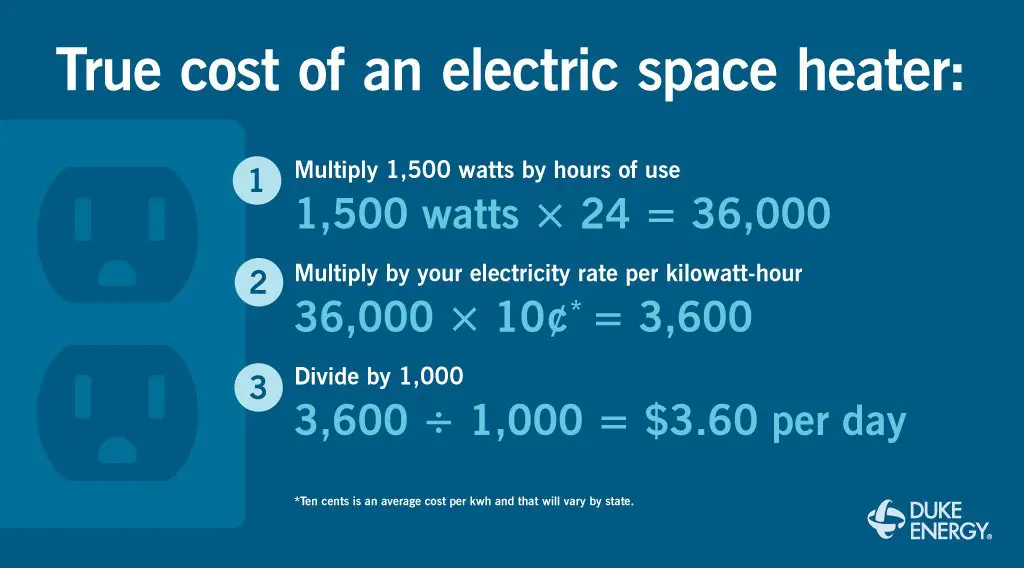
To calculate the hourly energy consumption in kilowatt-hours (kWh), use the following formula:
(Wattage / 1000) x Hours of Use = kWh
For example, if you run a 1500W oil heater for 5 hours on its highest setting, the calculation would be:
(1500 / 1000) x 5 = 7.5 kWh
To determine the cost, multiply the kWh by your electricity rate (found on your electricity bill). If your rate is $0.15 per kWh, the cost to run the heater for 5 hours would be:
7. 5 kWh x $0.15/kWh = $1.13
Step-by-Step Troubleshooting Guide
If you suspect your oil heater is using more electricity than it should, or if your electricity bills have suddenly spiked, follow these steps to diagnose and potentially fix the problem. Remember to always unplug the heater before performing any maintenance or inspection!
Step 1: Verify the Wattage Rating
Action: Locate the wattage rating on the heater. Check both the heater itself and the owner's manual. Why: Ensure you are using the correct wattage value for your calculations. Sometimes, the sticker can be damaged or faded, leading to inaccurate estimations.
DIY Fix: If the sticker is illegible, search for the model number online to find the specifications.
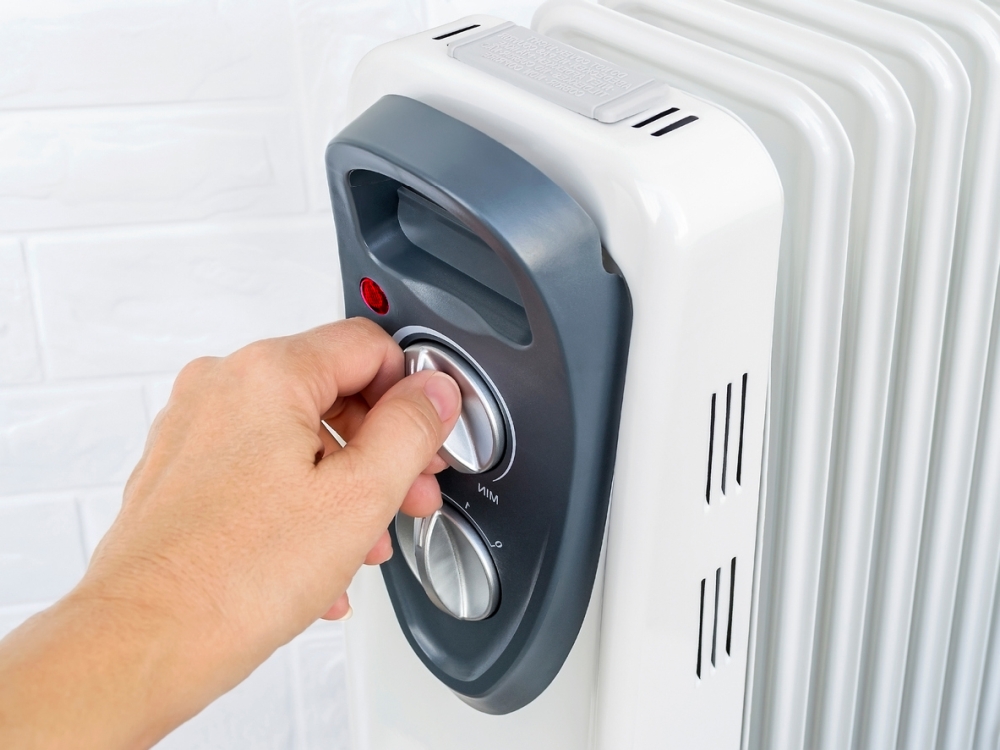
Step 2: Check the Thermostat Setting
Action: Examine the thermostat setting. Is it set to a high temperature, causing the heater to run continuously? Why: If the thermostat is set too high, the heater will constantly work to reach that temperature, consuming more energy.
DIY Fix: Lower the thermostat to a comfortable setting. Experiment with different settings to find the optimal balance between comfort and energy efficiency. Consider using a programmable thermostat for more precise temperature control and automatic shut-off during unoccupied hours.
Step 3: Inspect the Room Insulation
Action: Assess the insulation in the room where the heater is used. Are there drafts from windows or doors? Is the room adequately insulated? Why: Poor insulation allows heat to escape, forcing the heater to work harder and longer to maintain the desired temperature.
DIY Fix: Seal any gaps around windows and doors with weather stripping or caulk. Cover windows with heavy curtains or thermal blinds to reduce heat loss. Consider adding insulation to walls or attics if necessary. You can also use a draft stopper at the bottom of doors.
Step 4: Examine the Heater's Condition
Action: Visually inspect the heater for any signs of damage, such as dents, cracks, or exposed wiring. Why: Physical damage can affect the heater's performance and efficiency, potentially leading to increased energy consumption or safety hazards.
DIY Fix: Clean the heater's surface with a soft, damp cloth to remove dust and debris. Dust accumulation can impede heat dissipation and force the heater to work harder. Never submerge the heater in water.
Step 5: Listen for Unusual Noises
Action: While the heater is running (after plugging it back in carefully), listen for any unusual noises, such as rattling, buzzing, or hissing. Why: These noises could indicate a malfunctioning component or a loose connection, which could affect the heater's efficiency.
DIY Fix: Tighten any loose screws on the heater's housing. However, do not attempt to open the heater's internal components unless you are a qualified electrician.
Step 6: Monitor Usage Patterns
Action: Keep a log of how often and for how long you use the oil heater each day. Compare this to your electricity bill. Why: This helps you identify patterns in your energy consumption and pinpoint periods when the heater is used excessively.
DIY Fix: Adjust your usage habits based on your findings. Use the heater only when necessary and for shorter periods. Consider using it in conjunction with other heating methods, such as a central heating system or space heaters with lower wattage.
Step 7: Check the Extension Cord (if used)
Action: If you are using an extension cord, ensure it is appropriately rated for the heater's wattage. Why: Using an undersized extension cord can cause voltage drops, which makes the heater less efficient and can even be a fire hazard.
DIY Fix: Use a heavy-duty extension cord specifically designed for appliances with high power consumption. Avoid using multiple extension cords connected together. Ideally, plug the heater directly into a wall outlet.
Step 8: Test with an Energy Monitor
Action: Use an energy monitor to measure the actual power consumption of the heater. Why: An energy monitor provides a more accurate reading of the heater's wattage draw, allowing you to verify if it matches the manufacturer's specifications.
DIY Fix: Plug the heater into the energy monitor and observe the readings over a period of time. Compare the measured wattage to the rated wattage. If there is a significant discrepancy, it could indicate a problem with the heater's internal components.
When to Call a Professional
While many simple issues can be addressed with DIY fixes, there are certain situations where it's crucial to seek professional help. Attempting to repair internal components without proper knowledge and experience can be dangerous and could void the warranty.
Call a qualified electrician or appliance repair technician if:
- The heater is sparking, smoking, or emitting a burning smell. This indicates a serious electrical problem that requires immediate attention.
- The heater is not heating up properly, even on the highest setting. This could be due to a faulty heating element or other internal component.
- The heater has exposed wiring or damaged internal components. Do not attempt to repair these issues yourself.
- You are uncomfortable or unsure about performing any of the DIY fixes. It's always better to err on the side of caution and seek professional assistance.
- The energy monitor shows a consistently high wattage draw, even after implementing all the DIY fixes. This suggests a deeper problem with the heater's internal circuitry.
- The heater trips your circuit breaker repeatedly. This indicates an overload or a short circuit, which can be dangerous.
Preventive Measures for Energy Efficiency
In addition to troubleshooting, implementing preventive measures can help maximize the energy efficiency of your oil heater and minimize your electricity bills.
- Regular Cleaning: Keep the heater clean and free of dust and debris to ensure proper heat dissipation.
- Proper Placement: Position the heater in a central location in the room, away from furniture or curtains that could block airflow.
- Use a Timer: Set a timer to automatically turn the heater on and off at specific times, such as before you wake up or before you arrive home.
- Zone Heating: Use the oil heater to heat only the rooms you are actively using, rather than heating the entire house.
- Consider a Newer Model: If your oil heater is old and inefficient, consider upgrading to a newer, more energy-efficient model. Look for models with features like adjustable thermostats, multiple heat settings, and automatic shut-off.
By understanding how much electricity your oil heater uses, knowing how to troubleshoot potential problems, and implementing preventive measures, you can keep your home comfortable and your energy bills under control. Remember, safety should always be your top priority. When in doubt, consult a qualified professional.
By following these tips, you can confidently tackle the challenge of managing your oil heater's energy consumption and enjoy a warm and comfortable home without the worry of excessive electricity bills.