How Much Is A Central Air Unit Installed

Nothing is more frustrating than a central air unit failing on a scorching summer day. Before you resign yourself to astronomical repair bills, let's explore some basic troubleshooting steps you can take to identify the problem and possibly fix it yourself. Remember, safety is paramount. If you're uncomfortable with any of these steps or suspect a major issue, call a qualified HVAC technician immediately.
Understanding Common Central Air Problems
Central air conditioning systems, while generally reliable, can encounter a variety of issues. Some common culprits include:
- No power: The unit simply won't turn on.
- Weak airflow: The air coming from the vents isn't cold enough.
- Uneven cooling: Some rooms are colder than others.
- Loud noises: Unusual sounds like banging, hissing, or grinding.
- Constant cycling: The unit turns on and off frequently.
- Water leaks: Water pooling around the indoor or outdoor unit.
Troubleshooting Step-by-Step: A DIY Guide
This guide provides a logical approach to diagnosing common central air problems. Follow these steps systematically, and remember to turn off the power to the unit before performing any maintenance.
Step 1: Check the Thermostat
This might seem obvious, but it's the first place to start! A simple setting error can cause the entire system to malfunction.
- Ensure the thermostat is set to "Cool" mode. It's easy to accidentally switch it to "Heat" or "Off."
- Verify the set temperature is lower than the current room temperature. If the set temperature is higher, the unit won't turn on.
- Check the thermostat batteries. A low battery can cause erratic behavior. Replace them with fresh batteries.
- Make sure the thermostat display is working correctly. If the display is blank or displaying error messages, consult the thermostat's manual.
Step 2: Inspect the Power Supply
A lack of power is a common reason for a non-functioning AC unit. Here's how to check:
- Check the circuit breaker. Locate the circuit breaker that controls the AC unit in your electrical panel. If the breaker is tripped (in the "off" position), flip it all the way to the "off" position and then back to the "on" position. If it trips again immediately, do not keep resetting it. Call an electrician, as this indicates a more serious electrical issue.
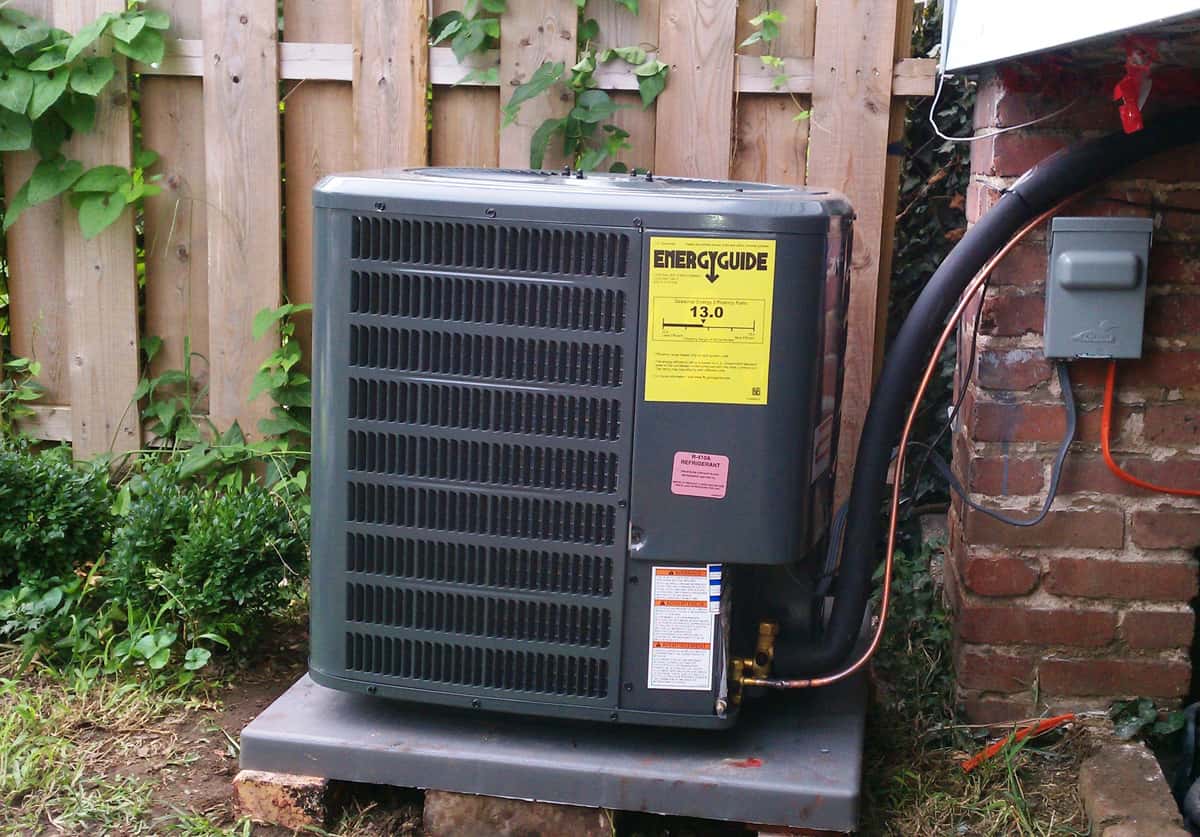
- Inspect the disconnect switch. Most outdoor AC units have a disconnect switch located nearby. This is a safety device that allows you to cut power to the unit for maintenance. Ensure the switch is in the "on" position. It may be a simple toggle switch or a pull-out type.
Step 3: Examine the Air Filter
A dirty air filter is a common cause of reduced airflow and decreased cooling efficiency. It restricts airflow, making the unit work harder and potentially causing it to overheat.
- Locate the air filter. It's typically located inside the indoor air handler unit, often behind a return air grille.
- Remove the filter. Note the direction of airflow (usually indicated by an arrow on the filter) so you can install the new filter correctly.
- Inspect the filter. If it's visibly dirty or clogged, it needs to be replaced.
- Replace the filter with a new one of the correct size and type. Check the old filter for its dimensions and MERV rating (Minimum Efficiency Reporting Value). Choose a filter with a similar MERV rating to maintain proper airflow and filtration.
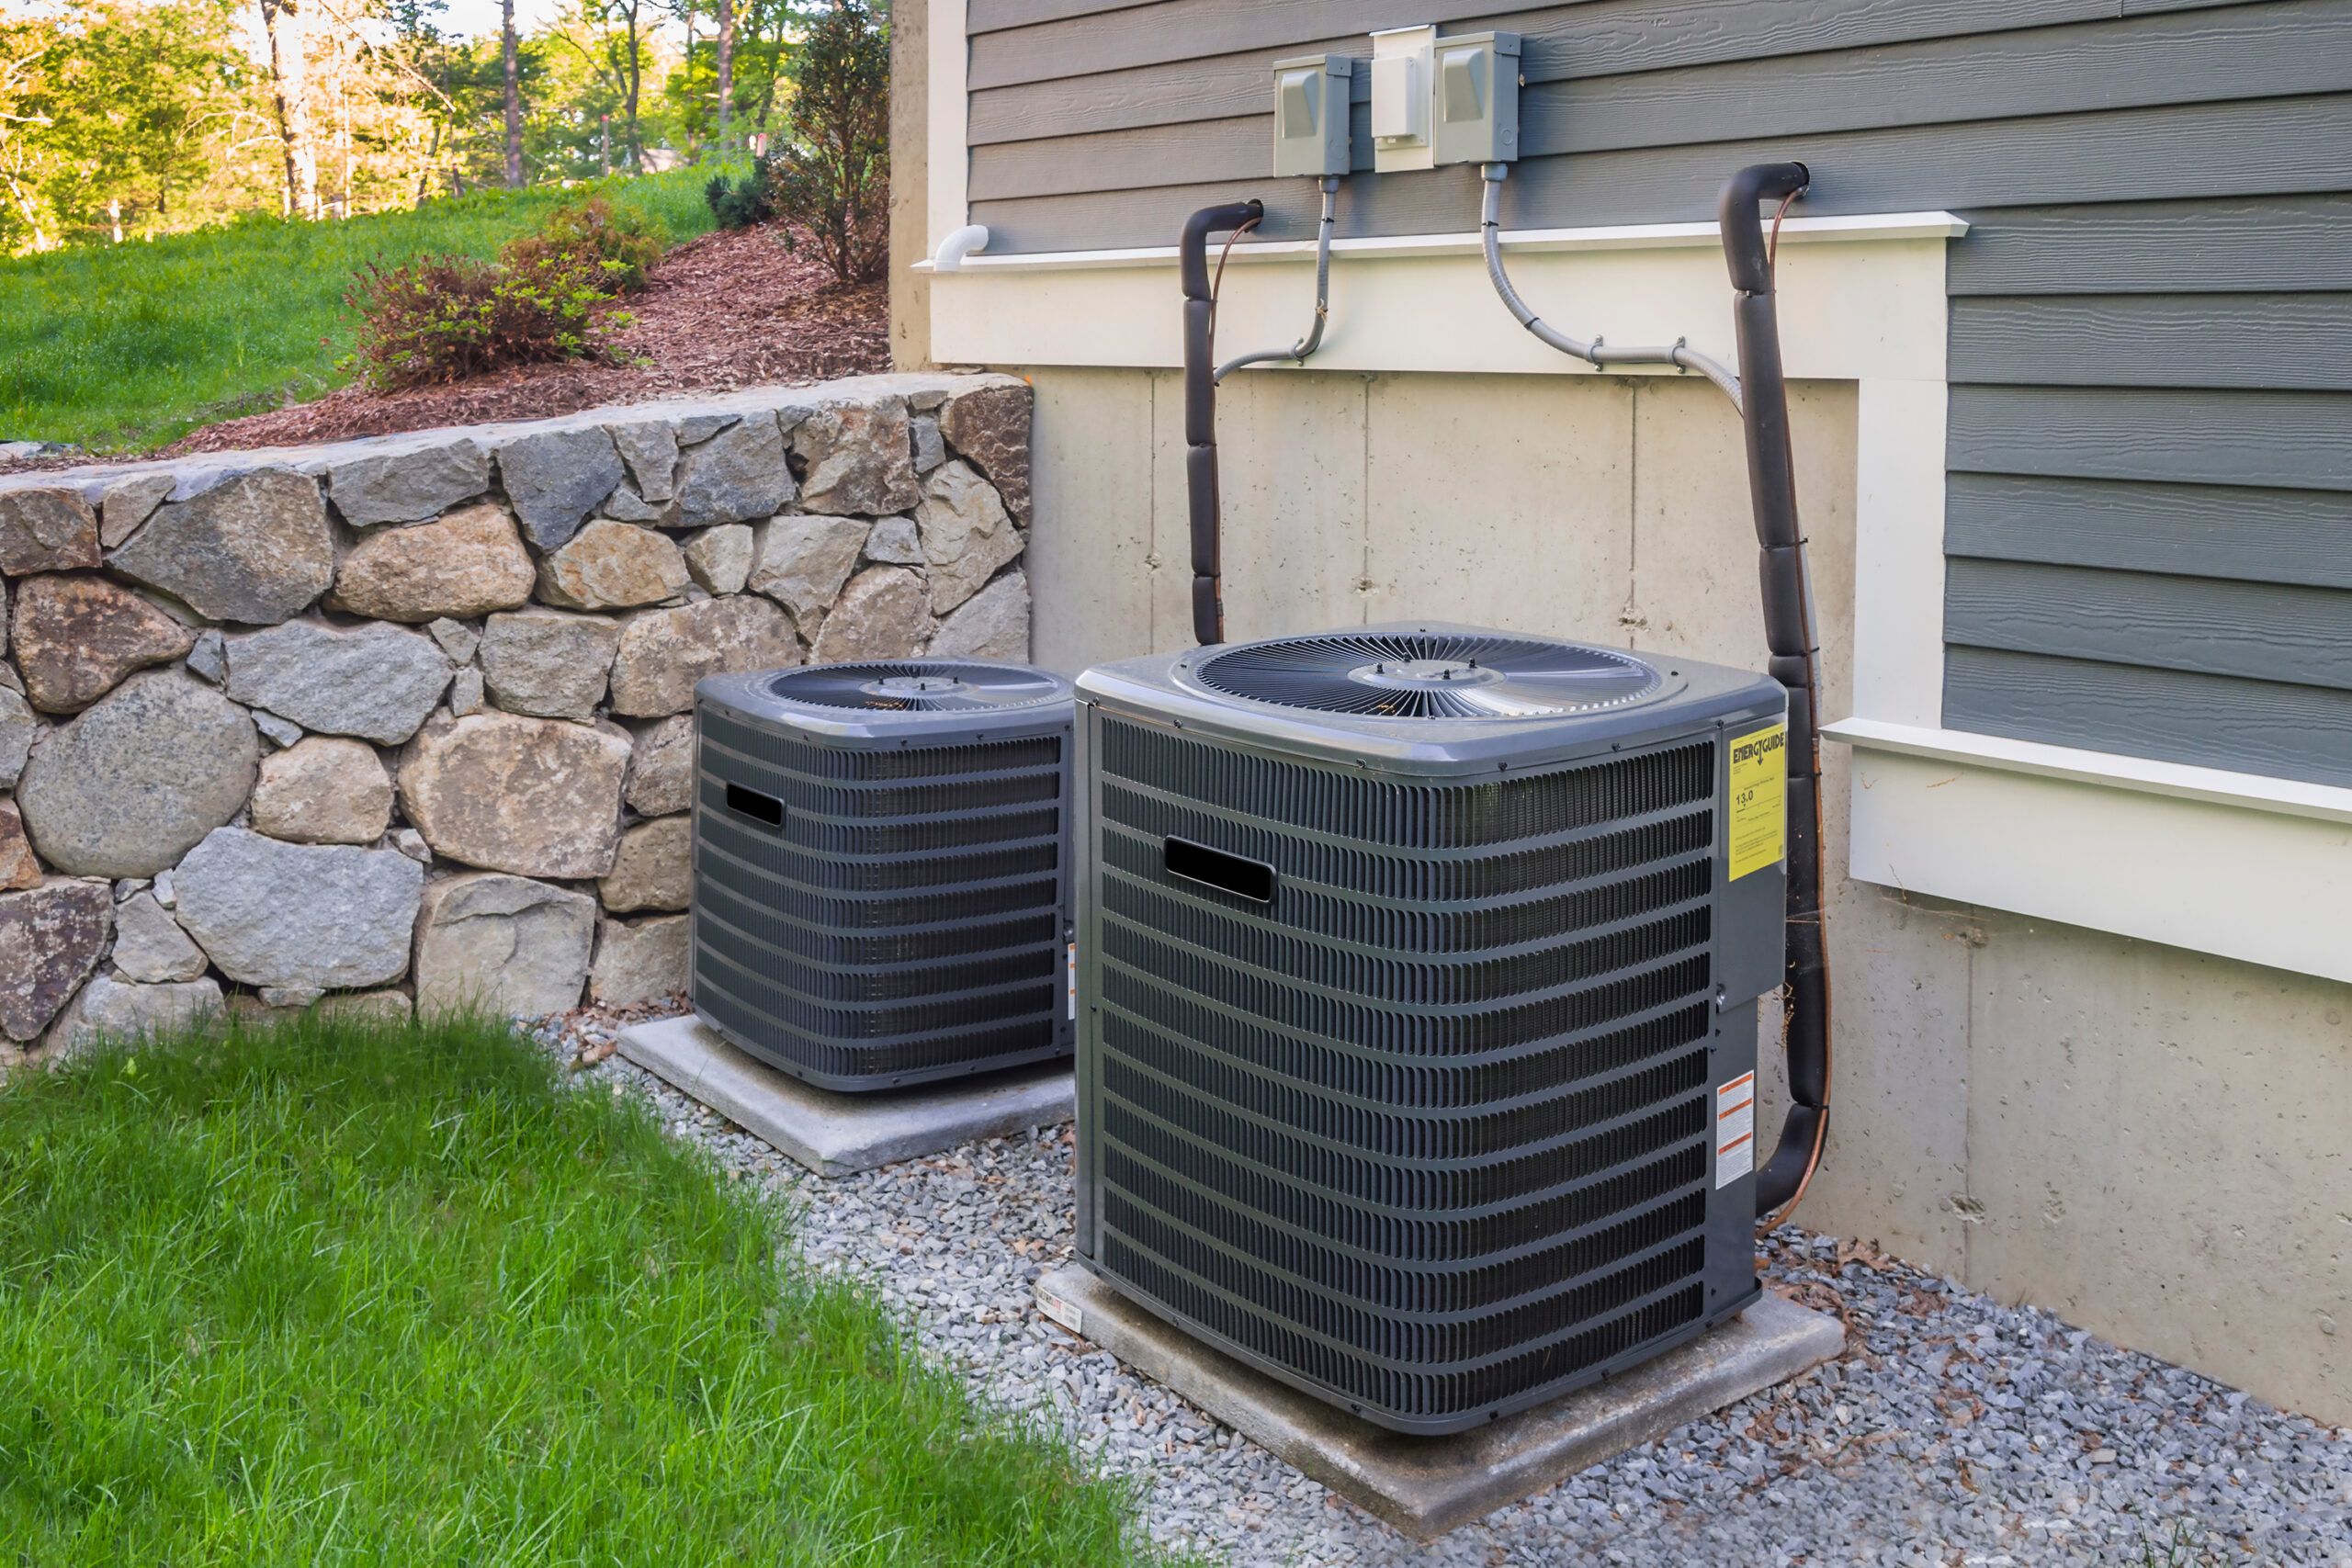
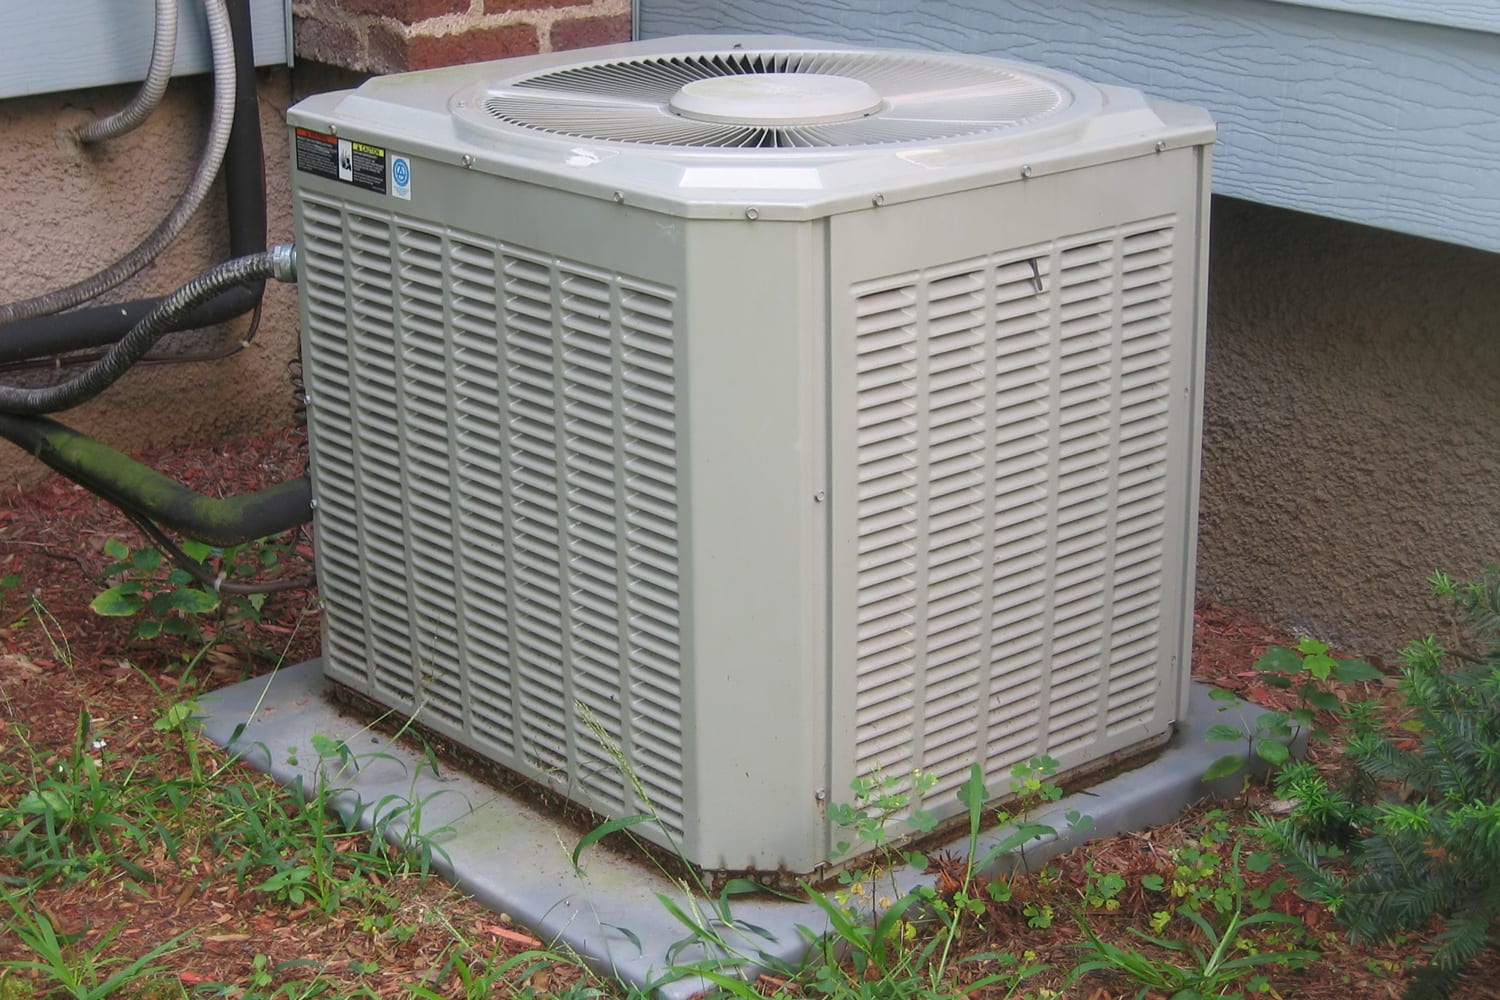
Step 4: Check the Outdoor Unit (Condenser)
The outdoor unit is responsible for releasing heat from your home. Obstructions around the unit can significantly reduce its efficiency.
- Inspect for obstructions. Ensure there are no plants, leaves, or debris blocking the airflow around the unit. Maintain at least 2-3 feet of clearance around the entire unit.
- Clean the condenser fins. Over time, the condenser fins can become coated with dirt and debris, reducing their ability to dissipate heat. Use a garden hose with a gentle spray nozzle to clean the fins from the inside out. Do not use a pressure washer, as it can damage the fins. Be careful not to bend the fins. If they are already bent, you can try using a fin comb to straighten them.
Step 5: Inspect the Condensate Drain Line
The condensate drain line removes moisture that condenses during the cooling process. A clogged drain line can cause water leaks and even shut down the system.
- Locate the condensate drain line. It's usually a PVC pipe that exits the indoor unit, either inside or outside.
- Check for clogs. Look for any signs of blockage, such as standing water in the drain pan or water dripping from the unit.
- Clear the drain line. You can use a wet/dry vacuum to suck out any debris from the drain line. Alternatively, you can use a stiff wire or a plumbing snake to break up the clog. Pour a cup of white vinegar down the drain line periodically to prevent future clogs.
Step 6: Check the Fan Motor (Indoor and Outdoor)
The fan motors are responsible for circulating air. If a fan motor fails, the system won't cool effectively.
- Listen for unusual noises. A failing fan motor may make grinding, squealing, or rattling noises.
- Check if the fan blades are spinning freely. With the power off, try spinning the fan blades by hand. If they are difficult to turn or don't spin freely, the motor may be failing.
- Inspect the fan motor capacitor. (This requires electrical knowledge. If you're not comfortable working with electricity, skip this step and call a professional.) The capacitor provides the initial surge of power to start the motor. A bulging or leaking capacitor indicates it needs to be replaced. Turn off the power and discharge the capacitor before handling it. Use a multimeter to test the capacitor's capacitance.
When to Call a Professional
While many basic AC problems can be addressed with DIY troubleshooting, some issues require the expertise of a qualified HVAC technician. Never attempt repairs involving refrigerant, gas lines, or complex electrical components unless you are properly trained and certified.
Here are some situations where you should call a professional:
- Refrigerant leaks: Refrigerant is a harmful substance that requires specialized equipment to handle. If you suspect a refrigerant leak (e.g., hissing sounds, oily residue), call a professional immediately.
- Compressor problems: The compressor is the heart of the AC system. Repairs are complex and require specialized tools and knowledge.
- Electrical problems: Any electrical repairs beyond checking the circuit breaker and disconnect switch should be left to a qualified electrician.
- Gas line issues: If your system uses natural gas, any problems with the gas line are extremely dangerous and require immediate professional attention.
- You're uncomfortable with any of the troubleshooting steps. It's always better to err on the side of caution.
- The problem persists after attempting these troubleshooting steps. This indicates a more serious underlying issue that requires professional diagnosis and repair.
Preventative Maintenance Tips
Regular maintenance can help prevent many common AC problems and extend the lifespan of your unit. Consider these tips:
- Change your air filter regularly. This is the single most important thing you can do to maintain your AC system. Aim to change it every 1-3 months, depending on usage and air quality.
- Clean the outdoor unit regularly. Remove any debris that may be blocking airflow.
- Keep vegetation trimmed back from the outdoor unit.
- Schedule annual professional maintenance. A qualified HVAC technician can inspect your system, clean the coils, check refrigerant levels, and identify potential problems before they become major issues.
Estimating Central Air Unit Installation Costs
If your existing AC unit is beyond repair or simply too old and inefficient, you may need to consider replacing it. The cost of a new central air unit installation can vary significantly depending on several factors:
- Size of the unit (BTU rating): Larger homes require larger units, which cost more.
- Efficiency rating (SEER): Higher SEER (Seasonal Energy Efficiency Ratio) ratings indicate greater energy efficiency, but also come with a higher price tag.
- Brand and model: Some brands are known for their reliability and performance, and may command a premium price.
- Complexity of the installation: Factors like ductwork modifications, electrical upgrades, and accessibility can affect the installation cost.
- Local labor rates: Labor costs vary depending on your geographic location.
To get an accurate estimate, it's best to obtain quotes from several qualified HVAC contractors. Be sure to ask for a detailed breakdown of the costs involved, including the unit itself, installation labor, permits, and any additional work that may be required.
By understanding these troubleshooting steps, you can potentially save money on costly repairs and keep your central air system running efficiently. Remember to prioritize safety and don't hesitate to call a professional when needed.