How Much Is A Split Unit Air Conditioner
One of the most frustrating experiences for a homeowner is discovering their split unit air conditioner isn't cooling properly. Suddenly, your sanctuary from the summer heat turns into a stifling oven. Before you panic and call for expensive professional help, let's walk through a methodical troubleshooting process to see if you can diagnose and potentially fix the issue yourself. We'll focus on common problems and safe, DIY solutions, but also clearly identify when it's time to call in the professionals.
Step 1: Initial Assessment - Is It Really the AC?
Before diving into the AC unit itself, let's make sure the problem isn't something simpler. This initial assessment can save you time and unnecessary worry.
A. Check the Thermostat
It sounds obvious, but double-check that your thermostat is set correctly. Ensure it's in "Cool" mode and the temperature is set lower than the current room temperature. Sometimes, a simple accidental adjustment can cause the entire problem. Also, check the thermostat batteries. A low battery can cause erratic behavior.
B. Check the Power Supply
Confirm that the air conditioner is receiving power. Check the circuit breaker in your electrical panel. Look for a tripped breaker labeled "AC," "Air Conditioner," or something similar. If tripped, reset it. If it trips again immediately, do not keep resetting it. This indicates a more serious electrical problem that requires a qualified electrician. Next, check the power switch next to the outdoor unit is switched to the "ON" position.
C. Check Air Vents and Registers
Make sure all air vents and registers in your home are open and unobstructed. Closed vents can restrict airflow, making the AC work harder and less efficiently. Blocked vents also increase the chances of ice formation on the evaporator coil.
If all of these checks pass and your AC is still not cooling effectively, move on to the next step.
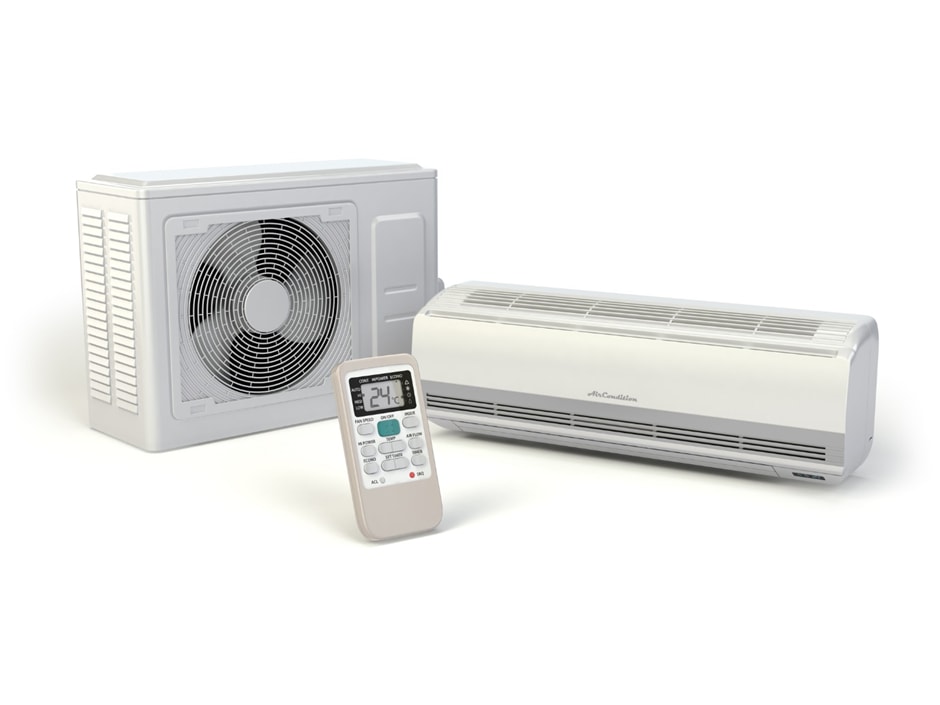
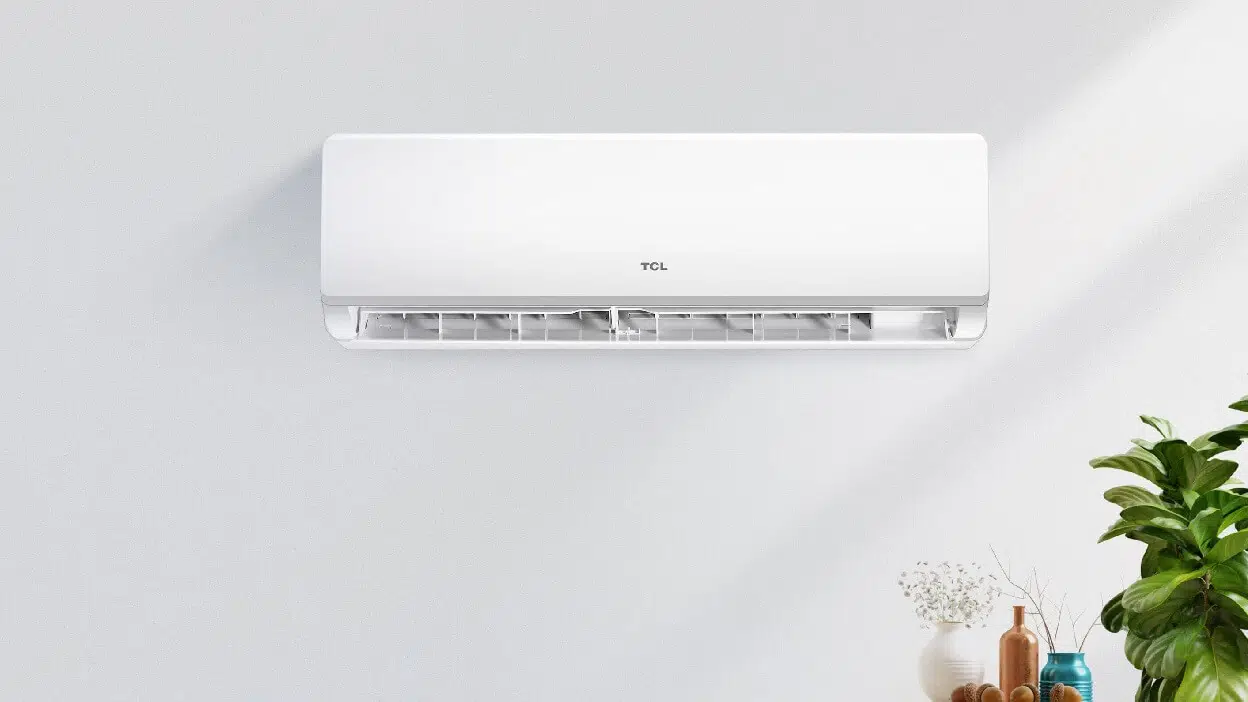
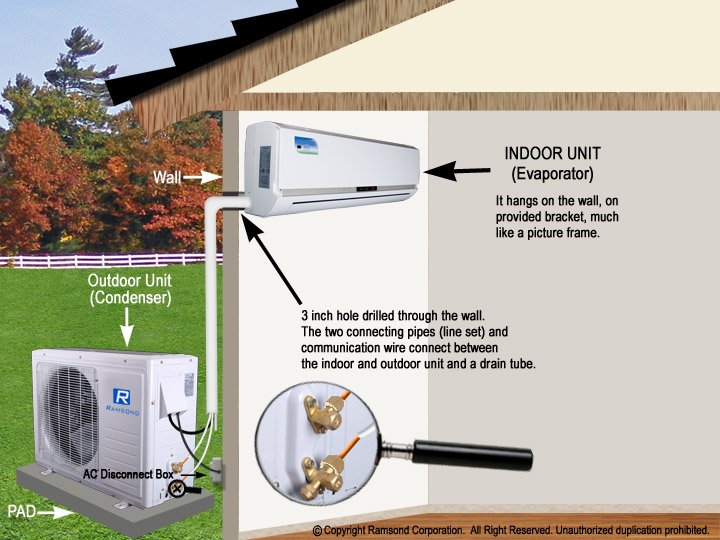
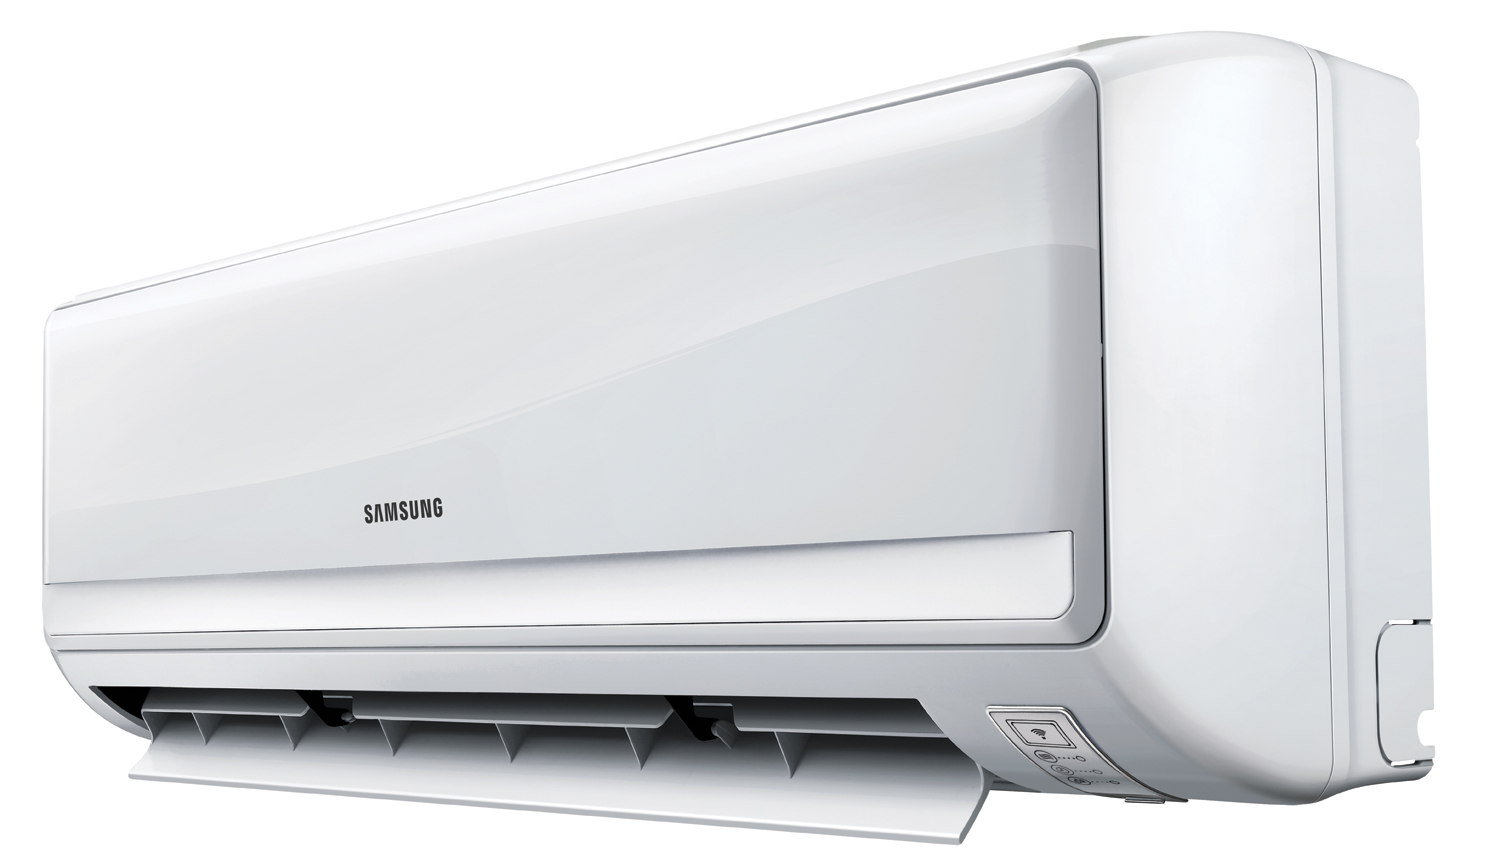
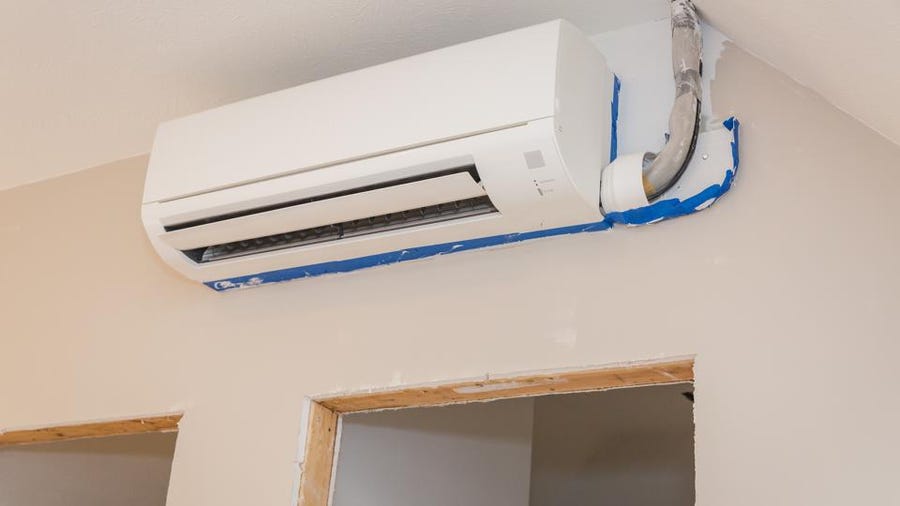
Step 2: Inspect the Indoor Unit (Evaporator)
The indoor unit, typically mounted on a wall, contains the evaporator coil, which cools the air. Problems here can significantly impact cooling performance.
A. Clean the Air Filter
This is the most common cause of poor AC performance. A dirty air filter restricts airflow, causing the evaporator coil to freeze over. This ice prevents the AC from cooling properly. Locate the air filter (usually behind a removable panel on the indoor unit) and remove it. If it's visibly dirty (covered in dust and debris), clean or replace it.
- Cleaning: If the filter is washable (check the manufacturer's instructions), rinse it thoroughly with water and let it dry completely before reinstalling.
- Replacing: If the filter is disposable, replace it with a new filter of the same size and type.
Regular filter cleaning or replacement is crucial for maintaining optimal AC performance and extending the life of your unit. Aim to do this every 1-3 months, depending on usage and air quality.
B. Check for Ice on the Evaporator Coil
If cleaning the air filter doesn't solve the problem, and you suspect a frozen evaporator coil, you can confirm this by visually inspecting the coil (with the unit turned OFF). The coil is located behind the air filter. Do not touch the coil directly, as it can be sharp. If you see ice, even a thin layer, it's a sign of restricted airflow or a refrigerant leak (we'll address refrigerant later).
To thaw the ice:
- Turn off the AC unit.
- Set the thermostat to "Fan Only" mode. This will circulate air over the coil, helping it to thaw.
- Leave the unit in "Fan Only" mode for several hours, or until all the ice has melted.
- Once the ice has melted, clean or replace the air filter (as described above).
- Turn the AC back on to "Cool" mode and monitor its performance.
If the coil freezes up again shortly after thawing, it indicates a persistent problem that requires professional attention.
C. Check for Air Leaks Around the Unit
While the AC is running, feel around the edges of the indoor unit for air leaks. Significant leaks can reduce the unit's efficiency. Seal any noticeable gaps with caulk or weather stripping.
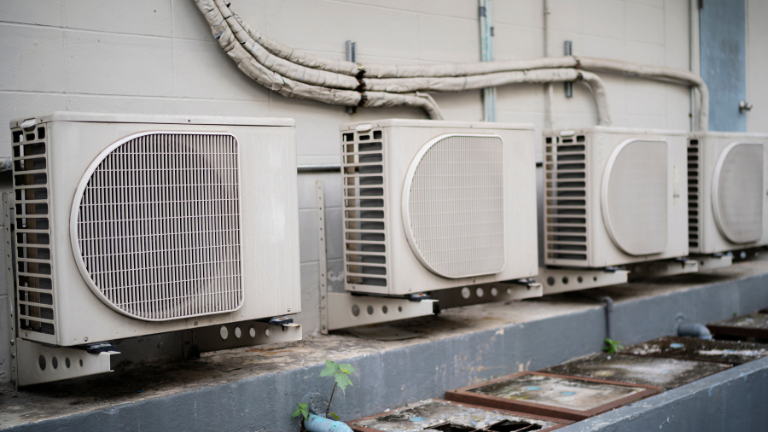
Step 3: Inspect the Outdoor Unit (Condenser)
The outdoor unit houses the condenser coil, which releases heat from the refrigerant. Blocked airflow around this unit is a common problem.
A. Clear Debris Around the Unit
Ensure there is ample space around the outdoor unit for proper airflow. Remove any bushes, plants, leaves, or other debris that may be blocking the unit. Aim for at least 2-3 feet of clearance on all sides. Also check for debris inside the unit. Turn the unit off. Use a vacuum cleaner with a brush attachment to remove any leaves, dust or other debris from within the outside unit.
B. Clean the Condenser Fins
The condenser fins, which surround the condenser coil, can become clogged with dirt and debris, restricting airflow. To clean them:
- Turn off the AC unit at the breaker to prevent electrical shock.
- Use a garden hose with a gentle spray nozzle to rinse the fins from the inside out. Avoid using a high-pressure washer, as this can damage the fins.
- If the fins are heavily soiled, you can use a fin comb to gently straighten any bent fins.
Bent or damaged fins also reduce the surface area for heat exchange. Do not try to straighten them with pliers, as you could damage them further.
C. Listen for Unusual Noises
While the AC is running, listen for any unusual noises coming from the outdoor unit, such as grinding, squealing, or rattling. These noises can indicate a problem with the compressor, fan motor, or other components. If you hear any unusual noises, turn off the AC and call a professional.
Step 4: Addressing Refrigerant Issues (Handle with Extreme Caution!)
Refrigerant is the substance that cools the air in your AC. Low refrigerant levels can significantly reduce cooling performance. However, handling refrigerant is dangerous and should only be done by a licensed HVAC technician. Never attempt to add refrigerant yourself, as this can be harmful to both you and the environment.
A. Identifying Potential Refrigerant Leaks
While you can't directly check refrigerant levels, you can look for signs of a potential leak:
- Ice on the refrigerant lines: This indicates the system is low on refrigerant.
- Hissing sound near the unit: This could indicate a refrigerant leak.
- Poor cooling performance despite cleaning the coils and filters: This can be a symptom of low refrigerant.
If you suspect a refrigerant leak, turn off the AC and call a professional immediately.
B. Why You Shouldn't Handle Refrigerant Yourself
- It's illegal: In many jurisdictions, it is illegal for unlicensed individuals to handle refrigerants due to environmental concerns.
- It's dangerous: Refrigerants can cause frostbite and other injuries.
- It requires specialized equipment: Adding refrigerant requires specialized equipment to ensure the correct amount is added and to prevent environmental contamination.
Step 5: When to Call a Professional
While many AC problems can be resolved with simple DIY troubleshooting, there are certain situations where professional intervention is necessary:
- Refrigerant leaks: As mentioned above, never attempt to handle refrigerant yourself.
- Electrical problems: If you suspect an electrical problem, such as a tripped breaker that keeps tripping, call a qualified electrician.
- Compressor problems: The compressor is the heart of the AC unit, and repairs should only be performed by a qualified technician. Signs of compressor problems include unusual noises, poor cooling performance, and the unit not turning on at all.
- Fan motor problems: If the fan motor in the indoor or outdoor unit is not working, call a professional.
- Persistent problems: If you've tried all the DIY troubleshooting steps and your AC is still not cooling properly, it's time to call a professional.
- Warranty concerns: If your AC unit is still under warranty, attempting to repair it yourself may void the warranty.
By following these troubleshooting steps, you can potentially save yourself time and money by identifying and fixing simple AC problems. However, it's important to know your limits and to call a professional when necessary to ensure your safety and the proper functioning of your AC unit.. Be honest with the HVAC professional, explain everything you have done and what you noticed. This will assist them with their troubleshooting process and the total cost involved.
Preventative Maintenance
Once the split-unit is up and running again consider preventative maintenance to extend the life of the split-unit and minimize potential problems. Regular filter changes, clearing debris around the outside unit, and occasional professional inspections can prevent bigger and more costly problems from forming. Consider a yearly inspection and cleaning from a licensed professional.