How Often Do You Need To Clean Air Ducts
Imagine this: you're settling in for a cozy evening, flip on your furnace, and…nothing. Or worse, it sputters and blows cold air. A malfunctioning furnace is a homeowner's nightmare, especially during the colder months. Before calling a costly HVAC technician, there are some basic troubleshooting steps you can take. This guide will walk you through common furnace issues and simple DIY fixes, empowering you to potentially solve the problem yourself while emphasizing safety.
Safety First!
Before you begin any troubleshooting, prioritize your safety:
- Turn off the power: Locate the circuit breaker for your furnace and switch it to the "off" position. This prevents electrical shock.
- Turn off the gas supply: If you suspect a gas leak, immediately turn off the gas supply valve near the furnace. Call your gas company or a qualified HVAC technician immediately. Do not attempt any repairs yourself in this situation.
- Wear appropriate safety gear: If you're working in dusty conditions, wear a dust mask.
- Know your limits: If at any point you feel uncomfortable or overwhelmed, stop and call a professional. It's better to be safe than sorry.
Troubleshooting Your Furnace: A Step-by-Step Guide
1. Check the Thermostat
This might sound obvious, but it's the most common culprit. A simple thermostat setting can often be the root of the problem.
- Ensure it's powered on: Check the batteries if it's a battery-powered thermostat. Replace them if needed.
- Verify the settings: Make sure the thermostat is set to "Heat" and the temperature is set higher than the current room temperature.
- Check the program: If you have a programmable thermostat, ensure the current time and day are correct and that the heating schedule is properly configured. A conflicting schedule can prevent the furnace from turning on.
- Bypass the program: Try setting the thermostat to "Hold" and manually setting the temperature to rule out any programming issues.
2. Inspect the Power Supply
Even if the thermostat is working correctly, the furnace might not be receiving power.
- Check the circuit breaker: Go to your electrical panel and ensure the circuit breaker for the furnace hasn't tripped. If it has, reset it. If it trips again immediately, there's likely a short circuit, and you'll need to call an electrician or HVAC technician.
- Inspect the emergency shut-off switch: Many furnaces have an emergency shut-off switch located near the unit. Ensure it's in the "on" position. It's often a simple toggle switch that can be accidentally turned off.
3. Examine the Air Filter
A dirty air filter is a common cause of furnace problems. It restricts airflow, causing the furnace to overheat and potentially shut down.
- Locate the air filter: The air filter is typically located near the blower motor or in a slot on the side of the furnace.
- Inspect the filter: Remove the filter and hold it up to the light. If you can't see through it easily, it's dirty and needs to be replaced.
- Replace the filter: Use a new filter of the correct size and type. The size is usually printed on the filter itself or in the furnace manual. Ensure the arrow on the filter points in the direction of airflow.
- Regular filter changes: As a general rule, replace your air filter every 1-3 months, depending on usage and the type of filter.
4. Check the Pilot Light (For Older Furnaces)
If you have an older furnace with a pilot light, it's possible the pilot light has gone out. This step involves working with gas, so if you are uncomfortable, call a professional.
- Locate the pilot light assembly: This is usually located near the burner assembly. Consult your furnace manual for its exact location.
- Follow the lighting instructions: Most furnaces have instructions printed on a label near the pilot light assembly. Follow these instructions carefully. Typically, you'll need to turn the gas valve to the "Pilot" position, press and hold the reset button while lighting the pilot with a lighter or match, and then hold the reset button for a specified period after the pilot light is lit.
- If the pilot light won't stay lit: There could be a problem with the thermocouple, a safety device that shuts off the gas if the pilot light goes out. This is a part that a professional should replace.
- Smell of gas: If you smell gas at any point, immediately turn off the gas supply and call your gas company or a qualified HVAC technician.
5. Inspect the Blower Motor
The blower motor circulates air throughout your home. If it's not working, your furnace won't be able to distribute heat.
- Listen for the blower motor: When the furnace is supposed to be running, listen closely for the sound of the blower motor. If you don't hear anything, it could be a sign of a problem.
- Check the blower motor capacitor: The capacitor helps start the blower motor. A failing capacitor is a common cause of blower motor problems. This step involves working with electricity, so if you are not comfortable, call a professional. If you are comfortable proceed as follows.
- Disconnect the power: Absolutely crucial - ensure the power to the furnace is off at the breaker.
- Locate the capacitor: It's usually a cylindrical component near the blower motor.
- Discharge the capacitor: This is important to avoid electric shock. Use a screwdriver with an insulated handle to short across the capacitor terminals. Be careful!
- Inspect the capacitor: Look for signs of bulging, leaking, or damage.
- Test the capacitor: Use a multimeter to test the capacitance. If the reading is significantly lower than the rated capacitance (printed on the capacitor), the capacitor is likely faulty and needs to be replaced. Replacement of the capacitor should be done by a professional if you are not experienced with electrical repairs.
- Call a professional: If the blower motor is making unusual noises, not turning on, or the capacitor seems fine, there could be a more serious problem with the motor itself, requiring professional repair or replacement.
6. Check the Flame Sensor (For Newer Furnaces)
Newer furnaces have a flame sensor that detects whether the burners are lit. If the flame sensor is dirty or malfunctioning, the furnace may shut down shortly after starting.
- Locate the flame sensor: It's usually a small, metal rod located near the burners. Consult your furnace manual for its exact location.
- Clean the flame sensor: Turn off the power to the furnace. Carefully remove the flame sensor and clean it with fine-grit sandpaper or steel wool. Gently remove any carbon buildup or corrosion.
- Reinstall the flame sensor: Reinstall the flame sensor and ensure it's securely in place.
- Test the furnace: Turn the power back on and see if the furnace runs properly.
7. Examine the Gas Valve
The gas valve controls the flow of gas to the burners. If it's malfunctioning, the furnace won't be able to produce heat. Working with gas can be dangerous, so if you are uncomfortable, call a professional.
- Ensure the valve is open: The gas valve should be in the "on" position.
- Listen for the valve opening: When the furnace is supposed to be running, listen closely for a clicking sound from the gas valve as it opens. If you don't hear anything, there could be a problem with the valve.
- Do not attempt to repair the gas valve yourself: If you suspect a problem with the gas valve, call a qualified HVAC technician. Repairing or replacing a gas valve requires specialized knowledge and tools.
When to Call a Professional
While these troubleshooting steps can help you resolve many common furnace issues, some problems require professional expertise. Call a qualified HVAC technician if:
- You smell gas.
- You are uncomfortable working with gas or electricity.
- The furnace is making loud or unusual noises.
- The furnace is repeatedly shutting down.
- You suspect a problem with the gas valve or heat exchanger.
- You've tried the troubleshooting steps and the furnace still isn't working.
Preventative Maintenance
The best way to avoid furnace problems is to perform regular preventative maintenance. This includes:
- Changing the air filter regularly (every 1-3 months).
- Having your furnace professionally inspected and cleaned annually. A technician can identify potential problems before they become major issues.
- Keeping the area around the furnace clean and free of debris.
- Ensuring proper ventilation around the furnace.
By following these troubleshooting steps and preventative maintenance tips, you can keep your furnace running smoothly and efficiently, ensuring a warm and comfortable home all winter long.
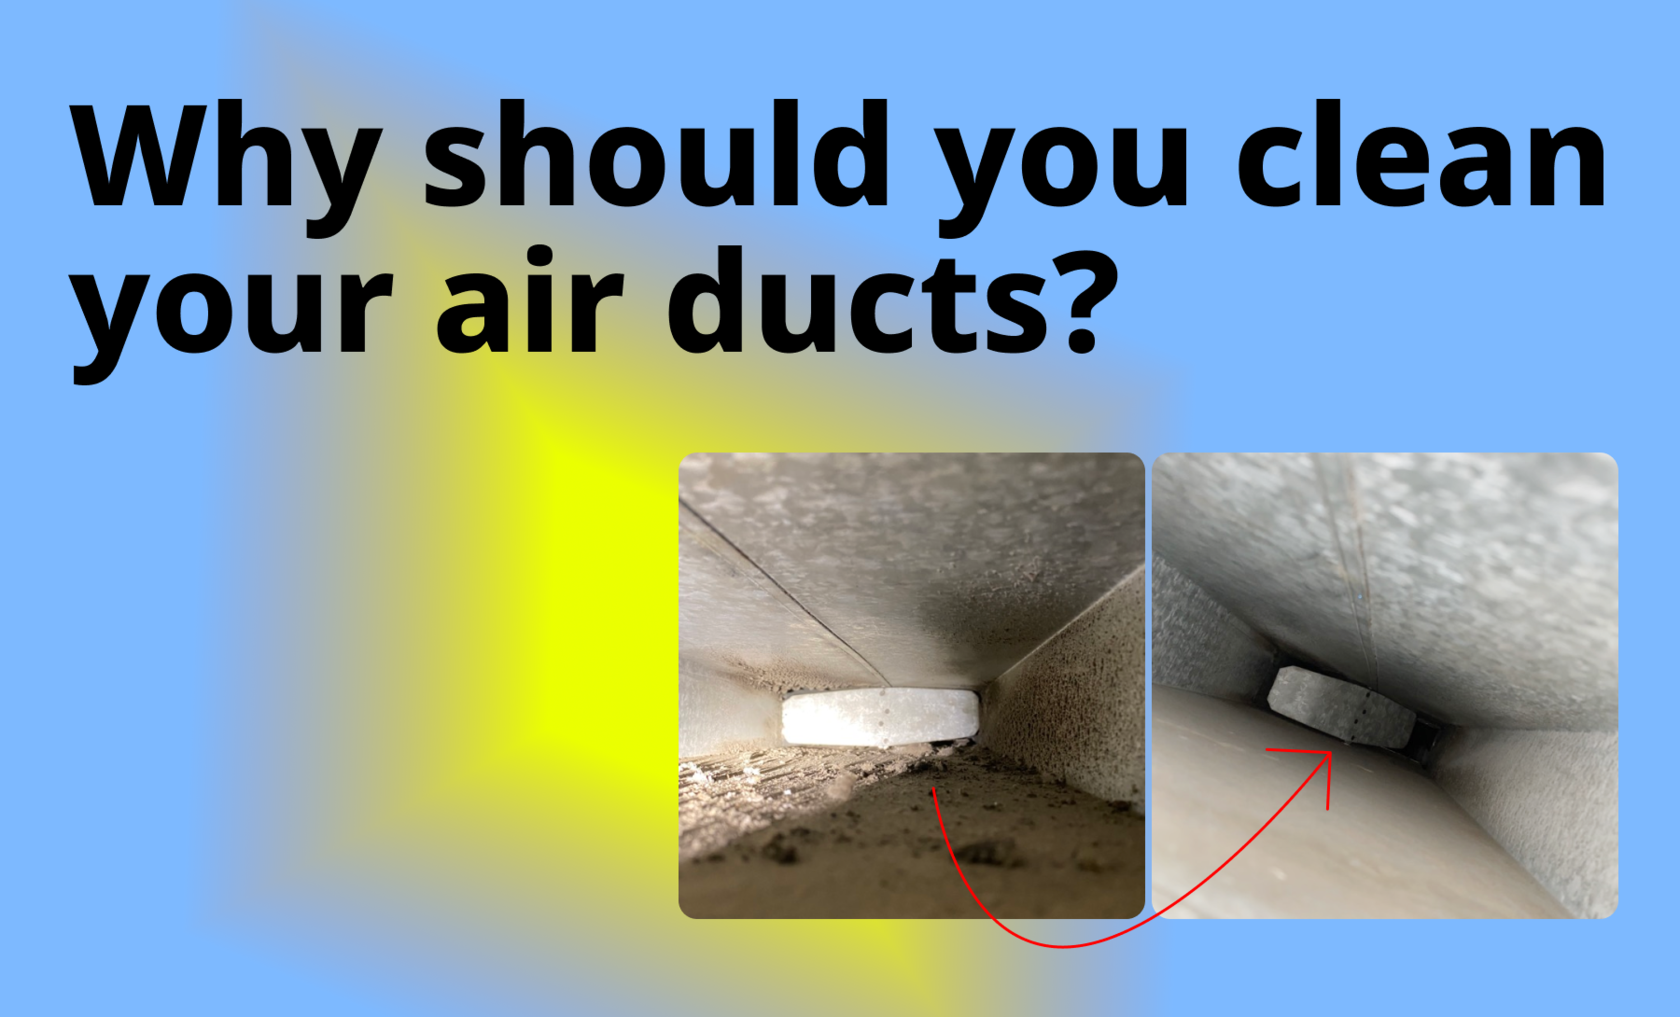
Bonus Tip: Air Duct Cleaning and Furnace Efficiency
While not directly related to a failing furnace, dirty air ducts can significantly impact the efficiency and performance of your heating system. Over time, dust, debris, and allergens can accumulate in your ductwork, restricting airflow and forcing your furnace to work harder to heat your home. This can lead to higher energy bills and a shorter lifespan for your furnace. While you're thinking about your furnace's well-being, consider the state of your air ducts!
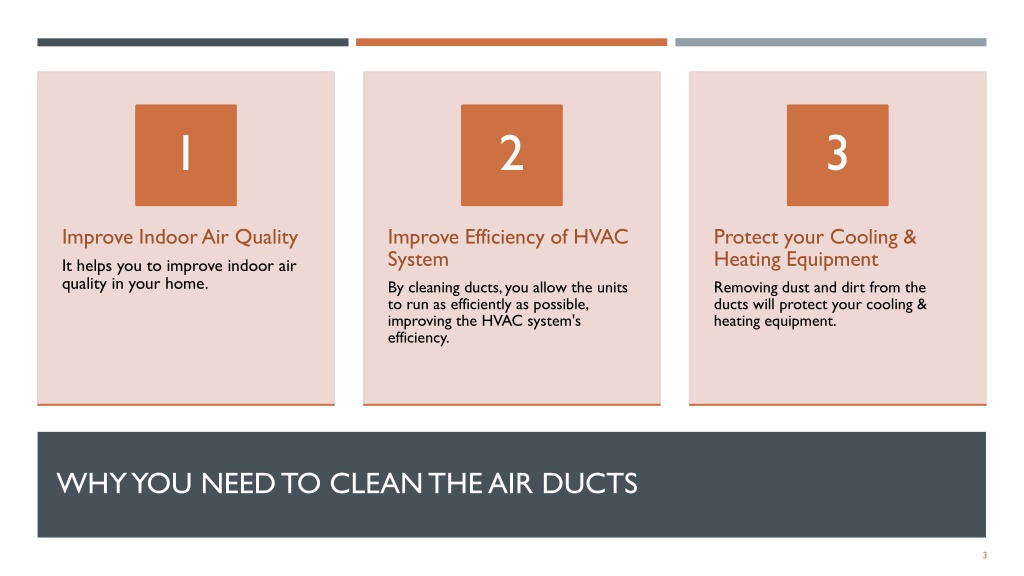
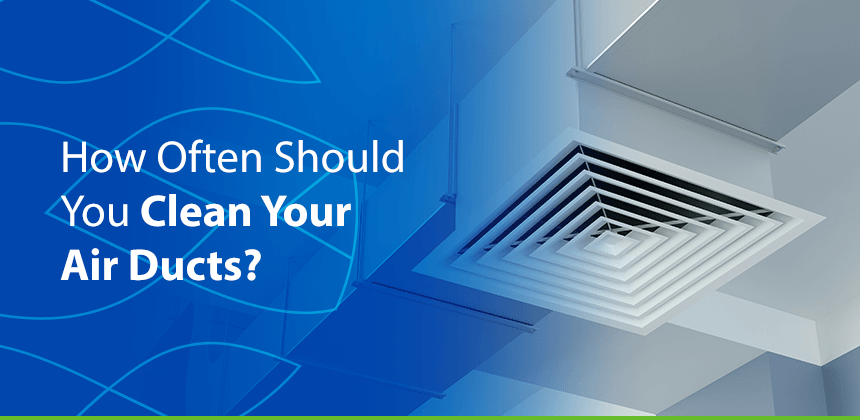
How Often Do You Need To Clean Air Ducts?
There's no one-size-fits-all answer to this question. The frequency of air duct cleaning depends on several factors:
- Allergies or Asthma: If anyone in your household suffers from allergies, asthma, or other respiratory conditions, more frequent duct cleaning (every 1-2 years) may be beneficial.
- Pets: Pets shed hair and dander, which can accumulate in air ducts. Homes with pets often require more frequent cleaning (every 2-3 years).
- Recent Construction or Renovation: Construction and renovation projects can release dust and debris into the air ducts. It's a good idea to have your ducts cleaned after any major construction work.
- Visible Mold Growth: If you see or smell mold in your air ducts, it's crucial to have them cleaned and the source of the moisture addressed immediately. Mold remediation should always be handled by a qualified professional.
- Pest Infestation: If you've had a rodent or insect infestation in your home, it's important to have your ducts cleaned to remove any droppings or debris.
- General Air Quality Concerns: If you notice excessive dust in your home, or if you suspect that your air ducts are contributing to poor indoor air quality, consider having them cleaned.
In general, a good rule of thumb is to have your air ducts inspected every 3-5 years and cleaned if necessary. A professional duct cleaning company can assess the condition of your ducts and recommend the appropriate cleaning schedule.
Important Note: Avoid scams! Be wary of companies that offer extremely low-priced duct cleaning services. These companies often use subpar equipment and techniques, and may not properly clean your ducts. Always choose a reputable and experienced duct cleaning company.