How Often Should You Change A Carbon Monoxide Detector

One of the most vital safety devices in your home is often overlooked: the carbon monoxide (CO) detector. Unlike smoke detectors that alert you to visible danger, CO detectors silently monitor for a deadly, odorless, and colorless gas. Just as you wouldn't ignore a sputtering furnace, it's crucial to understand the lifespan and maintenance of your CO detector.
Think of your washing machine. Let's say it suddenly stops mid-cycle, leaving your clothes soaking wet. Many of us would immediately call a repair person, but often the problem is simpler than we imagine. The same is true for CO detectors. Instead of assuming it's faulty and ignoring it, or needlessly replacing it, let's explore some practical troubleshooting steps.
Understanding Carbon Monoxide Detectors
Before we dive into troubleshooting, it's important to understand what CO detectors do and the types available:
- Electrochemical Sensors: These are the most common type. They use a chemical reaction to detect CO levels.
- Biometric Sensors: Less common, they contain a gel that changes color in the presence of CO.
- Metal Oxide Semiconductor Sensors: These use a semiconductor material whose resistance changes when exposed to CO.
Regardless of the type, all CO detectors have a limited lifespan. Over time, the sensors degrade, reducing their accuracy and reliability.
How Often Should You Really Change Your CO Detector?
This is the most important question. While many people assume they last forever, CO detectors have a finite lifespan. Most carbon monoxide detectors need to be replaced every 5-10 years, depending on the manufacturer. It's crucial to check the manufacturer's instructions that came with your specific detector. Look for a replacement date printed on the device itself, often on the back or side. Treat this date as gospel.
Even if your detector isn't beeping or showing any warning signs, it could be nearing the end of its life and providing inaccurate readings. A seemingly functional but expired detector offers a false sense of security.
Troubleshooting Your CO Detector: A Step-by-Step Guide
Let's say your CO detector is beeping, displaying an error message, or simply not working as expected. Here's a logical approach to troubleshoot the problem:
Step 1: Identify the Problem
The first step is to clearly identify what's happening. Is it a:
- Chirping sound: This is often a low battery warning.
- Constant alarm: This could indicate the presence of CO, a malfunction, or reaching the end of its life.
- Error message on the display: The message will give you more information on the specific problem.
- No display or sound at all: The detector may not be powered or could be completely dead.
Document what you observe. This will be helpful if you need to contact a professional later.
Step 2: Check the Power Supply
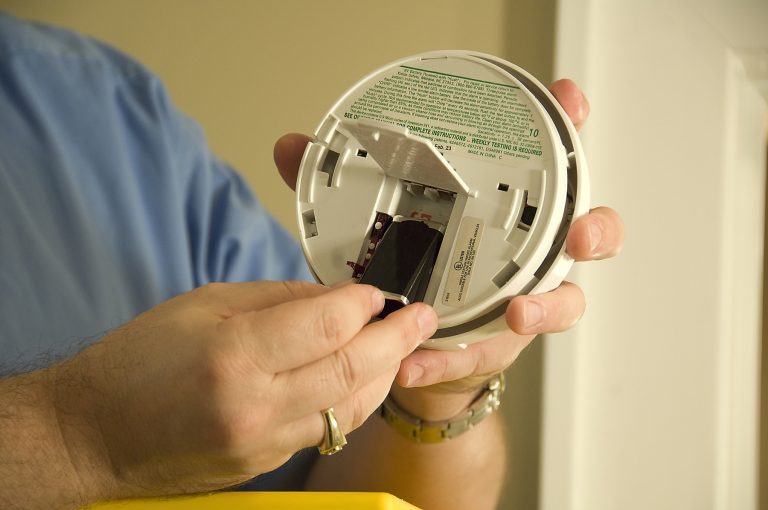
This is the easiest and most common fix. CO detectors are powered in one of two ways:
- Battery-Operated:
- Replace the batteries. Even if the detector is chirping intermittently, a low battery can cause erratic behavior. Use the type of battery specified by the manufacturer.
- Ensure the batteries are installed correctly. Double-check the polarity (+/-) markings.
- Clean the battery contacts. Use a cotton swab dipped in rubbing alcohol to remove any corrosion.
- Hardwired with Battery Backup:
- Check the circuit breaker. Make sure the breaker for the circuit powering the detector hasn't tripped. Reset it if necessary. (Important: If the breaker trips repeatedly, it's a sign of a more serious electrical problem. Call a qualified electrician.)
- Test the battery backup. Disconnect the detector from the AC power (usually by unplugging it or switching off the breaker). If it doesn't function on battery power, replace the battery.
Safety First! When working with electrical components, always turn off the power at the breaker to avoid electric shock.
Step 3: Reset the Detector
Many CO detectors have a reset button. This can often clear error messages or silence false alarms. Locate the reset button (usually on the front or side of the detector) and press it firmly for a few seconds.
After resetting, the detector should go through a self-test. If the alarm sounds again immediately or an error message reappears, it indicates a more significant problem.
Step 4: Check for Potential False Alarms
Sometimes, what seems like a CO leak is actually a false alarm. Consider these factors:
- Humidity: High humidity can sometimes trigger false alarms in certain types of CO detectors.
- Cleaning Products/Aerosols: Strong fumes from cleaning products, hairspray, or other aerosols can occasionally set off the alarm.
- Dust and Debris: Dust or debris accumulating inside the detector can interfere with the sensor.
- Nearby Appliances: In rare cases, appliances like furnaces or stoves that are malfunctioning can briefly emit small amounts of CO, triggering an alarm even if levels aren't dangerous.
If you suspect a false alarm, ventilate the area thoroughly by opening windows and doors. If the alarm stops after ventilation and doesn't return, it's likely a false alarm. However, it's still crucial to investigate the potential source of the false alarm to ensure your appliances are functioning properly.
Step 5: Cleaning Your CO Detector (Handle with Care!)
Dust and debris can interfere with the sensor, potentially causing false alarms or reducing its effectiveness. Follow these steps to carefully clean your CO detector:
- Turn off the power. If it's battery-operated, remove the batteries. If it's hardwired, turn off the circuit breaker.
- Use a vacuum cleaner with a soft brush attachment. Gently vacuum the outside of the detector, paying particular attention to the vents and openings.
- Do not use any liquids or cleaning solutions. These can damage the sensor.
- If necessary, use a dry, soft cloth to gently wipe the exterior.
- Reinstall the batteries or turn the circuit breaker back on.
Important: Never disassemble the CO detector beyond what's required to replace the batteries or clean the exterior. Opening the detector can damage the sensitive components and void the warranty.
Step 6: When to Call a Professional (and When to Replace)
There are certain situations where you should immediately call a qualified professional (HVAC technician, electrician, or your local fire department) or simply replace the unit:
- If the alarm sounds and you or anyone in your home experiences symptoms of CO poisoning (headache, dizziness, nausea, vomiting, confusion, loss of consciousness). Evacuate the premises immediately and call emergency services (911 or your local equivalent) from outside the building.
- If the alarm continues to sound after you've ventilated the area and reset the detector. This indicates a potential CO leak or a malfunctioning detector.
- If the detector displays an error message that you can't resolve, such as a sensor fault.
- If the detector is nearing or past its expiration date (check the manufacturer's instructions or the label on the device).
- If you suspect a gas leak. Do not attempt to repair it yourself. Call your gas company or a qualified HVAC technician immediately.
- If the detector is damaged (e.g., cracked casing, visible damage to the sensor).
- If you are uncomfortable working with electricity. Leave any electrical repairs to a qualified electrician.
Replacing a CO detector is generally inexpensive compared to the potential dangers of a faulty one. If in doubt, err on the side of caution and replace it.
Choosing a Replacement CO Detector
When purchasing a new CO detector, consider the following:
- UL Listing: Look for the UL (Underwriters Laboratories) mark, indicating that the detector has been tested and meets safety standards.
- Type of Sensor: Electrochemical sensors are generally preferred for their accuracy and reliability.
- Features: Some detectors have features like digital displays showing CO levels, voice alerts, and interconnectivity (so all detectors in your home will sound if one detects CO).
- Warranty: Choose a detector with a good warranty.
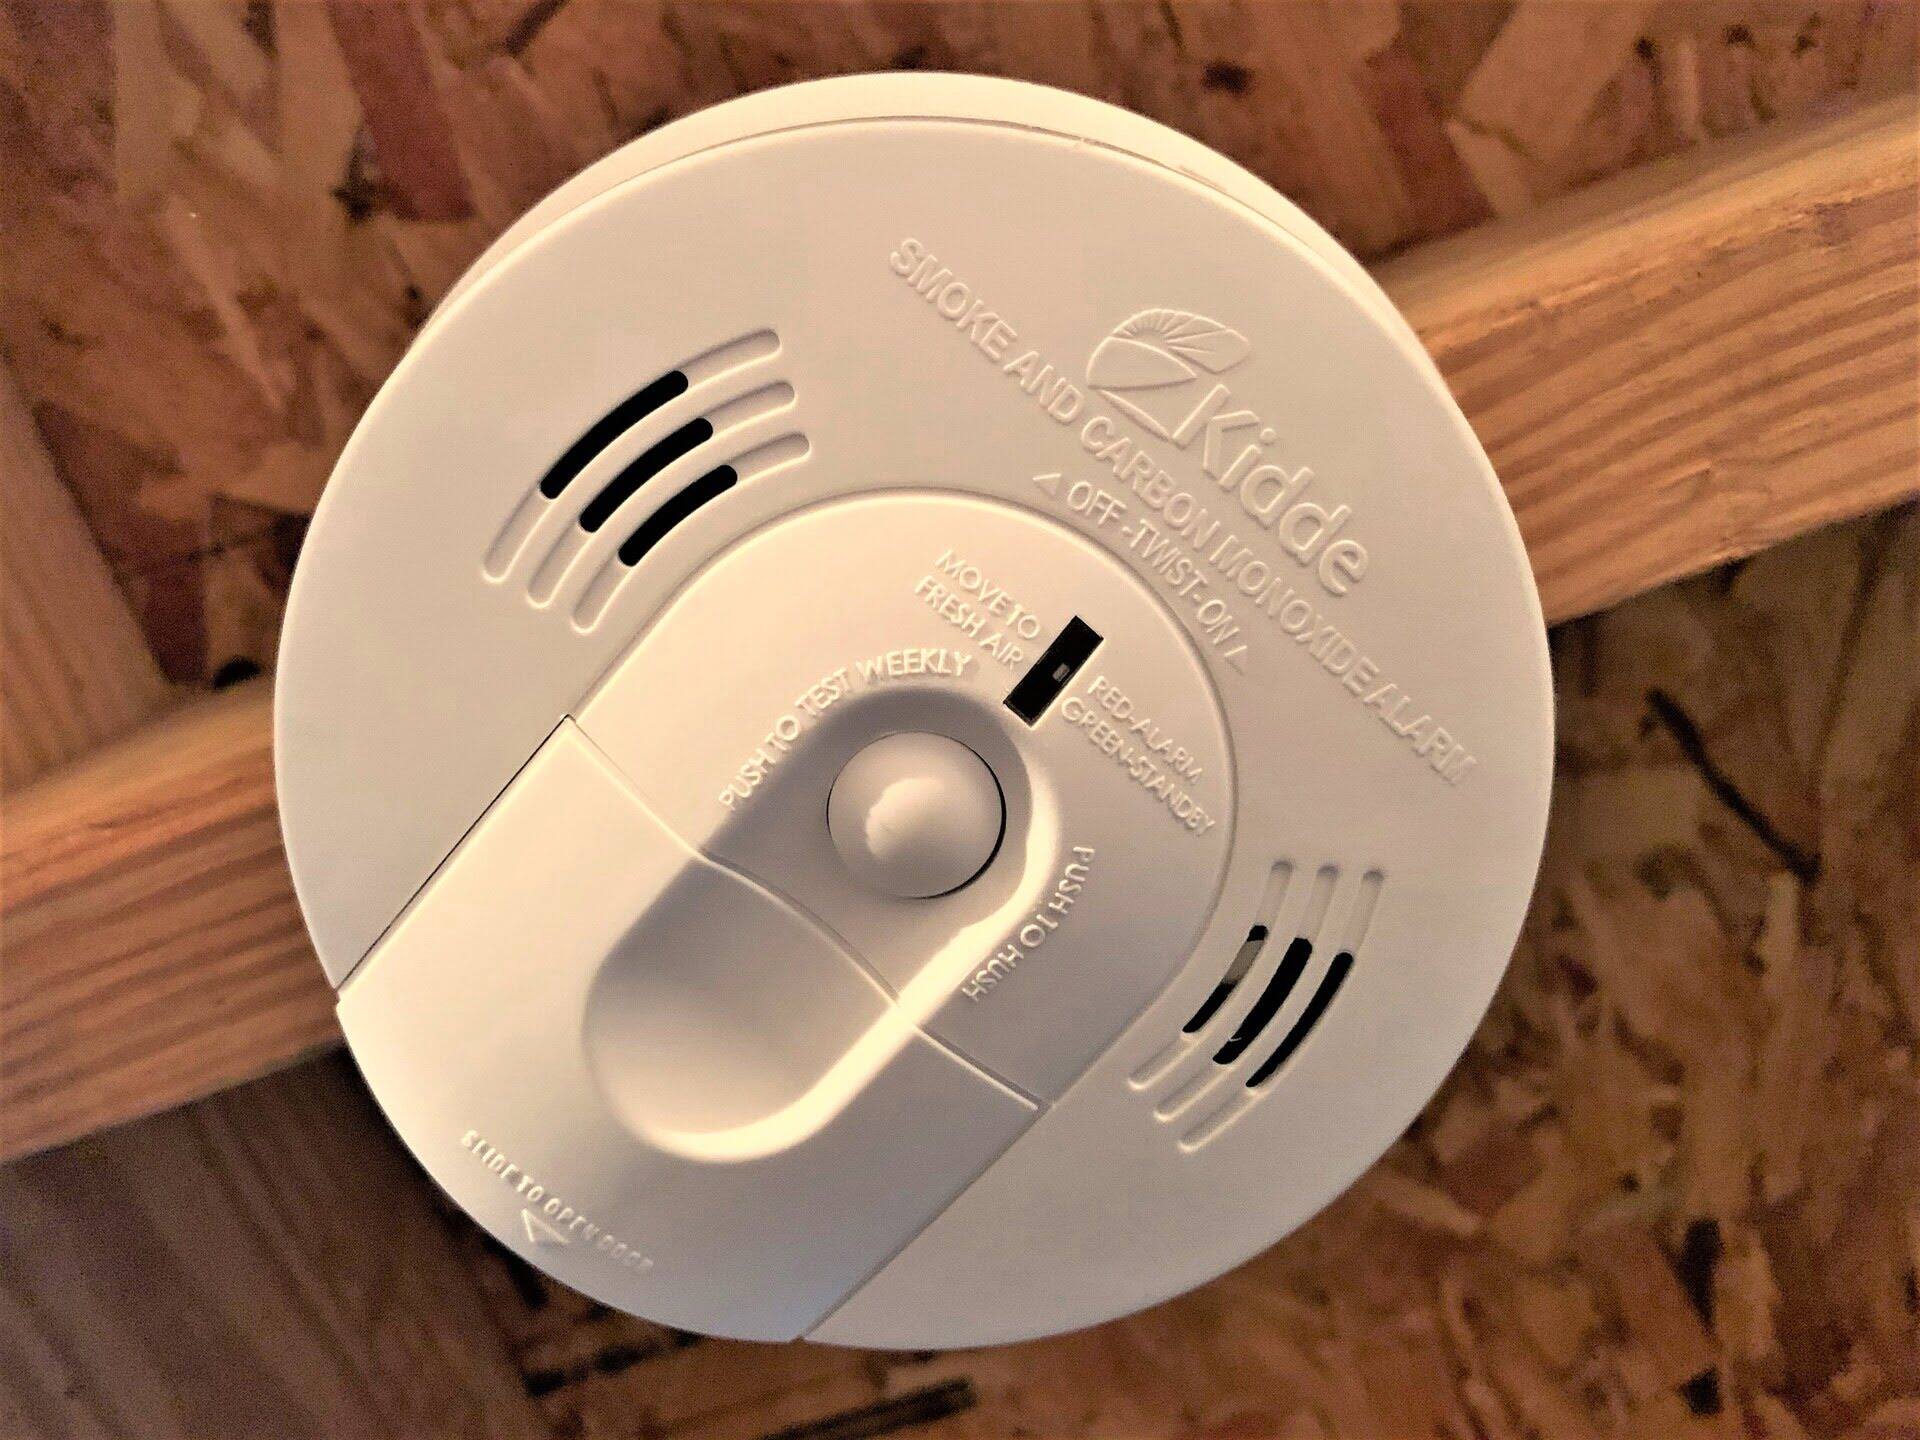
- Combined Smoke/CO Detectors: These can be convenient, but be sure to check the replacement dates for both the smoke and CO sensing components, as they may differ.
Placement Matters: Where to Install Your CO Detector
Proper placement is crucial for the effectiveness of your CO detector:
- Install on each level of your home, including the basement.
- Place outside of sleeping areas, ideally in hallways or common areas.
- Follow the manufacturer's instructions for specific placement recommendations. Some detectors should be placed near the ceiling, while others should be placed lower down.
- Do not place detectors near windows, doors, or vents, as drafts can interfere with their accuracy.
- Do not place detectors in garages or other areas where vehicles are running, as exhaust fumes can trigger false alarms.
Regular Testing is Key
Test your CO detectors regularly, ideally once a month. Most detectors have a test button that you can press to ensure the alarm is working. Follow the manufacturer's instructions for testing procedures.
Make testing your CO detectors a part of your regular home maintenance routine, just like changing the batteries in your smoke detectors.
Conclusion: Your Family's Safety is Paramount
While this guide provides practical steps for troubleshooting CO detectors, remember that your family's safety is the top priority. Don't hesitate to call a professional if you're unsure about any aspect of the repair or if you suspect a CO leak. Knowing when to troubleshoot and when to seek professional help is essential for maintaining a safe and healthy home environment. By understanding the lifespan, maintenance, and proper usage of your CO detectors, you can protect your loved ones from the silent danger of carbon monoxide poisoning.