How Often Should You Clean Your Ac Coils

Is your home not as cool as it used to be, even though your AC is running constantly? Are your energy bills mysteriously higher than usual? One common culprit behind these frustrating issues is often overlooked: dirty AC coils. These coils, essential for the cooling process, can become coated in dust, dirt, pollen, and other debris, significantly impacting their efficiency. But how often should you clean them? And more importantly, how do you know when they need attention?
The Problem: A Suffering Air Conditioner
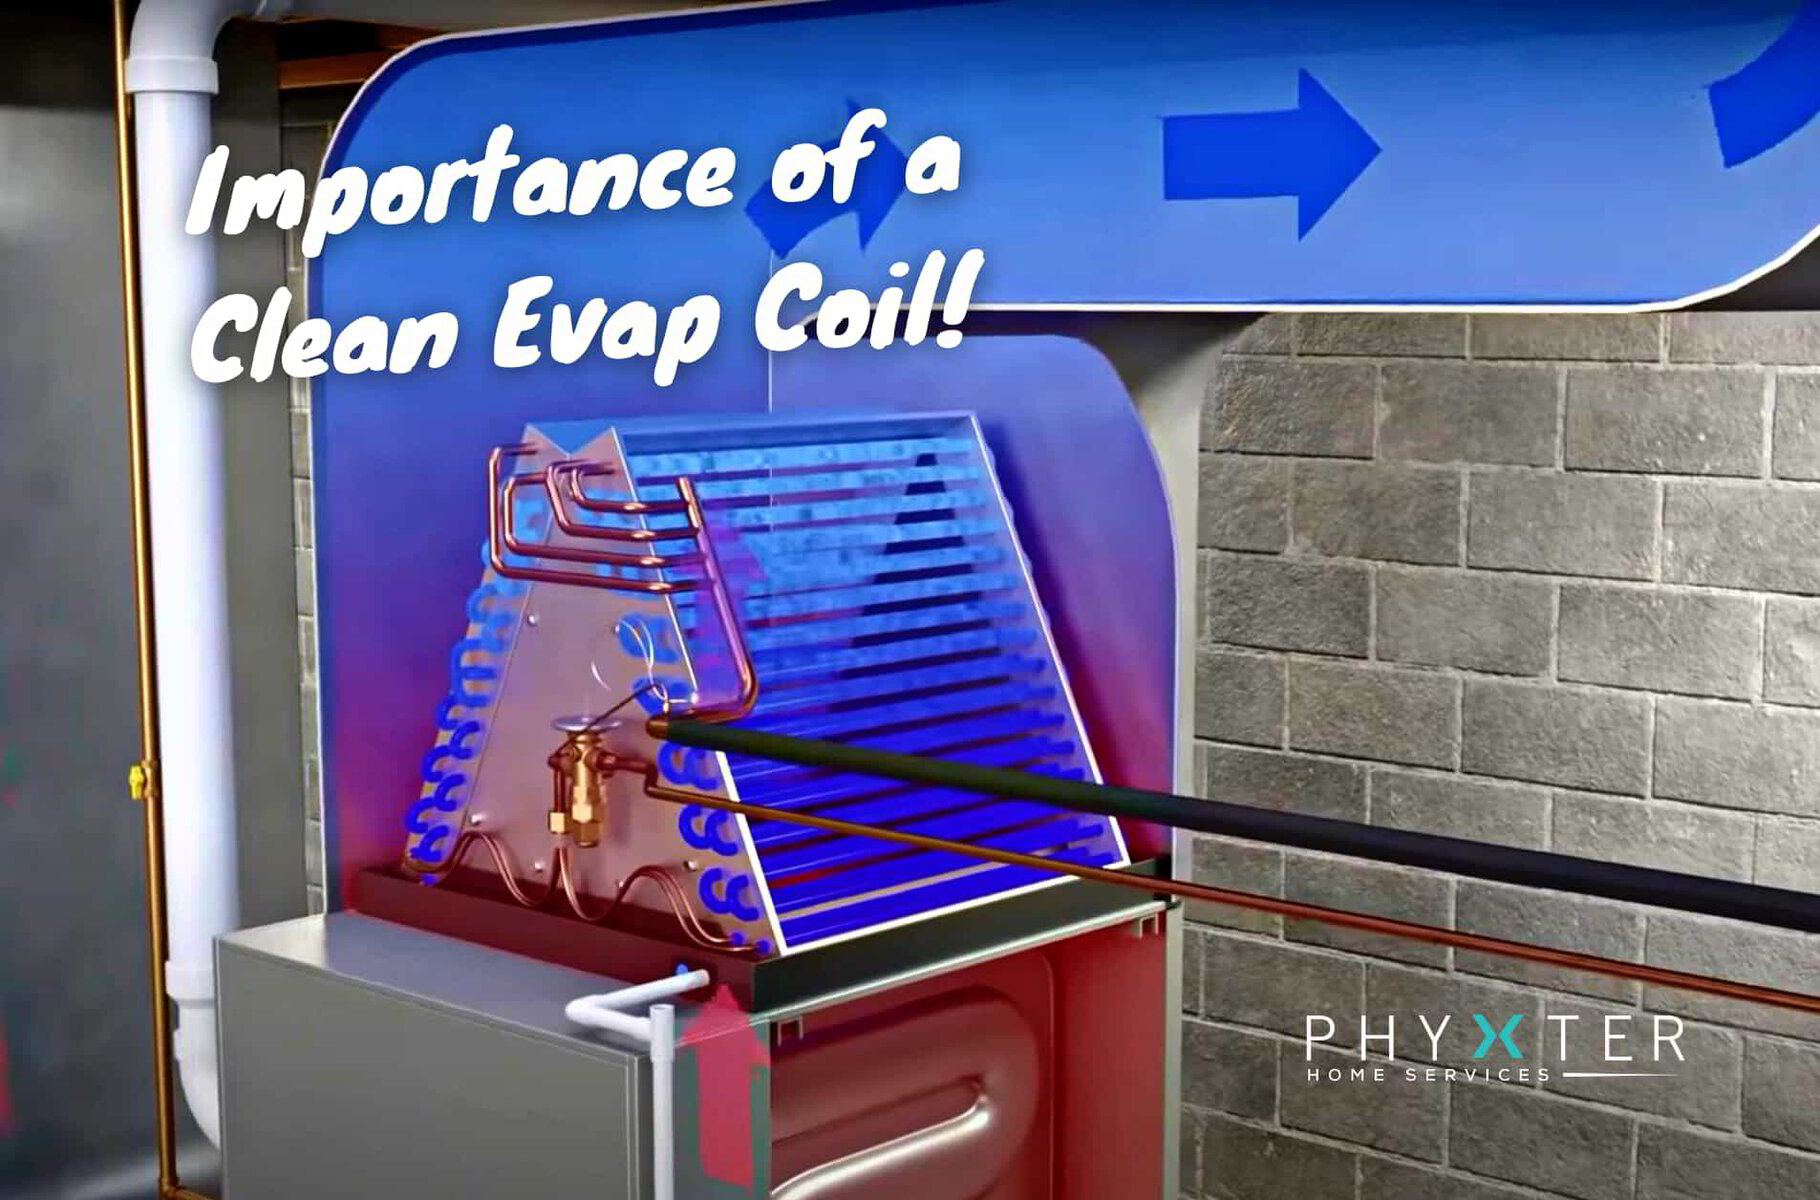
Imagine your AC unit as a tireless worker, constantly removing heat from your home. The evaporator coil (inside the unit) absorbs heat from the air, while the condenser coil (outside the unit) releases that heat into the atmosphere. When these coils are dirty, they can't do their job effectively. This leads to:
- Reduced cooling capacity: Your home won't reach the set temperature as quickly, or at all.
- Increased energy consumption: The AC unit has to work harder and longer to try and cool the house, leading to higher energy bills.
- Frozen evaporator coil: Dirt acts as insulation, preventing the refrigerant from absorbing heat properly. This can cause the coil to freeze over, completely stopping the cooling process.
- Compressor damage: Overworking the compressor due to inefficient cooling can lead to premature failure, a very expensive repair.
- Poor air quality: A dirty indoor coil can circulate dust and allergens throughout your home.
Diagnosis: Is Your AC Coil the Problem?
Before you start cleaning, it's essential to confirm that dirty coils are indeed the likely cause of your AC woes. Here's a step-by-step diagnostic process:
Step 1: Visual Inspection (Outdoor Unit - Condenser Coil)
Safety First! Before you do anything, turn off the power to your AC unit at the breaker box. This is crucial to prevent electrical shock.
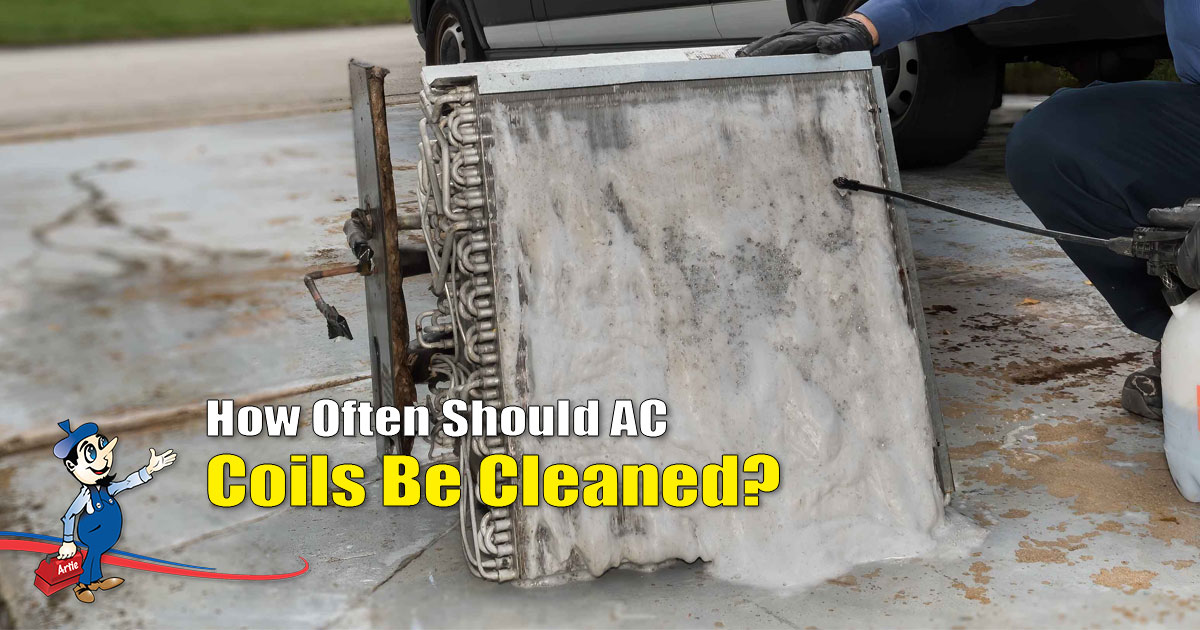
Now, head outside to your condenser unit. Look closely at the coil, which is usually visible through the protective fins. Is it covered in a layer of dirt, dust, leaves, grass clippings, or other debris? Pay close attention to the spaces between the fins. If they are clogged, airflow is severely restricted.
Note: Some condenser units have a cage around the coil. You may need to remove this cage (usually held on by screws) for a thorough inspection. Remember to put it back on securely after you're done.
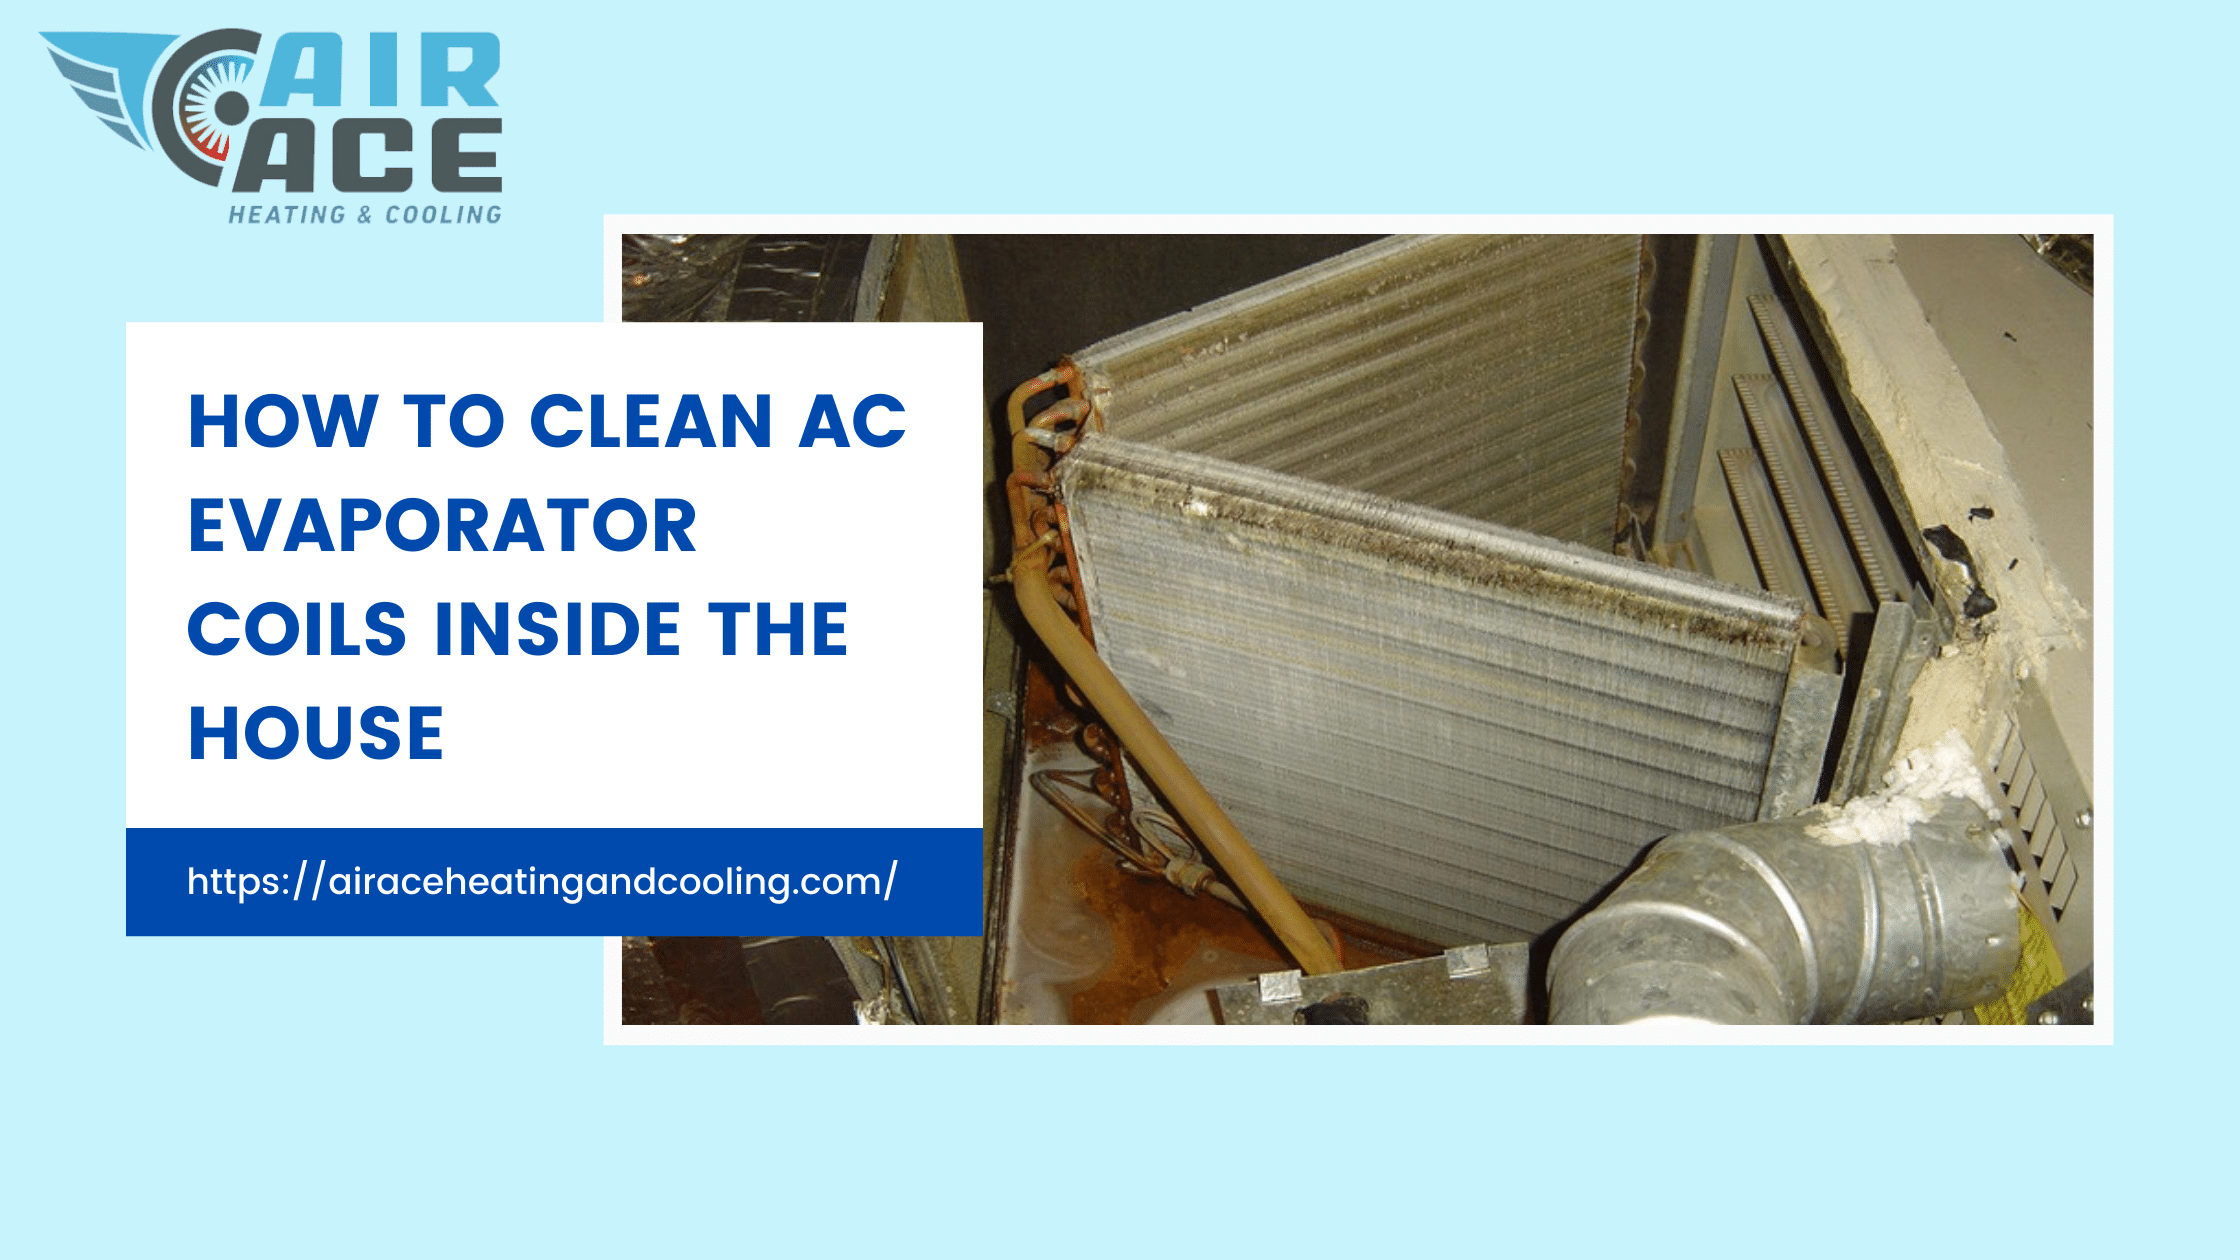
Step 2: Visual Inspection (Indoor Unit - Evaporator Coil)
Locating the evaporator coil can be a bit more challenging. It's usually housed inside the air handler unit, which is often in your attic, basement, or a closet.
Again, turn off the power to the air handler at the breaker!
You'll likely need to remove an access panel to view the evaporator coil. The location of this panel varies depending on the unit's design. Consult your owner's manual if you're unsure.
Shine a flashlight on the coil. Look for the same signs of dirt and debris as you did with the condenser coil. Also, check for signs of ice buildup, which indicates a frozen coil (often caused by restricted airflow due to dirt).
Step 3: Air Filter Check
A dirty air filter can contribute significantly to dirty coils. A clogged filter restricts airflow, forcing the AC unit to work harder and drawing more dirt and dust into the system.
Remove your air filter and hold it up to the light. If you can barely see through it, it's time for a replacement. Replace your air filter regularly (every 1-3 months), even if your coils appear clean.
Step 4: Temperature Differential Test
This test helps determine if your AC unit is performing optimally. Use a thermometer to measure the temperature of the air entering the supply vents (the vents blowing cold air) and the return vents (the vents sucking air in). The difference between these two temperatures should be 15-20 degrees Fahrenheit. A smaller difference suggests a problem, potentially dirty coils.
DIY Cleaning: A Step-by-Step Guide
If your visual inspection and temperature differential test suggest dirty coils, here's how to clean them safely:
Tools and Materials You'll Need:
- Fin Comb: A fin comb helps straighten bent fins on the condenser coil, improving airflow.
- Soft Brush: A soft-bristled brush (like a paintbrush or a specialized coil brush) for gently removing loose debris.
- Vacuum Cleaner with Brush Attachment: For removing loose dirt and dust.
- Coil Cleaner: A commercially available AC coil cleaner (either foaming or non-foaming). Follow the manufacturer's instructions carefully. Look for a self-rinsing cleaner.
- Garden Hose with Gentle Spray Nozzle: For rinsing the condenser coil (if required by your coil cleaner).
- Safety Glasses and Gloves: To protect your eyes and skin from the coil cleaner.
- Screwdriver: For removing access panels and the condenser fan cage (if necessary).
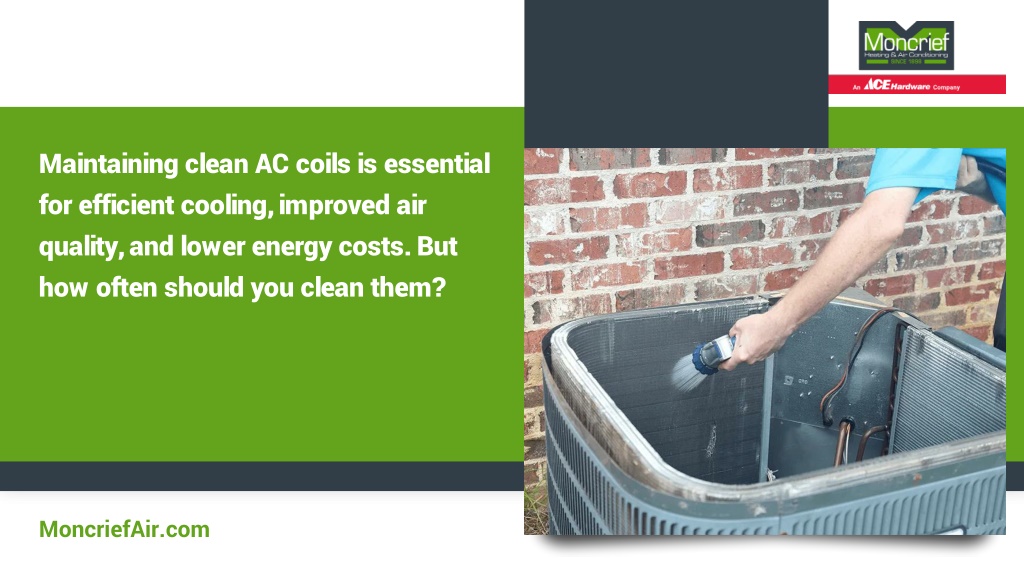
Cleaning the Condenser Coil (Outdoor Unit):
- Power Off: Turn off the power to the AC unit at the breaker box.
- Remove Debris: Clear away any leaves, grass, or other large debris from around the unit.
- Straighten Fins: Use the fin comb to gently straighten any bent fins. Be careful not to damage them further.
- Vacuum: Use the vacuum cleaner with the brush attachment to remove loose dirt and dust from the coil.
- Apply Coil Cleaner: Apply the coil cleaner according to the manufacturer's instructions. Let it sit for the recommended time. Avoid getting the cleaner on plants or grass. Protect them with a tarp if needed.
- Rinse (If Required): If your coil cleaner requires rinsing, use the garden hose with a gentle spray nozzle to rinse the coil. Spray from the inside out to avoid pushing dirt further into the coil.
- Reassemble: Reattach the condenser fan cage (if removed).
- Power On: Turn the power back on at the breaker box.
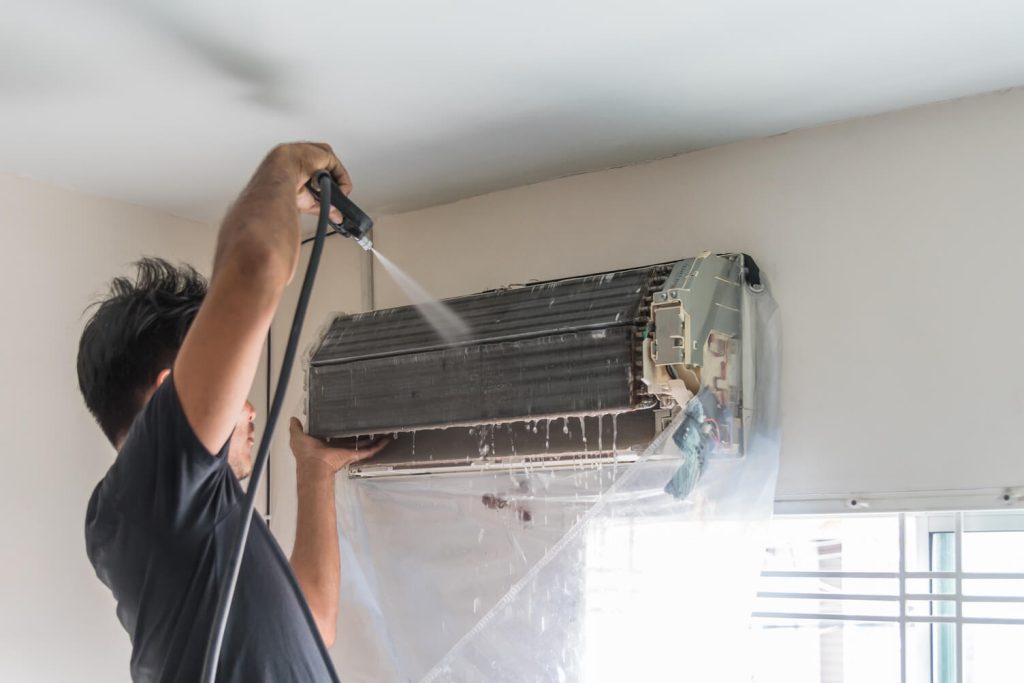
Cleaning the Evaporator Coil (Indoor Unit):
- Power Off: Turn off the power to the air handler at the breaker box.
- Access the Coil: Remove the access panel to expose the evaporator coil.
- Vacuum: Use the vacuum cleaner with the brush attachment to remove loose dirt and dust from the coil.
- Apply Coil Cleaner: Apply the coil cleaner according to the manufacturer's instructions. Be sure to use a cleaner specifically designed for evaporator coils, as some cleaners can damage the delicate components inside.
- Allow to Drip: Most evaporator coil cleaners are self-rinsing. The condensation that forms on the coil will naturally rinse away the cleaner and loosened dirt. Ensure the drain pan beneath the coil is clear and can handle the runoff.
- Reassemble: Reattach the access panel.
- Power On: Turn the power back on at the breaker box.
How Often Should You Clean Your AC Coils?
There's no one-size-fits-all answer to this question. The ideal cleaning frequency depends on several factors, including:
- Your Location: If you live in a dusty or pollen-rich environment, you'll need to clean your coils more often.
- Pet Ownership: Pet dander can quickly clog AC coils.
- Air Filter Quality: A high-quality air filter will reduce the amount of dirt that reaches the coils.
- Landscaping: Proximity to trees and shrubs can increase the amount of debris that accumulates on the condenser coil.
As a general guideline:
- Inspect your condenser coil at least once a year (ideally in the spring before cooling season starts).
- Inspect your evaporator coil every 2-3 years.
- Clean the coils as needed, based on your visual inspection.
- Always replace your air filter every 1-3 months.
When to Call a Professional
While DIY coil cleaning can be effective, there are situations where it's best to call in a professional HVAC technician:
- You're uncomfortable working with electrical components.
- The coils are heavily soiled or corroded.
- You suspect a refrigerant leak. (Refrigerant leaks require specialized equipment and training to repair.)
- You've cleaned the coils, but your AC unit is still not performing correctly. This could indicate a more serious problem, such as a faulty compressor or a problem with the ductwork.
- You can't easily access the evaporator coil without dismantling major components of the air handler.
- You're unsure about which type of coil cleaner to use. Using the wrong cleaner can damage the coils and void your warranty.
A professional HVAC technician has the knowledge, experience, and equipment to thoroughly clean and inspect your AC system. They can also identify and address any underlying problems that may be affecting its performance. In many cases, professional cleaning involves using specialized chemicals and high-pressure washing equipment, which can provide a more effective cleaning than DIY methods.
Consider professional AC maintenance at least once a year to ensure optimal performance and longevity.
Empowering You for a Cooler Home
By understanding the importance of clean AC coils and following these simple troubleshooting and cleaning steps, you can improve your AC unit's efficiency, lower your energy bills, and extend its lifespan. Remember to prioritize safety and don't hesitate to call a professional when needed. With a little preventative maintenance, you can keep your home cool and comfortable all summer long.