How To Adjust A Mixing Valve
Adjusting a mixing valve can seem daunting, but with a little understanding, it's a task many homeowners can tackle themselves. This guide provides a comprehensive overview of mixing valves, how they work, and how to adjust them safely and effectively. We'll break down the technical concepts and provide practical steps to help you maintain comfortable and safe water temperatures in your home.
Understanding Mixing Valves
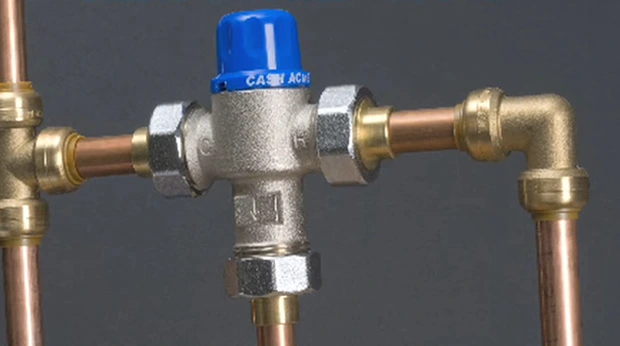
A mixing valve, also known as a thermostatic mixing valve (TMV) or anti-scald valve, is a crucial component in plumbing systems. Its primary function is to blend hot and cold water to deliver water at a consistent and safe temperature to various outlets, such as showers, bathtubs, and sinks. This prevents scalding, particularly important for children, the elderly, and individuals with disabilities.
Why Are Mixing Valves Important?
Imagine a scenario where someone flushes a toilet while you're in the shower. Without a mixing valve, the sudden drop in cold water pressure could cause a surge of scalding hot water to blast through the showerhead. Mixing valves prevent this dangerous temperature fluctuation by automatically adjusting the ratio of hot and cold water to maintain the pre-set temperature, even when there are changes in water pressure or temperature from the supply lines.
Beyond safety, mixing valves also contribute to energy efficiency. By allowing you to store hot water at a higher temperature (reducing the risk of Legionella bacteria growth) and then tempering it at the point of use, you can use less hot water overall.
Types of Mixing Valves
While the core function remains the same, mixing valves come in different types:
- Thermostatic Mixing Valves (TMVs): These are the most common type. They use a temperature-sensitive element (usually a wax or bimetallic coil) to react to changes in water temperature and adjust the valve accordingly.
- Pressure Balancing Valves: These valves react to changes in water pressure. If the cold water pressure drops, the valve automatically reduces the hot water flow to maintain a balanced temperature. While offering some protection against temperature fluctuations, they aren't as precise as TMVs.
- Point-of-Use Mixing Valves: Installed directly at the fixture (e.g., under a sink), these valves are ideal for individual outlets where precise temperature control is needed.
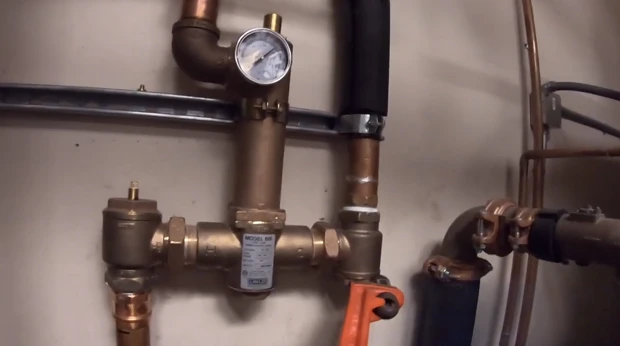
- Central Mixing Valves: Installed at the water heater, these valves control the water temperature for the entire plumbing system.
Identifying Your Mixing Valve
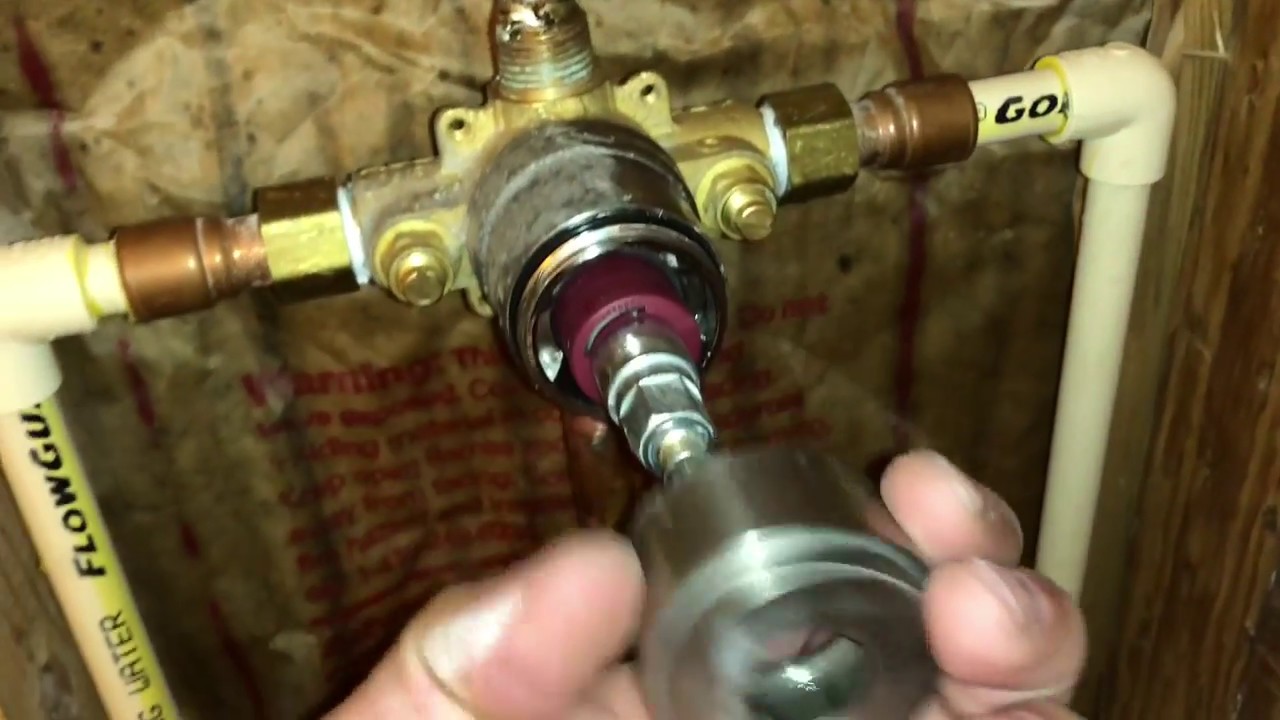
Before you start adjusting anything, you need to locate and identify your mixing valve. Look for it near the water heater or at the point of use, such as under a sink or behind a shower wall (access panel required). It will typically have three connections: one for hot water, one for cold water, and one for the mixed water outlet.
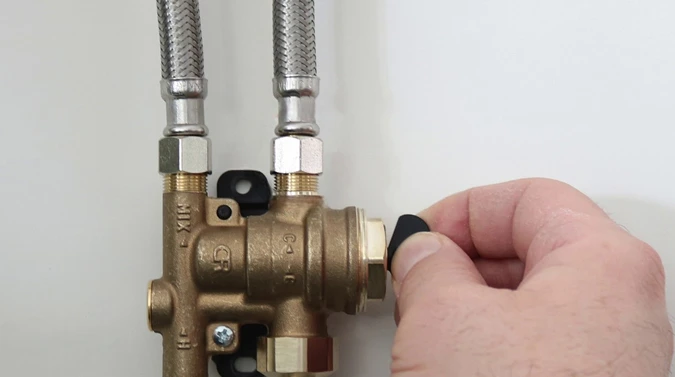
The valve body will often have markings indicating the hot and cold water inlets, as well as an adjustment mechanism. This mechanism might be a knob, screw, or dial. Consult the manufacturer's documentation if you are unsure of the valve type or how to adjust it.
Safety Precautions
Safety is paramount when working with plumbing systems. Always take the following precautions:
- Turn off the power to the water heater: This prevents the heating element from cycling on while you're working, reducing the risk of electrical shock. Locate the breaker for the water heater in your electrical panel and switch it off.
- Turn off the water supply: Locate the main water shut-off valve for your home. This is typically found near the water meter or where the water line enters the house. Turn the valve clockwise to shut off the water supply.
- Wear safety glasses: This will protect your eyes from any splashes or debris.
- Use appropriate tools: Avoid using excessive force when adjusting the valve. Use the correct size wrench or screwdriver to prevent damage to the valve.
- Test the water temperature carefully: After making adjustments, test the water temperature with a thermometer to ensure it's within a safe range (typically between 100°F and 120°F).
Adjusting the Mixing Valve: Step-by-Step
Now that you've identified your mixing valve and taken the necessary safety precautions, you can begin the adjustment process. Here's a general guide; always refer to the specific instructions for your valve model.
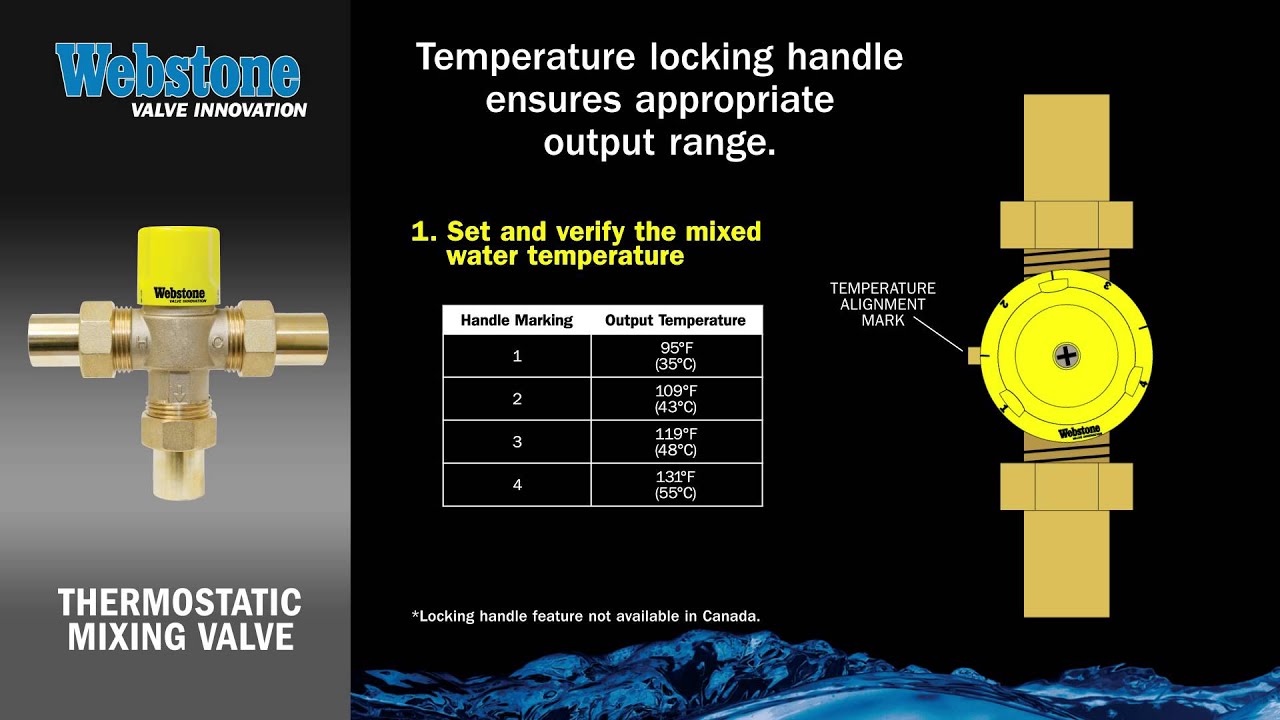
- Locate the Adjustment Mechanism: Look for a knob, screw, or dial on the valve body. It may be marked with "+" and "-" symbols, or with temperature indicators.
- Adjust the Temperature:
- For a knob or dial: Turn the knob or dial in the direction indicated to increase or decrease the temperature. A "+" symbol usually indicates increasing the temperature (making the water hotter), while a "-" symbol indicates decreasing the temperature (making the water cooler).
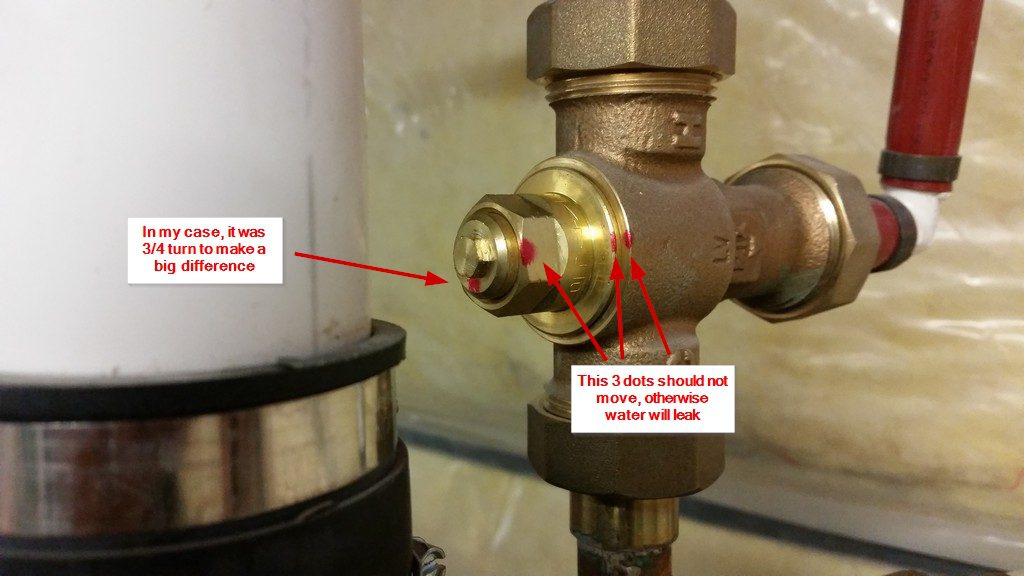
- For a screw: Loosen the locking screw (if present) and then turn the adjustment screw. Turning it clockwise typically increases the temperature, while turning it counter-clockwise decreases the temperature. Once you've made the adjustment, tighten the locking screw to secure the setting.
- Test the Water Temperature: Turn on a faucet connected to the mixing valve and let the water run for a few minutes until the temperature stabilizes. Use a thermometer to measure the water temperature. The ideal temperature is usually between 100°F and 120°F. Never set the temperature above 120°F to avoid scalding.
- Fine-Tune the Adjustment: If the water temperature is not within the desired range, repeat steps 2 and 3, making small adjustments each time until you achieve the desired temperature. Small adjustments can make a big difference in the final water temperature.
- Monitor the Temperature Over Time: After making the adjustment, monitor the water temperature over the next few days to ensure it remains consistent. Seasonal changes in water supply temperature may require minor adjustments.
Troubleshooting Common Issues
Sometimes, you might encounter problems when adjusting a mixing valve. Here are some common issues and how to troubleshoot them:
- Water is too cold:
- Make sure the hot water supply to the valve is turned on and that the water heater is functioning correctly.
- Check the valve for mineral buildup or debris, which can restrict the flow of hot water. Clean the valve if necessary.
- The valve may be set too low. Increase the temperature setting.
- Water is too hot:
- Ensure the valve is not set too high. Reduce the temperature setting.
- Check the cold water supply to the valve. If the cold water pressure is too low, it may not be able to adequately temper the hot water.
- The valve may be malfunctioning and require replacement.
- Temperature fluctuates:
- This could be due to pressure fluctuations in the water supply. Install pressure regulators on the hot and cold water lines.
- The valve may be malfunctioning and require replacement.
- Valve is leaking:
- Check the connections to the valve for leaks. Tighten the connections if necessary.
- The valve may be damaged and require replacement.
When to Call a Professional
While many mixing valve adjustments can be done DIY, there are situations where it's best to call a qualified plumber:
- You're uncomfortable working with plumbing or electricity. Never attempt a repair if you're unsure of what you're doing.
- You can't locate the mixing valve or understand how to adjust it.
- The valve is leaking or appears damaged.
- You've tried adjusting the valve, but the water temperature is still not within a safe range.
- You suspect there's a more significant plumbing problem, such as low water pressure or a malfunctioning water heater.
A plumber has the expertise and tools to diagnose and repair mixing valve problems safely and effectively. They can also ensure that your plumbing system meets all applicable codes and regulations.
Maintaining Your Mixing Valve
Regular maintenance can help extend the lifespan of your mixing valve and ensure it continues to function properly.
- Flush the valve periodically: This helps remove mineral buildup and debris. To flush the valve, turn off the water heater and water supply, disconnect the valve, and flush it with clean water.
- Inspect the valve for leaks or damage: Check the valve regularly for any signs of leaks or damage. Replace the valve if necessary.
- Consider installing a water softener: Hard water can cause mineral buildup in plumbing fixtures, including mixing valves. A water softener can help reduce mineral buildup and extend the lifespan of your valve.
Conclusion
Adjusting a mixing valve is a task that can significantly improve the safety and comfort of your home's water system. By understanding how these valves work and following the steps outlined in this guide, you can confidently maintain your mixing valve and ensure a consistent and safe water temperature. Remember to prioritize safety and don't hesitate to call a professional if you encounter any difficulties or are unsure about any aspect of the process. A properly functioning mixing valve is a valuable investment in your family's well-being.