How To Adjust Dampers For Winter

One of the most common issues homeowners face as winter approaches is dealing with inefficient heating. You might find yourself cranking up the thermostat, yet certain rooms remain stubbornly cold. Often, the culprit isn't your furnace itself, but rather the dampers within your ductwork. These small, adjustable components play a crucial role in regulating airflow and ensuring consistent temperatures throughout your home.
Understanding Dampers and Their Role
Think of dampers as the traffic controllers of your home's heating and cooling system. They are valves located inside your ductwork that can be opened, closed, or partially closed to control the amount of air flowing to different areas. During the summer, you might adjust them to direct more cool air to upstairs rooms that tend to get hotter. In the winter, the goal is to balance the heat distribution, ensuring that all rooms receive adequate warmth and preventing certain areas from becoming overheated while others remain chilly.
Improperly adjusted dampers can lead to significant energy waste and discomfort. Rooms that are too cold require more energy to heat, while overheated rooms can cause discomfort and unnecessarily drive up your heating bill. Learning how to adjust dampers properly can be a surprisingly effective way to improve your home's heating efficiency and comfort during the colder months.
Diagnosing Airflow Imbalances
Before you start tinkering with your dampers, it's important to diagnose the underlying problem. Here's a methodical approach to identifying airflow imbalances in your home:
Step 1: Identify Cold and Hot Spots
The first step is simply walking through your home and noting which rooms are consistently colder or hotter than others. Pay attention to rooms that are far from the furnace or located on upper floors, as these often experience the most significant temperature fluctuations.
- Use a simple room thermometer to get precise readings.
- Make a list of the rooms with temperature issues, noting the severity of the problem (e.g., "slightly cool," "very cold").
Step 2: Check for Obvious Obstructions
Before blaming the dampers, rule out any obvious obstructions that might be hindering airflow. This includes:
- Blocked vents: Make sure that furniture, rugs, or curtains are not blocking the airflow from your supply vents (the vents that deliver heated air).
- Dirty air filters: A clogged air filter can restrict airflow throughout your entire system. Replace it with a clean filter.
- Closed registers: Ensure that the registers (the grilles covering the vents) are fully open in the rooms that are too cold.
Step 3: Inspect Visible Ductwork
If possible, visually inspect any accessible ductwork for signs of damage or leaks. Look for:
- Tears or holes in the ductwork: These can allow heated air to escape before it reaches the intended rooms.
- Disconnected duct sections: If you find any disconnected sections, try to reconnect them securely using duct tape (though for a more permanent fix, consider using mastic sealant).
Step 4: Evaluate the Overall System
Listen to your system and observe how it is behaving. Consider these questions:
- Is the furnace running constantly? This could indicate a larger problem, such as an undersized furnace or significant heat loss due to poor insulation.
- Do you hear whistling sounds coming from the vents? This might indicate excessive pressure in the ductwork, which could be caused by closed dampers or other obstructions.
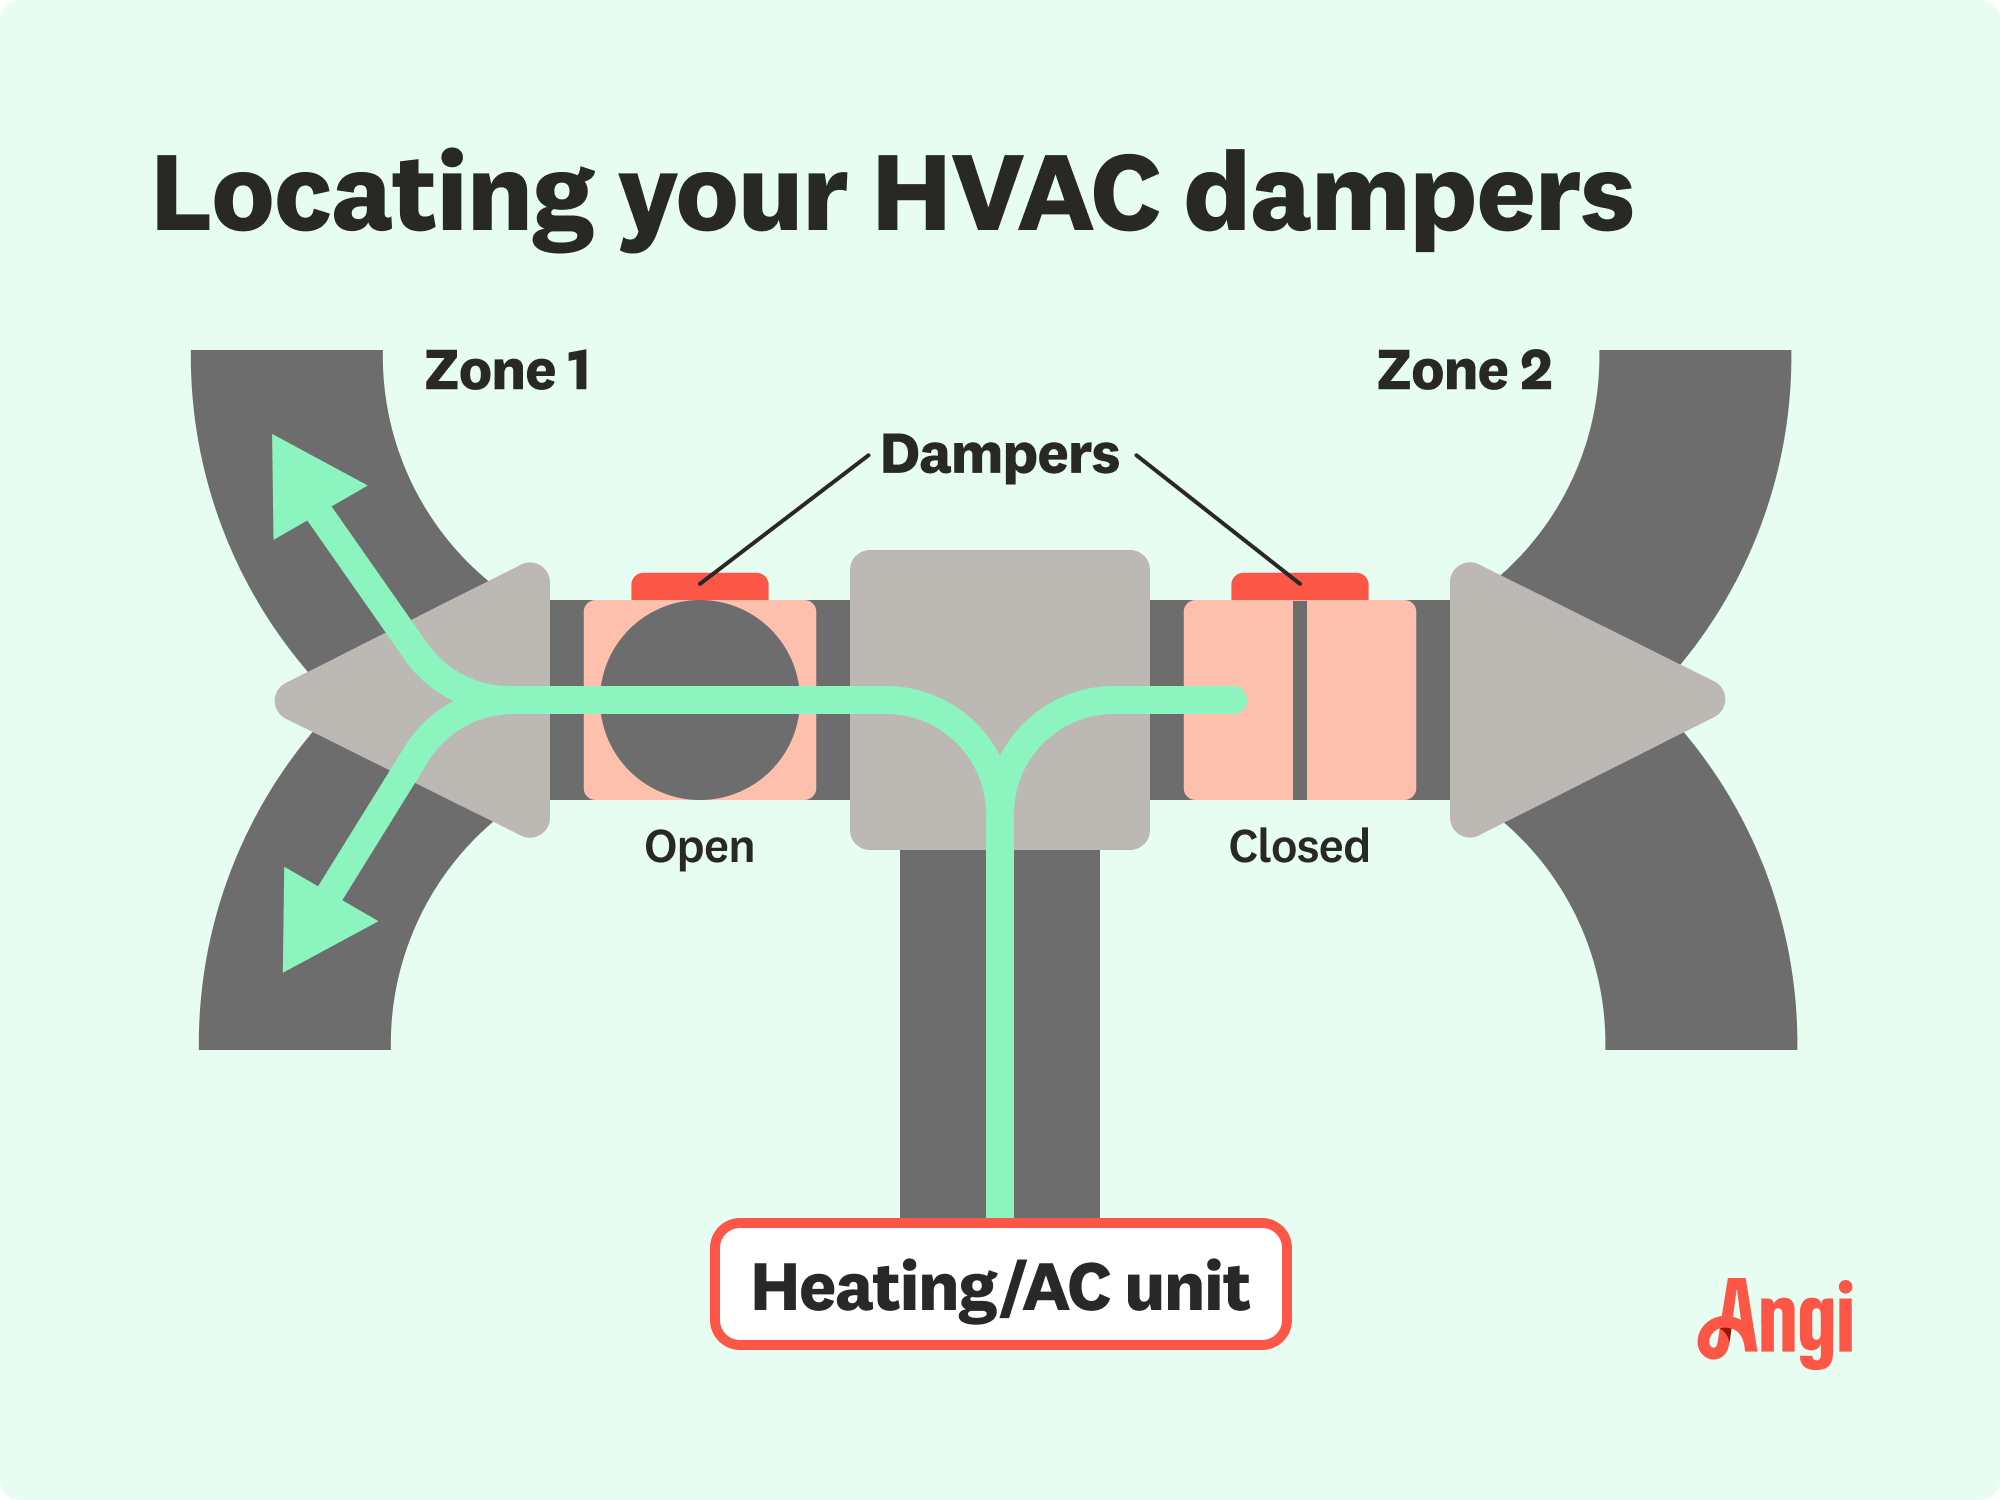
Locating and Identifying Dampers
Once you've diagnosed potential airflow imbalances, it's time to locate and identify your dampers. Here's what you need to know:
Where to Find Dampers
Dampers are typically located in the main trunk lines of your ductwork, often near where the ducts branch off to supply individual rooms. Common locations include:
- In the basement: If your furnace and ductwork are located in the basement, you'll likely find the dampers there.
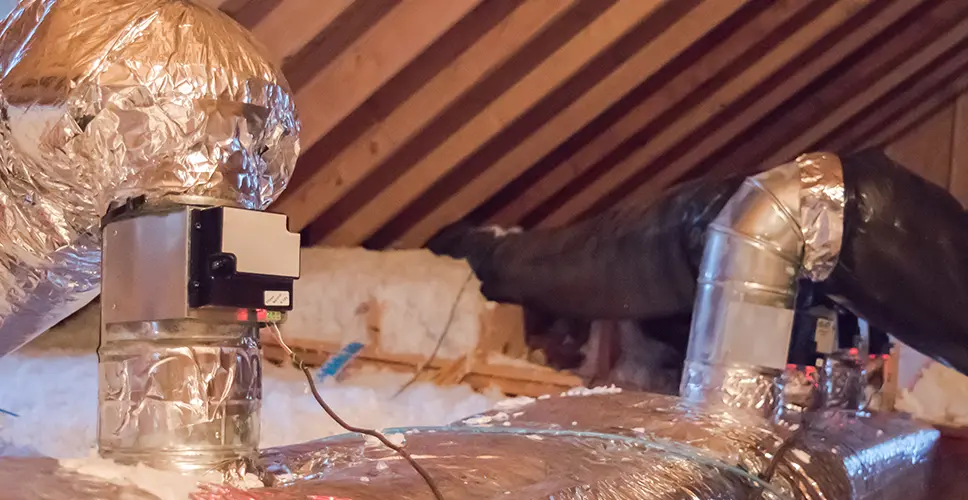
- In the attic: In some homes, the ductwork runs through the attic.
- Near the furnace: Some dampers are located close to the furnace itself.
Identifying Dampers
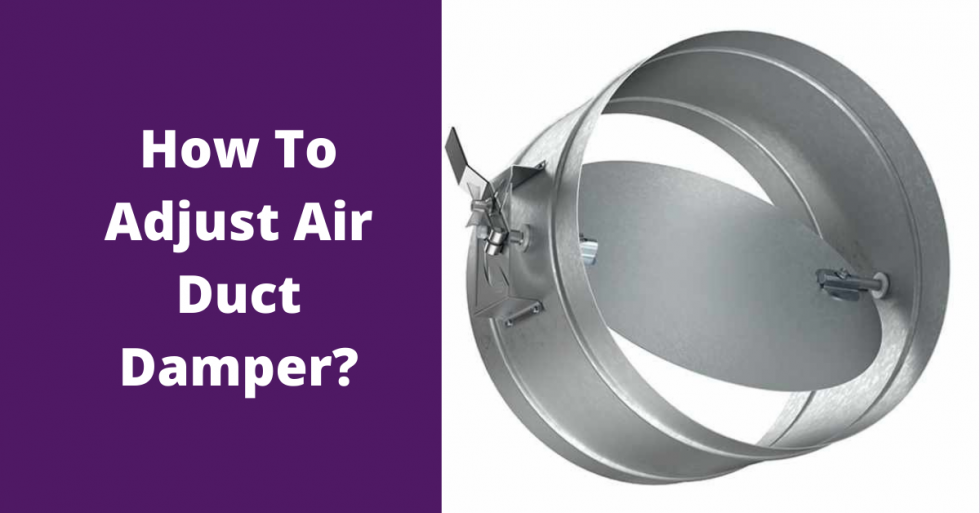
Dampers usually have a handle or lever on the outside of the ductwork that you can use to adjust the airflow. Look for:
- Small levers or handles: These are often marked with "Open" and "Closed" or with arrows indicating the direction of airflow.
- Screws or bolts: Some dampers have screws or bolts that need to be loosened before you can adjust the damper position.
- Labels: Some dampers might be labeled with the room or area that they control.
Important Note: Be careful when working with ductwork, especially in unfinished basements or attics. Wear gloves to protect your hands and be mindful of sharp edges.
Adjusting Dampers for Winter: A Step-by-Step Guide
Now that you've located and identified your dampers, here's how to adjust them for optimal winter heating:
Step 1: Start with a Balanced Baseline
Before making any adjustments, it's a good idea to set all dampers to a partially open position. This will provide a baseline level of airflow to all rooms and prevent any one area from being completely cut off.
- If the dampers are marked with "Open" and "Closed," position them somewhere in between.
- If they have arrows, point them partially in the direction of airflow.
Step 2: Increase Airflow to Cold Rooms
For rooms that are consistently cold, you'll want to increase the airflow by opening the corresponding damper further.
- Slowly adjust the damper towards the "Open" position.
- Make small adjustments and wait a few hours to see the effect before making further changes.
- It's better to make gradual adjustments than to open the damper fully right away.
Step 3: Reduce Airflow to Hot Rooms
For rooms that are consistently hot, you'll want to decrease the airflow by closing the corresponding damper slightly.
- Slowly adjust the damper towards the "Closed" position.
- Again, make small adjustments and wait a few hours to see the effect.
- Be careful not to close the damper completely, as this can create excessive pressure in the ductwork.
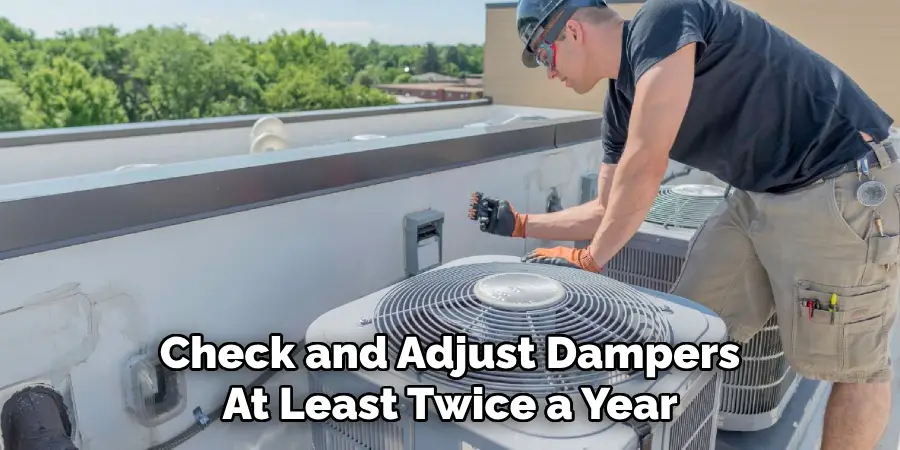
Step 4: Monitor and Adjust
After making adjustments, monitor the temperature in each room over the next few hours or days. Use your thermometer to track any changes. You may need to fine-tune the damper positions to achieve the desired balance.
- Pay attention to how the furnace is cycling. If it's running constantly, you may need to open the dampers more or address other issues, such as insulation problems.
- If you hear whistling sounds coming from the vents, it could indicate that you've closed the dampers too much.
Step 5: Document Your Adjustments
It's a good idea to document the damper positions that work best for your home. You can take pictures or make notes on a diagram of your ductwork. This will make it easier to readjust the dampers in future years.
Safety Precautions
Before you start adjusting your dampers, it's essential to take a few safety precautions:
- Turn off the furnace: Before working on any part of your heating system, turn off the furnace at the breaker panel to avoid any electrical hazards.
- Wear gloves: Protect your hands from sharp edges and dust by wearing gloves.
- Use a ladder safely: If you need to reach dampers in the attic or high up on the ductwork, use a sturdy ladder and follow all safety guidelines.
- Avoid asbestos: If your home was built before the 1980s, there's a chance that some of the ductwork insulation may contain asbestos. If you suspect this is the case, do not disturb the insulation. Contact a professional asbestos abatement company for assistance.
When to Call a Professional
While adjusting dampers is a relatively simple DIY task, there are situations where it's best to call a professional HVAC technician:
- You can't locate the dampers: If you've searched your ductwork thoroughly and can't find any dampers, it's possible that your system doesn't have them. A professional can assess your system and recommend solutions for improving airflow.
- The dampers are stuck or damaged: If the dampers are difficult to move or appear to be damaged, don't force them. A professional can repair or replace them.
- Adjusting the dampers doesn't solve the problem: If you've tried adjusting the dampers and you're still experiencing significant temperature imbalances, there may be other underlying issues, such as leaky ductwork, inadequate insulation, or a malfunctioning furnace.
- You suspect a more serious problem: If you notice any unusual noises coming from your furnace, smell gas, or have concerns about carbon monoxide, contact a professional immediately.
- Your home is consistently uncomfortable despite your best efforts: In some cases, the issue isn't just damper adjustment, but the overall design of your heating system. A professional HVAC technician can perform a load calculation to determine if your furnace is properly sized for your home and recommend upgrades or modifications to improve efficiency and comfort.
Specifically, a qualified HVAC technician can perform the following services:
- Ductwork sealing: Professionals have the tools and expertise to seal leaky ductwork, preventing heated air from escaping.
- Ductwork cleaning: Over time, dust and debris can accumulate in your ductwork, reducing airflow and potentially causing allergies. A professional can clean your ducts thoroughly.
- System balancing: Professionals can use specialized equipment to measure airflow in each room and adjust the dampers for optimal balance.
- Furnace maintenance and repair: A professional can inspect your furnace, clean the burners, and check for any potential problems.
Additional Tips for Winter Heating Efficiency
Adjusting your dampers is just one step you can take to improve your home's heating efficiency during the winter. Here are some additional tips:
- Insulate your home: Proper insulation is essential for preventing heat loss. Insulate your attic, walls, and floors to reduce energy waste.
- Seal air leaks: Caulk and weatherstrip around windows and doors to prevent drafts.
- Use a programmable thermostat: A programmable thermostat can automatically lower the temperature when you're asleep or away from home, saving you energy.
- Close off unused rooms: If you have rooms that you don't use regularly, close the doors and close the vents to prevent them from being heated unnecessarily.
- Reverse ceiling fans: In the winter, set your ceiling fans to rotate clockwise. This will help to push warm air down from the ceiling.
By taking these steps, you can create a more comfortable and energy-efficient home this winter and lower your heating bills in the process. Remember to start with the basics, like checking for blocked vents and changing your air filter, and then move on to damper adjustments. If you encounter any difficulties or suspect a more serious problem, don't hesitate to contact a qualified HVAC professional.