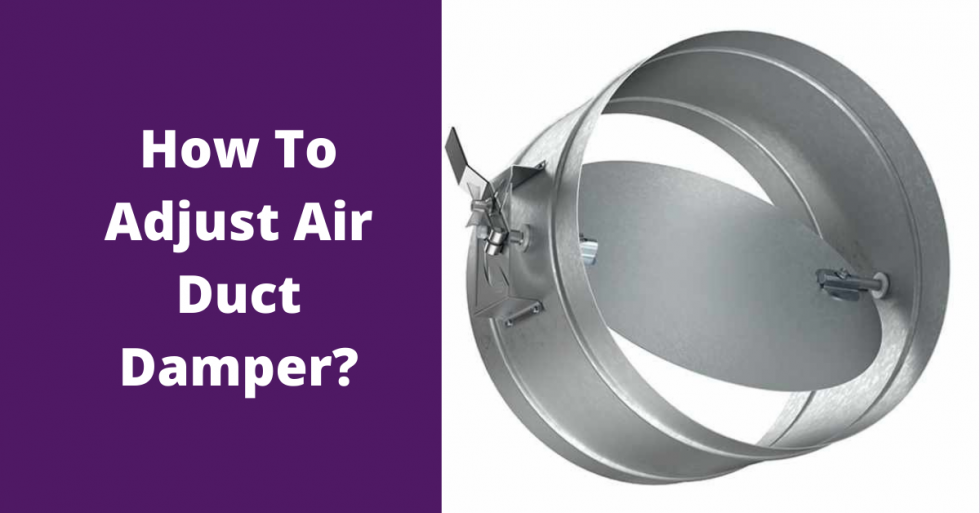
How To Adjust Dampers On Hvac

Balancing airflow in your HVAC system is crucial for optimal comfort, energy efficiency, and equipment longevity. A key component in achieving this balance is the HVAC damper. These adjustable plates, located within your ductwork, control the amount of airflow to different zones or areas. Whether you're a homeowner seeking balanced temperatures, an HVAC technician performing a system tune-up, or a property manager overseeing a large commercial building, understanding how to adjust dampers is an essential skill.
Understanding HVAC Dampers
Dampers come in various forms, each serving a specific purpose. Common types include:
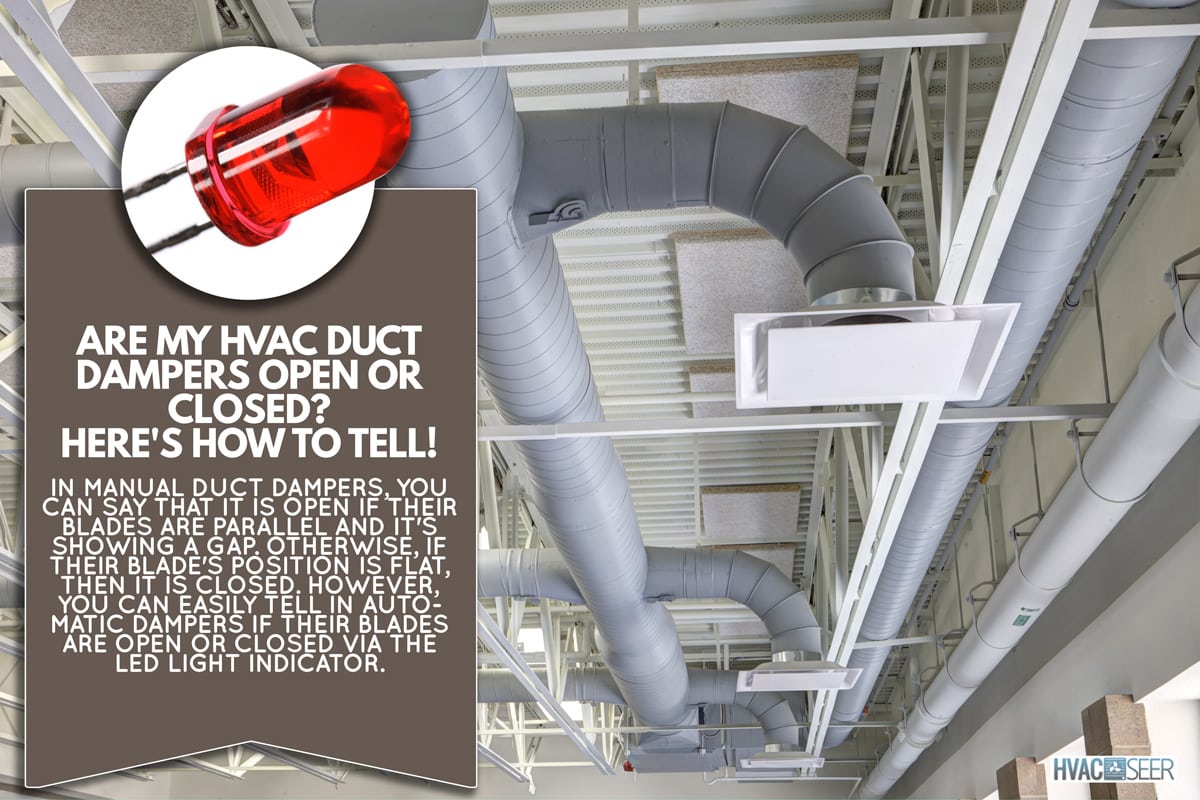
- Manual Dampers: These are the simplest type, typically adjusted with a lever or screw. They require manual adjustment and are commonly found in residential systems.
- Automatic Dampers (Motorized Dampers): Controlled by a thermostat or building automation system (BAS), these dampers adjust automatically based on temperature or programmed schedules. They're prevalent in zoned HVAC systems and commercial buildings.
- Balancing Dampers: Specifically designed for airflow balancing, these dampers offer precise control and are often used during initial system commissioning or when addressing airflow imbalances.
- Fire Dampers: These dampers automatically close in the event of a fire, preventing the spread of flames and smoke through the ductwork. They are a critical safety feature and are typically not adjusted except for testing and maintenance.
For the purpose of this guide, we'll primarily focus on manual and automatic (motorized) dampers used for airflow balancing and zone control.
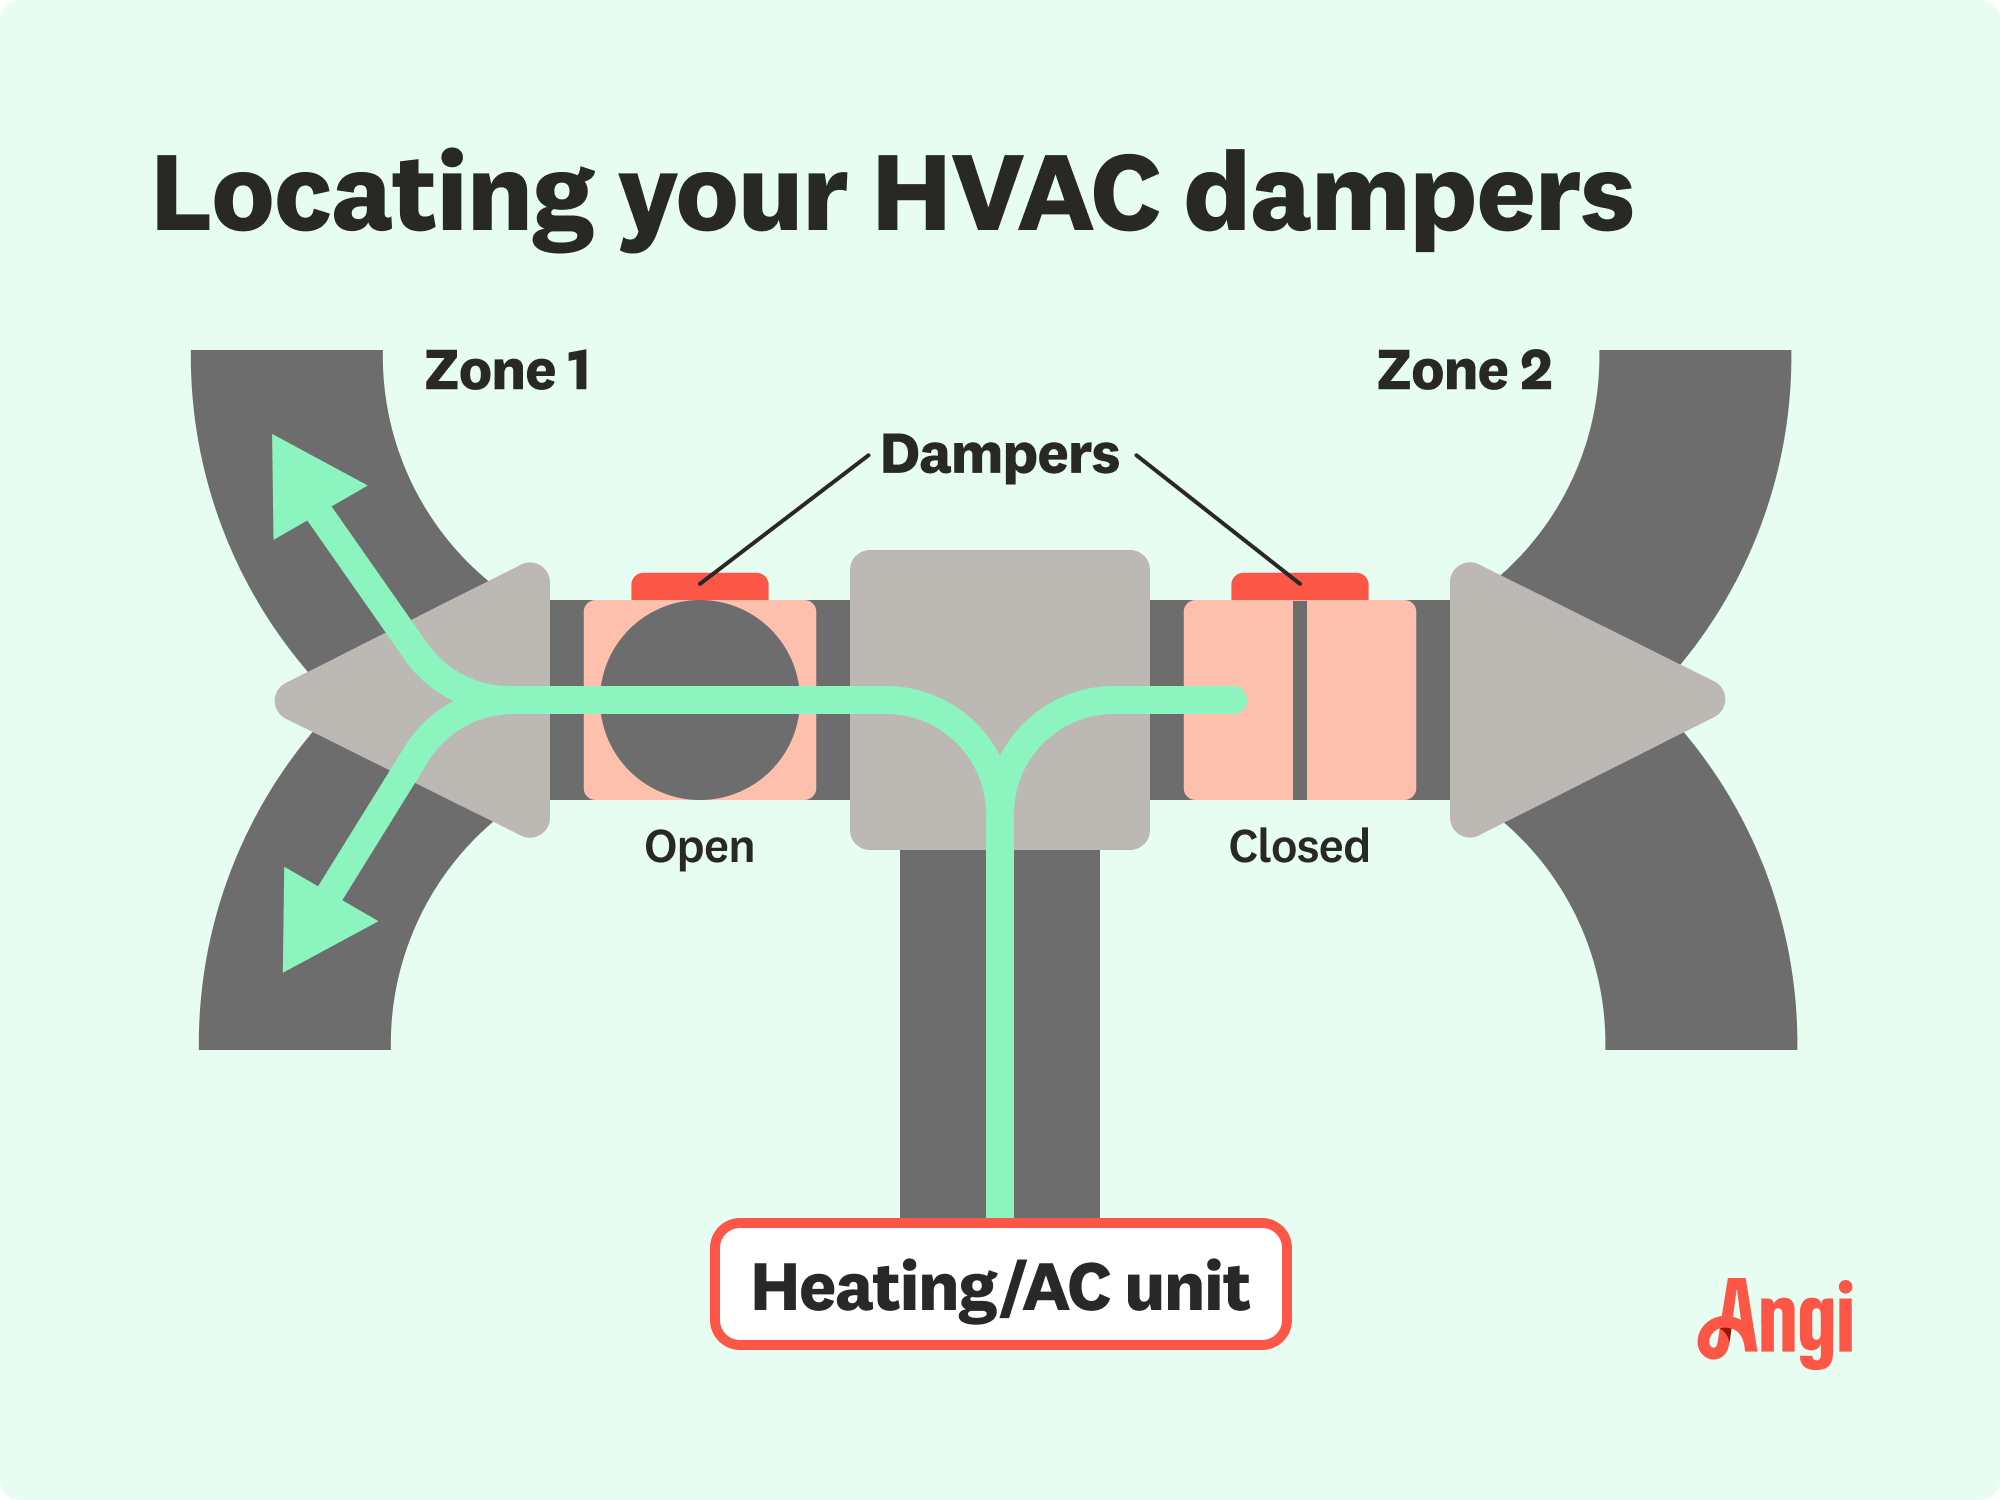
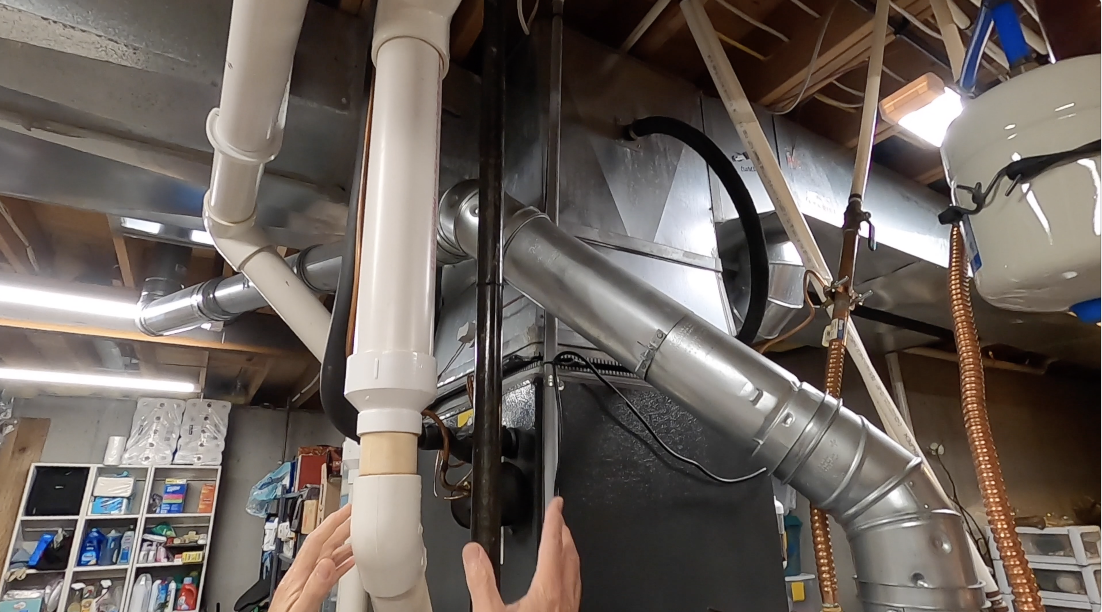
Identifying Damper Locations
Locating dampers can sometimes be challenging. Here's where to look:
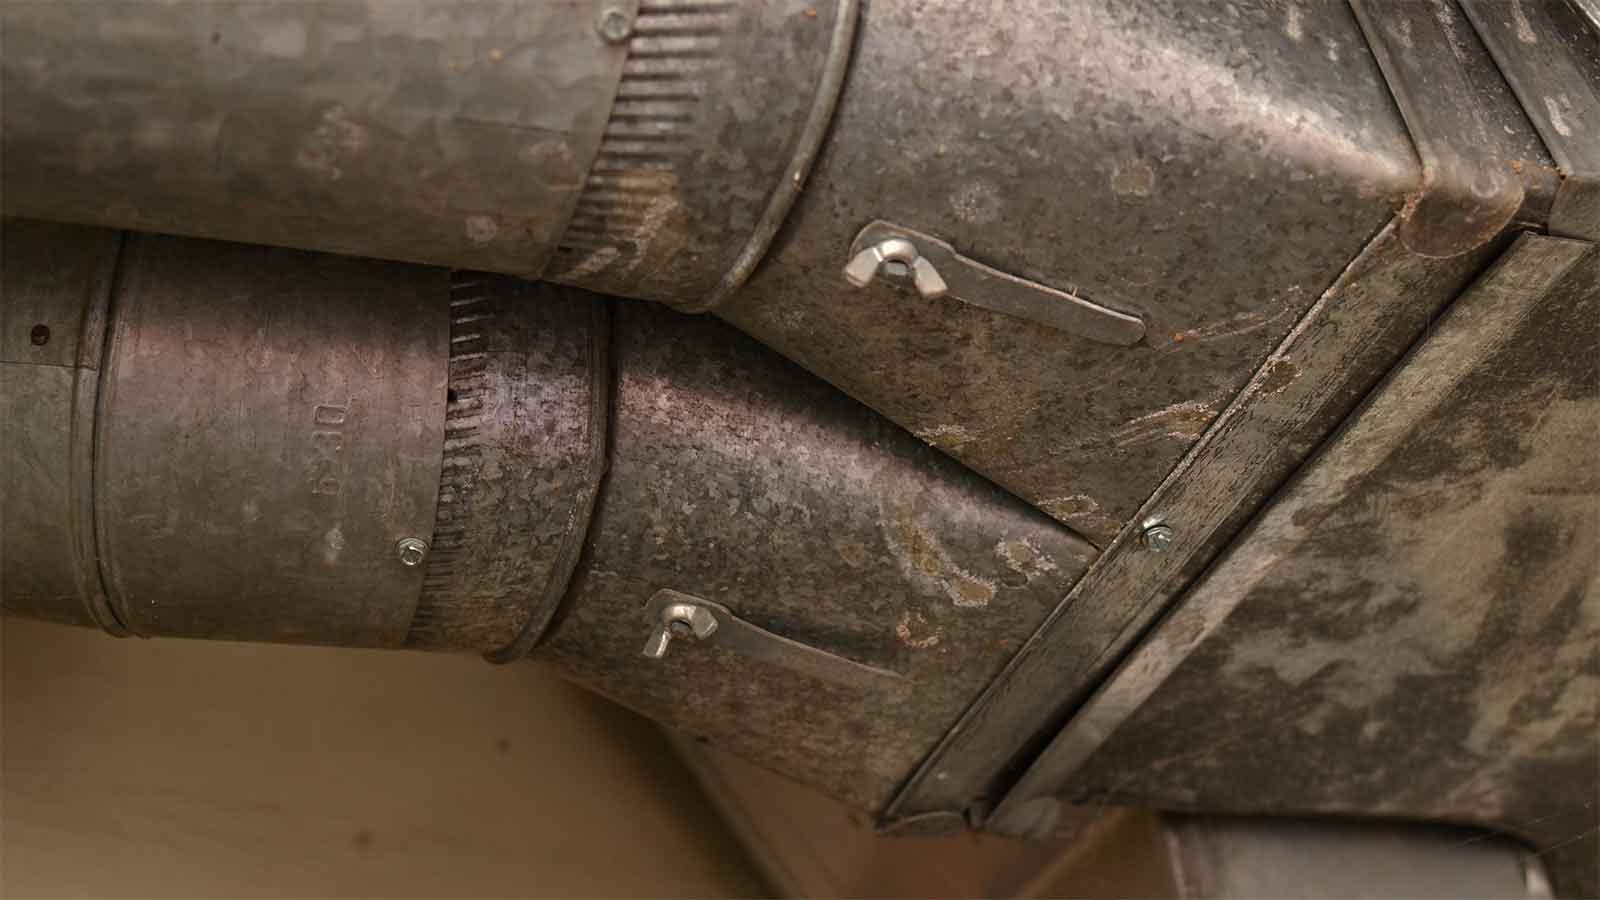
- Near Duct Branches: Dampers are most often found where a main duct splits into smaller ducts leading to individual rooms or zones. Look for small handles or screws protruding from the ductwork.
- Main Duct Runs: In some cases, dampers are located within the main duct runs, especially in commercial buildings with complex duct systems.
- Zoned HVAC Systems: If you have a zoned system, check near the zone dampers, which are often housed in a separate enclosure.
Pay attention to any markings or labels on the ductwork that might indicate the presence of dampers. In commercial buildings, ductwork diagrams can be invaluable in locating dampers.
Tools and Equipment
For adjusting dampers, you'll generally need:
- Screwdriver: A standard screwdriver will suffice for most manual dampers.
- Allen Wrench (Hex Key): Some dampers use Allen screws for adjustment.
- Ladder: To access dampers located in high or difficult-to-reach areas.
- Flashlight: For better visibility inside ductwork.
- Airflow Meter (Anemometer): While not essential, an airflow meter can help you accurately measure airflow and make precise adjustments. HVAC technicians commonly use these.
- Duct Tape or Foil Tape: To reseal any access panels you may need to open.
- Permanent Marker: To mark the original position of the damper before adjustment (highly recommended).
For motorized dampers, you might also need the BAS (Building Automation System) interface, depending on how the system is configured.
Adjusting Manual Dampers: A Step-by-Step Guide
Adjusting manual dampers is a relatively straightforward process. Here's a detailed guide:
- Identify the Damper: Locate the damper you want to adjust. Ensure it's the correct damper for the zone or area you're targeting.
- Mark the Original Position: Before making any adjustments, use a permanent marker to mark the current position of the damper. This allows you to easily return it to its original setting if needed. A simple line drawn across the damper handle and the ductwork will suffice.
- Loosen the Locking Mechanism: Most manual dampers have a locking screw or lever that holds the damper in place. Loosen this mechanism to allow for adjustment.
- Adjust the Damper: Rotate the damper handle or plate to adjust the airflow. Remember that small adjustments can have a significant impact on airflow.
- Closing the Damper: Rotating the damper to a more closed position reduces airflow to that zone.
- Opening the Damper: Rotating the damper to a more open position increases airflow to that zone.
- Tighten the Locking Mechanism: Once you've made the desired adjustment, tighten the locking screw or lever to secure the damper in its new position.
- Monitor the Results: Allow some time for the system to stabilize (at least a few hours) and then monitor the temperature and airflow in the affected zone. Use an airflow meter for precise readings.
- Repeat as Needed: If necessary, repeat the adjustment process until you achieve the desired airflow balance.
Example: Imagine a homeowner notices that the upstairs bedrooms are consistently warmer than the downstairs living area. They might try closing the dampers slightly on the downstairs ducts to redirect more cool air to the upstairs bedrooms.
Adjusting Automatic (Motorized) Dampers
Adjusting motorized dampers typically involves using the system's thermostat or BAS interface. The process can vary depending on the system's complexity.
- Thermostat Control: Some thermostats allow you to adjust the temperature setpoints for individual zones. The motorized dampers will then adjust automatically to maintain those setpoints.
- Building Automation System (BAS): In commercial buildings, the BAS provides a central interface for controlling all aspects of the HVAC system, including motorized dampers. You can typically adjust damper positions, airflow rates, and temperature setpoints through the BAS interface.
Important Note: Adjusting motorized dampers through the BAS usually requires specialized training and authorization. Consult your BAS documentation or contact a qualified HVAC technician for assistance.
Troubleshooting Common Issues
Here are some common issues you might encounter when adjusting dampers:
- Damper is Stuck: If a damper is difficult to move, it may be stuck due to rust or debris. Try lubricating the damper mechanism with a penetrating oil. If it's still stuck, you may need to replace the damper.
- Damper is Making Noise: A rattling or vibrating damper can be caused by loose hardware or excessive airflow. Tighten any loose screws and consider adjusting the damper position to reduce airflow turbulence.
- No Change in Airflow: If you're not seeing any change in airflow after adjusting a damper, double-check that you're adjusting the correct damper and that the damper is actually moving. Also, verify that the ductwork is properly sealed and that there are no leaks.
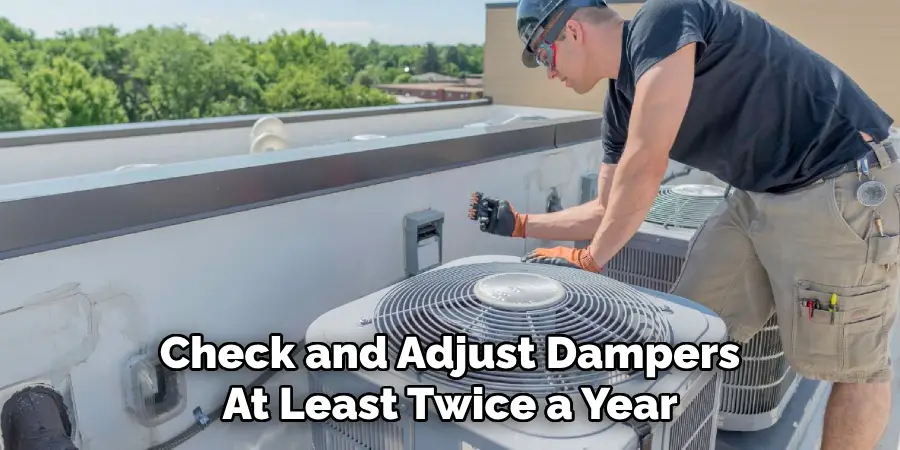
When to Call a Professional
While many damper adjustments can be performed by homeowners or facility managers, there are situations where it's best to call a qualified HVAC technician:
- Complex Zoned Systems: If you have a complex zoned system with multiple thermostats and motorized dampers, it's best to consult a professional to ensure proper system balancing.
- Significant Airflow Imbalances: If you're experiencing significant airflow imbalances that you can't resolve on your own, a professional can diagnose the problem and recommend the best course of action.
- Suspect Duct Leaks: If you suspect that your ductwork has leaks, a professional can perform a duct leakage test and seal any leaks to improve system efficiency.
- Motorized Damper Malfunctions: If a motorized damper is not functioning properly, a professional can diagnose the problem and repair or replace the damper.
Cost Considerations: The cost of hiring an HVAC technician to adjust dampers can vary depending on the complexity of the system and the technician's hourly rate. Expect to pay anywhere from $75 to $150 per hour for professional HVAC services.
The Benefits of Proper Damper Adjustment
Properly adjusted dampers offer a multitude of benefits:
- Improved Comfort: Balanced airflow ensures consistent temperatures throughout your home or building, eliminating hot and cold spots.
- Increased Energy Efficiency: By optimizing airflow, you can reduce the strain on your HVAC system and lower your energy bills.
- Extended Equipment Lifespan: A properly balanced system operates more efficiently, reducing wear and tear on the components and extending their lifespan.
- Reduced Noise: Balanced airflow can also reduce noise from the HVAC system, creating a more comfortable environment.
In conclusion, understanding how to adjust dampers is a valuable skill for anyone who wants to optimize the performance of their HVAC system. By following the steps outlined in this guide, you can improve comfort, reduce energy consumption, and extend the life of your equipment. Remember to prioritize safety and consult a qualified professional when needed.