How To Adjust Propane Pressure Regulator

Propane, or LP (liquefied petroleum) gas, is a popular fuel source for heating homes and businesses, especially in areas where natural gas isn't readily available. Maintaining the correct propane pressure is crucial for the safe and efficient operation of any propane-fueled appliance, from furnaces and water heaters to stoves and fireplaces. This article provides a comprehensive guide on adjusting a propane pressure regulator, covering the necessary tools, safety precautions, step-by-step procedures, and troubleshooting tips for homeowners, HVAC technicians, and facility managers.
Understanding Propane Pressure Regulators
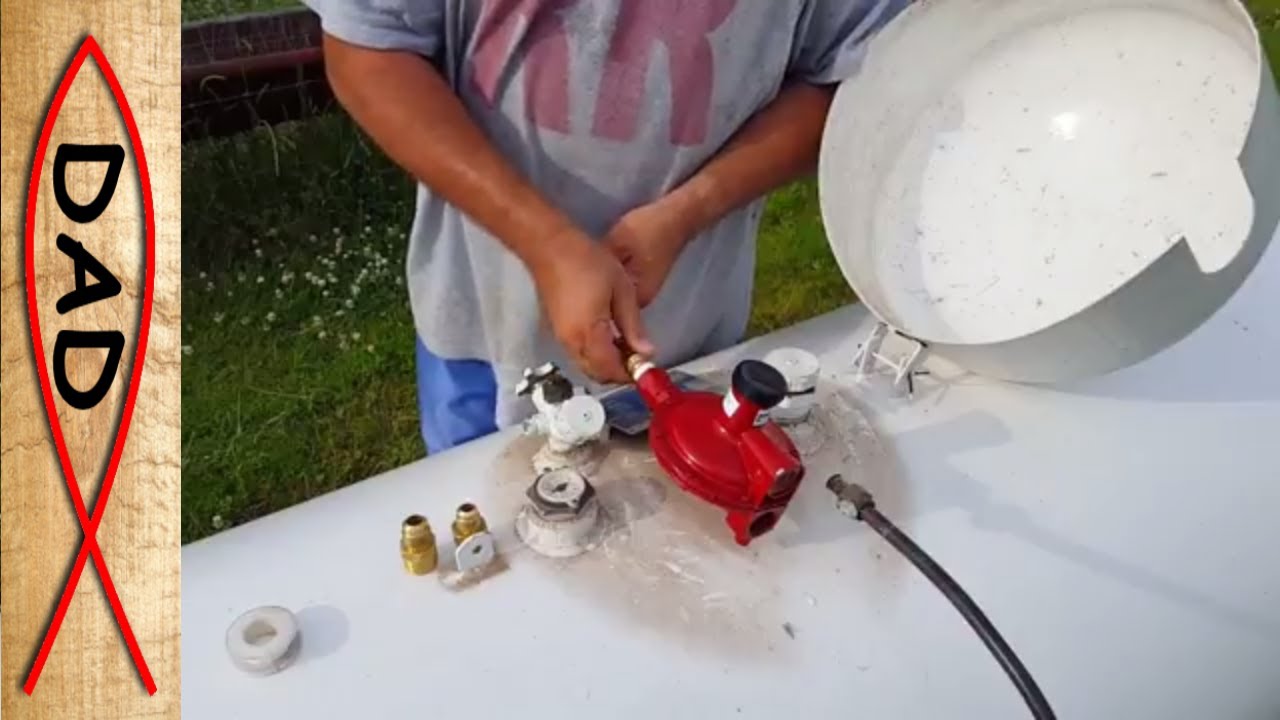
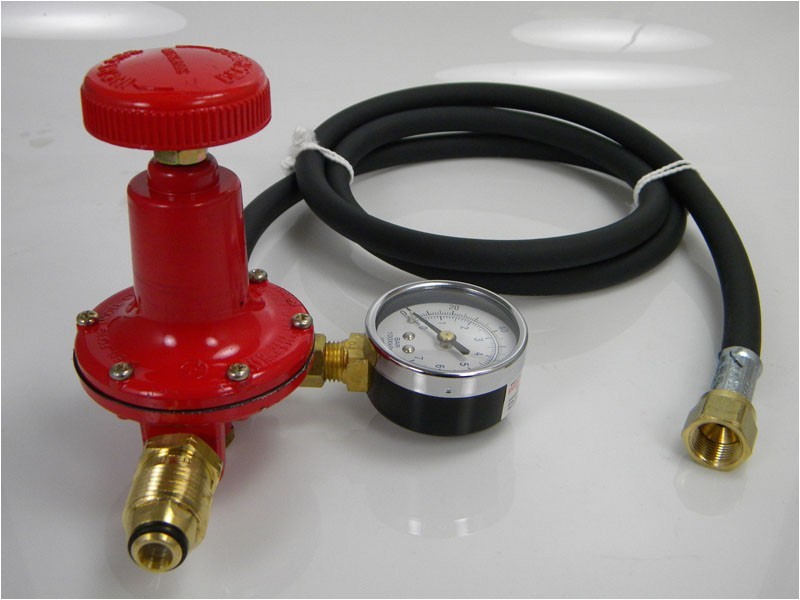
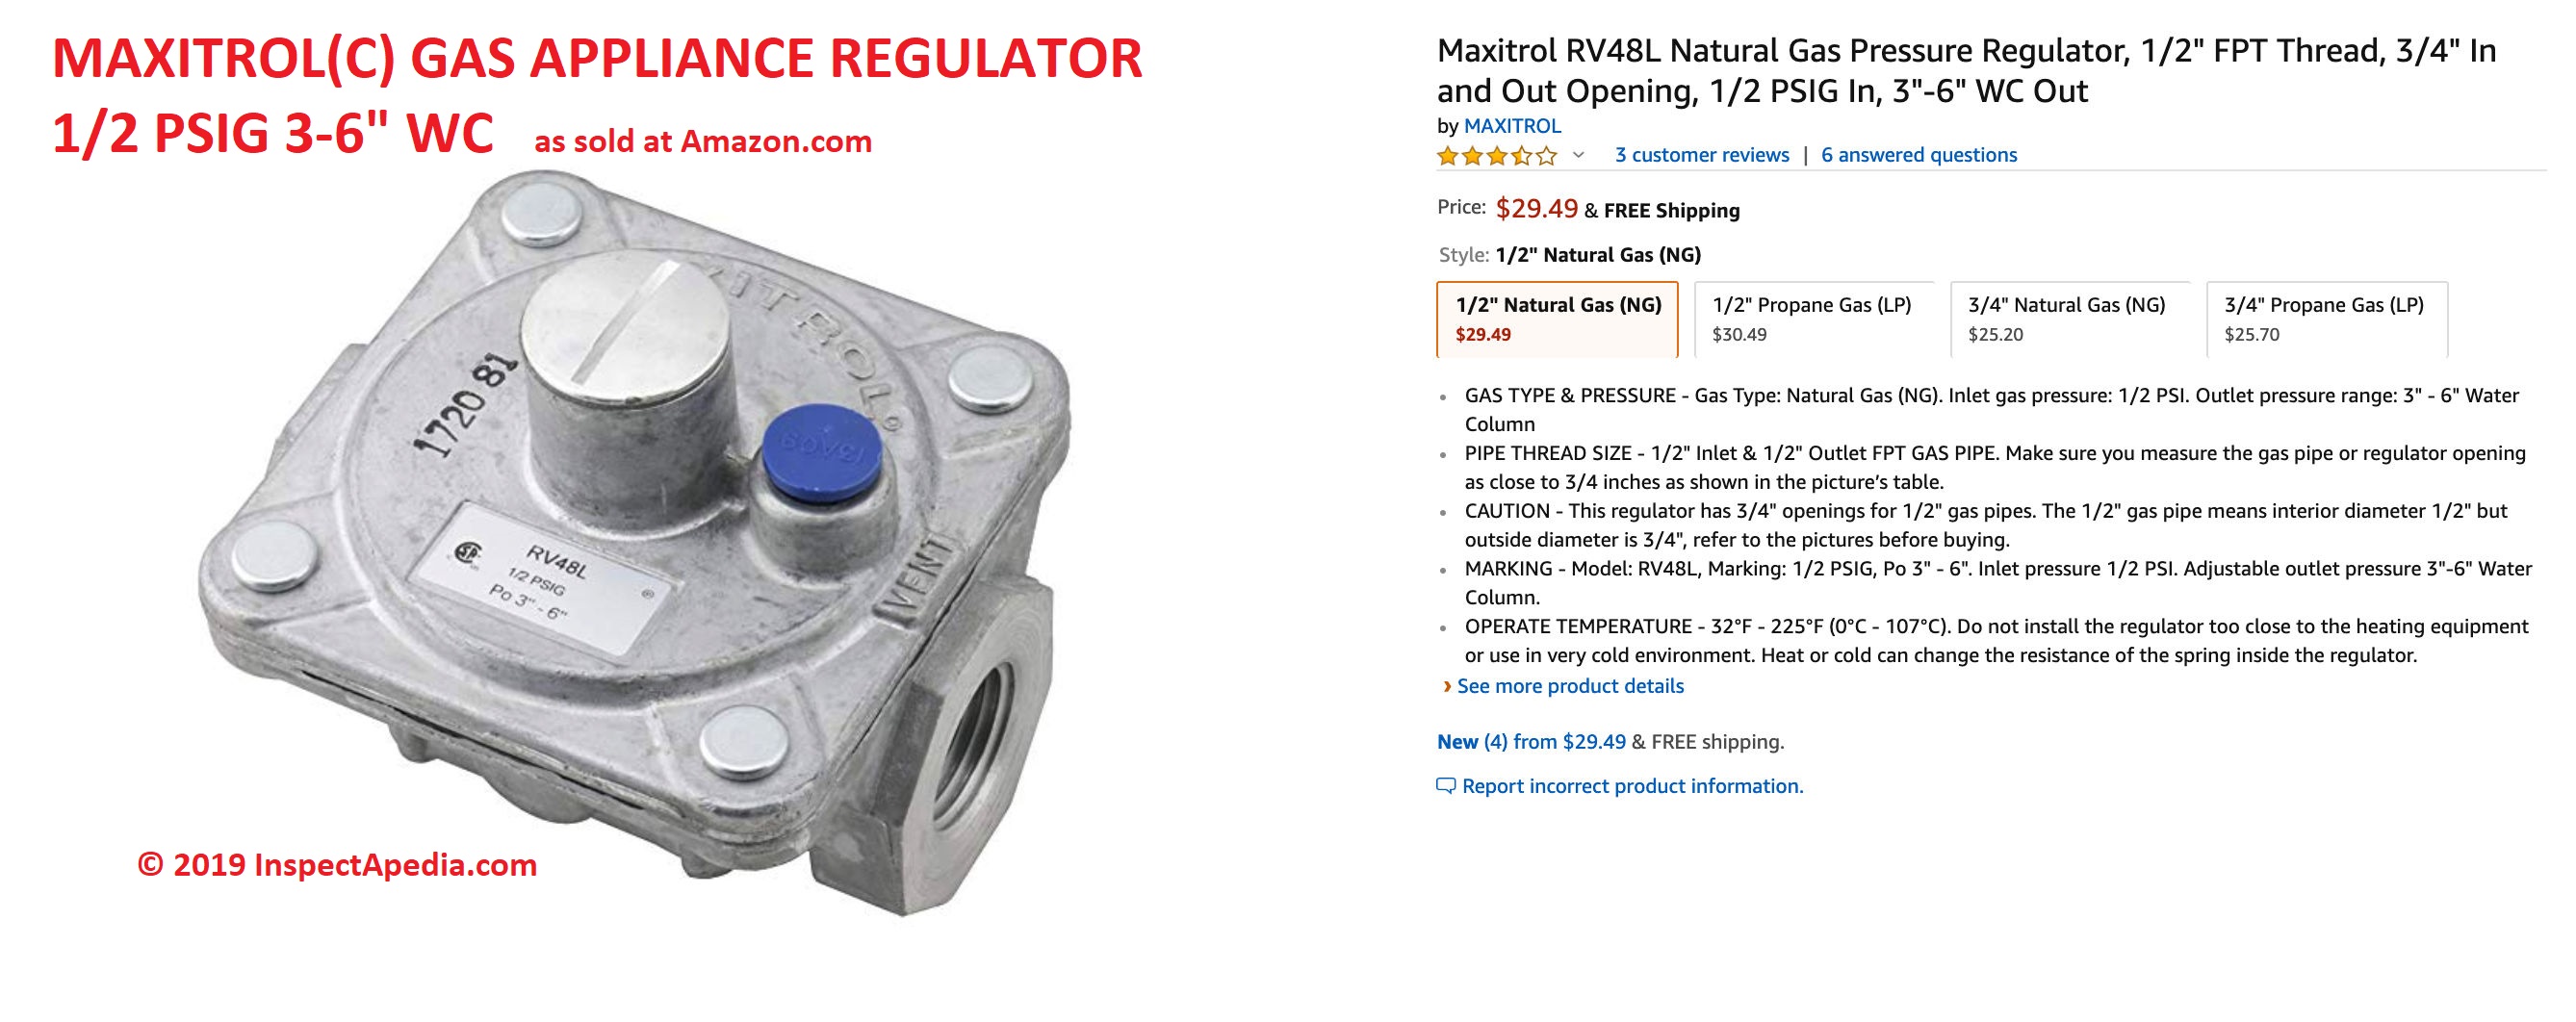
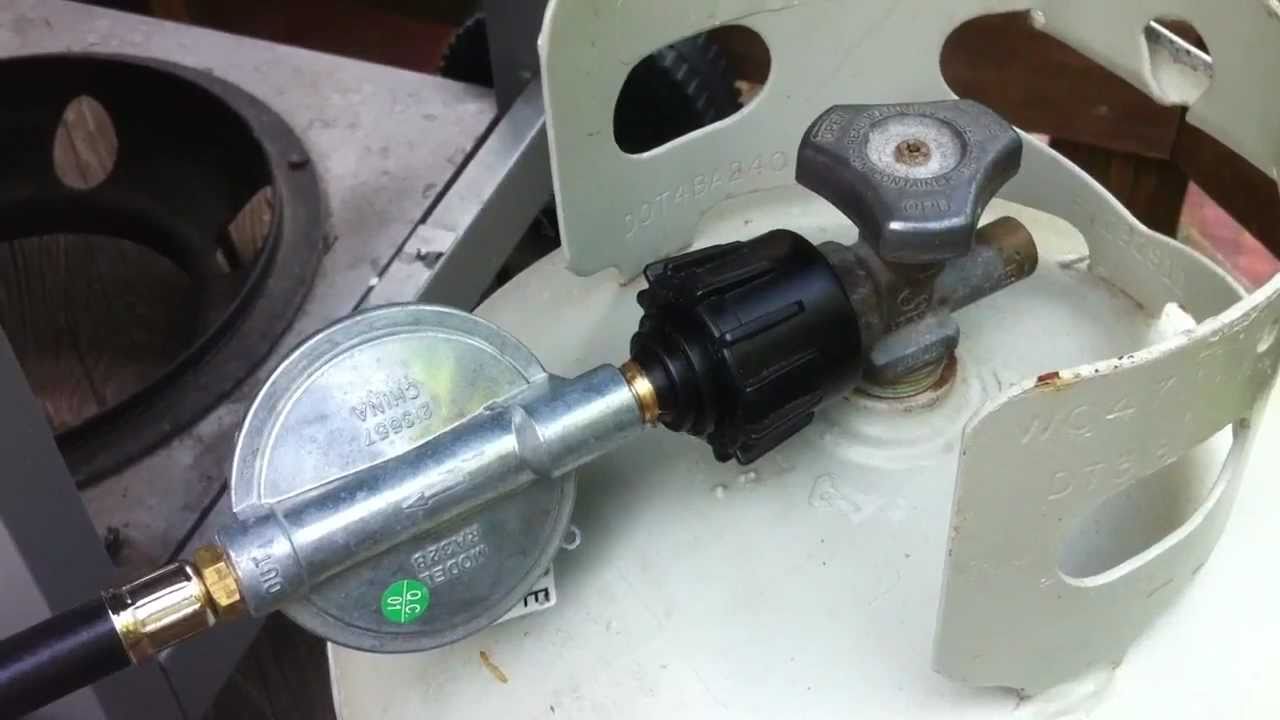
A propane pressure regulator is a vital component in any propane system. Its primary function is to reduce the high pressure of propane in the tank to a lower, more manageable pressure that appliances can safely use. Propane tanks typically hold propane at pressures ranging from 100 to 200 psi (pounds per square inch), depending on the temperature. Most appliances, however, require a much lower pressure, usually around 11 inches of water column (WC) for residential applications and 14 inches WC for some commercial applications. The regulator ensures this safe and consistent pressure delivery.
There are typically two types of regulators in a residential propane system: the first-stage regulator and the second-stage regulator. The first-stage regulator, usually located at the propane tank, reduces the tank pressure to an intermediate pressure, often around 10 psi. The second-stage regulator, located closer to the appliance(s) or building, further reduces the pressure to the appliance's required operating pressure. In some cases, particularly with smaller systems or single appliances, a single-stage regulator may be used.
Safety First: Before undertaking any work on a propane system, it is essential to prioritize safety. Propane is a flammable gas, and leaks can be dangerous. Always turn off the propane supply at the tank before disconnecting any fittings or components. Work in a well-ventilated area and avoid any sources of ignition, such as open flames, sparks, or lit cigarettes. If you smell propane at any time, immediately evacuate the area and call your propane supplier or a qualified HVAC technician.
Tools and Materials Needed
Before you begin, gather the necessary tools and materials. Having everything on hand will make the process smoother and safer.
- Adjustable wrench or suitable sized wrenches: For loosening and tightening regulator fittings and adjustment screws.
- Screwdriver (flathead or Phillips head): Depending on the type of adjustment screw on the regulator.
- Manometer or water column gauge: This is a crucial tool for accurately measuring the propane pressure. Digital manometers are generally more accurate and easier to read than traditional U-tube manometers.
- Leak detection solution (soapy water): To check for leaks after making adjustments.
- Gloves: To protect your hands.
- Safety glasses: To protect your eyes.
- Pipe sealant or Teflon tape: For sealing threaded connections if you need to disconnect and reconnect fittings. Use sealant specifically designed for propane applications.
Step-by-Step Procedure for Adjusting a Propane Pressure Regulator
The following steps outline the general procedure for adjusting a second-stage propane pressure regulator. Always consult the manufacturer's instructions for your specific regulator model, as procedures can vary slightly.
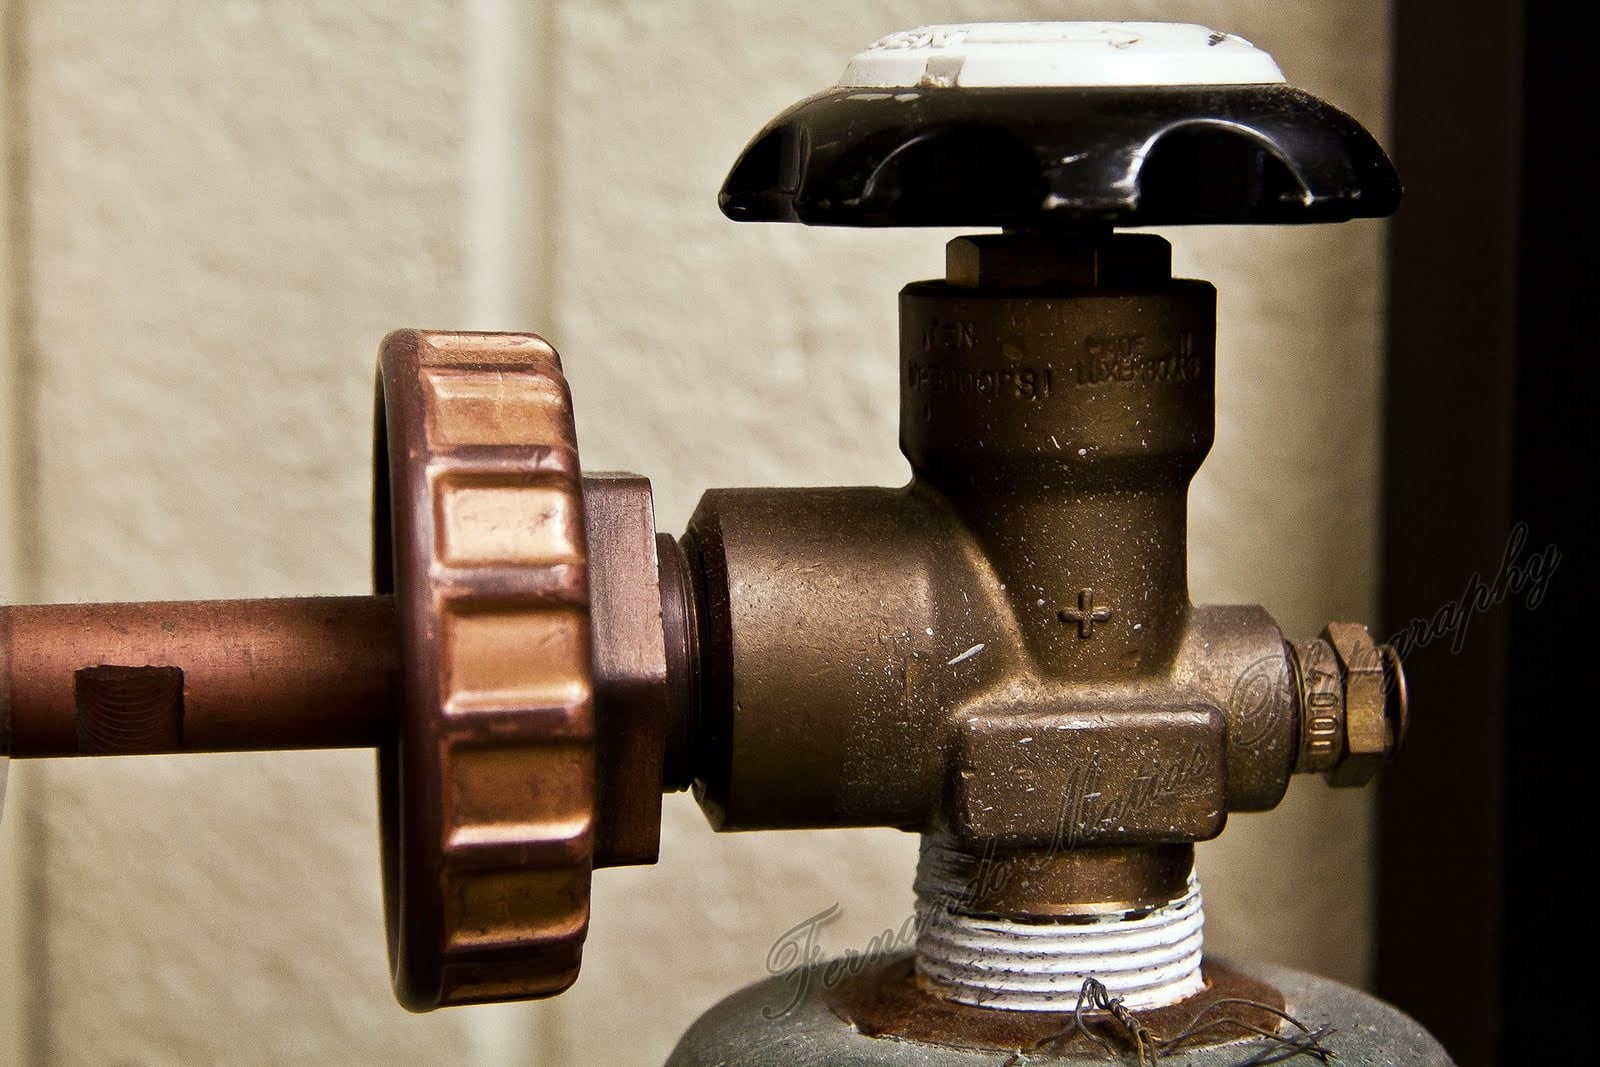
- Turn Off the Propane Supply: Locate the propane tank valve and turn it clockwise to the "OFF" position. This is a critical safety precaution.
- Locate the Second-Stage Regulator: The second-stage regulator is typically located near the building where the propane is used, often near the point where the propane line enters the structure.
- Access the Adjustment Screw: Most regulators have an adjustment screw or bolt that allows you to change the output pressure. This screw is usually located under a protective cap or cover. Remove the cap carefully. Note the current position of the adjustment screw before making any changes; this will allow you to return to the original setting if needed.
- Connect the Manometer: Connect the manometer to a test port on the downstream side of the regulator. Many appliances and gas lines have designated test ports for pressure measurement. If a test port is not readily available, you may need to install a tee fitting with a test port. Ensure all connections are tight to prevent leaks.
- Slowly Open the Propane Supply: Carefully open the propane tank valve counterclockwise. Open it slowly to avoid pressure surges that could damage the regulator or other components.
- Monitor the Manometer Reading: Observe the pressure reading on the manometer. Note the current pressure before making any adjustments.
- Adjust the Pressure: Using a screwdriver or wrench, carefully turn the adjustment screw. Turning the screw clockwise usually increases the pressure, while turning it counterclockwise decreases the pressure. Make small adjustments and monitor the manometer reading after each adjustment. Aim for the target pressure specified by the appliance manufacturer or local codes. This is typically around 11 inches WC for residential appliances.
- Fine-Tune the Adjustment: Once you are close to the desired pressure, make very small adjustments to fine-tune the setting. Allow the system to stabilize for a few minutes after each adjustment before taking a final reading.
- Check for Leaks: After making the adjustments, apply leak detection solution (soapy water) to all connections, including the regulator fittings, test ports, and any other connections you may have disturbed. Look for bubbles, which indicate a leak. If you find a leak, immediately turn off the propane supply, tighten the connection, and recheck for leaks. If the leak persists, consult a qualified HVAC technician.
- Replace the Protective Cap: Once you are satisfied with the pressure setting and have confirmed that there are no leaks, replace the protective cap over the adjustment screw.
- Monitor Appliance Performance: Observe the performance of your propane-fueled appliances after adjusting the regulator. Ensure that appliances are operating smoothly and efficiently, with proper flame characteristics. Irregular flame patterns or appliance malfunctions may indicate a problem with the pressure setting or other system issues.
Troubleshooting Common Issues
Even with careful adjustment, you may encounter some common issues with propane pressure regulators. Here are some troubleshooting tips:
- Low Pressure: If the pressure is consistently lower than the required level, check for the following:
- Insufficient propane in the tank: The most obvious cause.
- Frozen regulator: In cold weather, moisture in the propane can freeze and clog the regulator. Thawing the regulator with warm water (never an open flame) may resolve the issue.
- Faulty regulator: The regulator itself may be damaged or malfunctioning. In this case, replacement is usually necessary.
- High Pressure: If the pressure is too high, it can damage appliances and create a dangerous situation.
- Malfunctioning regulator: A regulator that is stuck in the open position can cause excessive pressure.
- Incorrect adjustment: Double-check the adjustment screw to ensure it is properly set.
- Fluctuating Pressure: Pressure that fluctuates erratically can indicate a problem with the regulator or the propane supply.
- Restricted propane flow: A blockage in the propane line or a partially closed valve can cause pressure fluctuations.
- Faulty regulator: The regulator may be unable to maintain a stable pressure.
- Leaks: Propane leaks are a serious safety hazard.
- Loose connections: Tighten any loose fittings.
- Damaged fittings or lines: Replace any damaged components.
- Faulty regulator: The regulator itself may be leaking.
When to Call a Professional
While homeowners with some technical skills may be comfortable adjusting a propane pressure regulator, there are situations where it is best to call a qualified HVAC technician or propane professional. These situations include:
- If you are not comfortable working with propane or gas systems.
- If you smell propane and cannot locate the source of the leak.
- If you are unsure about the correct pressure setting for your appliances.
- If you suspect a major problem with the regulator or the propane system.
- If you have attempted to adjust the regulator and are still experiencing problems.
Cost Considerations
The cost of adjusting a propane pressure regulator can vary depending on whether you do it yourself or hire a professional. The cost of the tools (manometer, wrenches, etc.) can range from $50 to $200. If you hire a professional, the cost will typically include a service call fee, labor charges, and the cost of any replacement parts, if needed. Service call fees generally start around $75-$150, and labor rates can range from $75 to $150 per hour. Replacing a regulator can cost between $50 and $200 for the part itself, plus labor for installation. Properly maintaining your propane system and addressing issues promptly can prevent more costly repairs down the road.
Conclusion
Adjusting a propane pressure regulator is a critical task for ensuring the safe and efficient operation of propane-fueled appliances. By following the steps outlined in this article, homeowners, HVAC technicians, and facility managers can effectively adjust regulators and troubleshoot common issues. However, always prioritize safety and seek professional assistance when necessary. Regular maintenance and timely repairs will help ensure the reliable and safe operation of your propane system for years to come.