How To Bend A Steel Pipe
Bending steel pipe is a fundamental skill in various trades, from plumbing and construction to automotive repair and artistic fabrication. While it might seem daunting, understanding the principles and using the right tools can lead to successful bends without compromising the pipe's integrity. This guide will walk you through the process, covering different methods and considerations to help you achieve professional-looking results.
Understanding the Basics
Before you even think about bending, it's crucial to grasp some underlying concepts. We're not just forcing metal into a different shape; we're carefully managing stress and preventing damage.
Why Pipes Need to Be Bent
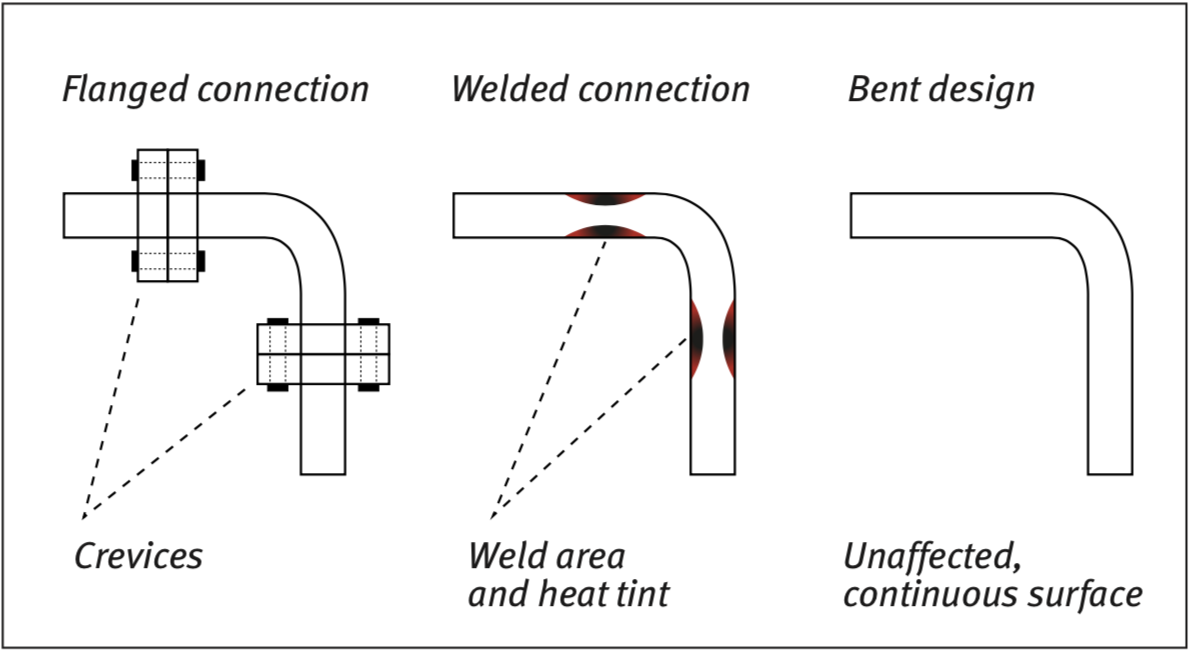
Pipes rarely run in perfectly straight lines. Obstacles, changes in direction, and specific equipment connections necessitate bends. Instead of using multiple fittings (like elbows), bending allows for smoother flow, fewer potential leak points, and a cleaner aesthetic.
The Dangers of Improper Bending
Improper bending can lead to several problems:
- Kinking or Crushing: This severely restricts flow and weakens the pipe.
- Wall Thinning: Stretching the metal on the outside of the bend too much makes it vulnerable to bursting.
- Work Hardening: Repeated bending in the same area can make the steel brittle and prone to cracking.
Avoiding these issues requires understanding the material properties of steel and using appropriate techniques.
Choosing the Right Steel Pipe
Not all steel pipes are created equal. Factors like wall thickness and steel grade influence its bending characteristics. Thicker-walled pipes are generally easier to bend without kinking, while softer steel grades (like mild steel) are more malleable than harder ones. Understanding the specification is critical.
Tools of the Trade: Bending Methods
Several methods exist for bending steel pipes, each with its advantages and disadvantages. The best choice depends on the pipe's size, material, desired bend radius, and the project's requirements.
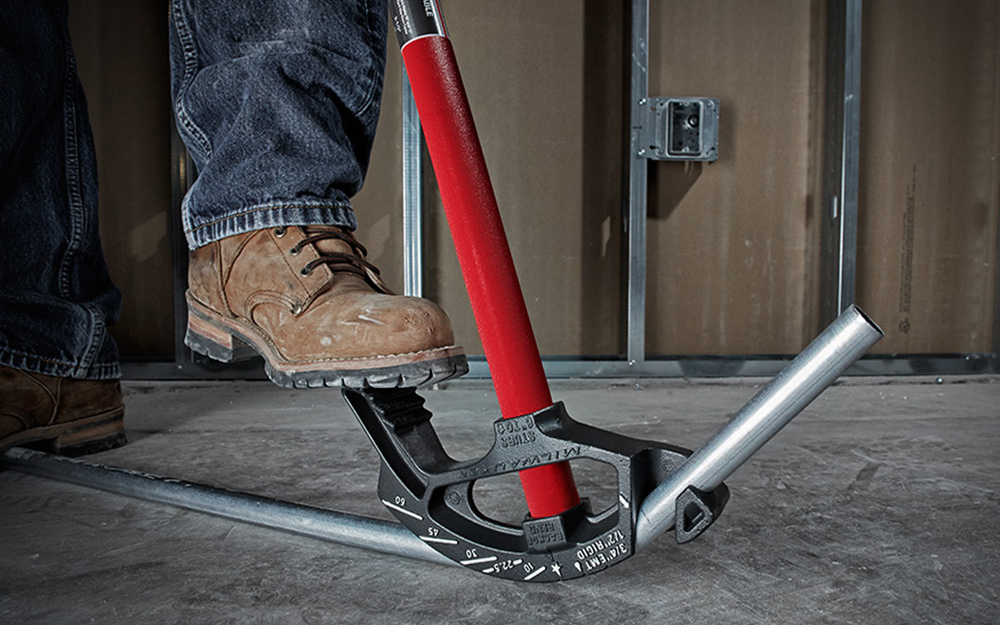
Hand Benders (Conduit Benders)
These are typically used for smaller diameter pipes, such as electrical conduit. A hand bender consists of a shoe (the part that conforms to the pipe's shape) and a handle. You place the pipe within the shoe and apply leverage using the handle to create the bend.
Advantages: Relatively inexpensive, portable, good for making precise bends on smaller pipes.
Disadvantages: Limited to smaller diameters, requires significant physical effort, can be challenging to achieve consistent bends.
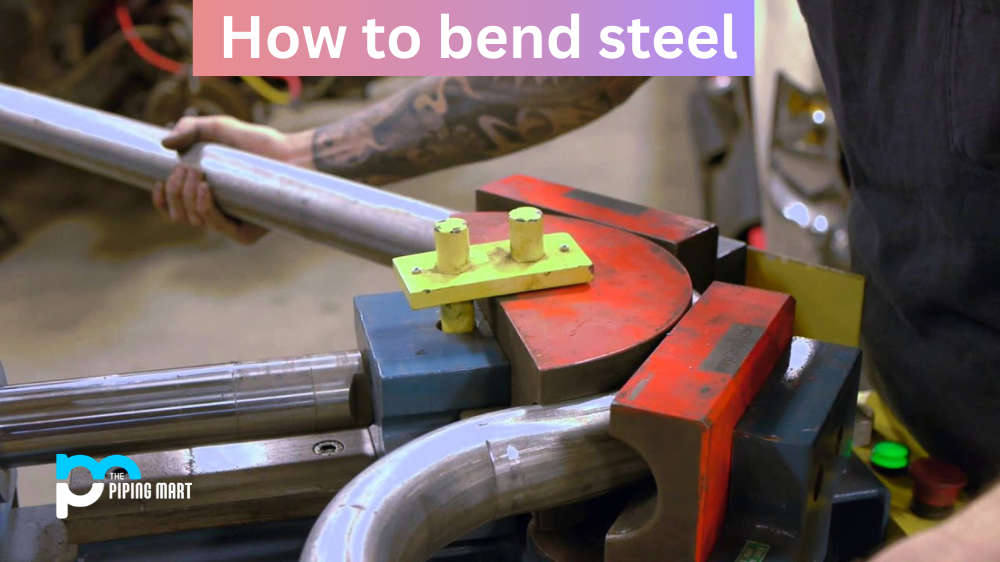
Hydraulic Benders
These use hydraulic pressure to bend the pipe. They consist of a frame, a hydraulic ram, and a set of dies that conform to different pipe sizes and bend radii. You position the pipe between the dies and activate the hydraulic ram to apply force and create the bend.
Advantages: Easier to use than hand benders, can bend larger diameter pipes, produces more consistent and accurate bends.
Disadvantages: More expensive than hand benders, less portable.
Mandrel Benders
These are the most sophisticated type of pipe bender, commonly used for high-precision applications like exhaust systems and roll cages. A mandrel (a plug-like device) is inserted inside the pipe during the bending process to support the walls and prevent deformation.
Advantages: Produces the highest quality bends with minimal distortion, can achieve very tight bend radii.
Disadvantages: Very expensive, requires specialized tooling and expertise.
Hot Bending
This involves heating the pipe to a specific temperature before bending. Heating the steel makes it more malleable, allowing for tighter bends and reducing the risk of cracking. This method is typically used for larger diameter pipes or when a very tight bend radius is required.
Advantages: Allows for tight bends on thick-walled pipes, reduces the risk of cracking or kinking.
Disadvantages: Requires specialized heating equipment, increases the risk of oxidation (rust) if not properly treated, can be more time-consuming.
Step-by-Step Guide to Bending Steel Pipe (Using a Hydraulic Bender)
Let's walk through the process of bending steel pipe using a hydraulic bender. While specific models may have slightly different controls, the general principles remain the same.
- Preparation is Key:
- Safety First: Wear safety glasses, gloves, and appropriate footwear.
- Inspect the Pipe: Ensure the pipe is free from rust, dents, or other defects. A damaged pipe can fail during bending.
- Calculate the Bend: Determine the required bend angle and radius. Accurate measurements are crucial for a successful outcome. Consider the "take-up," which is the amount of straight pipe that will be consumed in the bend.
- Select the Correct Dies: Choose the dies that match the pipe's diameter and the desired bend radius. Using the wrong dies can damage the pipe or the bender.
- Lubricate: Apply a small amount of lubricant (like grease or bending lubricant) to the pipe where it will contact the dies. This reduces friction and helps the pipe slide smoothly during bending.
- Setting Up the Bender:
- Position the Pipe: Carefully position the pipe between the dies, ensuring it's centered and properly aligned.
- Secure the Dies: Tighten the die retainers to hold the dies securely in place.
- Adjust the Ram: Position the hydraulic ram so it's centered on the pipe and ready to apply force.
- The Bending Process:
- Apply Pressure Gradually: Slowly and steadily pump the hydraulic ram. Avoid applying excessive force too quickly, as this can cause the pipe to kink or buckle.
- Monitor the Bend: Constantly monitor the progress of the bend. Check the angle and radius against your initial calculations.
- Pause and Adjust: If you notice any signs of distortion or stress, stop pumping and make adjustments as needed.
- Release Pressure Slowly: Once you've reached the desired bend angle, slowly release the pressure from the hydraulic ram. This allows the pipe to settle into its new shape without snapping back.
- Inspection and Finishing:
- Inspect the Bend: Carefully examine the bend for any signs of kinking, wall thinning, or cracking. Use a protractor or angle finder to verify the bend angle.
- Deburr the Ends: Use a deburring tool to remove any sharp edges or burrs from the cut ends of the pipe.
- Clean and Protect: Clean the pipe to remove any lubricant or debris. Apply a protective coating (like paint or primer) to prevent rust.
Tips and Tricks for Successful Pipe Bending
Here are some additional tips to help you achieve professional-looking results:
- Practice Makes Perfect: Start with scrap pieces of pipe to get a feel for the bending process. Experiment with different techniques and pressures.
- Use a Bending Chart: Many hydraulic benders come with a bending chart that provides guidelines for different pipe sizes and bend radii. Consult this chart for recommended settings.
- Pay Attention to Grain Direction: If the steel pipe has a visible grain direction (usually along its length), try to bend with the grain. This can help prevent cracking.
- Consider Using a Filler: For thin-walled pipes, you can fill the pipe with sand or a bending compound to provide internal support during bending. This helps prevent kinking.
- Avoid Overbending: It's always better to underbend slightly than to overbend. You can always make small adjustments to increase the bend angle, but it's difficult to correct an overbend.
- Maintain Your Equipment: Regularly inspect and maintain your bending equipment. Keep the hydraulic fluid clean and lubricate moving parts.
Safety Precautions
Bending steel pipe can be dangerous if proper safety precautions are not followed. Always wear appropriate personal protective equipment (PPE), including safety glasses, gloves, and sturdy footwear. Be aware of pinch points and moving parts on the bending equipment. Never exceed the bender's rated capacity. If you're unsure about any aspect of the process, consult a qualified professional.
Alternative Bending Techniques
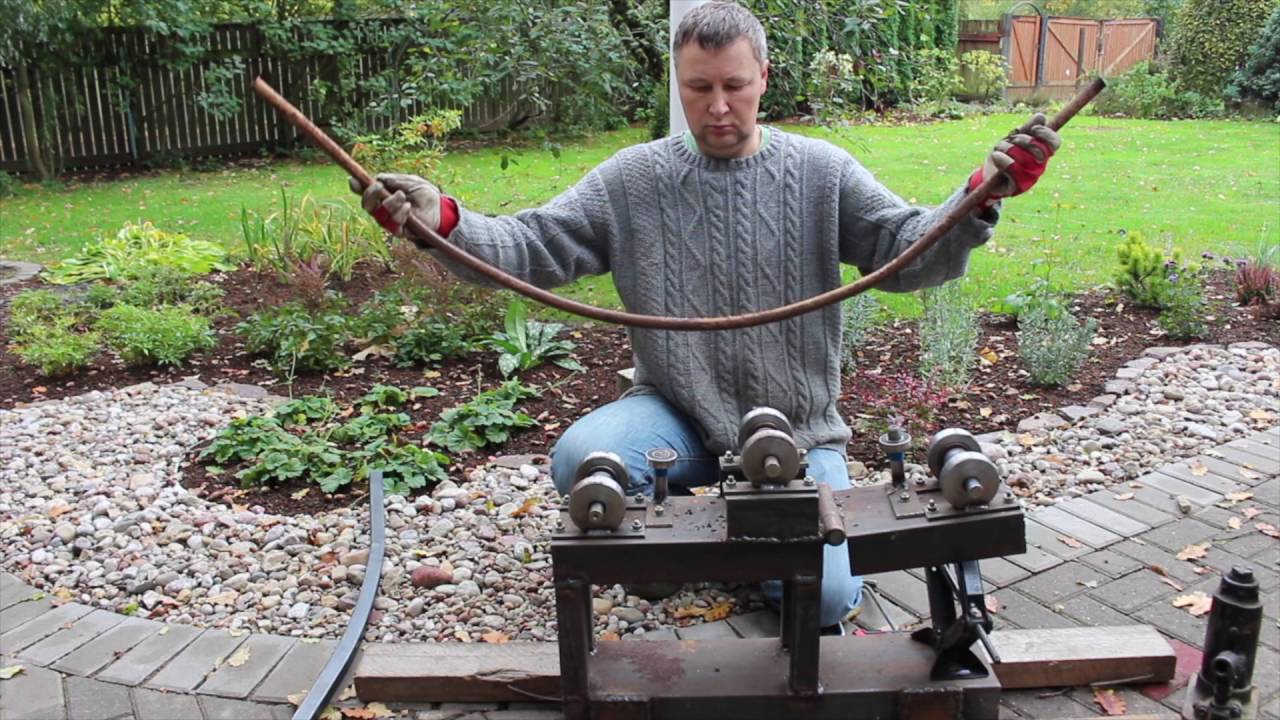
While hydraulic benders are common, other techniques exist, each suited to specific situations:
* **Incremental Bending:** This involves making a series of small, closely spaced bends to achieve the desired overall curvature. It's often used for creating gradual curves in large-diameter pipes. * **Roll Bending:** This technique uses a series of rollers to gradually bend the pipe as it passes through them. It's commonly used for manufacturing curved structural members.Troubleshooting Common Problems
Even with the best preparation, problems can sometimes arise. Here are some common issues and how to address them:
* **Kinking:** Reduce the bending force, ensure proper die alignment, and consider using a filler. * **Wall Thinning:** Choose a larger bend radius, use thicker-walled pipe, and avoid overbending. * **Cracking:** Heat the pipe before bending (if appropriate), use a softer steel grade, and avoid excessive bending force. * **Springback:** Overbend slightly to compensate for the pipe's tendency to return to its original shape after bending.By understanding the principles of steel pipe bending, selecting the right tools and techniques, and following proper safety precautions, you can achieve professional-quality results. Remember to practice, be patient, and always prioritize safety.