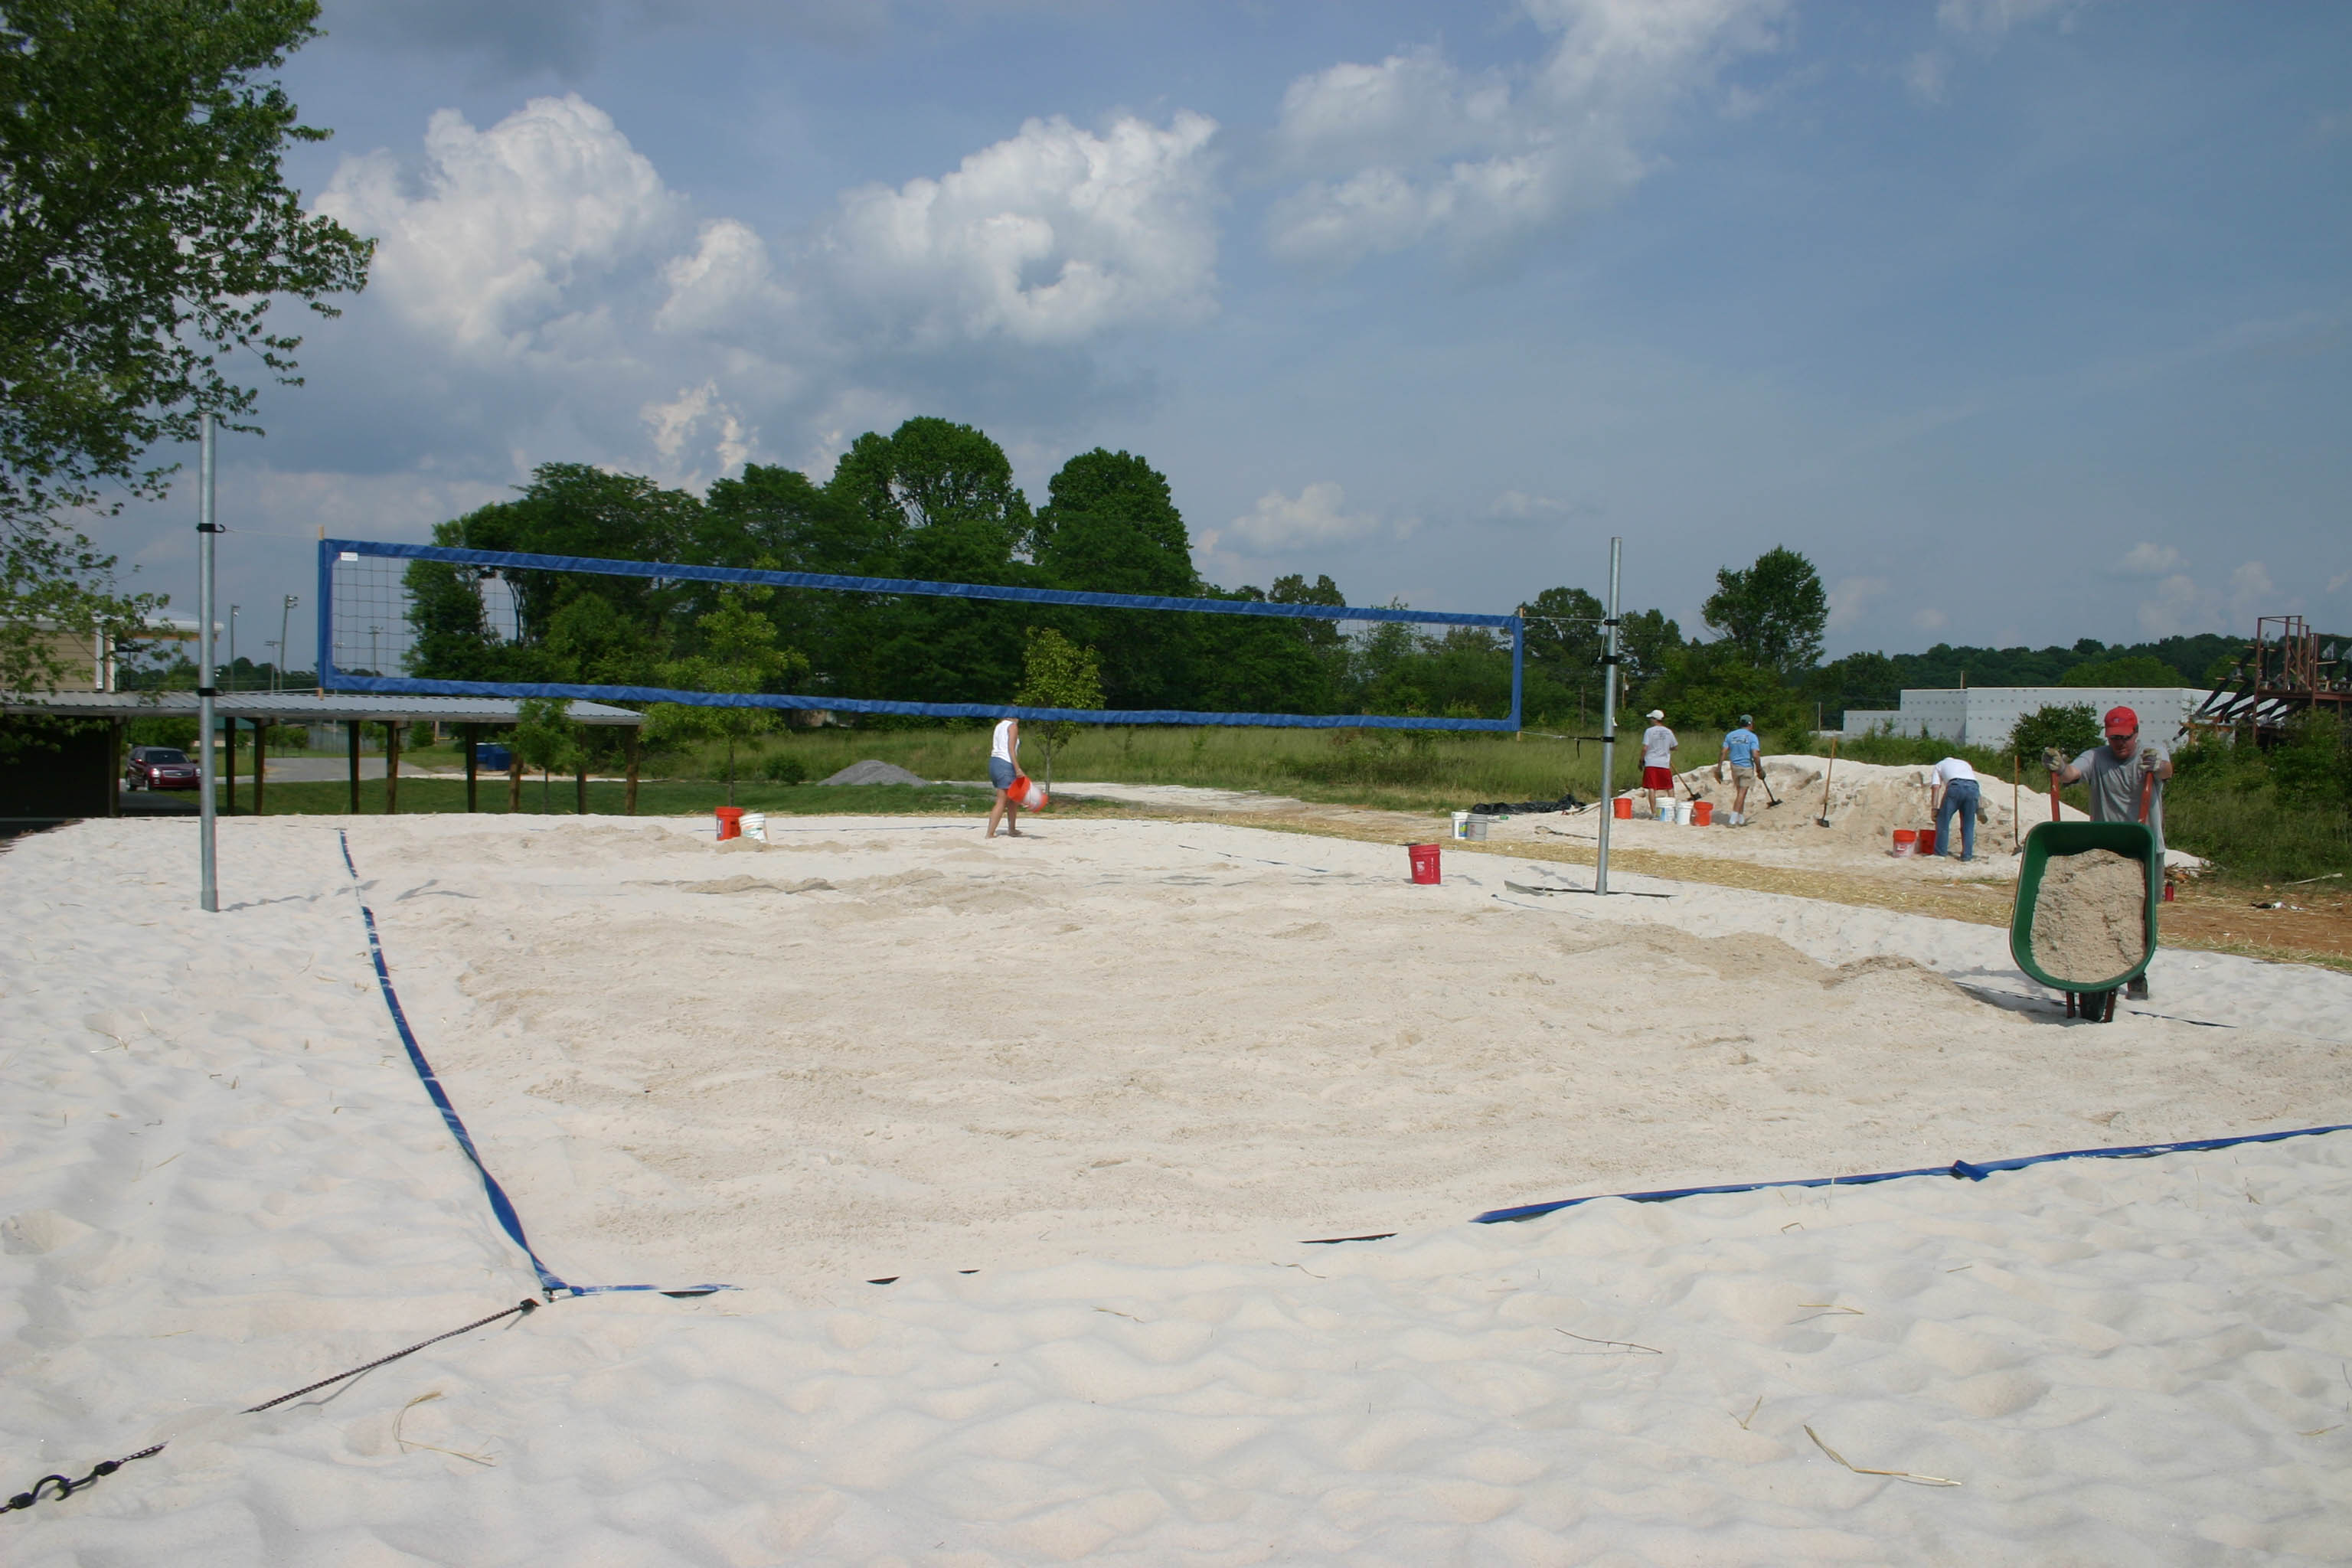
How To Build A Sand Volleyball Court
Building Your Own Backyard Beach: A Guide to Sand Volleyball Courts
Dreaming of summer days filled with spikes, digs, and friendly competition? Building a sand volleyball court in your backyard can transform your outdoor space into a recreational haven. This comprehensive guide walks you through the process, from planning and preparation to construction and maintenance, ensuring your court is ready for endless hours of fun.
Planning and Preparation: Laying the Foundation for Success
Before you start digging, careful planning is essential. Here’s what you need to consider:
Location, Location, Location
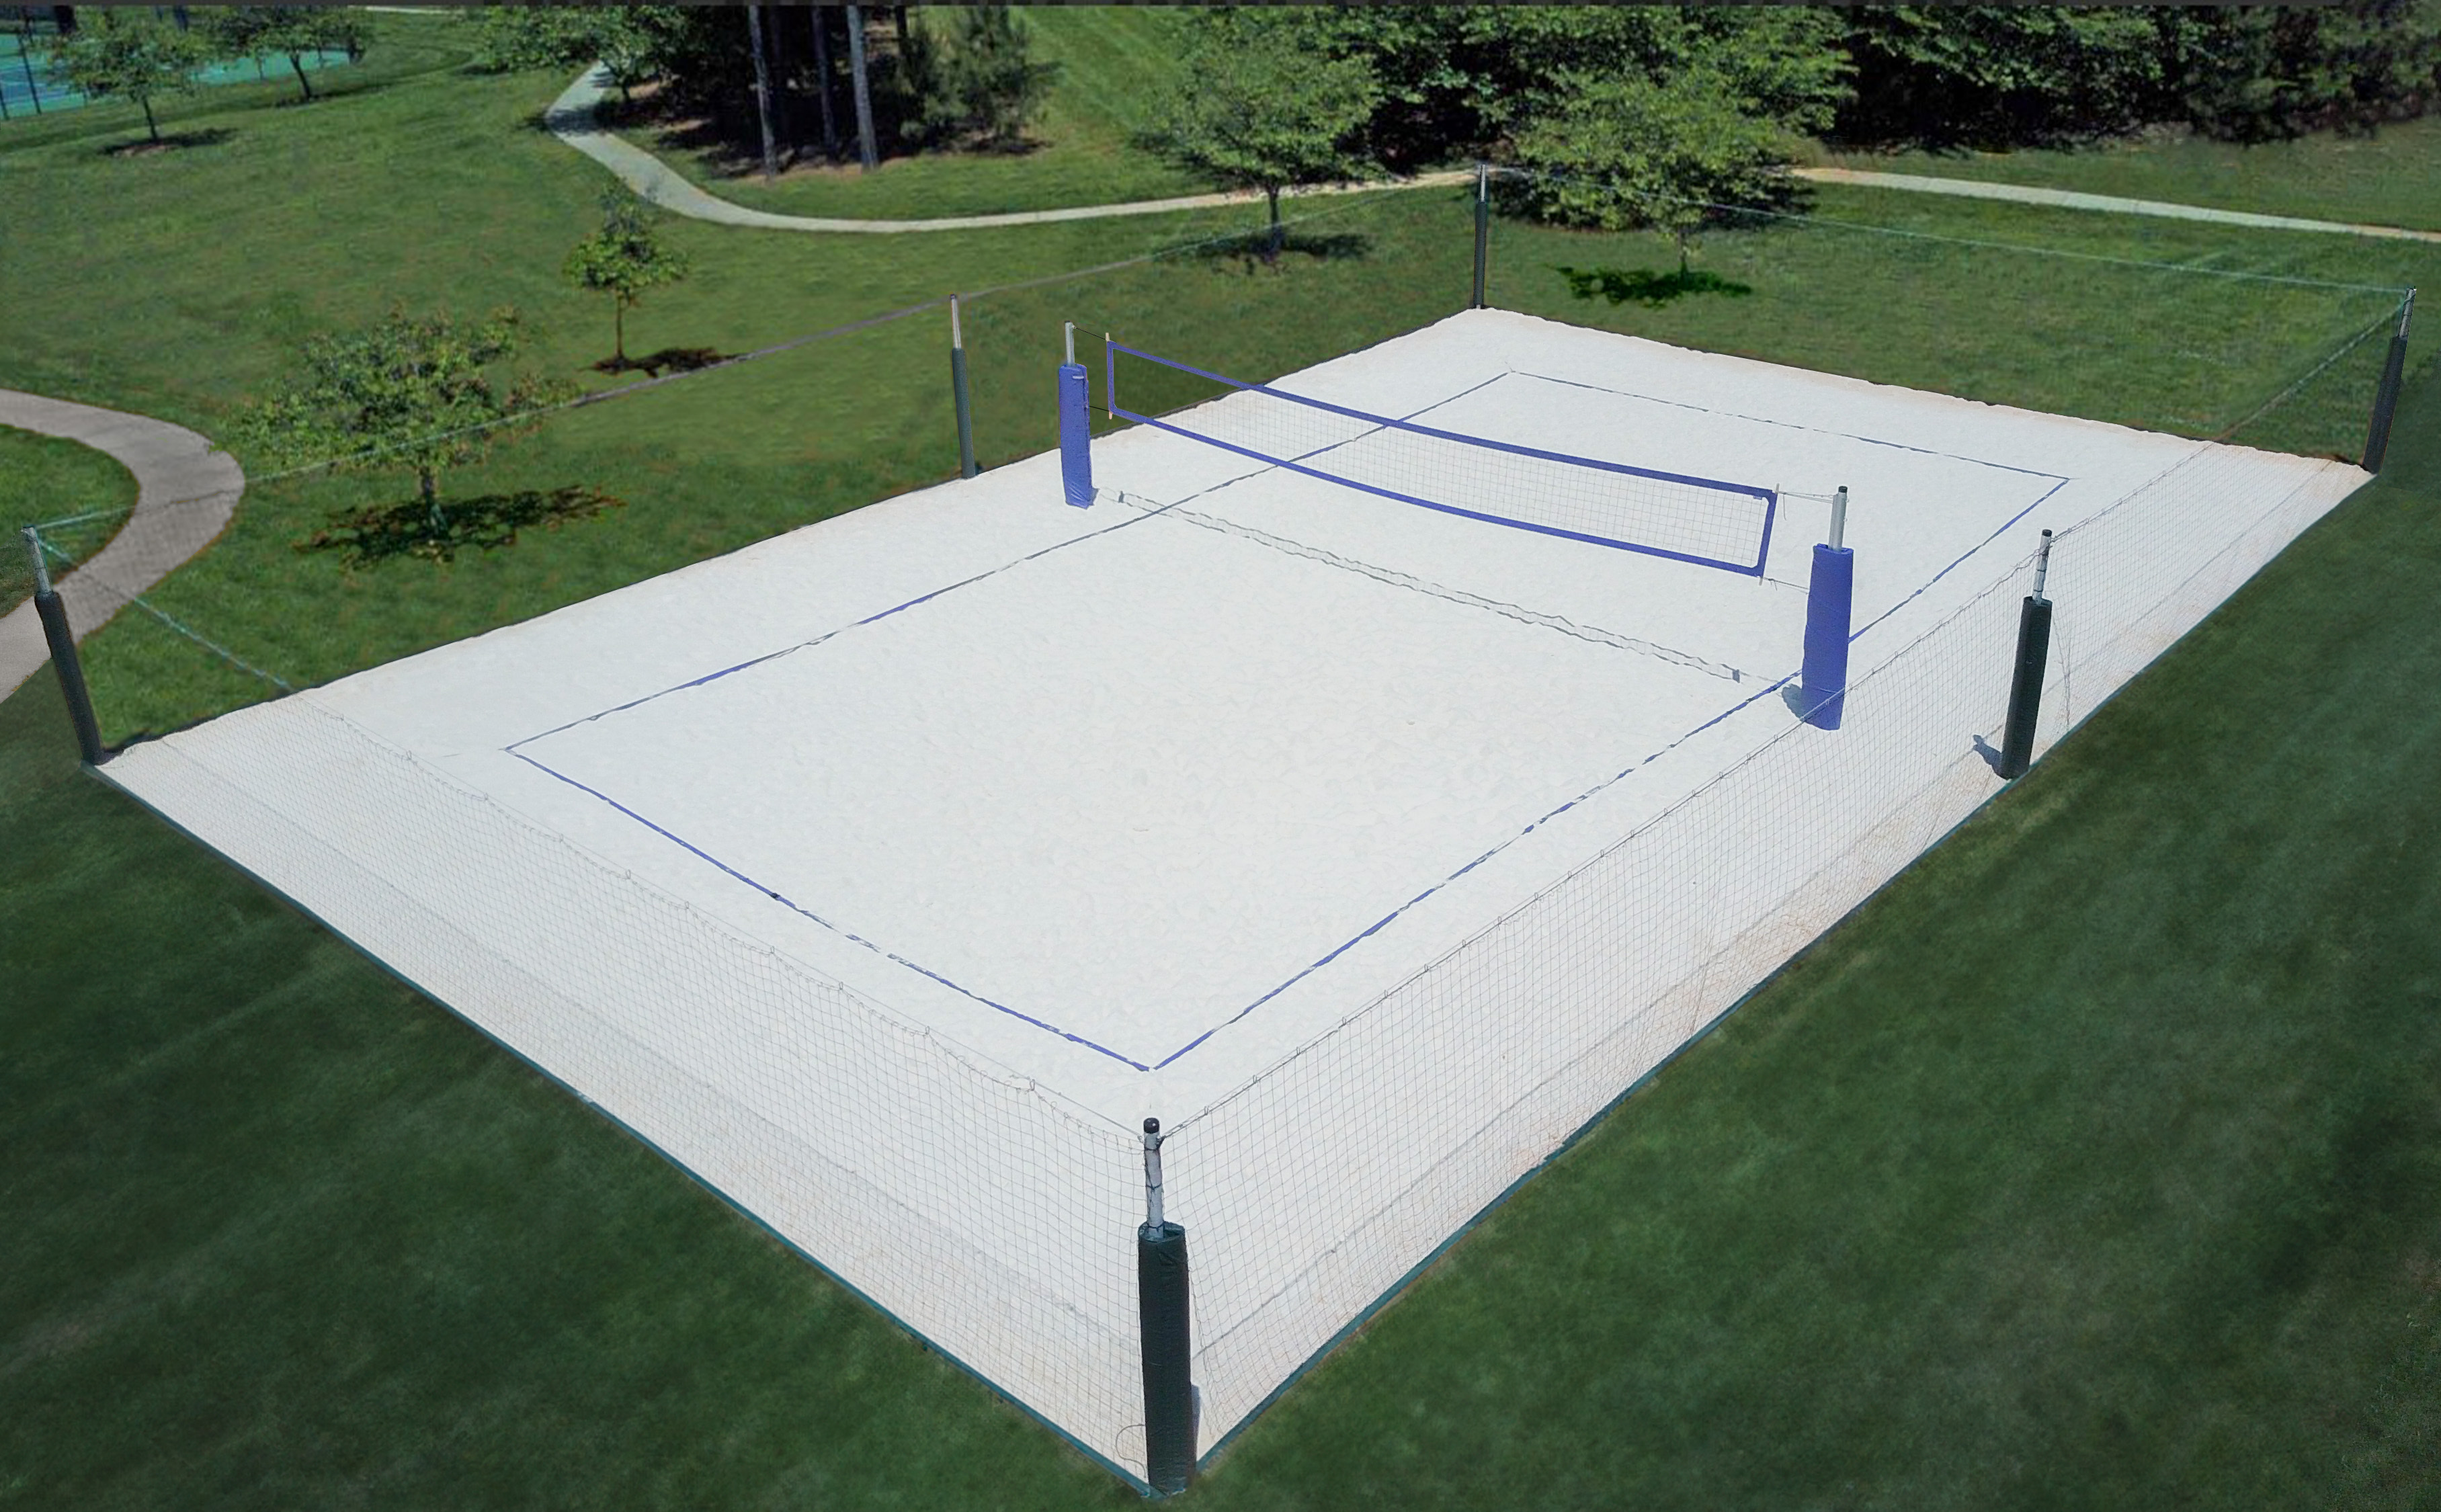
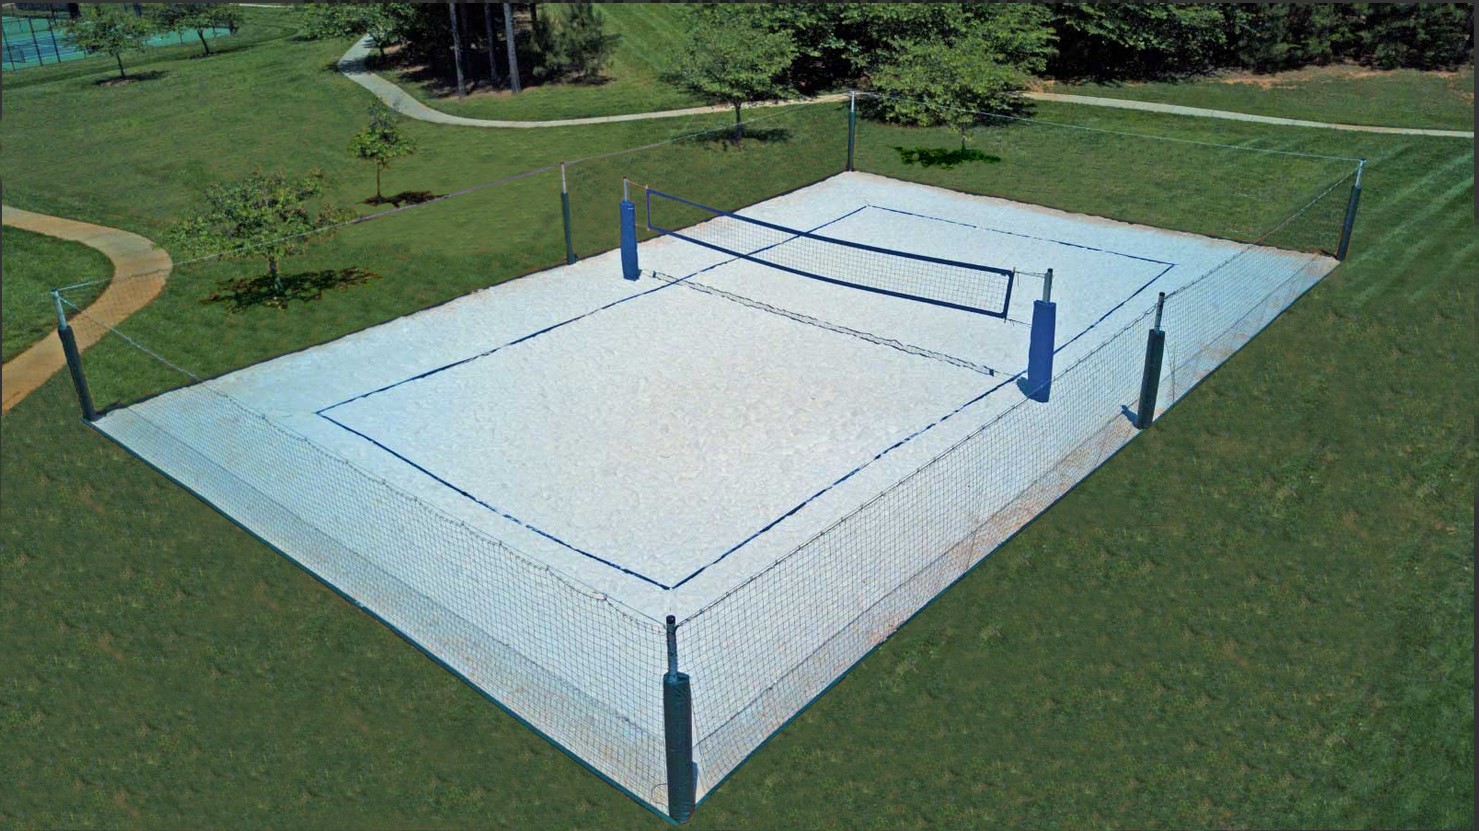
Choosing the right location is paramount. Look for a flat, sunny area with minimal obstructions like trees or fences. Consider prevailing winds; you'll want to orient the court so the sun and wind are at your back during crucial points. A minimum area of 50 feet wide by 80 feet long is recommended to accommodate the court (30 feet by 60 feet) and adequate run-off space. Even larger is better. Remember to check local zoning regulations and homeowner association rules regarding court size and placement.
Drainage: Preventing a Soggy Situation
Proper drainage is crucial to prevent water accumulation and maintain the quality of your sand. Poor drainage can lead to mold growth and make the court unplayable after rain. Evaluate the existing soil's drainage. If it's primarily clay, you'll need to improve it. This might involve installing a drainage system, such as perforated pipes covered with gravel, or amending the soil with sand and organic matter.
Budget: Understanding the Costs Involved
Building a sand volleyball court involves several costs, including excavation, materials (sand, edging, netting, poles), and labor (if you hire help). Create a realistic budget before starting the project to avoid surprises. The price for a home build can range between $3,000 and $10,000 depending on size and quality of materials. If you decide to use a contractor for any part of the process, obtain several estimates before making a final decision.
Construction: Bringing Your Beach to Life
With the planning complete, it's time to start building. Here's a step-by-step guide to construction:
Excavation: Digging the Foundation
Excavate the area to a depth of at least 12 inches, or deeper if drainage is poor. Remove any topsoil, grass, and debris. The depth might need to be deeper if a drainage system is required. This will create space for the base layer and the sand.
Base Layer: Providing Stability and Drainage
The base layer is essential for drainage and stability. A common approach involves using crushed stone or gravel to a depth of 4-6 inches. Compact the base layer thoroughly using a plate compactor to create a solid foundation. This will prevent the sand from sinking into the ground and ensure proper drainage.
Edging: Defining the Court
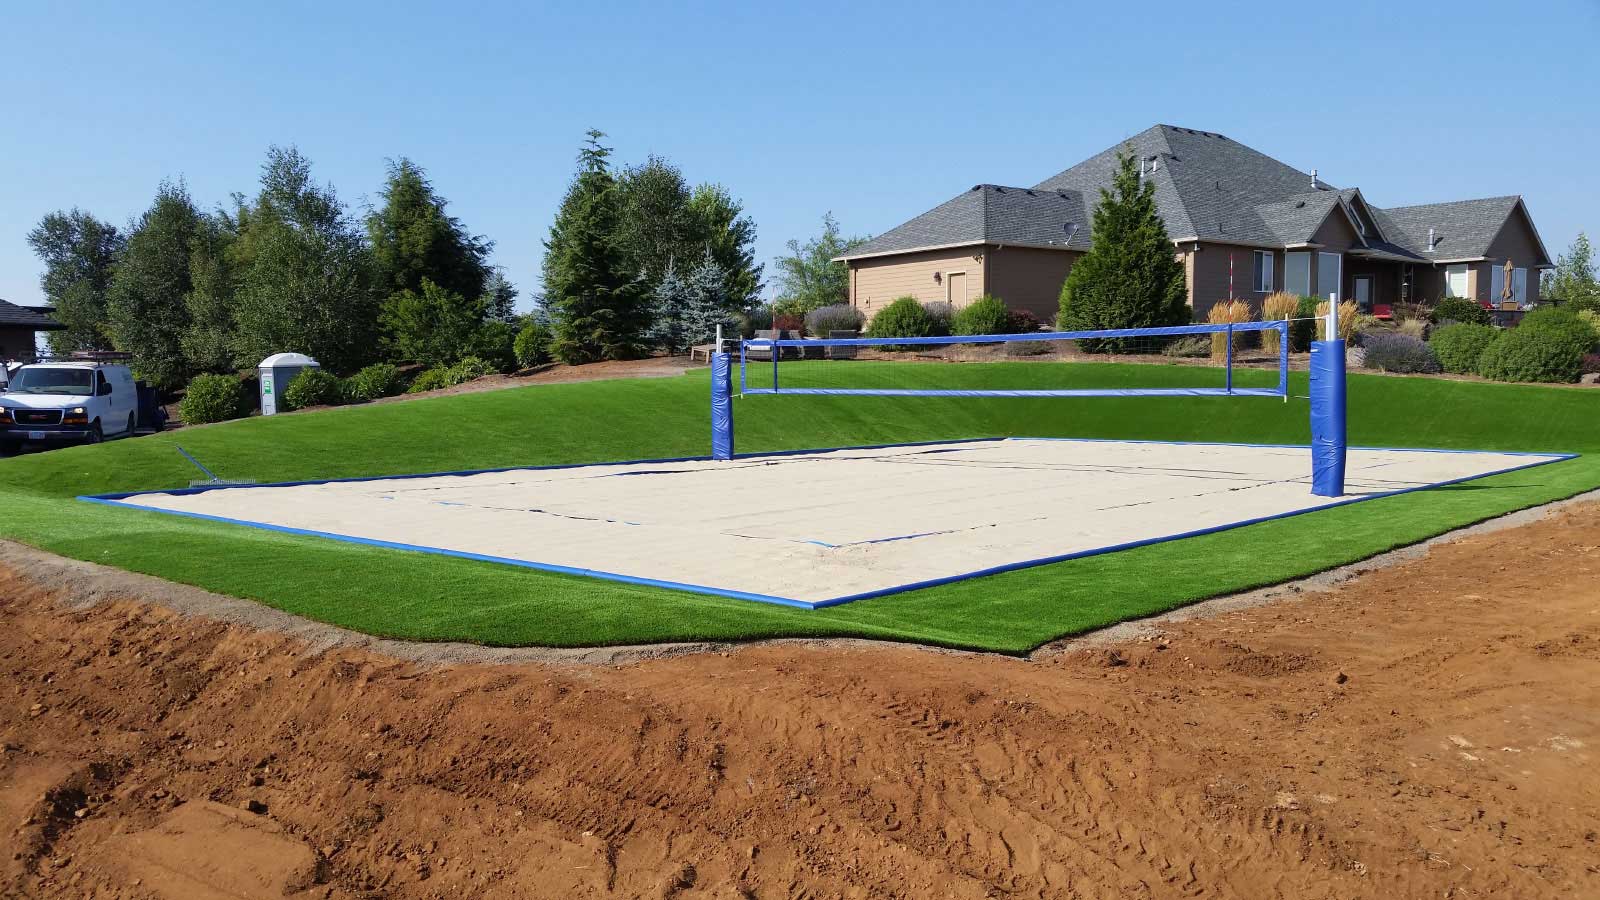
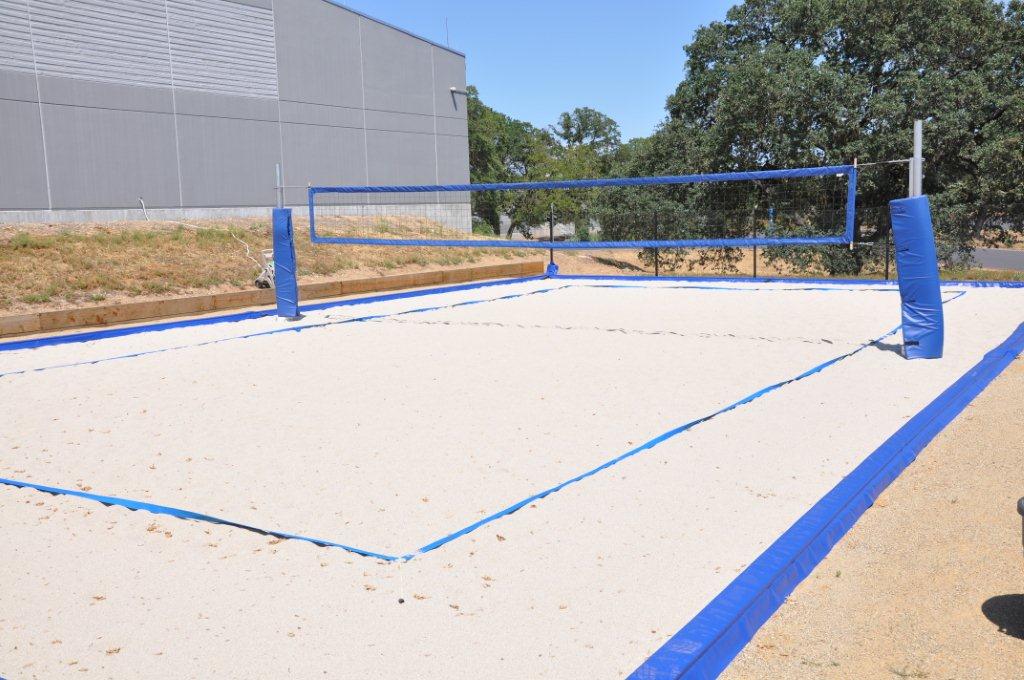
Edging helps define the court boundaries and prevent the sand from spreading. Popular edging materials include pressure-treated lumber, plastic landscape edging, or concrete blocks. Pressure-treated lumber is a good choice due to its durability and resistance to rot. Secure the edging with stakes or screws, ensuring it's level with the surrounding ground.
Sand: Choosing the Right Material
The type of sand you use significantly impacts the playing experience. Avoid using construction sand or play sand, as they tend to be too coarse or too fine. Volleyball sand, specifically designed for volleyball courts, is the ideal choice. It's typically screened to remove large particles and dust, providing a soft, consistent playing surface. The amount of sand you need will depend on the court's dimensions and the desired sand depth. A depth of 12 inches is generally recommended. Calculate the volume of sand needed by multiplying the length, width, and depth of the court (in feet) and then converting to cubic yards. Contact local sand suppliers for pricing and delivery options.
Pole Installation: Setting Up the Net
Volleyball poles can be made of metal or wood. Metal poles are more durable and resistant to weather. Install the poles before adding the sand to ensure they are securely anchored. The standard height for a men's net is 7 feet 11 5/8 inches, and for a women's net, it's 7 feet 4 1/8 inches. Use concrete to set the poles in the ground, ensuring they are plumb and stable. Allow the concrete to cure completely before attaching the net.
Net Installation: Completing the Court
Choose a high-quality volleyball net that is weather-resistant and durable. Attach the net to the poles, ensuring it's taut and at the correct height. Use adjustable straps or ratchets to fine-tune the tension.
Maintenance: Keeping Your Court in Top Condition
Regular maintenance is essential to keep your sand volleyball court in top condition.
Raking: Smoothing the Surface
Rake the sand regularly to remove debris, smooth out any uneven areas, and prevent compaction. A leaf rake or a specialized sand rake works well for this purpose.
Weeding: Preventing Unwanted Growth
Remove any weeds that sprout in the sand. Herbicides can be used, but use them sparingly and follow the manufacturer's instructions carefully to avoid contaminating the sand.
Replenishing Sand: Maintaining Depth
Over time, sand will be lost due to wind and use. Replenish the sand as needed to maintain the desired depth. Check the sand level regularly and add more sand when it gets too low.
Drainage Maintenance: Ensuring Proper Water Flow
Inspect the drainage system regularly to ensure it's functioning properly. Clear any debris from the drainage pipes or surface drains. If you notice standing water after rain, it's a sign that the drainage system needs attention.
Enhancements and Accessories: Adding the Finishing Touches
Consider adding these enhancements and accessories to enhance your sand volleyball court experience:
- Lighting: Install outdoor lighting for nighttime play.
- Seating: Add benches or chairs for spectators.
- Storage: Provide a storage container for volleyballs, nets, and other equipment.
- Boundary Lines: Consider using boundary lines if you are playing competitively and want to clearly mark court lines.
DIY vs. Professional Installation: Choosing the Right Approach
Deciding whether to build the sand volleyball court yourself or hire a professional depends on your budget, skill level, and time availability. DIY projects can save money, but they require significant time and effort. Professional installation ensures a high-quality result but comes at a higher cost. If you choose to hire a professional, obtain multiple quotes and check their references.
Troubleshooting: Addressing Common Issues
Here are some common issues you might encounter and how to address them:
- Poor Drainage: Improve drainage by installing a drainage system or amending the soil.
- Compacted Sand: Rake the sand regularly to prevent compaction.
- Weed Growth: Remove weeds manually or use herbicides sparingly.
- Uneven Surface: Level the sand with a rake.
Conclusion: Enjoying Your Backyard Beach
Building a sand volleyball court is a rewarding project that can provide years of enjoyment. By following these guidelines, you can create a backyard oasis that's perfect for recreation and relaxation. Remember to prioritize safety, maintain the court regularly, and enjoy the game!