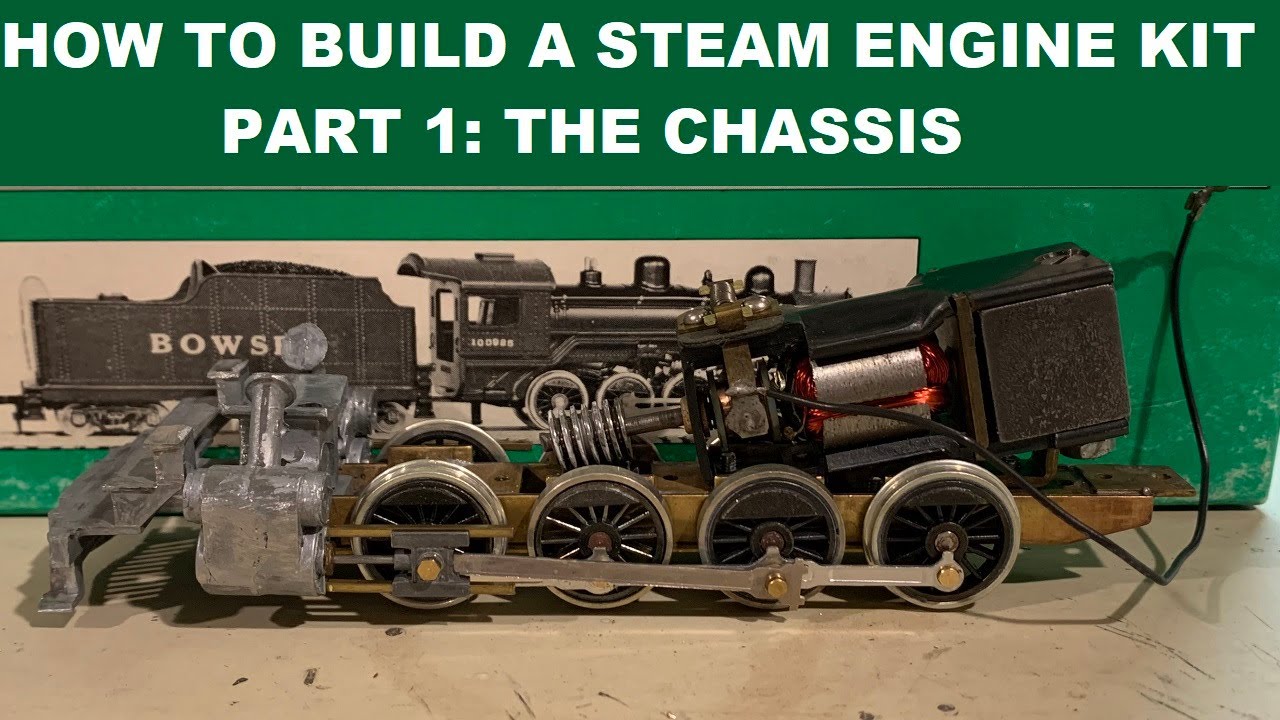
How To Build A Steam Engine

A Steamy Sideline: Understanding Thermodynamics While Maintaining Your Home's Comfort
While tinkering with a steam engine might seem a world away from fixing your HVAC system, both involve a solid understanding of thermodynamics and energy transfer. This guide offers a fun, hands-on project for DIY enthusiasts, while subtly reinforcing principles applicable to home heating and cooling. Remember, safety is paramount. Always wear appropriate safety glasses and gloves.
Before We Begin: A Word of Caution
Building a steam engine, even a small one, involves working with heat, pressure, and moving parts. While this article provides instructions, it is not a substitute for sound judgment and careful execution. If you are uncomfortable with any step, or if you lack the necessary tools and skills, seek assistance from a qualified machinist or engineer. Incorrect construction or operation can lead to serious injury. And, of course, remember this is purely for educational purposes. Attempting to power anything substantial with a DIY engine is highly discouraged and potentially dangerous.
Project: Simple Oscillating Cylinder Steam Engine
This design is relatively simple, uses readily available materials, and provides a good introduction to steam engine principles. Let’s dive in.
Materials and Tools Needed
- Materials:
- Brass or copper tubing (approximately 1/2" diameter, 12" length)
- Brass or copper sheet (various thicknesses, for end caps, cylinder, and valve)
- Solid brass or steel rod (for piston and crankshaft)
- Small bolts and nuts (various sizes, for assembly)
- Screws (various sizes, for mounting)
- Solder and flux (for joining brass/copper components)
- O-rings (small, for piston seal)
- High-temperature epoxy (for sealing)
- Thread sealant (for steam connections)
- Propane or butane torch (for soldering)
- Tools:
- Metal lathe (recommended, but some components can be fabricated without)
- Drill press or hand drill
- Assorted drill bits
- Files (various shapes and sizes)
- Sandpaper (various grits)
- Soldering iron
- Wrenches and pliers
- Measuring tools (calipers, ruler)
- Cutting tools (hacksaw, metal shears)
- Safety glasses
- Gloves
Step 1: The Cylinder
The cylinder is where the steam expands and pushes the piston. It needs to be strong and leak-proof.
- Cut the brass or copper tubing to the desired length (e.g., 4 inches).
- Fabricate end caps from brass or copper sheet. These should be slightly larger than the tubing's diameter.
- Solder the end caps onto the tubing, ensuring a strong and airtight seal. Thorough cleaning of the metal surfaces before soldering is crucial.
- Drill a hole in one end cap for the steam inlet. The size of the hole will depend on your steam source connection.
- Drill a hole on the side of the cylinder for the oscillating valve. The size and location are critical for timing, so plan carefully.
Step 2: The Piston and Connecting Rod
The piston needs to fit snugly inside the cylinder and move smoothly.
- Turn a piston from the brass or steel rod on a lathe. The diameter should be slightly smaller than the cylinder's inside diameter to allow for O-rings.
- Cut grooves in the piston for the O-rings. These provide a tight seal against the cylinder wall.
- Fabricate a connecting rod from brass or steel sheet. It should connect the piston to the crankshaft.
- Drill holes in the piston and connecting rod for attaching them together.
- Assemble the piston and connecting rod, using small bolts and nuts.
Step 3: The Oscillating Valve
This valve controls the flow of steam into and out of the cylinder, making the piston move back and forth.
- Create a valve block, made from the sheet metal, that will rotate on the cylinder. The hole you previously drilled in the cylinder for the valve should align with this valve block.
- Carefully drill a hole through the valve block to line up with the cylinder’s hole. This will be where the steam enters the cylinder. The size of this hole affects timing and power.
- Fabricate a small arm that will connect the valve block to the piston rod. This will oscillate the valve as the piston moves.
- Attach the valve to the cylinder with a smooth, tight fit that allows rotation.
Step 4: The Crankshaft and Frame
The crankshaft converts the linear motion of the piston into rotary motion.
- Bend or machine the crankshaft from solid brass or steel rod. The crank throw (the distance from the center of the crankshaft to the connecting rod attachment point) determines the piston stroke.
- Fabricate a frame to support the cylinder and crankshaft. This can be made from brass, steel, or even wood.
- Mount the cylinder securely to the frame.
- Mount the crankshaft to the frame, ensuring it can rotate freely.
- Connect the connecting rod to the crankshaft using a suitable fastener.
Step 5: Assembly and Testing
Now comes the moment of truth.
- Carefully assemble all the components, ensuring everything is aligned and moving freely.
- Apply thread sealant to all steam connections.
- Connect the steam inlet to a steam source (e.g., a pressure cooker with a regulated output). Start with very low pressure!
- Slowly increase the steam pressure and observe the engine's operation.
- Adjust the valve timing and crankshaft position to optimize performance.
Troubleshooting and Common Issues
- Engine won't start:
- Check for steam leaks.
- Verify valve timing.
- Ensure the piston moves freely in the cylinder.
- Ensure adequate steam pressure.
- Engine runs erratically:
- Check for binding or friction in the moving parts.
- Adjust valve timing.
- Ensure a consistent steam supply.
- Steam leaks:
- Tighten all connections.
- Apply thread sealant to leaking joints.
- Check for cracks or imperfections in the cylinder or end caps.
- Low power:
- Increase steam pressure (carefully!).
- Optimize valve timing.
- Ensure proper piston seal.
HVAC Parallels: Applying Steam Engine Principles to Home Comfort
While a steam engine powers movement, your HVAC system manages heat. Here's how the concepts relate:
- Pressure and Flow: Just like steam pressure drives the piston, refrigerant pressure is essential for the cooling cycle in your AC. Low refrigerant pressure can cause poor cooling performance.
- Heat Transfer: The cylinder in a steam engine is heated. Similarly, your furnace's heat exchanger heats air for your home. Efficient heat transfer is crucial in both.
- Seals: Leaks in a steam engine reduce power. Leaks in your refrigerant lines in an AC unit reduce cooling capacity.
- Valve Timing/Control: The steam valve controls when steam enters the cylinder. Similarly, valves in your AC system control refrigerant flow.
When to Call a Professional
This project is a great way to learn about thermodynamics and basic mechanics. However, HVAC systems are complex and involve potentially dangerous refrigerants and high voltages. Never attempt to repair components that you are not qualified to handle. Call a licensed HVAC technician for issues such as:
- Refrigerant leaks
- Compressor failures
- Electrical problems
- Furnace burner issues
Cost Considerations for HVAC Repairs
Understanding the underlying principles of thermodynamics can help you understand cost estimates for HVAC repairs. For example:
- Refrigerant recharge: This involves adding refrigerant to your system to restore proper pressure. Costs vary depending on the type of refrigerant and the amount needed. Expect to pay between $200 and $500.
- Compressor replacement: The compressor is the heart of your AC system. Replacing it is a major repair, costing between $1,500 and $4,000.
- Furnace heat exchanger replacement: A cracked heat exchanger can be dangerous. Replacement costs can range from $1,000 to $3,000.
Final Thoughts
Building a steam engine is a fun and educational project that can deepen your understanding of thermodynamics and mechanics. While this project is a safe and enjoyable way to learn about these things, remember that real-world HVAC systems require specialized knowledge and training. Always prioritize safety and call a qualified professional when dealing with complex or potentially dangerous repairs. Good luck, and happy tinkering!