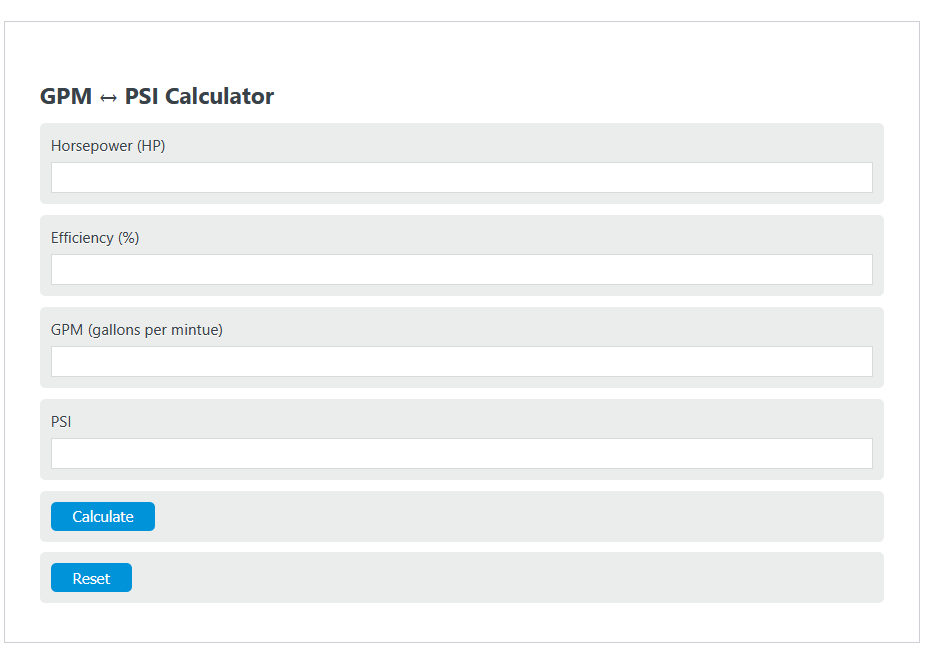
How To Calculate Gpm From Psi

One of the most frustrating experiences for homeowners is inconsistent heating or cooling. You might have some rooms that are comfortably warm (or cool), while others feel noticeably different. Often, this isn’t a problem with the central heating or cooling unit itself, but rather an issue with the water flow within your hydronic (water-based) heating or cooling system. Understanding how to calculate Gallons Per Minute (GPM) from PSI (Pounds per Square Inch) can be a valuable troubleshooting tool in such situations. Let's walk through how to diagnose and address this common problem.
Diagnosing Uneven Heating/Cooling: Is it Flow Rate?
Before diving into GPM calculations, let’s first confirm that a low flow rate is a likely culprit for your uneven heating or cooling. Here’s a methodical approach:
Step 1: The Initial Assessment (No Tools Required)
Start with the basics. This involves observation and simple checks.
- Room Temperature Differences: Carefully assess the temperature differences in each room. A noticeable disparity (5-10 degrees Fahrenheit or more) is a red flag. Pay attention to which rooms are consistently colder or warmer.
- Bleed Your Radiators/Baseboards: Air trapped in your hydronic system can significantly reduce flow. Bleeding your radiators releases this trapped air. This is a simple process usually involving a radiator key and a small container. If a lot of air escapes, it’s a sign air is a problem.
- Visual Inspection of Radiators/Baseboards: Look for any obvious signs of corrosion, leaks, or blockage around your radiators or baseboards. Rust or water stains are immediate clues.
- Listen to Your System: Are there any unusual noises, such as gurgling or hissing sounds coming from the pipes or radiators? These can indicate air pockets or restricted flow.
- Check Zone Valves (If Applicable): If your system has zone valves (used to control heating/cooling to different areas), manually check that they are opening and closing properly when the thermostat calls for heat or cooling. Sometimes these valves get stuck.
Step 2: Further Investigation (Requires Basic Equipment)
If the initial assessment doesn’t reveal obvious problems, it’s time to use some basic tools.
- Infrared Thermometer: An infrared thermometer can provide more accurate surface temperature readings of your radiators or baseboards. This helps to quickly identify if certain sections are not heating/cooling as effectively as others.
- Pressure Gauge (Optional, but Helpful): A pressure gauge can be temporarily attached to a bleeder valve or another accessible point in your system to get a reading of the system pressure. This will be discussed further below when we talk about calculating GPM. Knowing your system pressure is important for accurate GPM estimation.
Step 3: Isolate the Problem Area
Based on your observations and temperature readings, try to pinpoint the specific area of the system experiencing the flow issue. Is it one radiator, a group of radiators on a single loop, or the entire system?
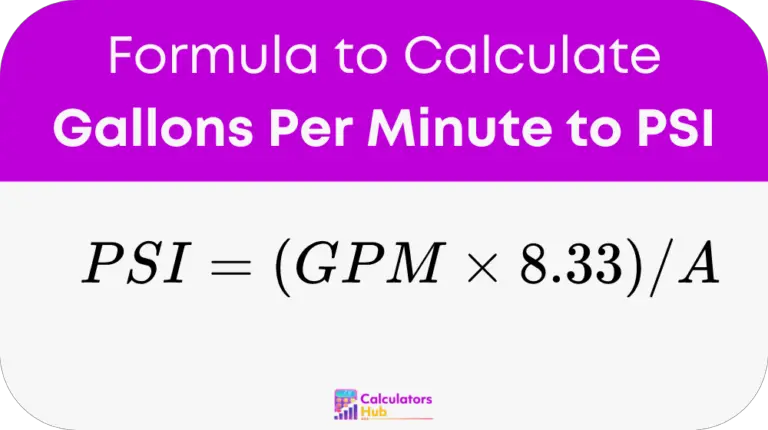
Understanding the GPM to PSI Relationship
In a hydronic heating or cooling system, the flow rate (GPM) is directly related to the pressure drop (PSI) across a specific section of pipe or component. The pressure drop is the difference in pressure between the inlet and outlet of that section. Higher flow rates usually result in higher pressure drops due to increased friction. However, the exact relationship is also influenced by factors like pipe size, pipe material, and the presence of fittings or valves.
The general principle is that you can estimate GPM if you know the pressure drop and the characteristics of the piping system. However, it's important to understand that this is an estimation. A precise calculation requires specialized equipment and knowledge.
How to Estimate GPM From PSI: A Simplified Approach
Here's a simplified method to estimate GPM from PSI, suitable for a basic home assessment. This method relies on estimating the pressure drop across a section of pipe or, more commonly, across a component like a radiator or a zone valve. Remember that this provides a rough estimate.
Step 1: Measure the Pressure Drop
This is the most crucial step and often requires the most effort. Ideally, you would measure the pressure at two points: one just before the component in question (e.g., the radiator) and one just after. You can sometimes do this by temporarily attaching pressure gauges to bleeder valves or other accessible points.
Important Safety Note: Never attempt to tap into pressurized lines without proper training and safety equipment. Incorrectly attempting this can lead to serious injury. If you are not comfortable with this step, call a professional.
If you can safely measure the pressure before and after the component, subtract the downstream pressure from the upstream pressure. This difference is the pressure drop (PSI).
If you can't measure the pressure drop directly: You can try estimating the system's operating pressure. This is typically between 12 and 15 PSI for residential hydronic systems. However, this method is much less accurate and should only be used as a last resort. Most boiler systems have a pressure gauge on them, this will give you the system pressure.
Step 2: Determine Your Pipe Size and Type
The size and material of your pipes play a significant role in the relationship between PSI and GPM. Common pipe sizes in residential hydronic systems are 1/2 inch, 3/4 inch, and 1 inch. Pipe material is usually copper or PEX. Identifying the pipe size is often stamped on the pipe itself. If not, you can measure the outside diameter of the pipe and consult a pipe sizing chart online.
Step 3: Use a Simplified Chart or Formula
Instead of complex hydraulic calculations, we'll use a simplified approach based on charts or rules of thumb. Keep in mind these are estimations.
Simplified Chart Example (for copper pipes):
| Pipe Size | GPM per PSI Drop (Approximate) |
|---|---|
| 1/2 inch | 0.5 GPM |
| 3/4 inch | 1.5 GPM |
| 1 inch | 3.0 GPM |
Simplified Formula (for rough estimation):
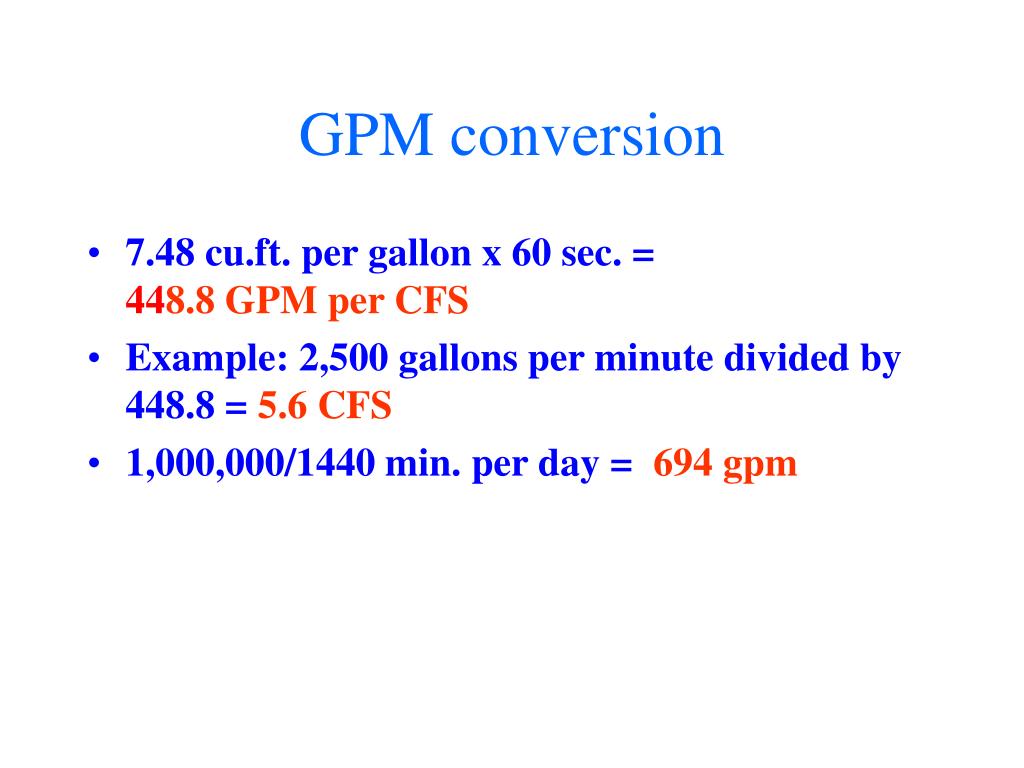
GPM ≈ PSI Drop x Factor
Where the "Factor" is based on pipe size from the chart above. For example: If you have 3/4 inch copper pipe and a measured pressure drop of 2 PSI, then: GPM ≈ 2 PSI x 1.5 = 3 GPM
Important Considerations:
- This chart and formula are highly simplified. They do not account for variations in pipe roughness, fittings, elbows, and other factors.
- The GPM values are approximate and should only be used as a general guide.
- PEX pipe has slightly different flow characteristics than copper. The values in the chart will be less accurate for PEX.
Step 4: Interpreting Your Results
Once you've estimated the GPM, compare it to what is expected for your system. Unfortunately, knowing the exact required GPM for each radiator or zone is often difficult without consulting the original system design. However, here are some general guidelines:
- Low GPM: If your calculated GPM is significantly lower than the values in the chart (for example, you have 3/4 inch pipe, a 2 PSI drop, but are only getting 1 GPM), it suggests a flow restriction.
- High GPM: While less common, excessively high GPM can also cause issues like noisy pipes or inefficient heat transfer. This might indicate a problem with a pump or a faulty valve.
DIY Actions and When to Call a Pro
Based on your GPM estimation and other diagnostic steps, here are some DIY actions you can take, as well as situations where professional help is necessary.
Safe DIY Actions You Can Try
- Bleed Your Radiators Again: Even after the initial bleeding, air can re-accumulate. Repeat the process, paying attention to any particular radiators that seem to consistently trap air.
- Check and Clean Strainers/Filters: Many hydronic systems have strainers or filters to prevent debris from circulating. Locate and clean these filters. Consult your system's manual for their location and cleaning instructions.
- Manually Exercise Zone Valves: If your system has zone valves, manually cycle them open and closed several times. This can sometimes dislodge minor debris or corrosion that's causing them to stick.
- Visually Inspect Expansion Tank: The expansion tank helps maintain proper pressure in the system. Visually inspect it for signs of leaks or damage. A waterlogged expansion tank can cause pressure fluctuations.
When to Call a Professional HVAC Technician
Certain problems are simply too complex or risky for DIY solutions. Contact a qualified HVAC technician if you encounter any of the following:
- Inability to Accurately Measure Pressure: As mentioned earlier, attempting to tap into pressurized lines without proper training is dangerous. Don’t risk injury.
- Significant Leaks: If you discover any major leaks in the system, shut off the water supply immediately and call a professional.
- Pump Issues: Problems with the circulator pump require specialized knowledge and tools.
- Boiler Problems: Any issues with the boiler itself (strange noises, error codes, etc.) should be addressed by a qualified technician.
- Complex Plumbing Issues: If you suspect a blockage or restriction within the pipes that you cannot easily access or resolve, call a plumber or HVAC technician.
- Uncertainty About System Design: If you are unsure about the proper GPM requirements for your system or are uncomfortable working with the plumbing, it's always best to seek professional advice.
- Zone Valve Replacement: Replacing a faulty zone valve often requires soldering or other specialized skills.
Final Thoughts
Estimating GPM from PSI can provide valuable insights into the performance of your hydronic heating or cooling system. By following the steps outlined in this article, you can troubleshoot common issues and potentially save money on professional repairs. However, always prioritize safety and never hesitate to call a qualified technician when faced with complex or potentially dangerous problems. A little bit of knowledge and a cautious approach can go a long way in maintaining a comfortable and efficient home.