How To Change A Car Ac Compressor

Imagine this: It’s a sweltering summer day, and you hop in your car, ready for a cool, comfortable drive. You crank up the AC, and… nothing. Just hot air blowing in your face. A failed car AC compressor is a common automotive problem, and while some aspects of car AC repair are best left to professionals, understanding the system and potentially tackling a compressor replacement yourself can save you significant money. This guide will walk you through the process, emphasizing safety and outlining when professional help is crucial.
Understanding Your Car's AC System and the Compressor
Before diving into the replacement process, let's quickly understand the basics of your car's air conditioning system. It's a closed-loop system that circulates refrigerant. The main components include:
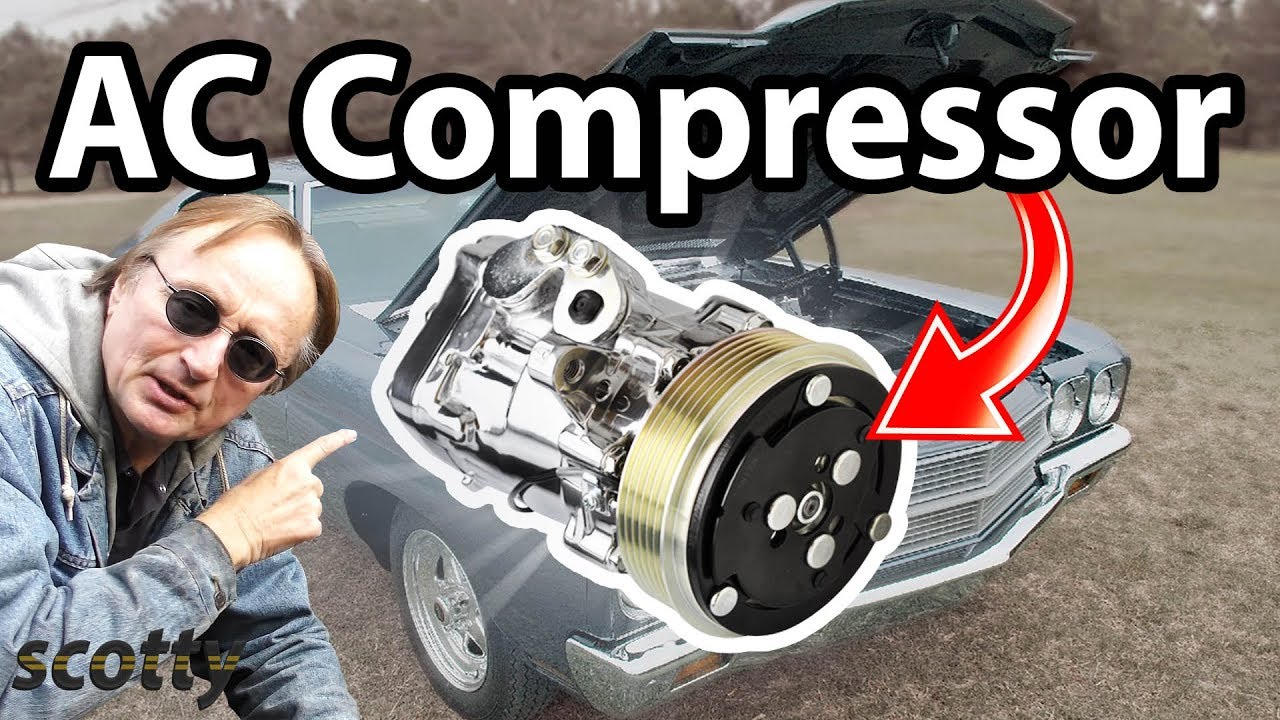
- Compressor: The heart of the system, it pressurizes the refrigerant, turning it into a hot, high-pressure gas.
- Condenser: Located in front of the radiator, it cools the high-pressure gas, turning it into a high-pressure liquid.
- Receiver-Drier/Accumulator: Filters the refrigerant and removes moisture.
- Expansion Valve/Orifice Tube: Meters the refrigerant flow into the evaporator, causing it to expand and cool.
- Evaporator: Located inside the dashboard, it's where the refrigerant absorbs heat from the cabin air, turning back into a low-pressure gas.
The compressor's job is vital. When it fails, the entire system shuts down or blows warm air. Common signs of a failing compressor include:
- No cold air: This is the most obvious symptom.
- Loud noises: Grinding, squealing, or rattling sounds coming from the compressor.
- Clutch issues: The compressor clutch, which engages and disengages the compressor, might be slipping or not engaging at all.
- Leaking refrigerant: You might notice oily residue near the compressor.
Safety First!
Working on a car's AC system involves potentially hazardous refrigerants and high-pressure components. Improper handling can lead to serious injuries. If you're not comfortable with these risks, please seek professional help.
Crucial Safety Precautions:
- Disconnect the Battery: Before starting any work, disconnect the negative terminal of your car battery to prevent electrical shocks.
- Wear Safety Glasses and Gloves: Protect your eyes and hands from refrigerant and other potential hazards.
- Work in a Well-Ventilated Area: Refrigerant leaks can displace oxygen, so ensure proper ventilation.
- Refrigerant Handling: It is illegal and environmentally irresponsible to vent refrigerant into the atmosphere. If your system contains refrigerant, it must be recovered by a certified technician using proper equipment before you attempt any repairs. Skip directly to professional help if you are not sure how to do this safely and legally.
- Proper Disposal: Dispose of any used parts and refrigerant responsibly according to local regulations.
Tools and Materials You'll Need
Here's a list of essential tools and materials for replacing your car's AC compressor:
- New AC Compressor: Make sure it's the correct part for your vehicle (year, make, and model).
- Refrigerant Oil: The correct type and amount, specified by your vehicle's manufacturer.
- New Receiver-Drier/Accumulator: Highly recommended to replace this whenever you replace the compressor.
- AC Flush Solvent: To clean the AC lines and evaporator.
- Vacuum Pump: To evacuate the system after repairs.
- Manifold Gauge Set: To monitor pressure during evacuation and charging.
- Wrenches and Sockets: A variety of sizes to fit the compressor bolts and refrigerant lines.
- Screwdrivers: Phillips and flathead.
- Pliers: Regular and needle-nose.
- Torque Wrench: To tighten bolts to the correct specifications.
- Eye Protection and Gloves: Safety is paramount.
- Recovery Machine: A certified recovery machine to safely remove any remaining refrigerant.
Step-by-Step Guide to Replacing Your Car's AC Compressor
Remember, this is a general guide. Specific steps may vary depending on your vehicle's make and model. Always consult your vehicle's repair manual for detailed instructions.
Step 1: Refrigerant Recovery (Professional Required)
If your AC system still contains refrigerant, you must have it recovered by a certified technician using a recovery machine. It is illegal and dangerous to vent refrigerant into the atmosphere. This step is non-negotiable.
Step 2: Disconnect the Battery
Disconnect the negative terminal of your car battery to prevent electrical shocks during the repair process.
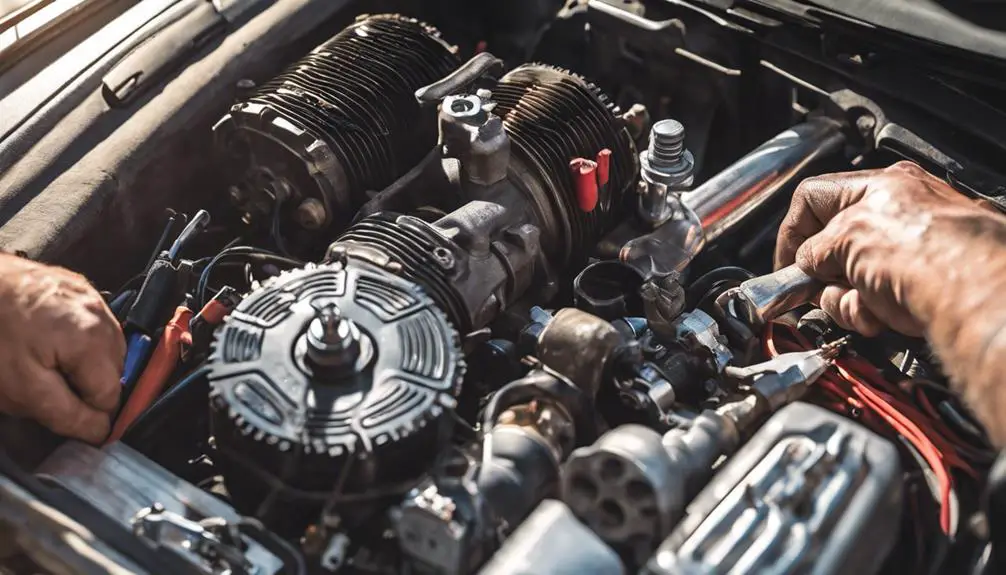
Step 3: Locate the AC Compressor
The AC compressor is typically located at the front of the engine, driven by a belt connected to the crankshaft pulley. Refer to your vehicle's repair manual to pinpoint its exact location.
Step 4: Remove the Drive Belt
Loosen the tensioner pulley to relieve tension on the drive belt. Use a wrench or socket to move the tensioner arm and slip the belt off the AC compressor pulley. Make a note of the belt's routing for reinstallation.
Step 5: Disconnect the Electrical Connector
Disconnect the electrical connector from the AC compressor. This connector provides power to the compressor clutch.
Step 6: Disconnect the Refrigerant Lines
Carefully disconnect the refrigerant lines from the AC compressor. These lines are typically held in place by bolts or quick-connect fittings. Be prepared for a small amount of residual oil to leak out. Have rags ready to catch any drips. Use appropriate wrenches to avoid damaging the fittings. If the fittings are heavily corroded, consider seeking professional assistance to avoid stripping them.
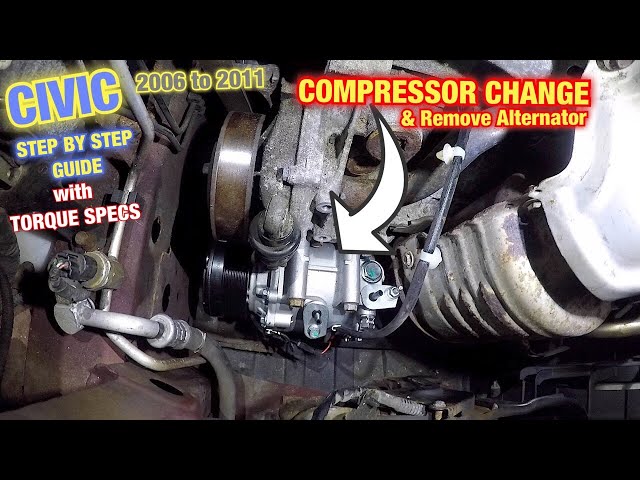
Step 7: Remove the AC Compressor
Unbolt the AC compressor from its mounting bracket. The number and location of the bolts will vary depending on your vehicle. Once the bolts are removed, carefully lift the compressor out of the engine compartment.
Step 8: Flush the AC System
This step is crucial to remove any contaminants, debris, or old oil from the AC system. Use an AC flush solvent and follow the manufacturer's instructions carefully. Flush the condenser, evaporator, and refrigerant lines. Do not flush the compressor, receiver-drier, or expansion valve/orifice tube. Allow the components to dry thoroughly after flushing.
Step 9: Replace the Receiver-Drier/Accumulator
Always replace the receiver-drier or accumulator whenever you replace the AC compressor. This component filters the refrigerant and removes moisture. Installing a new one ensures optimal system performance and prevents premature compressor failure.
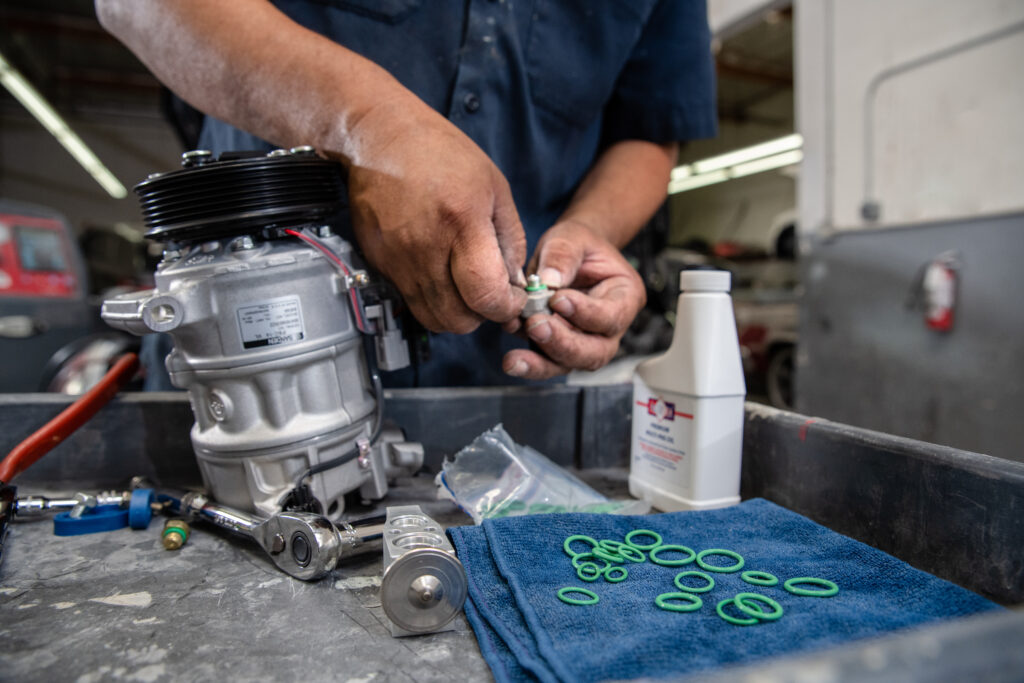
Step 10: Install the New AC Compressor
Before installing the new compressor, add the correct amount and type of refrigerant oil to the compressor, as specified by your vehicle's manufacturer. Consult your vehicle's repair manual for the correct oil type and quantity. Carefully install the new AC compressor onto its mounting bracket and tighten the bolts to the manufacturer's specified torque.
Step 11: Reconnect the Refrigerant Lines
Reconnect the refrigerant lines to the new AC compressor. Use new O-rings or seals on the fittings to ensure a leak-free connection. Tighten the fittings to the manufacturer's specified torque.
Step 12: Reconnect the Electrical Connector
Reconnect the electrical connector to the AC compressor.
Step 13: Reinstall the Drive Belt
Reinstall the drive belt, making sure it's properly routed around all the pulleys. Use a wrench or socket to move the tensioner arm and slip the belt onto the AC compressor pulley. Release the tensioner arm to tension the belt.
Step 14: Evacuate the System (Professional Recommendation)
This step requires specialized equipment (a vacuum pump and manifold gauge set) and knowledge. Evacuating the system removes air and moisture, which can damage the AC system. Connect the vacuum pump to the system and evacuate it for at least 30-45 minutes, or according to the vacuum pump's instructions. The manifold gauge set allows you to monitor the vacuum level. While a DIYer can purchase this equipment, misusing it can cause further damage. For this reason, having a professional perform this step is heavily advised.
Step 15: Charge the System (Professional Recommendation)
This step also requires specialized equipment (manifold gauge set and refrigerant) and knowledge. Charging the system involves adding the correct amount of refrigerant. Consult your vehicle's repair manual for the correct refrigerant type and quantity. Use the manifold gauge set to monitor the pressure while charging. Overcharging or undercharging the system can damage the compressor and other components. Like evacuating the system, charging the system should be performed by a qualified technician.
Step 16: Reconnect the Battery
Reconnect the negative terminal of your car battery.
Step 17: Test the AC System
Start the engine and turn on the AC. Check for cold air blowing from the vents. Monitor the compressor for any unusual noises or vibrations. Use the manifold gauge set to verify that the system pressures are within the normal range.
When to Call a Professional
While replacing an AC compressor can be a DIY project, there are situations where seeking professional help is essential:
- Refrigerant Handling: As mentioned before, refrigerant recovery and charging require specialized equipment and knowledge. It's illegal and dangerous to handle refrigerant without proper training and equipment.
- System Evacuation: Evacuating the system requires a vacuum pump and manifold gauges. Improper evacuation can lead to system damage.
- Complex Diagnostics: If you're unsure what's causing the AC problem, a professional can diagnose the issue accurately.
- Corroded Fittings: If the refrigerant line fittings are heavily corroded, attempting to disconnect them yourself could damage the lines.
- Lack of Experience: If you're not comfortable working on car AC systems, it's best to leave the repair to a professional.
- If you are not comfortable or confident with ANY step. Your safety, and the environment, are very important!
Troubleshooting Common Issues After Replacement
Even after replacing the compressor, you might encounter some issues:
- No Cold Air: This could be due to low refrigerant charge (possible leak), a faulty expansion valve, or a blocked orifice tube.
- Weak Airflow: Check the cabin air filter for blockage. Also, inspect the blower motor for proper operation.
- Compressor Clutch Not Engaging: Check the fuse and relay for the AC compressor clutch. A faulty clutch coil could also be the culprit.
- Loud Noises: Could indicate a problem with the compressor itself (manufacturing defect), insufficient lubrication, or belt misalignment.
Conclusion
Replacing a car AC compressor can be a challenging but rewarding DIY project. By following these steps, taking necessary safety precautions, and knowing when to seek professional help, you can potentially save money and restore your car's air conditioning system. Remember, safety is always the top priority. If you're unsure about any aspect of the repair, don't hesitate to consult a qualified mechanic.