How To Change A Thermocouple On A Water Heater
:max_bytes(150000):strip_icc()/replacing-water-heater-thermocouple-flame-sensor-1824918-05-6d1e35fb0ecc46c3a10200f4f166a9c6.jpg)
Imagine stepping into the shower, only to be greeted by a chilling blast of cold water. A malfunctioning water heater is a common household woe, and one frequent culprit is a faulty thermocouple. This small but mighty component is crucial for ensuring your water heater's gas valve stays open, allowing it to heat your water. But don't panic! Before calling a professional, let's explore some troubleshooting steps and see if a simple DIY fix can restore your hot water supply.
Is it Really the Thermocouple? Common Water Heater Problems
Before diving into thermocouple replacement, let's make sure that's truly the issue. Water heaters can experience a range of problems. Here are a few other common suspects:
- No Gas Supply: Double-check that your gas supply is turned on to the water heater. Other gas appliances working fine? Then this is less likely.
- Pilot Light Out: This is the most common reason a thermocouple *seems* to be bad. Relighting it *might* solve your issue.
- Sediment Buildup: Over time, sediment can accumulate in the tank, affecting heating efficiency.
- Faulty Gas Valve: If the gas valve itself is malfunctioning, it will prevent the heater from operating. This requires professional repair.
- Dip Tube Failure: The dip tube brings cold water to the bottom of the tank. If it fails, you might get cold water even when the heater is on.
Symptoms of a Failing Thermocouple
Here are some telltale signs that your thermocouple might be the problem:
- Pilot light won't stay lit: You can light the pilot, but it goes out as soon as you release the pilot button. This is the most frequent symptom.
- Intermittent hot water: You might get hot water sometimes, but other times it's cold.
- Water heater shuts off frequently: The heater might ignite and then shut down shortly after.
Safety First! Important Precautions
Working with gas and water can be dangerous. Always prioritize safety:
- Turn off the gas supply: Locate the gas shut-off valve on the gas line leading to the water heater and turn it to the "off" position. This is crucial!
- Turn off the water supply: Close the cold water inlet valve on top of the water heater.
- Allow the water heater to cool down: Hot water can cause severe burns. Wait at least 30 minutes, or preferably longer, before starting any work.
- Work in a well-ventilated area: If there's any gas leakage, ensure good ventilation to prevent gas buildup.
- Wear appropriate safety gear: Safety glasses are always a good idea.
- Have a fire extinguisher nearby: Just in case!
- When in doubt, call a professional: If you're uncomfortable with any of these steps, or if you suspect a more serious problem, call a qualified plumber or gas technician. Don't risk your safety.
Step-by-Step Thermocouple Replacement Guide
Now, let's get to the actual replacement. Gather these tools and materials before you begin:
- New thermocouple (make sure it's the correct type for your water heater model)
- Adjustable wrench
- Screwdrivers (Phillips and flathead)
- Pliers
- Small wire brush or sandpaper
- Penetrating oil (like WD-40)
- Flashlight or headlamp
Step 1: Access the Thermocouple
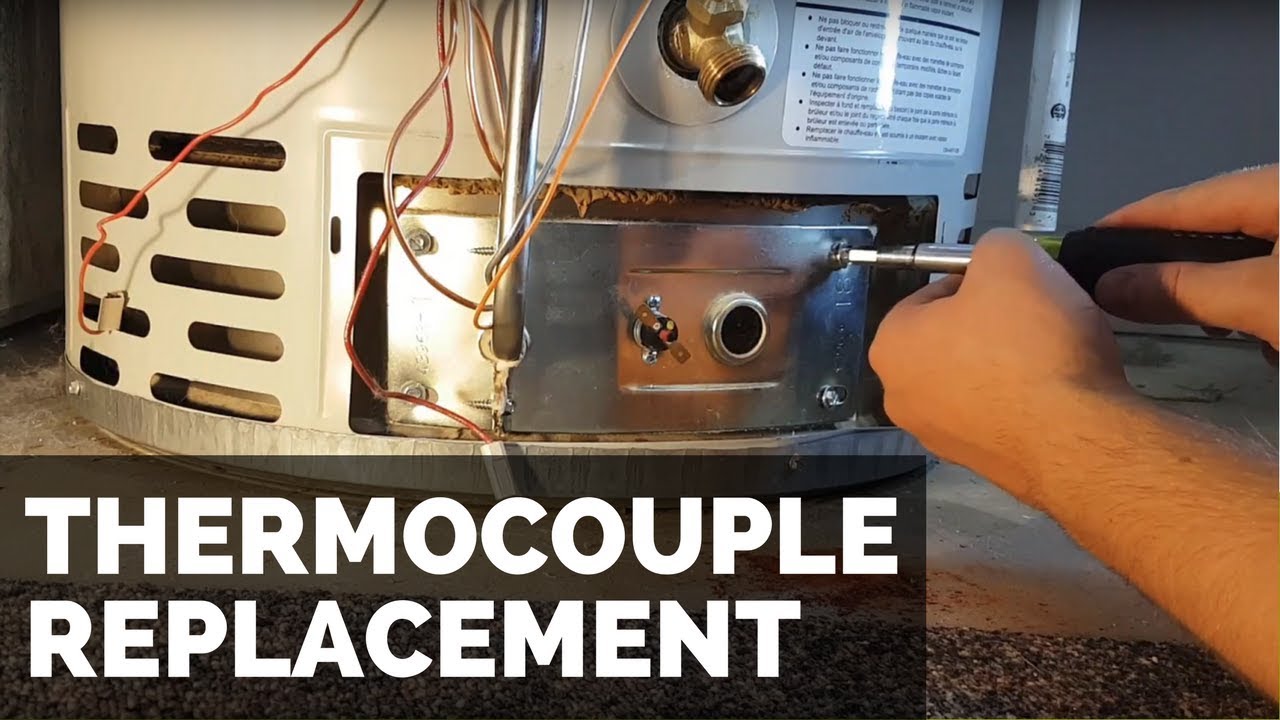
Locate the access panel on the front or side of the water heater. This panel usually covers the burner assembly and the thermocouple.
- Unscrew or unclip the access panel and carefully remove it.
- Use your flashlight to get a good view of the burner assembly. The thermocouple is a thin, copper rod that sits near the pilot light.
Step 2: Disconnect the Old Thermocouple
The thermocouple connects to the gas valve and the pilot light assembly. Here's how to disconnect it:
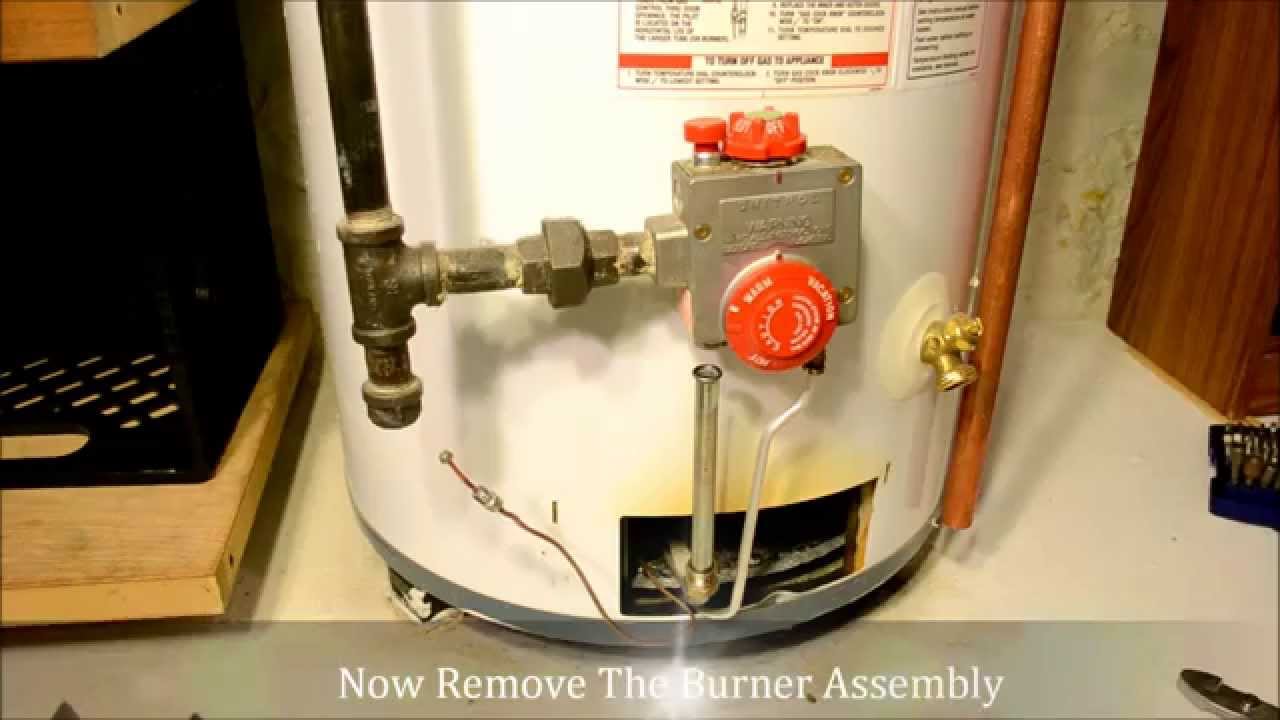
- Locate the connection to the gas valve: Follow the thermocouple from the pilot light back to the gas valve. It will be connected with a small nut.
- Apply penetrating oil (if necessary): If the nut is difficult to loosen, spray it with penetrating oil and wait a few minutes.
- Loosen the nut: Use an adjustable wrench to carefully loosen the nut. Be gentle, as you don't want to damage the gas valve.
- Disconnect from the pilot light assembly: The thermocouple is usually held in place near the pilot light by a small clip or bracket. Carefully remove the clip or bracket.
- Remove the old thermocouple: Once both connections are free, carefully pull the old thermocouple out of the water heater.
Step 3: Prepare the New Thermocouple
Before installing the new thermocouple, take a moment to prepare it:
- Clean the connections: Use a small wire brush or sandpaper to clean the threads on the gas valve where the thermocouple will connect. This will ensure a good connection.
Step 4: Install the New Thermocouple
Now it's time to install the new thermocouple:
- Insert the thermocouple into the pilot light assembly: Position the new thermocouple in the same location as the old one, securing it with the clip or bracket.
- Connect to the gas valve: Carefully thread the nut onto the gas valve. Tighten it snugly with the adjustable wrench, but don't overtighten. Overtightening can damage the gas valve.
- Ensure proper placement: Make sure the thermocouple is positioned correctly in relation to the pilot light. It should be directly in the flame.
Step 5: Relight the Pilot Light
Now it's time to relight the pilot light. Follow the instructions on the water heater's label or in the owner's manual. Generally, the process involves these steps:
- Turn the gas control knob to the "Pilot" setting.
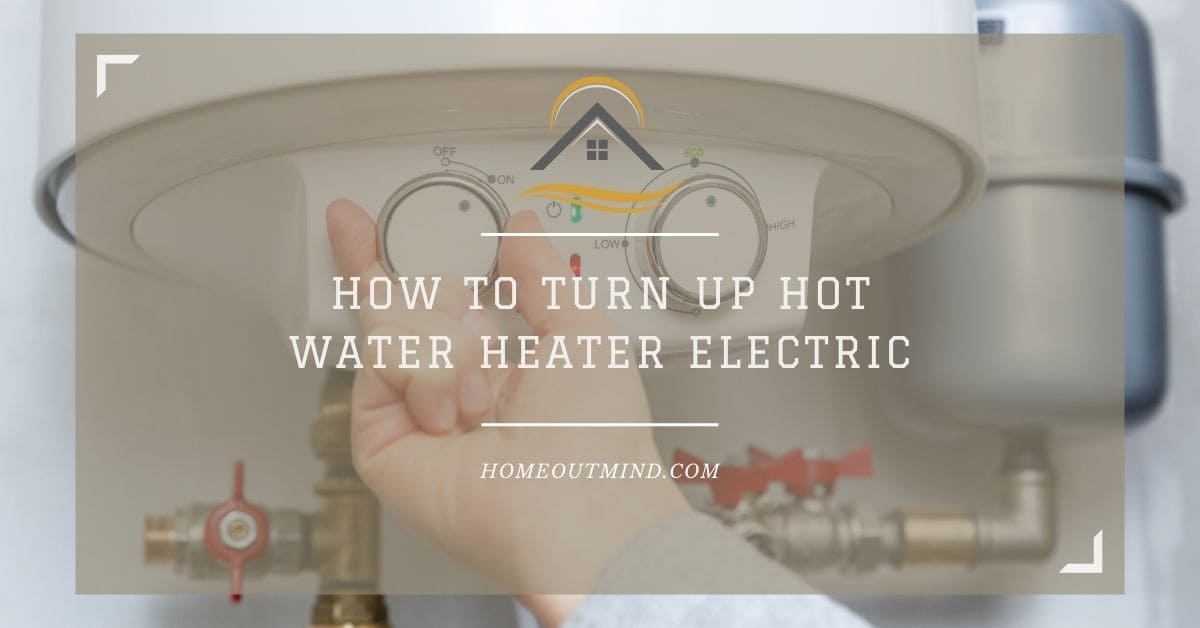
- Push and hold the reset button (usually located near the gas control knob).
- While holding the reset button, use a lighter or match to light the pilot light.
- Continue holding the reset button for 30-60 seconds.
- Release the reset button. If the pilot light stays lit, you've successfully relit it. If it goes out, repeat the process.
- Turn the gas control knob to the "On" setting.
Step 6: Verify Proper Operation
After relighting the pilot, observe the water heater for a few minutes to ensure it's working correctly.
- Make sure the pilot light stays lit.
- Listen for the main burner to ignite.
- Check for any gas leaks: Sniff around the gas valve and the thermocouple connection for any gas odors. If you smell gas, immediately turn off the gas supply and call a professional.
Step 7: Reassemble the Water Heater
Once you're confident that the water heater is working properly, reassemble it:
- Replace the access panel and secure it with the screws or clips.
- Turn the water supply back on.
- Wait for the water to heat up and test the hot water at a faucet.
When to Call a Professional
While replacing a thermocouple can be a straightforward DIY project, there are situations where it's best to call a professional:
- You smell gas: If you smell gas at any time during the process, immediately turn off the gas supply and call a qualified gas technician.
- The gas valve is damaged or corroded: Don't attempt to repair a damaged gas valve yourself. This is a safety hazard.
- You're uncomfortable working with gas: If you're not confident in your ability to safely work with gas, it's always best to err on the side of caution and call a professional.
- The problem persists after replacing the thermocouple: If you replace the thermocouple and the pilot light still won't stay lit, there may be a more serious problem with the water heater.
- The water heater is old or has other issues: If your water heater is nearing the end of its lifespan, it might be more cost-effective to replace the entire unit rather than continuing to repair it.
Tips for Preventing Thermocouple Problems
Here are a few tips to help prevent thermocouple problems and extend the life of your water heater:
- Flush the water heater regularly: Flushing the water heater removes sediment buildup, which can affect the thermocouple and other components.
- Inspect the pilot light regularly: Check the pilot light periodically to make sure it's burning cleanly and consistently. A weak or yellow flame can indicate a problem.
- Have your water heater professionally serviced: Schedule regular maintenance with a qualified plumber to ensure your water heater is operating safely and efficiently.
Beyond the Thermocouple: Other Potential Issues
If replacing the thermocouple doesn't solve your hot water woes, it's time to consider other potential problems:
- Gas Valve Issues: A faulty gas valve can prevent the burner from igniting or cause it to shut off prematurely. This requires professional diagnosis and repair.
- Burner Problems: A dirty or damaged burner can also cause ignition problems. The burner may need to be cleaned or replaced.
- Ventilation Issues: Proper ventilation is essential for safe and efficient water heater operation. Make sure the vent is clear of obstructions.
- Tank Issues: In older water heaters, the tank itself can rust and leak. If you notice any leaks, it's time to replace the water heater.
By following these steps, you can confidently troubleshoot your water heater and determine if a simple thermocouple replacement is the solution. Remember to prioritize safety and when in doubt, call a professional. With a little knowledge and effort, you can often restore your hot water supply and avoid a costly service call. Good luck, and enjoy those hot showers!

:max_bytes(150000):strip_icc()/replacing-water-heater-thermocouple-flame-sensor-1824918-01-5fa3905d42384c7abb3812897af7c9c1.jpg)
:max_bytes(150000):strip_icc()/replacing-water-heater-thermocouple-flame-sensor-1824918-06-ce04bc96a0cb4fcd8e16b7ab32afe434.jpg)
:max_bytes(150000):strip_icc()/replacing-water-heater-thermocouple-flame-sensor-1824918-07-a0910096ac3a411e893d3db079675bc9.jpg)
:max_bytes(150000):strip_icc()/replacing-water-heater-thermocouple-flame-sensor-1824918-08-105e4a3a48a3478f860647df6bd83f5d.jpg)

:max_bytes(150000):strip_icc()/replacing-water-heater-thermocouple-flame-sensor-1824918-hero-7ee1bb61d2a84355b3884424297996b4.jpg)