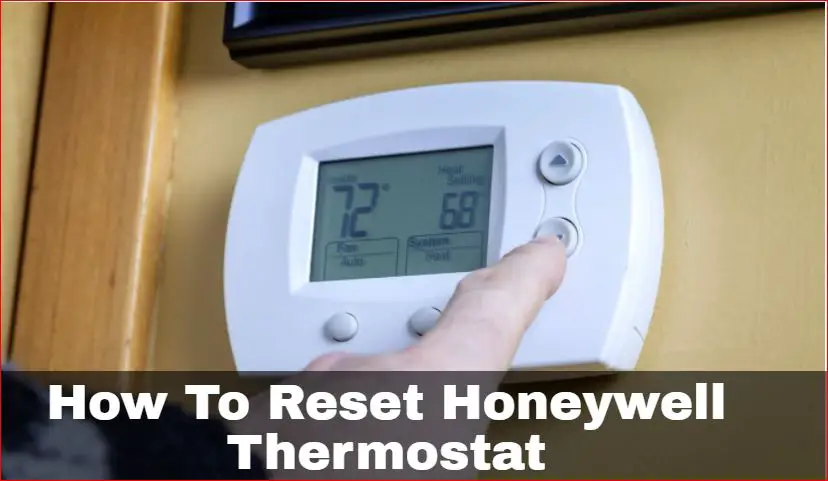
How To Change Air Conditioner Thermostat

The thermostat acts as the brain of your HVAC system, dictating when your air conditioner kicks on and off to maintain your desired indoor temperature. Whether you're upgrading to a smart thermostat, replacing a faulty unit, or simply changing the batteries, understanding how to safely and effectively change your air conditioner thermostat is crucial. This comprehensive guide provides step-by-step instructions and essential considerations for homeowners, HVAC technicians, and facility managers alike.
Preparation: Safety First and Gathering Supplies
Before touching anything, prioritize safety. Begin by turning off the power to your air conditioner at the circuit breaker. This prevents electrical shock during the process. Locate the breaker labeled "AC," "HVAC," or a similar designation. Flip it to the "off" position. If unsure, consult your electrical panel directory or call an electrician.
Next, gather your tools and materials. You'll likely need:
- A new thermostat (compatible with your system - see compatibility section below)
- A Phillips head screwdriver
- A small flathead screwdriver (for wiring terminals)
- Wire strippers (optional, but helpful)
- Pliers (needle-nose may be useful)
- A level
- A pencil or marker
- A digital multimeter (for testing voltage - recommended for technicians)
- A camera or smartphone (to document wiring)
- New batteries (if required by the new thermostat)
Step-by-Step: Removing the Old Thermostat
Step 1: Documentation is Key. Before disconnecting any wires, take a clear picture of the existing wiring configuration. This photo will serve as your reference point when connecting the new thermostat. Note the colors of the wires and the terminals they are connected to (e.g., R, Y, G, W, C). For example, you might see a red wire connected to the 'R' terminal, a yellow wire to the 'Y' terminal, and so on.
Step 2: Disconnecting the Wires. Carefully disconnect the wires from the old thermostat. Loosen the screws on the terminals with your screwdriver and gently pull the wires free. Avoid tugging on the wires. If the wires are frayed or damaged, use wire strippers to expose fresh wire. Some thermostats may use push-in connectors instead of screws. These often require you to press a small release tab to remove the wire. As you remove each wire, label it using small pieces of masking tape and a marker, matching the terminal designation (e.g., 'R', 'Y', 'G'). This is especially helpful if the wire colors are faded or difficult to distinguish.
Step 3: Removing the Mounting Plate. Once all wires are disconnected, remove the old thermostat's mounting plate from the wall. This is typically held in place by screws. Unscrew them and carefully remove the plate. Note the location of the screw holes, as you may need to reuse them for the new thermostat.
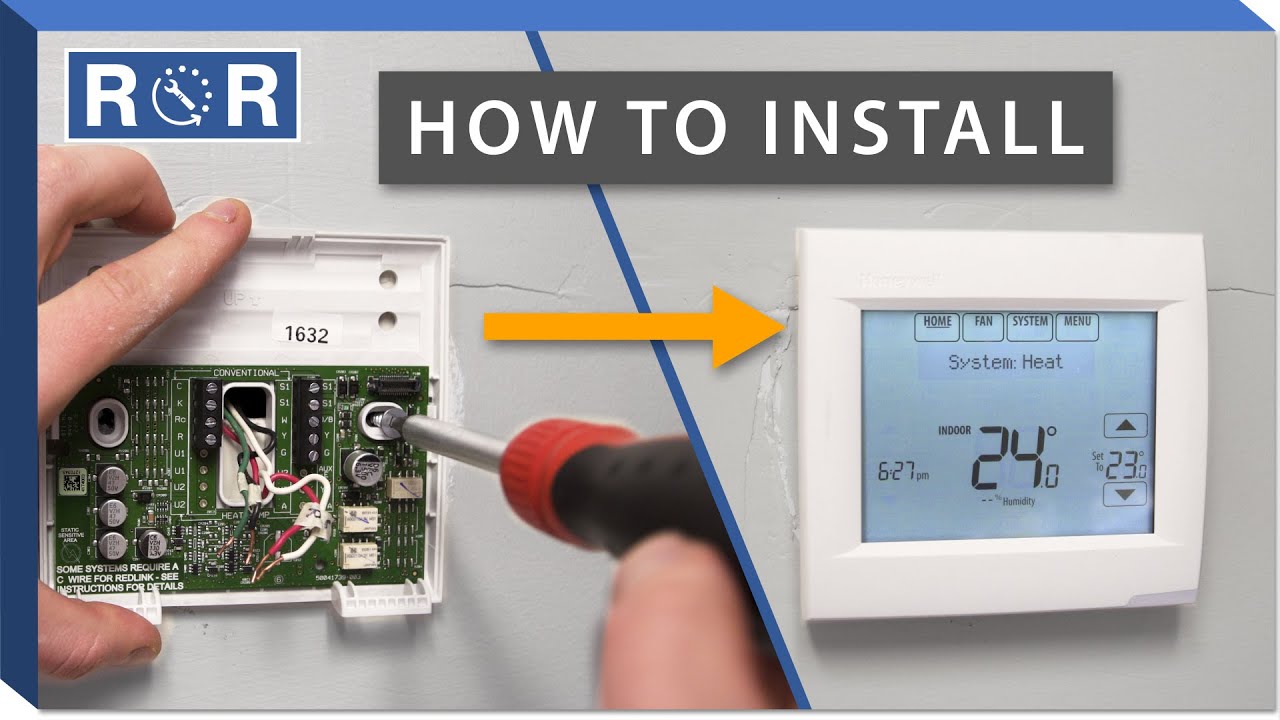
Step-by-Step: Installing the New Thermostat
Step 1: Mounting the New Plate. Position the new thermostat's mounting plate on the wall, using the old screw holes if possible. Use a level to ensure the plate is perfectly straight. Mark the screw hole locations with a pencil. If necessary, drill new holes (using appropriate anchors for drywall) and secure the mounting plate to the wall with screws.
Step 2: Connecting the Wires. Using your photo and the wire labels, connect the wires to the corresponding terminals on the new thermostat's mounting plate. Ensure each wire is securely fastened. Double-check that the connections match your original wiring diagram. A common mistake is misidentifying the 'C' wire (common wire), which is often required for smart thermostats to function correctly. If you don't have a 'C' wire, you may need to install one (which may require professional assistance) or use a thermostat designed to work without one.
Step 3: Attaching the Thermostat. Once all the wires are connected, carefully attach the thermostat unit to the mounting plate. Most thermostats simply snap into place. Ensure it is securely attached.
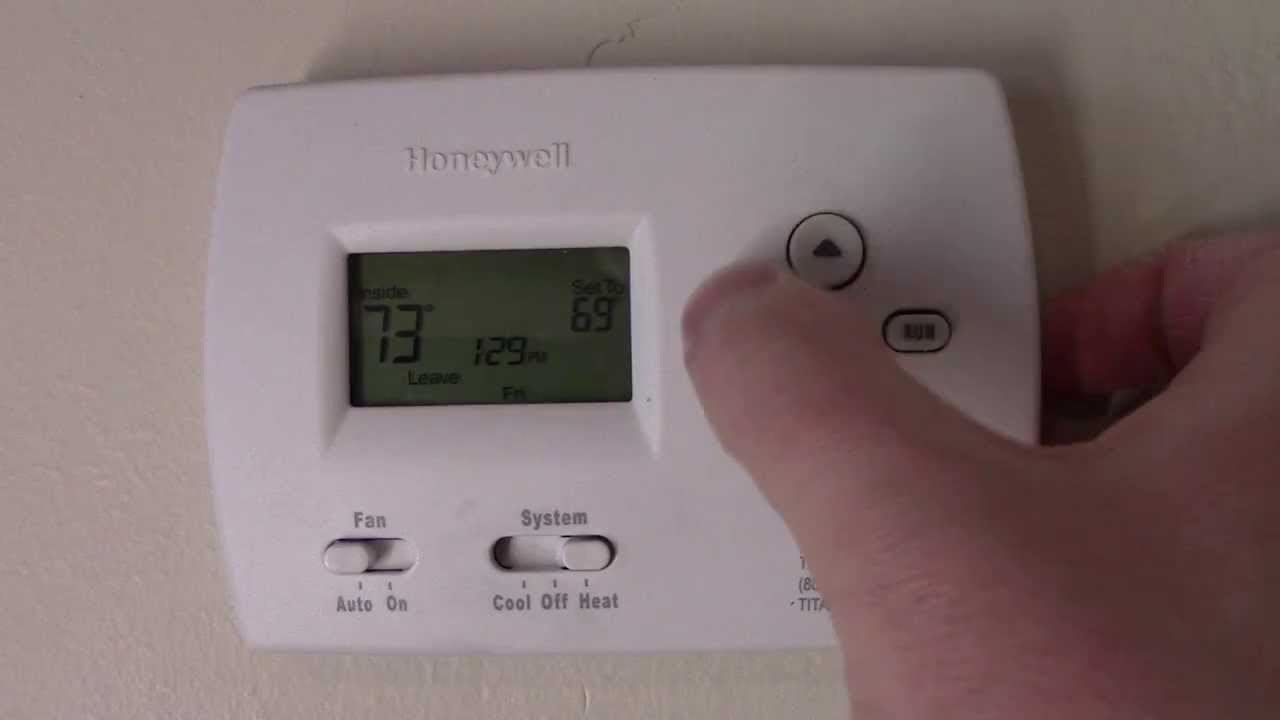
Step 4: Power Up and Test. Insert batteries if required. Turn the power back on to your air conditioner at the circuit breaker. Follow the thermostat's instructions to configure the settings, including the date, time, and desired temperature. Test the air conditioner by setting the thermostat to "cool" and a temperature lower than the current room temperature. Listen for the AC unit to engage. Check that cold air is flowing from the vents. Repeat the process to test the heating function (if applicable).
Thermostat Compatibility: A Crucial Consideration
Not all thermostats are created equal. Compatibility is key to proper operation. Before purchasing a new thermostat, verify that it is compatible with your air conditioner system. Key factors to consider include:
- Voltage: Most residential thermostats are low-voltage (24V). However, some older systems use line-voltage thermostats (120V or 240V). Using the wrong voltage thermostat can damage your system or create a safety hazard. If you are unsure, consult a qualified HVAC technician.
- System Type: Determine whether you have a single-stage, multi-stage, or heat pump system. The thermostat must be designed to control the specific type of system you have. Heat pumps require thermostats designed for heat pump operation.
- Wiring: Ensure the thermostat supports the wiring configuration of your existing system. Pay close attention to whether you have a 'C' wire (common wire). Many smart thermostats require a 'C' wire for power.
For example, a simple, single-stage air conditioner might only require connections for R, Y, and G wires. A more complex heat pump system with auxiliary heat could require additional connections for W, O/B, and possibly others. Consult the manufacturer's specifications for both your thermostat and your HVAC system to ensure compatibility.
Smart Thermostats: Features and Benefits
Smart thermostats offer a range of features that can improve energy efficiency and comfort. Some key benefits include:
- Remote Control: Adjust the temperature from your smartphone or tablet.
- Programmable Schedules: Create custom heating and cooling schedules to optimize energy usage.
- Learning Capabilities: Some smart thermostats learn your preferences and automatically adjust the temperature. For example, a Nest thermostat can learn when you typically leave for work and automatically lower the temperature to save energy.
- Energy Reporting: Track your energy consumption and identify areas for improvement.
- Geofencing: Automatically adjust the temperature based on your location.
- Voice Control: Control your thermostat with voice commands using Amazon Alexa or Google Assistant.
However, smart thermostats often come with a higher price tag and may require a 'C' wire connection. Consider these factors when making your decision.
Troubleshooting Common Issues
If your air conditioner is not working properly after installing a new thermostat, here are some common issues to check:
- Wiring Errors: Double-check all wiring connections against your original photo and the thermostat's wiring diagram. Ensure wires are securely connected to the correct terminals. A small error in wiring can prevent the system from working.
- Breaker Tripped: Ensure the circuit breaker is still in the "on" position.
- Thermostat Settings: Verify that the thermostat is set to "cool" and that the desired temperature is lower than the current room temperature.
- Battery Issues: If the thermostat is battery-powered, ensure the batteries are fresh and properly installed.
- Air Filter: A dirty air filter can restrict airflow and prevent the AC from cooling properly. Check and replace the air filter if necessary.
- Blown Fuse: Check the furnace (or air handler) for a blown fuse. These fuses are typically located on the control board.
If you've checked these common issues and your system is still not working, consult a qualified HVAC technician. Attempting to troubleshoot complex HVAC problems without proper knowledge and tools can be dangerous and may damage your equipment.
Cost Considerations
The cost of changing an air conditioner thermostat can vary depending on several factors:
- Thermostat Type: Basic thermostats can cost as little as $20, while smart thermostats can range from $100 to $300 or more.
- Professional Installation: If you hire an HVAC technician to install the thermostat, labor costs can range from $75 to $200 per hour. The total cost will depend on the complexity of the installation.
- 'C' Wire Installation: If your system does not have a 'C' wire and you want to install a smart thermostat that requires one, the cost of installing a 'C' wire can range from $100 to $300.
While DIY installation can save money, it's important to weigh the risks and benefits. If you are not comfortable working with electrical wiring, it's best to hire a professional.
Maintenance and Longevity
To ensure your thermostat operates reliably and efficiently, follow these maintenance tips:
- Replace Batteries Regularly: Replace the batteries in your thermostat at least once a year, or as recommended by the manufacturer.
- Clean the Thermostat: Dust and debris can accumulate inside the thermostat, affecting its accuracy. Clean the thermostat periodically with a soft, dry cloth.
- Schedule Regular HVAC Maintenance: Have your HVAC system professionally inspected and maintained at least once a year. This will help identify and address any potential problems before they become major issues.
The lifespan of a thermostat can vary depending on the quality of the unit and the operating conditions. However, most thermostats will last for 10 to 15 years. Smart thermostats may have a shorter lifespan due to their more complex electronics.
By following these guidelines, you can safely and effectively change your air conditioner thermostat and ensure that your HVAC system operates efficiently and reliably for years to come.