How To Change Filter For Air Conditioner
One of the most common household appliance failures is a malfunctioning air conditioner. Often, the simplest culprit is a dirty air filter. A clogged filter restricts airflow, forcing your AC unit to work harder, which leads to reduced cooling efficiency, increased energy bills, and potentially even damage to the unit itself. Fortunately, changing your air conditioner filter is a quick and easy DIY task that can prevent these problems and keep your home comfortable.
Troubleshooting Guide: How to Change Your Air Conditioner Filter
This guide provides a step-by-step approach to safely and effectively change your air conditioner filter. Remember, if at any point you feel uncomfortable or unsure about a step, or if the problem seems more complex than a simple filter change, it's always best to consult a qualified HVAC technician.
Step 1: Safety First! Turn Off the Power
Before you even think about touching your air conditioner, the most important step is to turn off the power to the unit. This prevents any risk of electrical shock. Here’s how:
- Locate the Circuit Breaker: Find the circuit breaker panel in your home (usually in the basement, garage, or utility room).
- Identify the AC Breaker: Look for the breaker labeled "Air Conditioner," "AC," or something similar. If you're unsure, consult the panel's directory.
- Switch Off the Breaker: Flip the breaker to the "Off" position. It's a good idea to double-check that the AC unit is indeed powered down by waiting a few minutes and listening for any fan noise or checking the thermostat to ensure it's no longer actively trying to cool.
Warning: Never work on electrical appliances without disconnecting the power supply first. If you're unsure how to locate and switch off the correct breaker, consult a qualified electrician.
Step 2: Locate Your Air Filter
The location of your air filter depends on the type of air conditioning system you have. Here are the most common locations:
- Central Air Conditioning: For central AC systems, the filter is usually located in one of the following places:
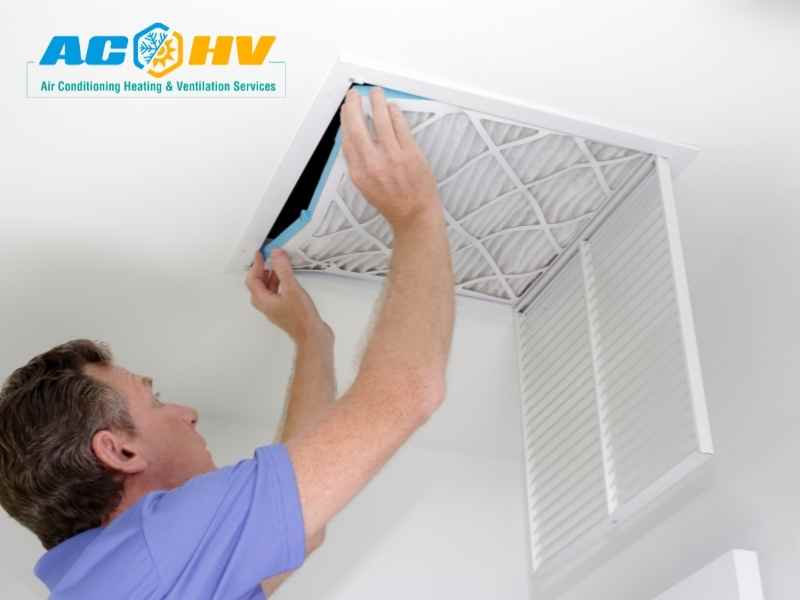
- The Return Air Vent: This is the most common location. The return air vent is a large grille (usually on a wall or ceiling) that draws air into the AC system. The filter is often located behind this grille.
- The Air Handler Unit: The air handler is the indoor unit of your central AC system, typically located in the attic, basement, or a closet. The filter might be located inside or near the air handler unit itself. Look for a slot or panel designed to hold the filter.
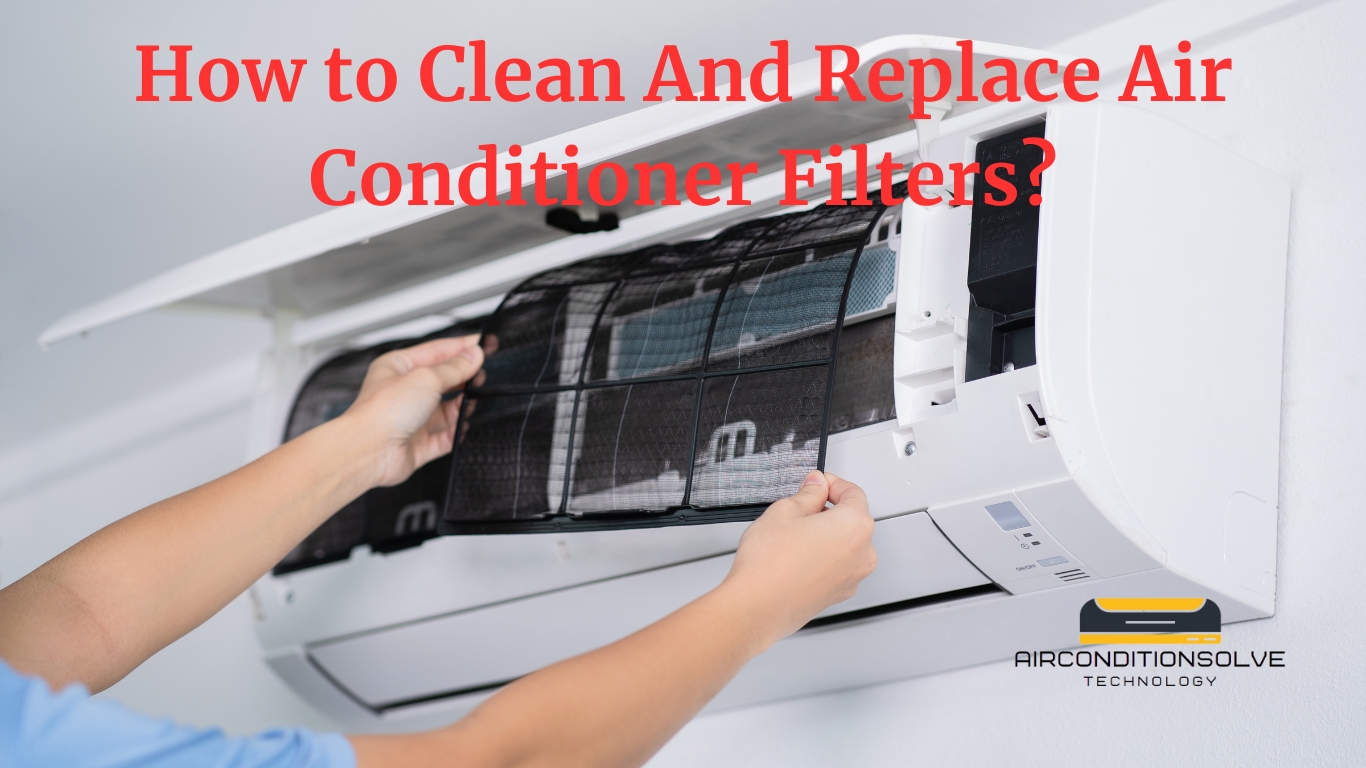
- Window Air Conditioner: The filter for a window AC unit is usually located behind the front grille. You'll need to remove the grille to access the filter.
- Wall Air Conditioner (Through-the-Wall): Similar to window units, the filter is typically behind the front grille.
If you're having trouble finding the filter, consult your air conditioner's owner's manual. The manual will provide specific instructions and diagrams for your particular model.
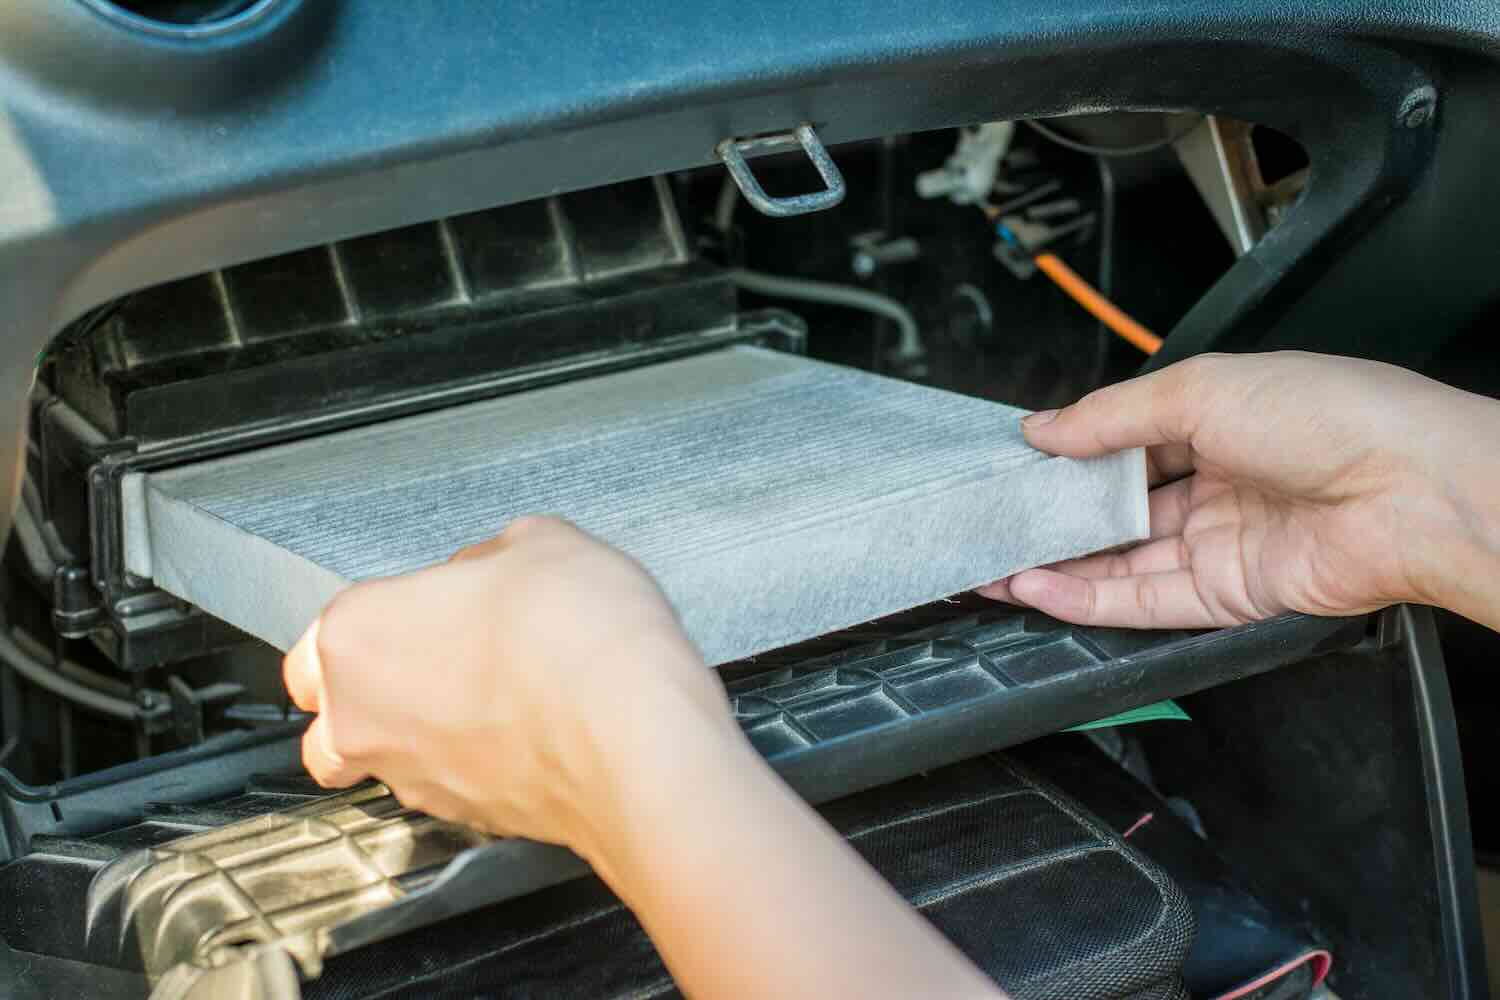
Step 3: Remove the Old Air Filter
Once you've located the filter, carefully remove it. Here's how:
- Open the Grille or Access Panel: For return air vents, you may need to unscrew or unclip the grille to access the filter. For air handlers, look for a designated access panel. Window and wall units typically have clips or latches that release the front grille.
- Note the Filter's Orientation: Pay close attention to the direction the old filter is facing. There's usually an arrow printed on the filter frame indicating the direction of airflow. This is crucial for installing the new filter correctly. You can even take a picture with your phone to be absolutely sure.
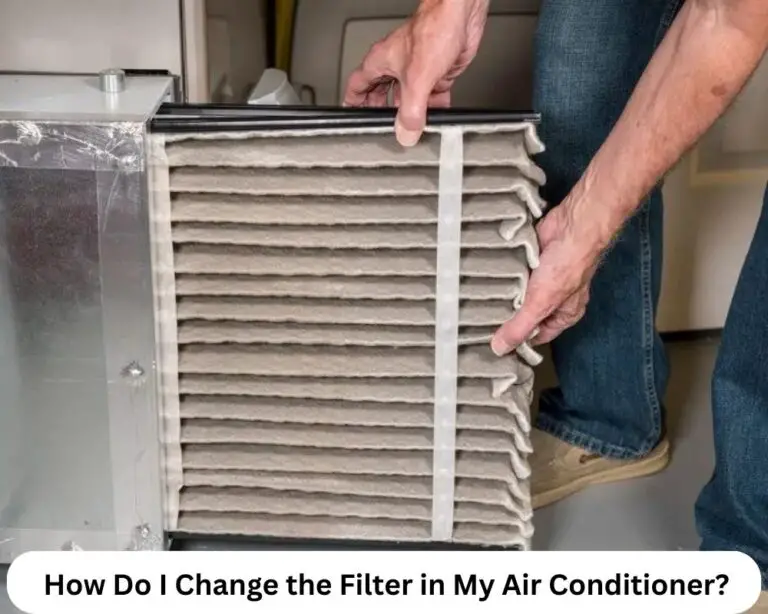
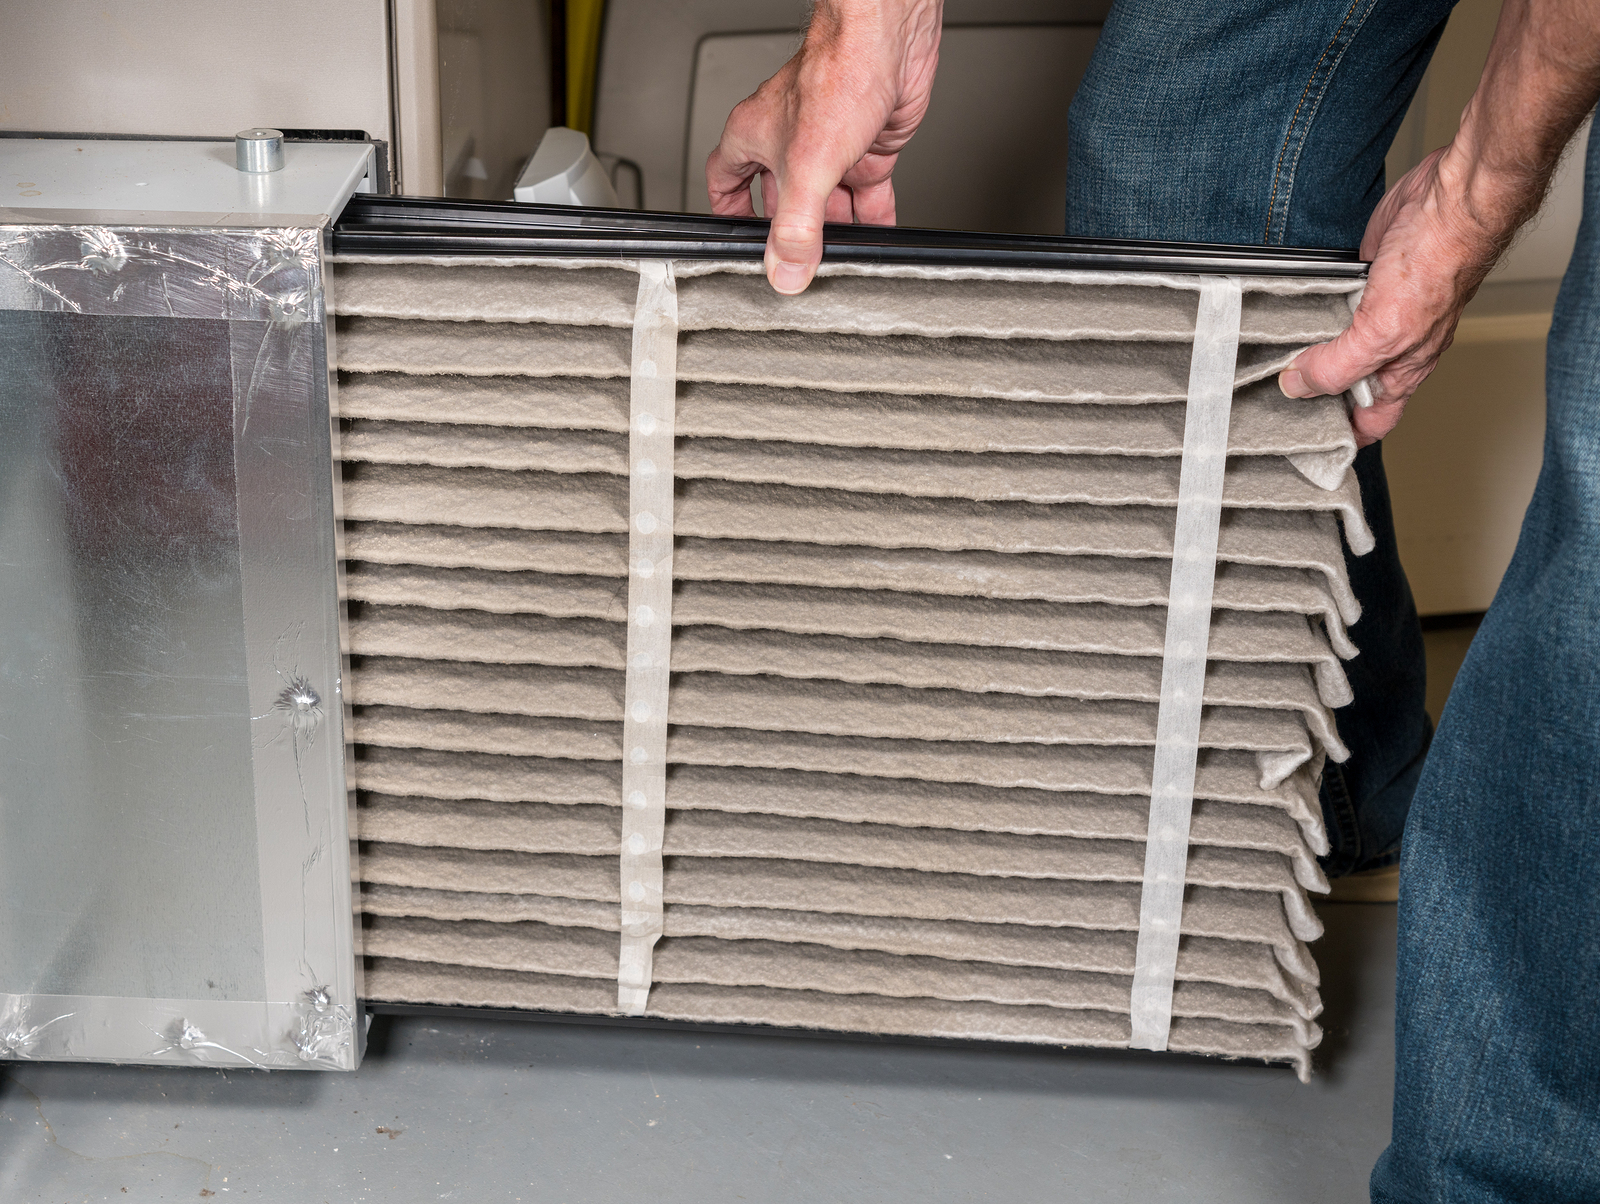
- Carefully Remove the Filter: Gently slide the old filter out of its slot. Be careful not to dislodge any accumulated dust or debris into the air ducts.
- Inspect the Old Filter: Take a look at the filter. Is it visibly clogged with dust, dirt, and other particles? A severely clogged filter is a clear sign that you need to change it more frequently.
Step 4: Clean the Filter Housing (Optional but Recommended)
While the filter is removed, take the opportunity to clean the filter housing. This helps prevent dust and debris from being drawn into the new filter immediately.
- Vacuum the Housing: Use a vacuum cleaner with a brush attachment to remove any loose dust and debris from the filter housing.
- Wipe Down Surfaces: If necessary, wipe down the surfaces of the filter housing with a damp cloth. Ensure the area is completely dry before installing the new filter.
Step 5: Choose the Correct Replacement Filter
Selecting the right replacement filter is essential for optimal performance and efficiency. Here's what to consider:
- Filter Size: This is the most important factor. The filter size is printed on the frame of the old filter (e.g., 16x25x1). Make sure the new filter matches the exact dimensions of the old one. Using the wrong size can allow air to bypass the filter, reducing its effectiveness and potentially damaging your AC unit.
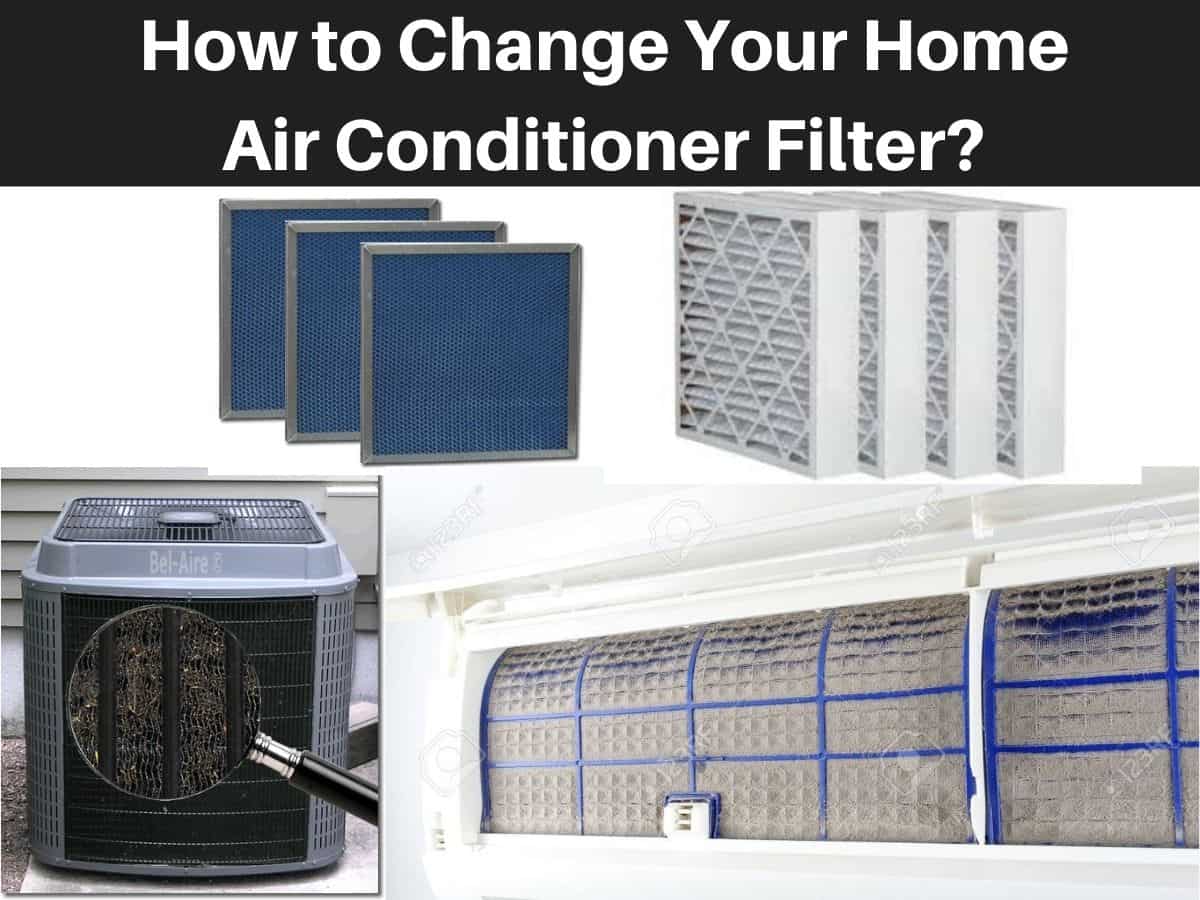
- Filter Type: Air filters are available in various types, including:
- Fiberglass Filters: These are the least expensive and provide basic filtration, primarily protecting the AC unit itself.
- Pleated Filters: These offer better filtration than fiberglass filters, capturing more dust, pollen, and other allergens. They are generally recommended for most homes.
- HEPA Filters: HEPA (High-Efficiency Particulate Air) filters provide the highest level of filtration, capturing even the smallest particles. They are often recommended for people with allergies or respiratory problems.
- MERV Rating: MERV (Minimum Efficiency Reporting Value) is a rating that indicates the filter's ability to capture particles. The higher the MERV rating, the more particles the filter can capture. For most homes, a MERV rating between 8 and 12 is adequate.
- Important Note: While a higher MERV rating means better filtration, it can also restrict airflow more. Check your AC unit's manual to ensure it can handle a high-MERV filter. Using a filter with too high a MERV rating can strain your AC unit and reduce its efficiency.
You can find replacement filters at most hardware stores, home improvement centers, and online retailers. When in doubt, bring your old filter with you to the store to ensure you get the correct replacement.
Step 6: Install the New Air Filter
Now it's time to install the new filter. This is usually a straightforward process, but it's important to do it correctly.
- Match the Airflow Direction: Remember the arrow on the old filter indicating the direction of airflow? Ensure the arrow on the new filter points in the same direction. This is crucial for proper filtration. The arrow should point towards the air handler or blower motor, indicating the direction the air flows when the system is running.
- Slide the Filter into Place: Carefully slide the new filter into the filter housing slot. Make sure it fits snugly and is properly seated.
- Replace the Grille or Access Panel: Secure the grille or access panel back into place, using the screws or clips you removed earlier.
Step 7: Restore Power and Test the System
Once you've installed the new filter, it's time to restore power to the AC unit and test the system.
- Switch On the Circuit Breaker: Flip the circuit breaker back to the "On" position.
- Turn On the AC: Set your thermostat to "Cool" and a temperature below the current room temperature.
- Listen for Normal Operation: Listen to the AC unit to ensure it's running smoothly and that the fan is blowing air.
- Check Airflow: Check the airflow from the vents in your home to ensure it's strong and consistent.
If the AC unit doesn't turn on or if you notice any unusual noises or smells, immediately turn off the power and consult a qualified HVAC technician. There may be a more serious problem that needs professional attention.
Step 8: Dispose of the Old Filter Properly
Dispose of the old air filter responsibly. Most air filters can be thrown away in your regular trash. However, if the filter is heavily soiled or contains hazardous materials (such as mold), you may need to dispose of it according to local regulations.
How Often Should You Change Your Air Filter?
The frequency with which you need to change your air filter depends on several factors, including:
- Type of Filter: Thicker, more efficient filters (like pleated filters) generally need to be changed more frequently than thinner fiberglass filters.
- Air Quality: If you live in an area with high levels of dust, pollen, or pollution, you'll need to change your filter more often.
- Pets: Homes with pets, especially those that shed a lot, will require more frequent filter changes.
- Occupancy: Homes with more occupants tend to generate more dust and debris, requiring more frequent filter changes.
As a general guideline, it's recommended to change your air filter every 1-3 months. However, it's best to check your filter monthly and replace it if it looks dirty or clogged. A good way to remember is to set a reminder on your phone or calendar.
When to Call a Professional
While changing your air filter is a simple DIY task, there are certain situations where it's best to call a qualified HVAC technician:
- You're Uncomfortable Working with Electricity: If you're not comfortable locating and switching off the circuit breaker, or if you have any doubts about electrical safety, it's best to leave the job to a professional.
- You Can't Locate the Filter: If you've tried to find the filter but are unable to locate it, a technician can help you identify its location.
- The AC Unit Doesn't Turn On After Changing the Filter: If the AC unit doesn't turn on after you've changed the filter, there may be a more serious problem that needs professional diagnosis and repair.
- You Notice Unusual Noises or Smells: If you notice any unusual noises or smells coming from the AC unit, such as burning smells or loud banging noises, turn off the power and call a technician immediately.
- The AC Unit is Leaking Refrigerant: If you suspect that the AC unit is leaking refrigerant (a sweet, oily smell), do not attempt to repair it yourself. Refrigerant leaks can be harmful to your health and the environment and should be handled by a licensed professional.
By following these steps, you can easily and safely change your air conditioner filter, improving your home's air quality, reducing energy costs, and extending the life of your AC unit. Remember to prioritize safety and don't hesitate to call a professional if you're unsure about any part of the process.