How To Change Home Air Filter In Ceiling

Changing Your Ceiling Air Filter: A Step-by-Step Guide
Changing your air filter is one of the easiest and most important things you can do to maintain your home's HVAC system and improve indoor air quality. This guide will walk you through the process, specifically focusing on ceiling-mounted air filters.
Before You Begin
Changing your air filter regularly improves energy efficiency, extends the life of your HVAC system, and reduces airborne allergens and dust. A dirty air filter forces your system to work harder, potentially leading to costly repairs down the line.
Safety First! Before starting any HVAC maintenance, turn off the power to your HVAC system at the breaker box. This prevents electrical shock and ensures your safety. If you're uncomfortable working with electricity, consult a qualified HVAC technician.
Tools and Materials You'll Need
- New air filter (correct size - see below)
- Step ladder or sturdy stool
- Screwdriver (usually Phillips head, but may vary)
- Vacuum cleaner or brush
- Gloves (optional, for handling dirty filters)
- Safety glasses (optional, but recommended)
Finding the Right Air Filter
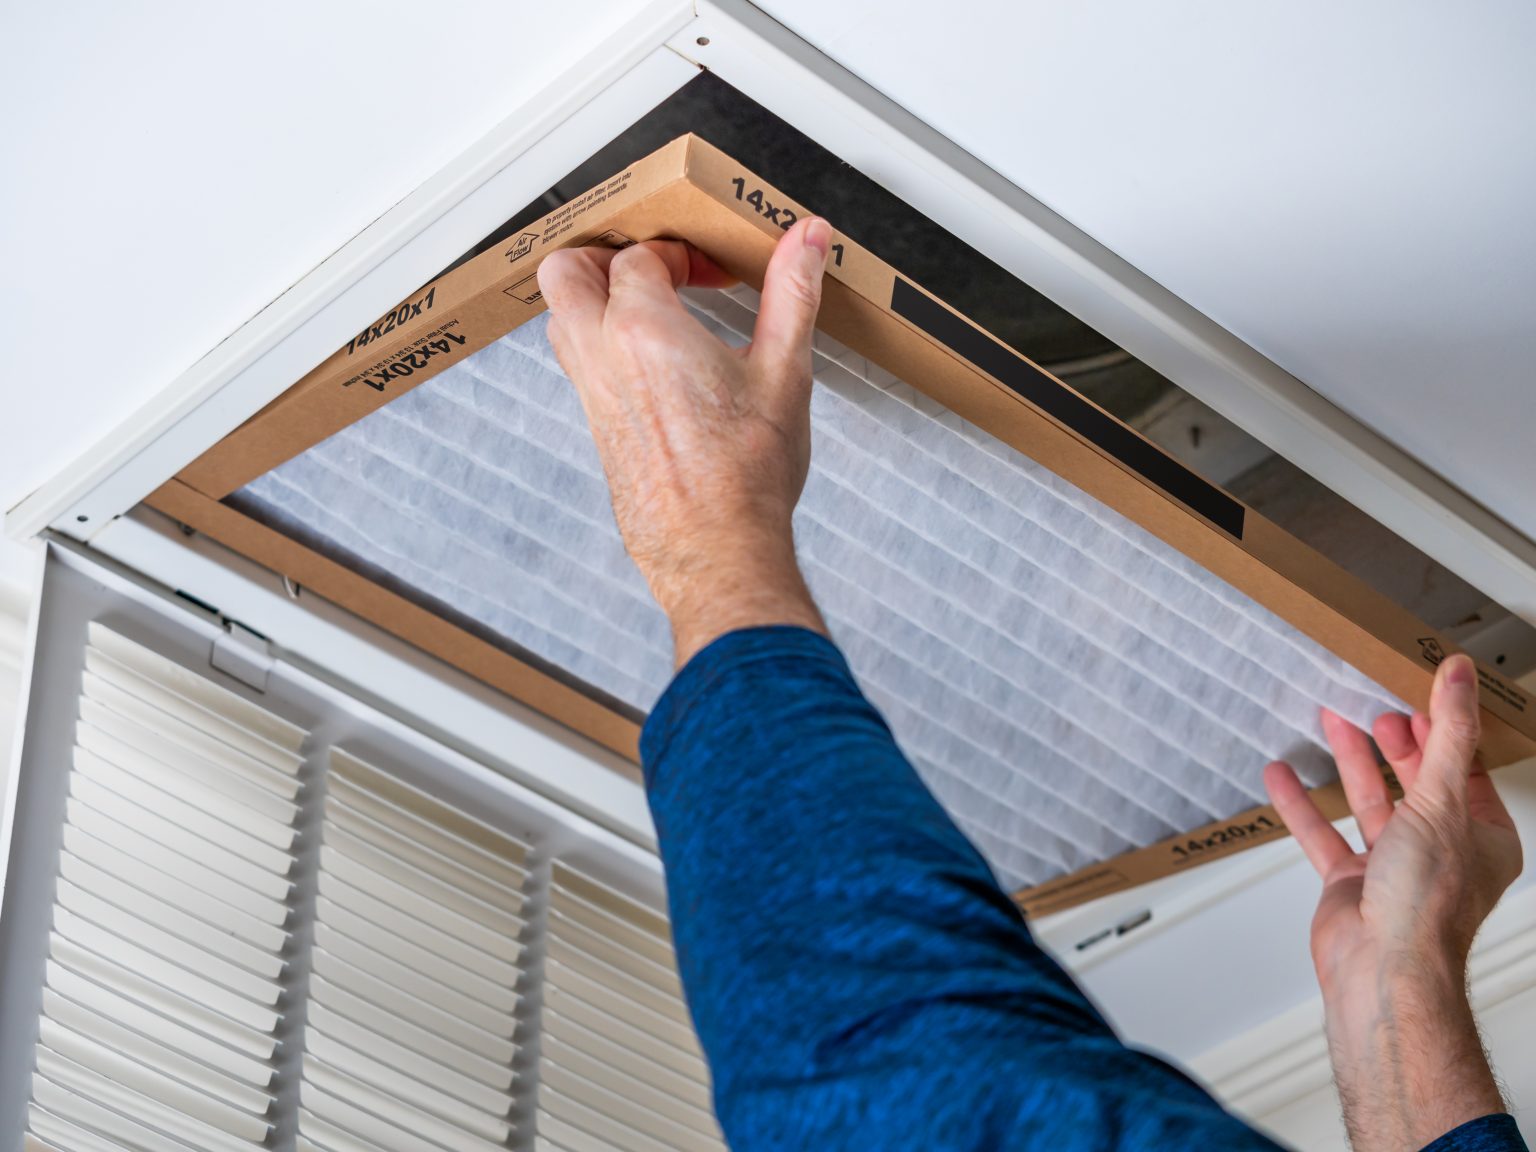
The most crucial step is selecting the correct air filter size. Check the existing filter for its dimensions (length x width x depth), usually printed on the filter frame. If you don't have the old filter, consult your HVAC system's manual or measure the filter housing in the ceiling unit. Common sizes include 16x25x1, 20x20x1, and 14x25x1. Using the wrong size filter can negatively impact airflow and system performance.
Consider the MERV (Minimum Efficiency Reporting Value) rating. MERV ratings range from 1 to 20. Higher MERV ratings filter out smaller particles, but they can also restrict airflow. A MERV rating between 8 and 13 is generally recommended for residential use. If you or someone in your family suffers from allergies or asthma, a higher MERV rating might be beneficial, but check your system's specifications to ensure compatibility.
Step-by-Step Instructions
- Turn Off the Power: Locate the circuit breaker that controls your HVAC system and switch it to the "off" position. Double-check that the system is completely powered down.
- Prepare the Area: Position your step ladder or stool securely beneath the ceiling filter housing. Ensure you have enough space to work comfortably and safely.
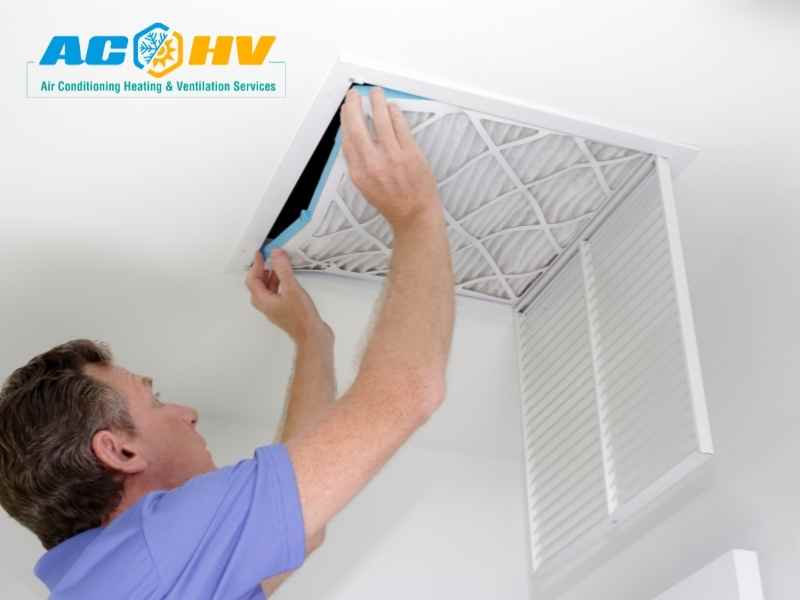
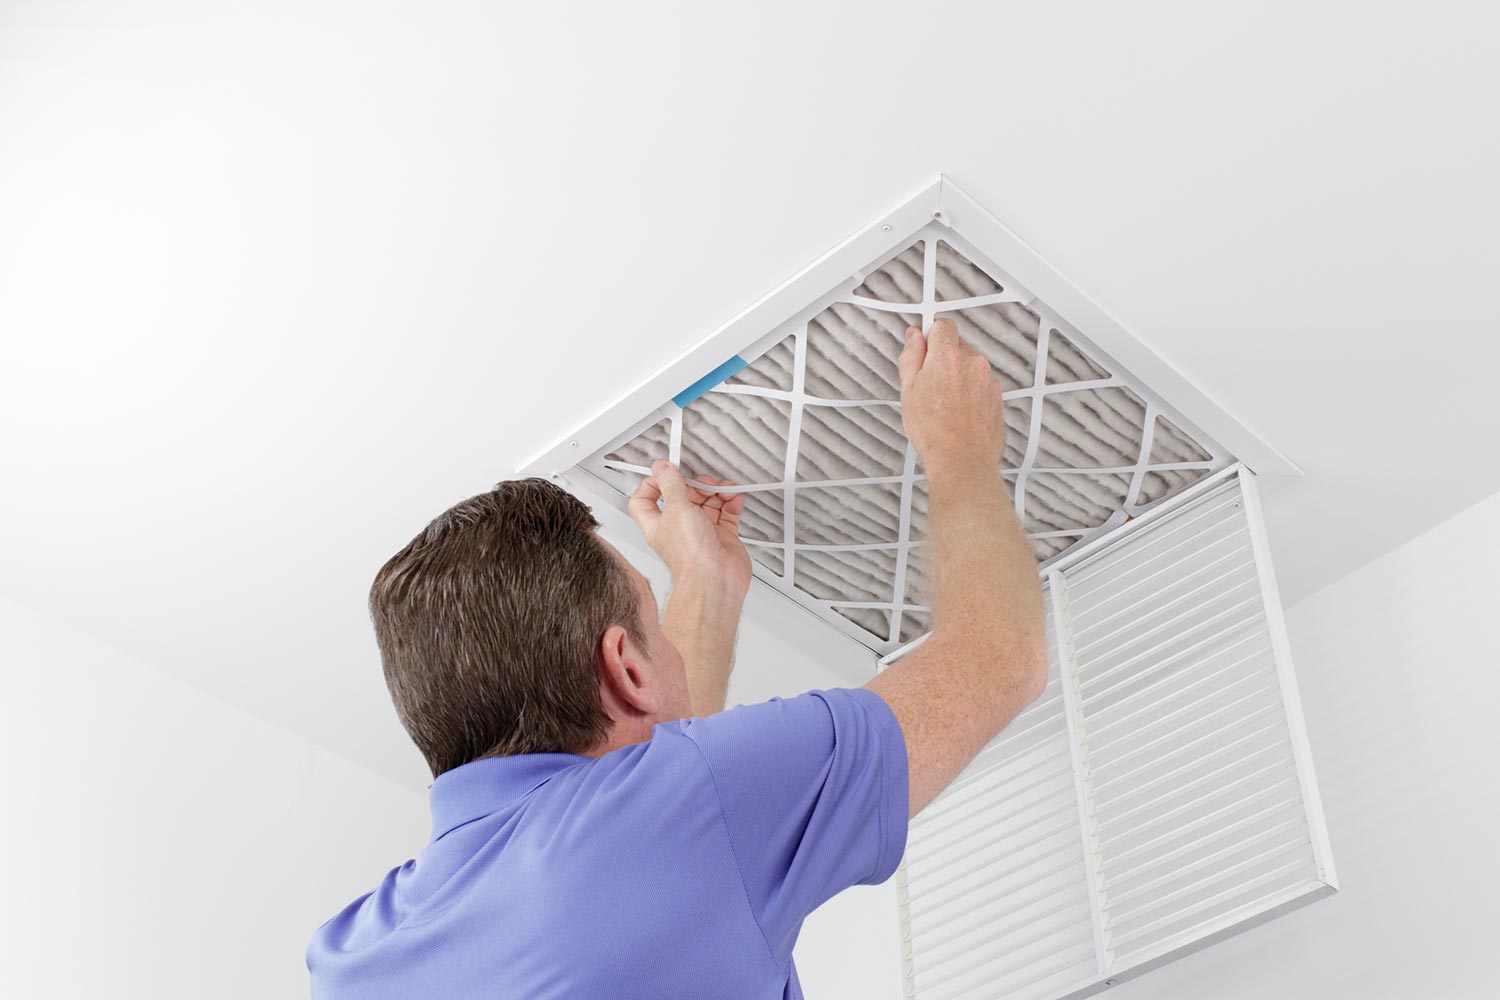
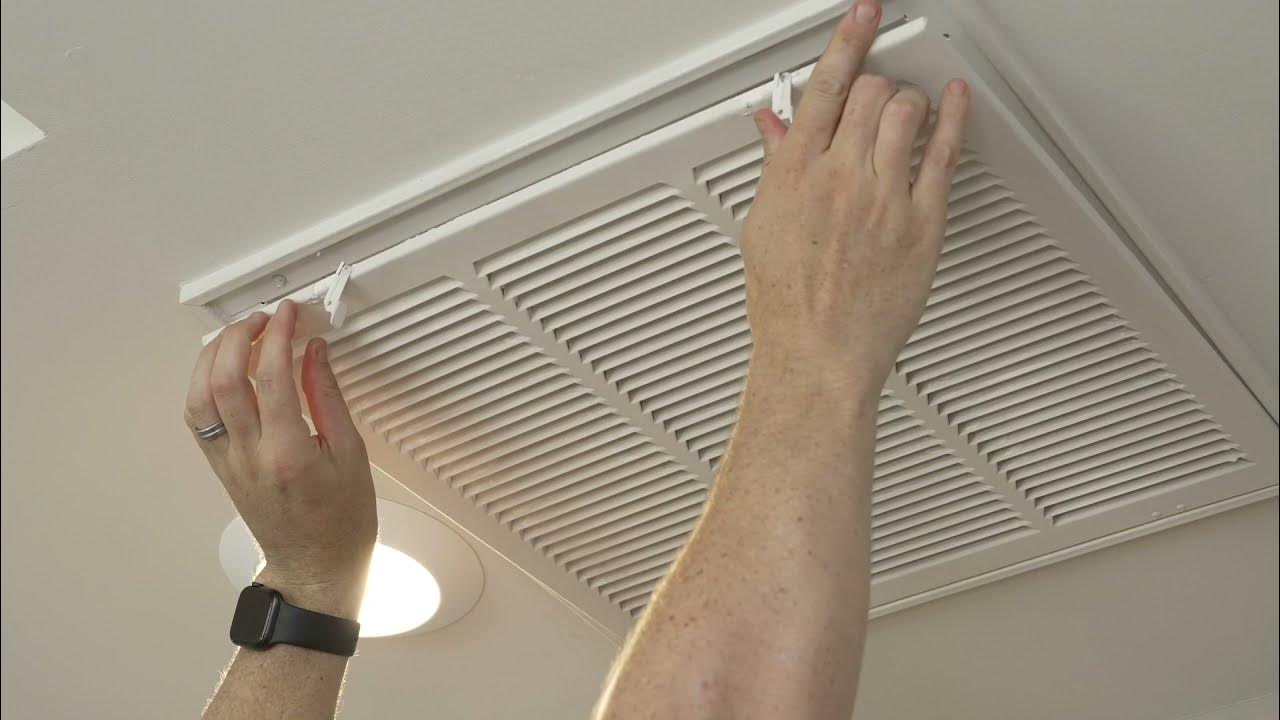
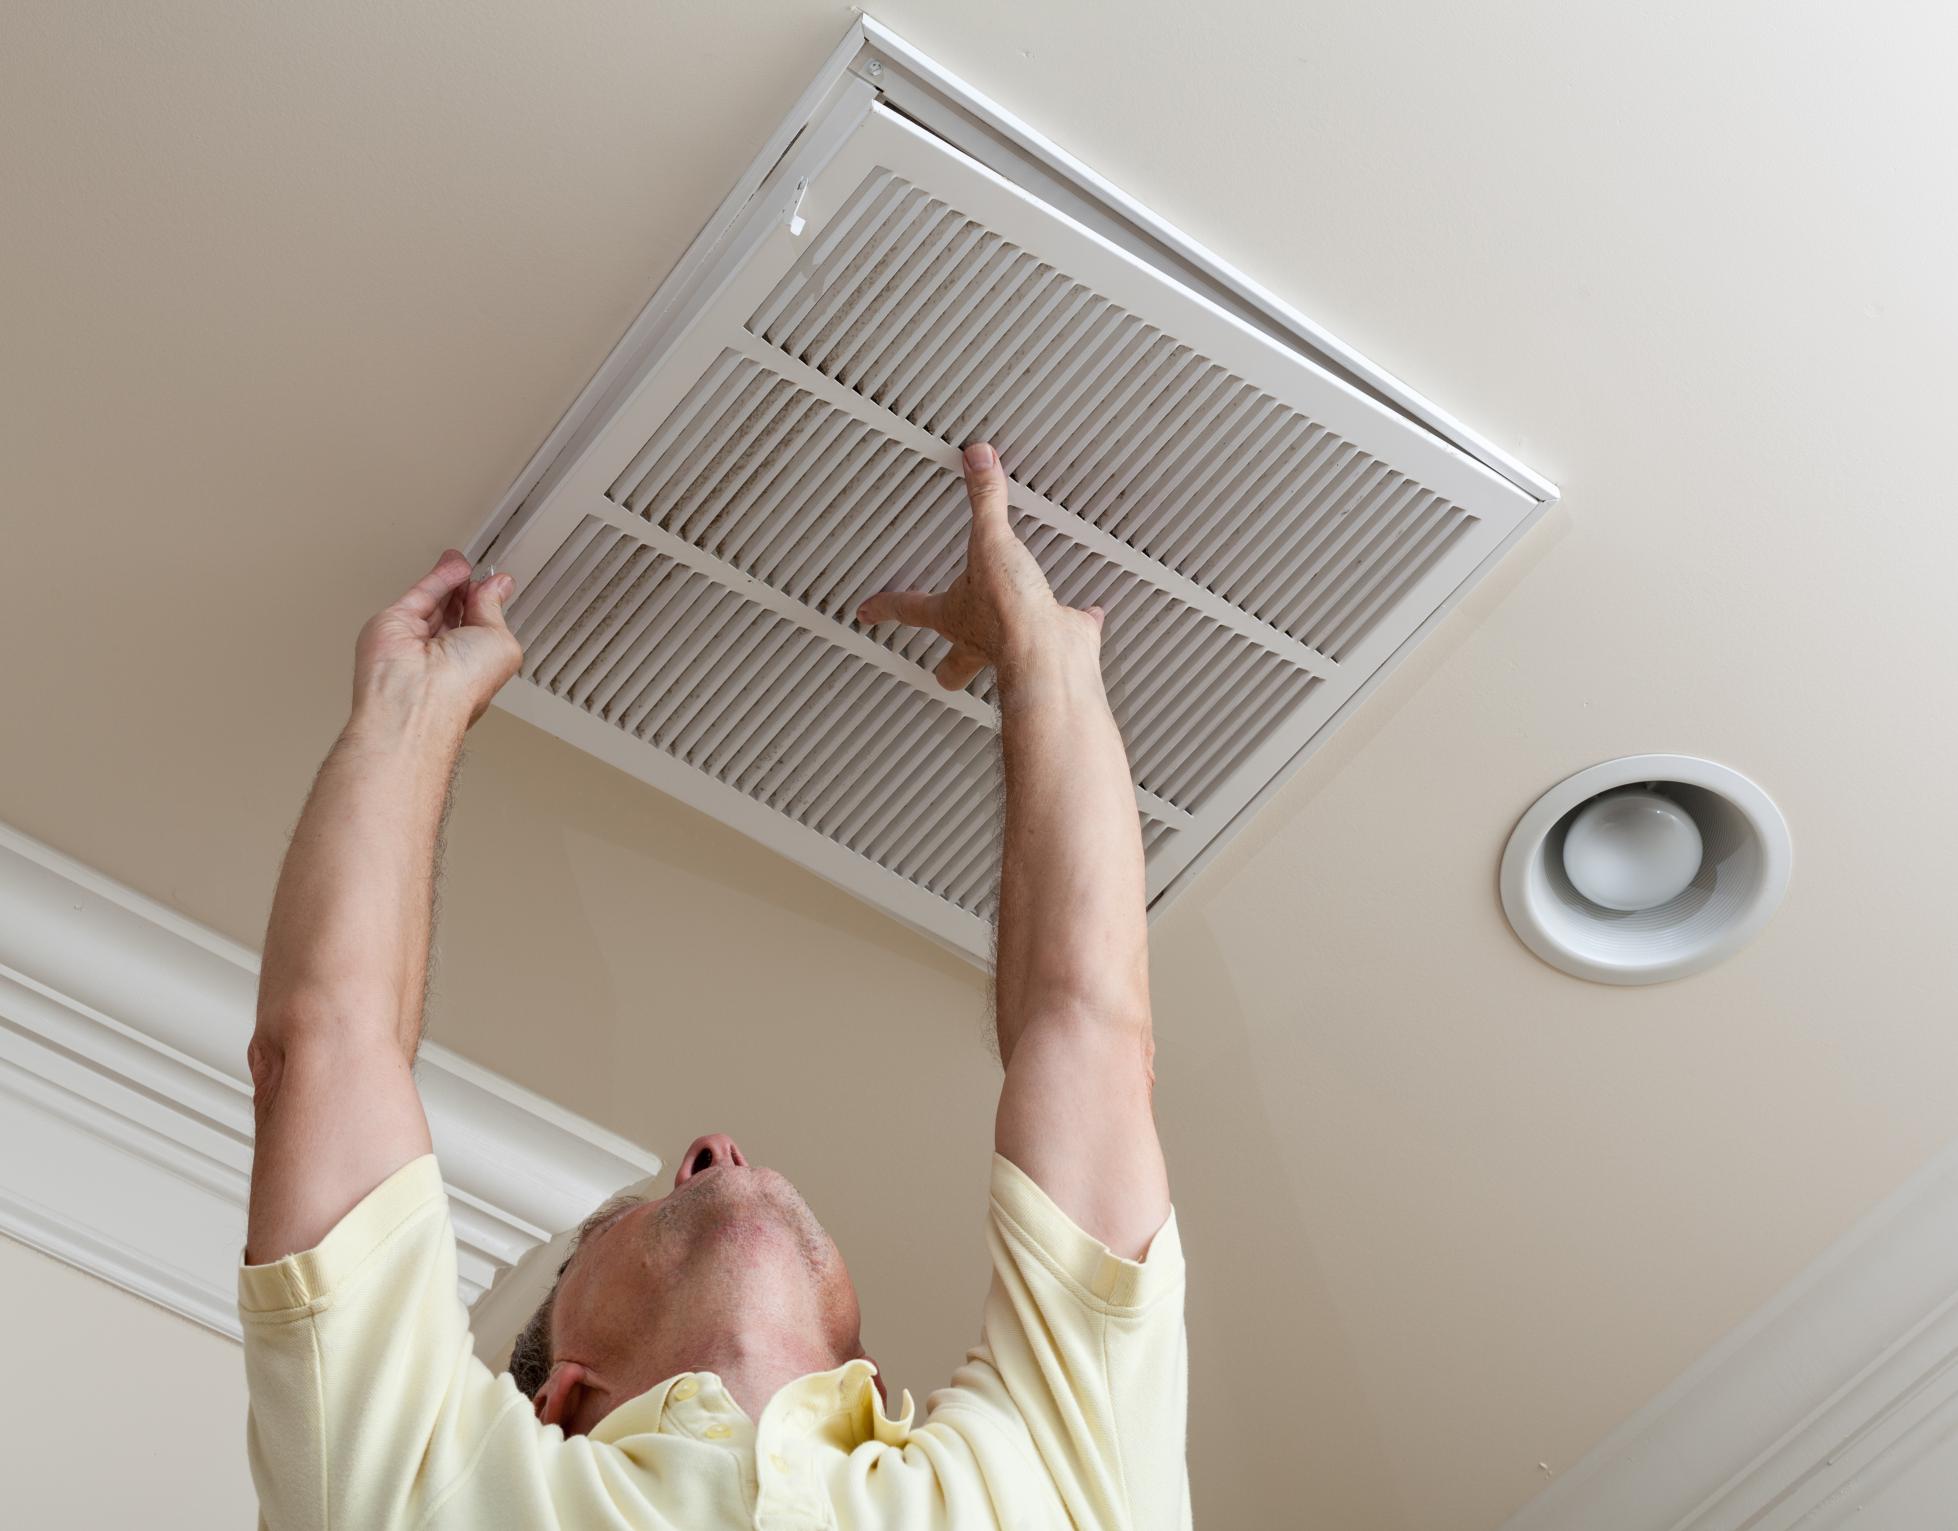
- Access the Filter Housing: Most ceiling filter housings are secured with screws or clips. Use a screwdriver to remove the screws or carefully release the clips. The housing door should now swing open or be removable. Some housings have a latch mechanism instead of screws.
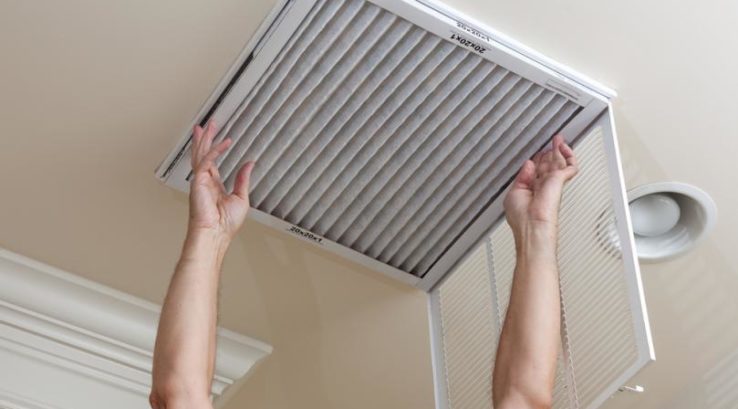
- Remove the Old Filter: Carefully slide the old air filter out of the housing. Be mindful of any accumulated dust or debris that might fall.
- Inspect the Filter: Take a look at the old filter. The amount of dust and debris will give you an indication of how often you should be changing your filter.
- Clean the Filter Housing: Use a vacuum cleaner or brush to remove any dust or debris from the filter housing. This will prevent the new filter from becoming contaminated prematurely.
- Insert the New Filter: Pay close attention to the airflow direction arrows printed on the new filter frame. These arrows indicate the direction of airflow through your HVAC system. Align the arrows on the filter with the airflow direction in the housing. Slide the new filter into the housing.
- Close and Secure the Housing: Replace the housing door and secure it with the screws or clips you removed earlier. Ensure the door is properly closed and sealed to prevent air leaks.
- Restore Power: Return to the breaker box and switch the HVAC system's circuit breaker back to the "on" position.
- Test the System: Turn on your HVAC system and verify that it's operating correctly. Listen for any unusual noises and check for proper airflow from the vents.
Air Filter Change Frequency
How often you change your air filter depends on several factors, including: number of occupants, pets, allergies, and the air quality in your area. As a general guideline, change your filter every 1-3 months. If you have pets, allergies, or live in a dusty environment, you may need to change it more frequently. Inspect your filter monthly to determine its condition. A visibly dirty filter should be replaced immediately.
Common Issues and Troubleshooting
- Difficulty Removing the Old Filter: If the old filter is stuck, try gently wiggling it back and forth to loosen it. Avoid forcing it, as this could damage the filter housing.
- Incorrect Filter Size: Double-check the dimensions of the new filter before attempting to install it. If it's too large, it won't fit. If it's too small, it won't seal properly, allowing unfiltered air to bypass the filter.
- Loose or Damaged Housing: If the filter housing is loose or damaged, it may need to be repaired or replaced. Contact an HVAC professional for assistance.
- Increased Energy Bills: A dirty air filter can cause your HVAC system to work harder, leading to higher energy bills. Regularly changing your filter can help improve energy efficiency.
When to Call a Professional
While changing your air filter is a simple task, there are situations where it's best to call a qualified HVAC technician:
- You are uncomfortable working with electricity.
- You are unable to access the filter housing safely.
- The filter housing is damaged or difficult to open.
- You notice any unusual noises or smells coming from your HVAC system.
- Your HVAC system is not functioning properly after changing the filter.
- You suspect a more complex HVAC problem.
Understanding Repair Costs
Replacing an air filter is a relatively inexpensive maintenance task. The cost of a new air filter typically ranges from $5 to $30, depending on the size, MERV rating, and brand. Professional HVAC service calls can range from $75 to $200 per hour, so DIY filter replacement can save you money. However, if you encounter any complications or suspect a larger problem, it's always best to consult a professional.
Warning: Improperly installing an air filter or attempting complex HVAC repairs can void your system's warranty and potentially cause further damage. Always follow safety precautions and consult a qualified technician when necessary.
Choosing the Right Air Filter: MERV Ratings Explained
The MERV (Minimum Efficiency Reporting Value) rating of an air filter indicates its ability to capture particles of different sizes. Understanding MERV ratings can help you choose the best filter for your needs.
- MERV 1-4: These filters are basic and primarily capture large particles like dust, pollen, and carpet fibers. They offer minimal filtration and are suitable for systems where airflow is a primary concern.
- MERV 5-8: These filters offer improved filtration, capturing smaller particles like mold spores and pet dander. They are a good option for general residential use.
- MERV 9-12: These filters provide even better filtration, capturing particles like smog and fine dust. They are suitable for individuals with mild allergies or asthma.
- MERV 13-16: These filters offer high-level filtration, capturing particles like bacteria and viruses. They are often used in hospitals and medical facilities. However, they can significantly restrict airflow and may not be suitable for all HVAC systems.
- MERV 17-20: These filters are HEPA filters and are capable of capturing extremely small particles. They are typically used in specialized applications and require high-powered HVAC systems.
When selecting a MERV rating, consider your individual needs and your HVAC system's capabilities. A higher MERV rating may improve air quality but can also reduce airflow and strain your system. Consult your HVAC system's manual or an HVAC professional for recommendations.
Extending the Life of Your HVAC System
Regular air filter replacement is just one aspect of maintaining a healthy HVAC system. Consider these additional tips:
- Schedule regular HVAC maintenance: Have your system inspected and serviced by a qualified technician at least once a year.
- Keep your outdoor unit clean: Remove any debris, such as leaves and branches, from around the outdoor unit.
- Ensure proper ventilation: Use exhaust fans in bathrooms and kitchens to remove excess moisture and pollutants.
- Seal air leaks: Seal any air leaks around windows, doors, and pipes to improve energy efficiency.
- Consider upgrading your thermostat: A programmable thermostat can help you save energy by automatically adjusting the temperature based on your schedule.
By following these tips, you can extend the life of your HVAC system and maintain a comfortable and healthy home environment.
Disclaimer: This guide is for informational purposes only and should not be considered a substitute for professional HVAC advice. Always follow safety precautions and consult a qualified technician when necessary.