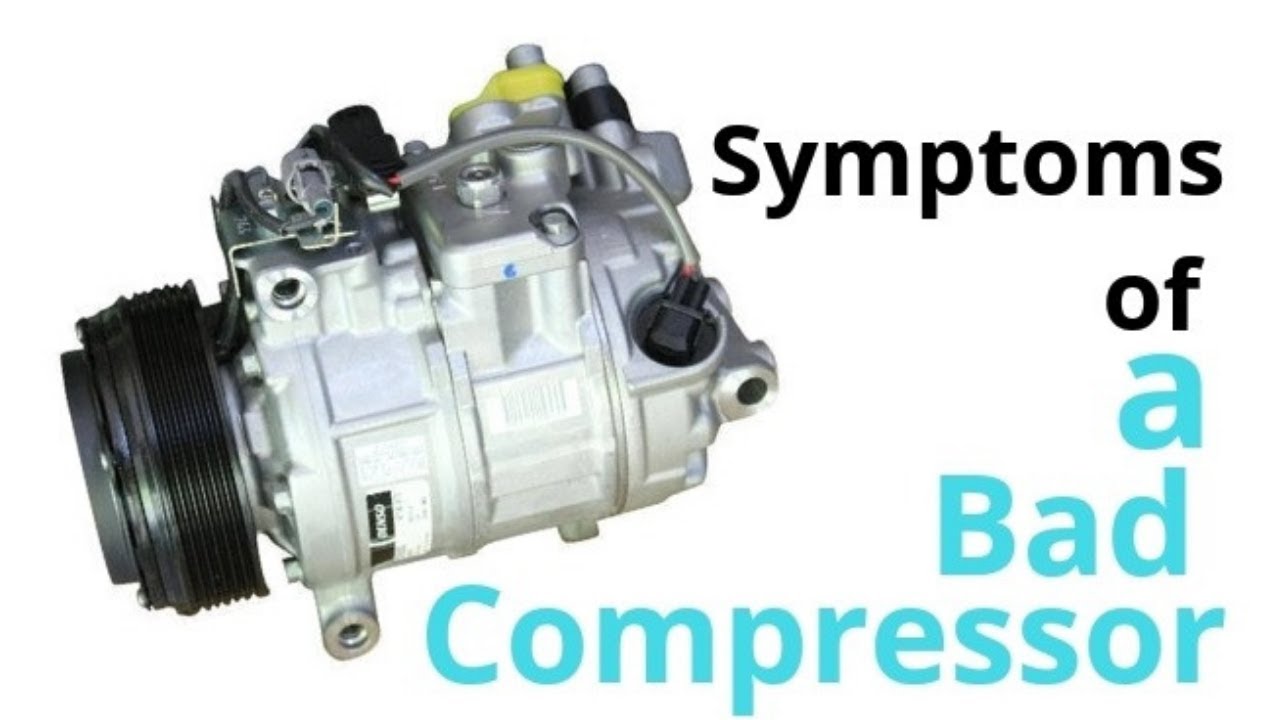
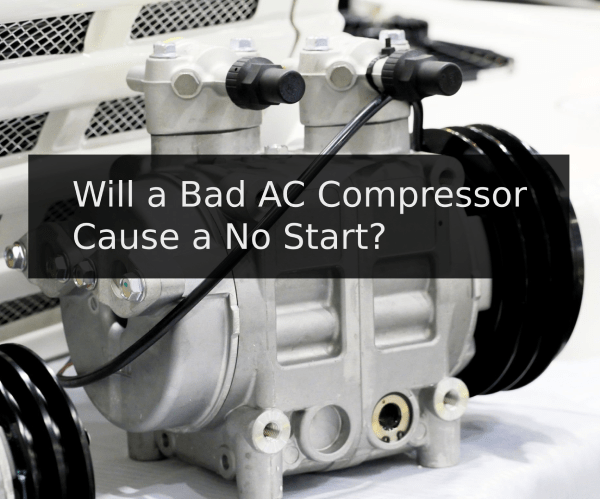
How To Check A Bad Compressor
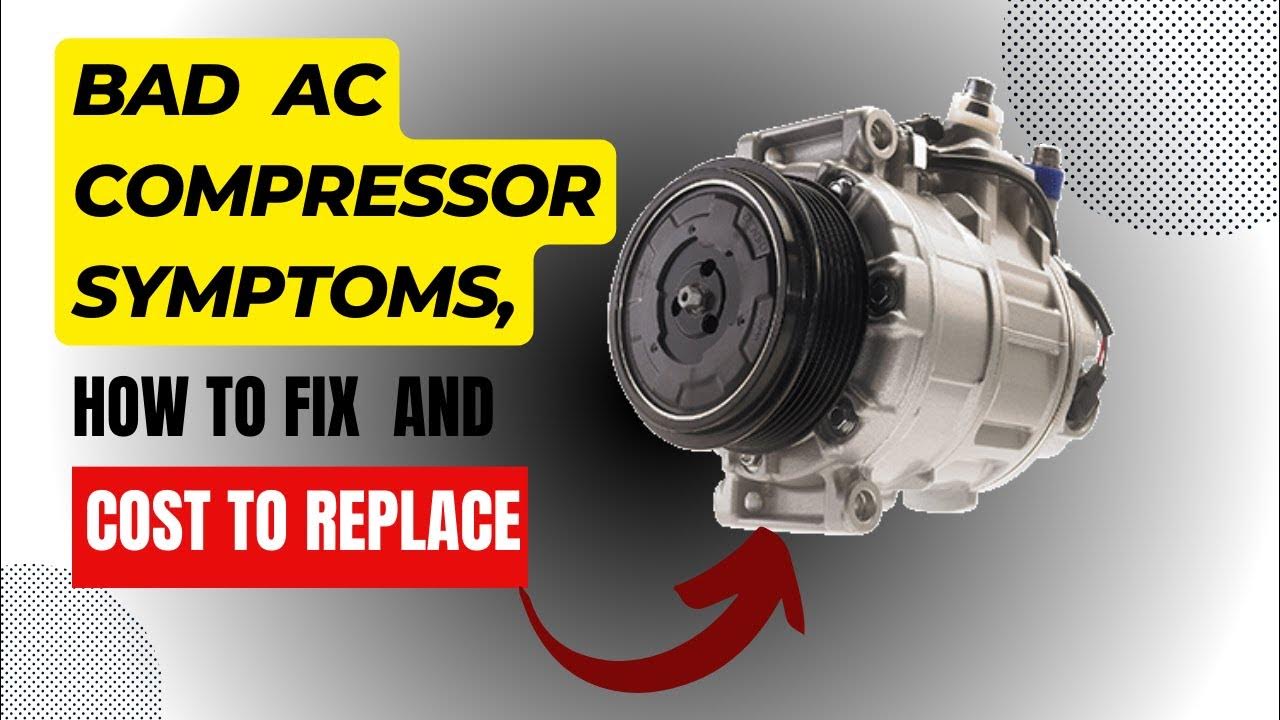
Your air conditioner compressor is the heart of your cooling system. When it fails, you're left with uncomfortable heat and potentially expensive repairs. This guide walks you through the process of checking your compressor for common issues, helping you determine if it's a simple fix or time to call a pro.
Safety First!
Before you even think about touching your HVAC system, prioritize your safety.
- Turn off the Power: Locate the disconnect switch near your outdoor unit and switch it to the "off" position. Double-check with a non-contact voltage tester to ensure the power is completely off.
- Work in Dry Conditions: Never work on electrical components when they are wet.
- Wear Safety Gear: Gloves and eye protection are essential.
- Don't Bypass Safety Devices: Never tamper with or disable safety switches or components.
- When in Doubt, Call a Pro: Some tests require specialized knowledge and equipment. If you're uncomfortable at any point, stop and contact a qualified HVAC technician.
Tools and Materials You'll Need
Having the right tools makes the job easier and safer.
- Multimeter: For testing voltage, continuity, and resistance. A must-have!
- Non-Contact Voltage Tester: To confirm power is off.
- Screwdrivers: Assorted sizes (Phillips and flathead).
- Wrench Set: For tightening or loosening connections.
- Socket Set: Various sizes for accessing screws and bolts.
- Wire Strippers/Crimpers: For electrical connections.
- Electrical Tape: For insulating wires.
- Capacitor Tester (Optional): For evaluating capacitor health.
- HVAC Gauges (Optional): For checking refrigerant pressure (advanced).
- Safety Glasses: Protect your eyes.
- Gloves: Protect your hands.
- Camera/Phone: Take pictures before disconnecting anything to remember the original configuration.
Checking the Contactor
The contactor is an electrical switch that controls power to the compressor. It's a common point of failure.
- Visually Inspect: Look for signs of damage, such as burnt or melted plastic, pitted contacts, or insect nests.
- Test for Voltage:
- With the disconnect ON (be extremely careful!), use your non-contact voltage tester to confirm voltage is present at the line side (incoming power) of the contactor.
- Carefully, and while avoiding contact with any metal parts, check the load side (outgoing power) of the contactor. If there's voltage on the line side but not the load side when the thermostat is calling for cooling, the contactor is likely bad.
- Power Off, Test for Continuity:
- Turn off the power at the disconnect switch.
- Set your multimeter to continuity mode.
- Place one probe on each of the load-side terminals (with the power off and the thermostat calling for cooling (shorted)). The multimeter should show continuity (a beep or a low resistance reading). If it doesn't, the contactor is bad.
- Replace the Contactor: If the contactor is faulty, replace it with an exact replacement. Ensure the replacement contactor has the same voltage and amperage ratings. Take pictures before disconnecting any wires!
Checking the Capacitor
The capacitor provides the initial jolt of electricity needed to start the compressor motor. A faulty capacitor can prevent the compressor from starting.
- Visually Inspect: Look for signs of bulging, leaking, or rust. These are telltale signs of a bad capacitor.
- Discharge the Capacitor: This is crucial! Capacitors store electricity even when the power is off. Use a screwdriver with an insulated handle to short the terminals of the capacitor. Be careful, as this may produce a spark.
- Test with a Multimeter (Capacitance Setting): If your multimeter has a capacitance setting, you can test the capacitor's microfarad (µF) rating.
- Set your multimeter to the capacitance setting.
- Connect the probes to the capacitor terminals.
- Compare the reading to the capacitor's rated µF (printed on the capacitor). If the reading is significantly lower (more than 10% or 20%, depending on the capacitor's tolerance rating), the capacitor is likely bad.
- Replace the Capacitor: If the capacitor is faulty, replace it with one that has the exact same µF and voltage rating.
Checking Compressor Terminals and Wiring
Loose or corroded wiring can prevent the compressor from receiving power.
- Visually Inspect Wiring: Look for loose connections, frayed wires, or corrosion.
- Tighten Connections: Ensure all wires are securely connected to the compressor terminals and other components.
- Check for Continuity: With the power off, use your multimeter to check for continuity between the compressor terminals. There should be continuity between the common (C) terminal and both the start (S) and run (R) terminals. There should also be continuity between the start (S) and run (R) terminals. No continuity indicates an open winding (major problem).
- Check for Shorts to Ground: With the power off, check for continuity between each compressor terminal (C, S, and R) and the compressor casing (ground). There should be NO continuity. Continuity indicates a short to ground, which is a serious problem.
Checking for Overload Protection
Most compressors have an internal overload protector that shuts down the compressor if it overheats. This can happen if the compressor is working too hard or if there's a refrigerant issue.
- Wait for it to Reset: If the compressor has overheated, the overload protector may trip. Wait for 30 minutes to an hour for it to reset.
- Test for Continuity: With the power off, use your multimeter to check for continuity through the overload protector (usually located inside the compressor terminal box). If there's no continuity, the overload protector may be tripped or faulty. In some cases, it's not easily accessible.
- Address the Underlying Issue: If the overload protector keeps tripping, it indicates a more serious problem, such as a refrigerant leak, a dirty condenser coil, or a failing compressor motor.
Other Potential Issues (Warning: Advanced Troubleshooting)
These issues often require specialized tools and knowledge. Consider contacting a professional.
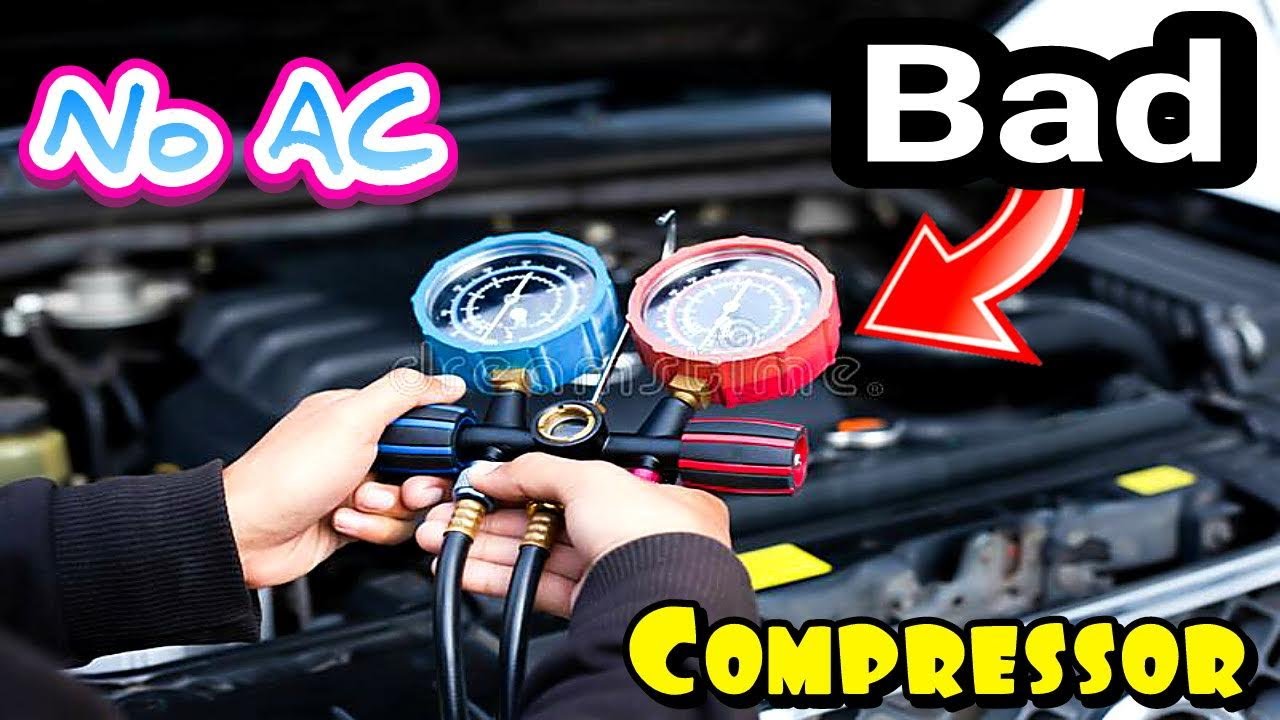
- Refrigerant Leaks: Low refrigerant levels can cause the compressor to work harder and eventually fail.
- Blocked Refrigerant Lines: Restrictions in the refrigerant lines can also strain the compressor.
- Burned-Out Compressor Motor: If the compressor motor is burned out, the compressor will need to be replaced.
- Acid Buildup: Acid in the refrigerant system can damage the compressor windings.
Estimating Repair Costs
The cost to repair or replace a compressor can vary widely depending on several factors:
- Compressor Type: Scroll compressors are generally more expensive than reciprocating compressors.
- System Size: Larger systems require larger, more expensive compressors.
- Refrigerant Type: The cost of refrigerant can affect the overall repair cost.
- Labor Costs: Labor rates vary by location and contractor.
Here's a rough estimate (subject to change):
- Compressor Replacement: $800 - $2500+ (including parts and labor).
- Contactor Replacement: $100 - $300 (including parts and labor).
- Capacitor Replacement: $80 - $250 (including parts and labor).
- Refrigerant Recharge: $150 - $500 (depending on the amount of refrigerant needed).
When to Call a Professional
While some compressor checks are within the realm of DIY, certain situations require the expertise of a qualified HVAC technician.
- Refrigerant Handling: Working with refrigerant requires EPA certification. Improper handling can be dangerous and illegal.
- Complex Electrical Issues: If you're uncomfortable working with electricity or unsure about any of the testing procedures, call a professional.
- Compressor Replacement: Replacing a compressor requires specialized tools and knowledge to properly evacuate and recharge the system.
- Uncertainty: If you've performed the basic checks and are still unsure about the problem, it's best to consult with a professional.
- Warranty Concerns: Attempting repairs yourself may void your HVAC system's warranty.
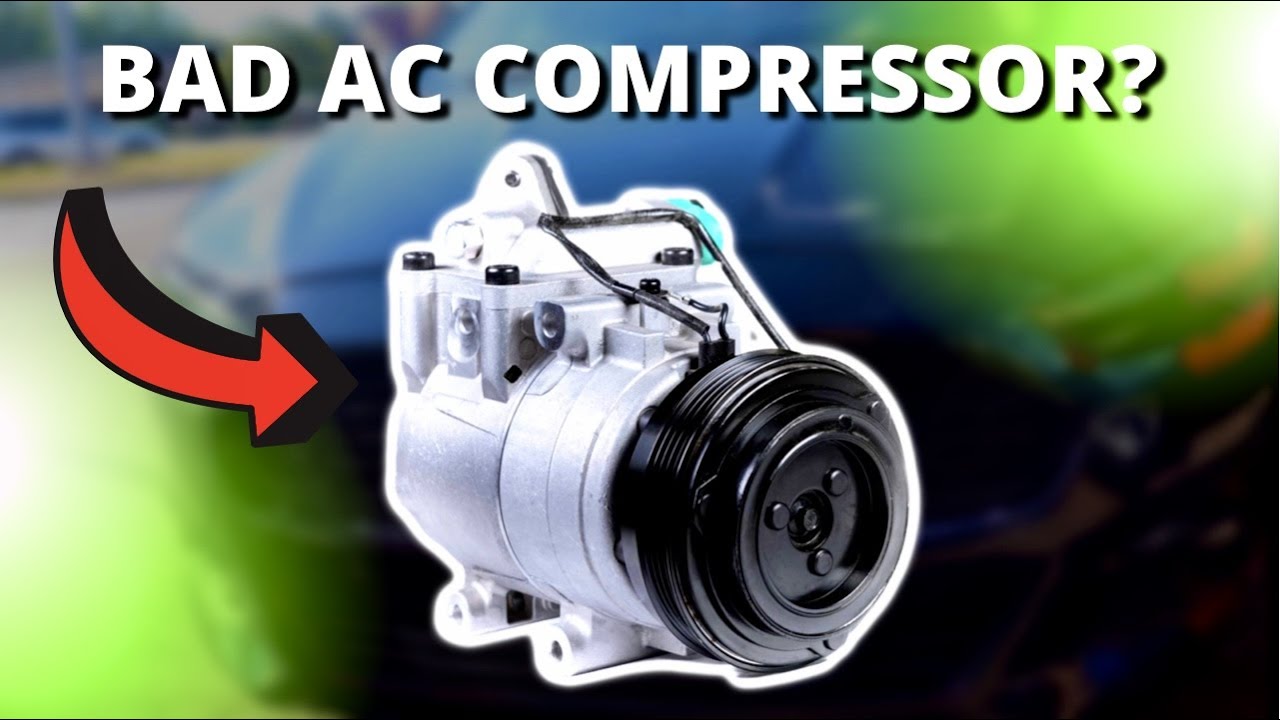
Common Warning Signs of a Failing Compressor
Keep an eye out for these telltale signs.
- Loud Noises: Grinding, buzzing, or rattling noises coming from the outdoor unit.
- Lack of Cooling: The air conditioner is running, but the air isn't getting cold.
- Increased Energy Bills: The air conditioner is working harder to cool the house, resulting in higher energy consumption.
- Tripped Breaker: The circuit breaker for the air conditioner keeps tripping.
- Unit Won't Turn On: The air conditioner won't turn on at all.
Preventive Maintenance
Regular maintenance can extend the life of your compressor and prevent costly repairs.
- Clean the Condenser Coil: Regularly clean the outdoor unit's condenser coil to remove dirt and debris.
- Replace Air Filters: Replace your air filters every 1-3 months.
- Schedule Professional Maintenance: Have your HVAC system professionally inspected and serviced at least once a year.
By following these steps, you can effectively troubleshoot your air conditioner compressor and determine the best course of action. Remember to prioritize safety and don't hesitate to call a professional when needed.