How To Check A Dual Run Capacitor

Is your air conditioner or heat pump struggling to start, running intermittently, or making a strange humming noise? A common culprit behind these issues is often the dual run capacitor. This small, cylindrical component plays a vital role in starting and running both the fan motor and the compressor in your outdoor HVAC unit. When it fails, your system can experience a range of problems. This article will guide you through safely checking your dual run capacitor, helping you determine if it's the source of your HVAC woes and whether a DIY fix is possible.
Understanding the Dual Run Capacitor
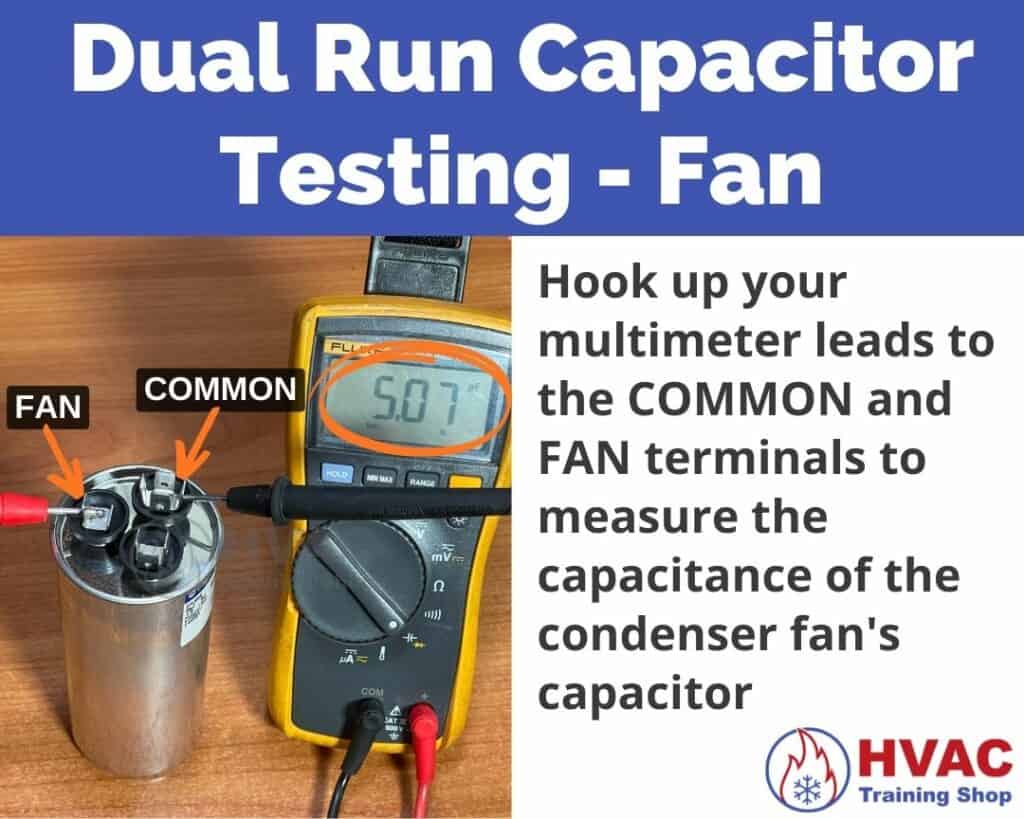
Before we dive into troubleshooting, let's clarify what a dual run capacitor is and what it does. A dual run capacitor is essentially two capacitors in one. It stores electrical energy and provides the initial boost needed to start the compressor motor and the fan motor. It has three terminals, typically labeled:
- C (Common): This is the common terminal and serves as the connection point for both capacitor sections.
- H or HERM (Hermetic): This terminal is connected to the compressor motor.
- F or FAN: This terminal is connected to the fan motor.
Think of it like a battery that gives your motors a powerful "kick" to get them going. Without a functioning capacitor, these motors may struggle to start, leading to inefficiency, overheating, and eventual failure of other components.
Diagnosing Capacitor Problems: Recognizing the Signs
How do you know if your dual run capacitor is failing? Here are some common symptoms:
- The AC or heat pump won't start: This is a major red flag. If the capacitor is completely dead, neither the compressor nor the fan motor will receive the initial boost they need.
- The AC or heat pump starts but then shuts off quickly: A weak capacitor may provide enough of a boost to start the system, but it can't sustain it.
- A humming noise coming from the outdoor unit: This indicates that the compressor or fan motor is trying to start but isn't getting enough power.
- The fan blades spin slowly or require a push to start: This suggests the fan motor capacitor section is weak.
- The unit runs, but the air isn't as cold as it used to be: A failing capacitor can reduce the efficiency of the compressor.
- The capacitor itself appears physically damaged: Look for bulging, leaking, or rust on the capacitor casing.
If you notice any of these signs, it's time to investigate further. However, always remember safety first! Working with electricity can be dangerous. If you're uncomfortable with any of these steps, call a qualified HVAC technician.
Safety First: Power Down Before You Begin
The most crucial step before touching anything is to completely disconnect power to your outdoor unit. This is non-negotiable. Here's how to do it:
- Locate the disconnect switch for your outdoor unit. This is usually a small metal box mounted on the wall near the unit.
- Open the box and pull out the disconnect block or flip the switch to the "OFF" position. This completely cuts off power to the unit.
- Double-check that the fan is not running and the compressor is not making any noise.
- As an extra precaution, you can also turn off the circuit breaker in your main electrical panel that supplies power to the outdoor unit. Label the breaker clearly!
Warning: Even with the power disconnected, capacitors can store an electrical charge. You need to discharge the capacitor before handling it. We'll cover how to do that safely later in this guide.
Visual Inspection: What You Can Check Without Tools
The first step in troubleshooting is a simple visual inspection. You don't need any tools for this part.
- Locate the capacitor: It's usually inside the control panel of the outdoor unit. You'll likely need to remove a panel to access it. Be careful when removing the panel, as there may be sharp edges.
- Look for signs of damage: Carefully examine the capacitor for any of the following:
- Bulging: A bulging capacitor is a clear indication of failure. The top or sides of the capacitor will be rounded or swollen.
- Leaking: Look for any signs of oil or other fluids leaking from the capacitor.
- Rust or corrosion: Rust or corrosion on the terminals or casing can indicate a problem.
- Burn marks: Burn marks are a sign of overheating and a definite problem.
- Check the terminals: Make sure the wires connected to the terminals are secure and not corroded.
If you see any of these signs of damage, the capacitor needs to be replaced. Do not attempt to use a damaged capacitor. If the capacitor looks normal visually, it doesn't necessarily mean it's good, but it does mean you'll need to proceed to the next steps using tools.
Using a Multimeter: Testing the Capacitor (Tools Required)
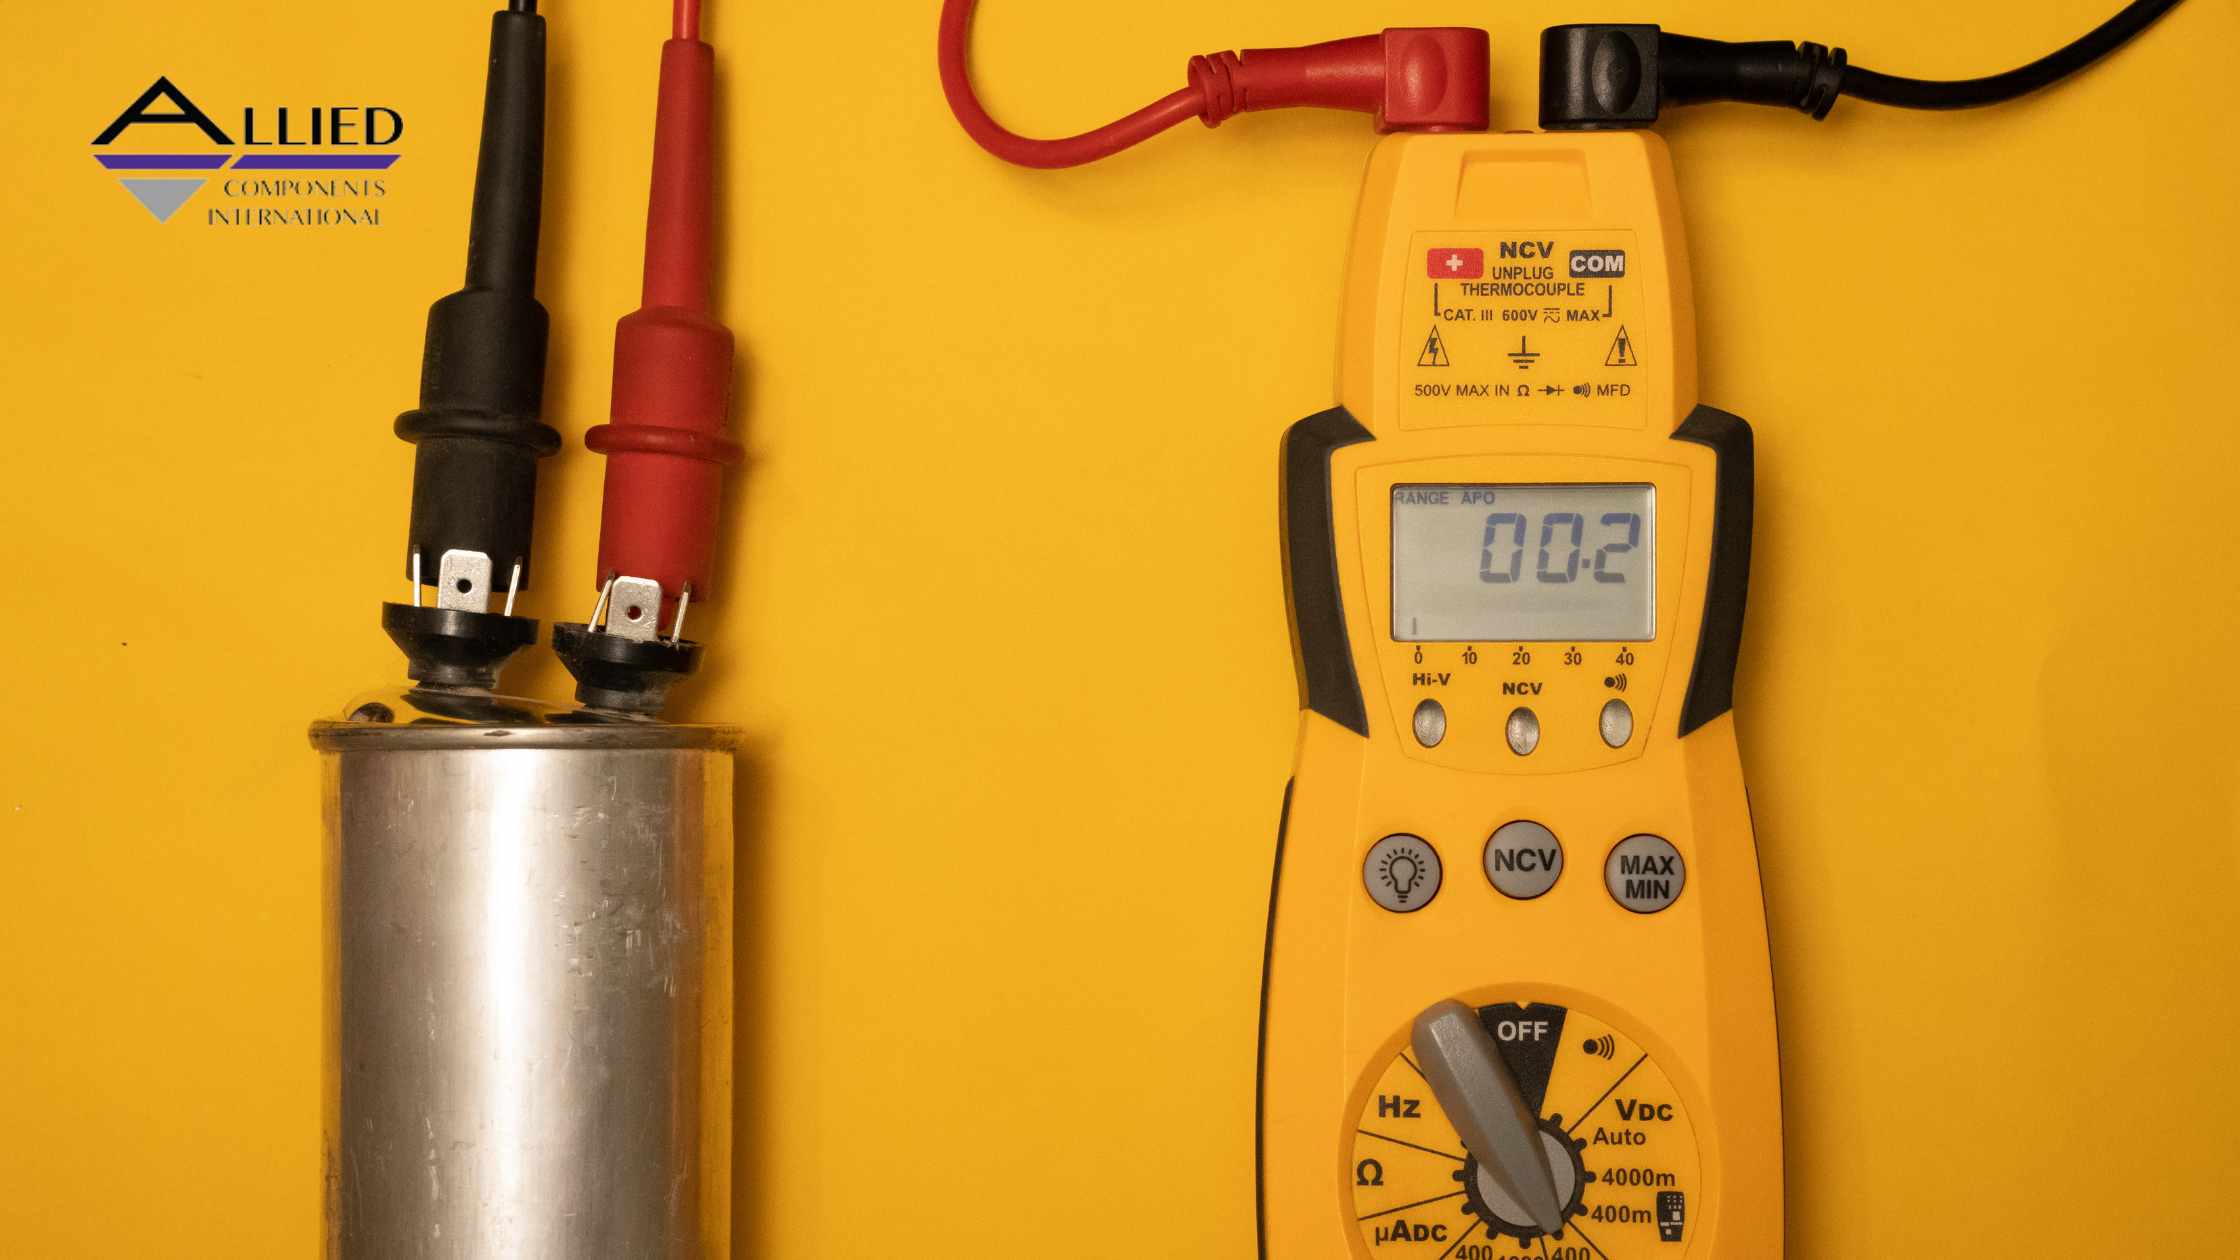
To accurately test a dual run capacitor, you'll need a multimeter that can measure capacitance (in microfarads - µF). Most digital multimeters have this function. You'll also need a screwdriver to discharge the capacitor. Remember to disconnect power before proceeding.
- Discharge the capacitor: This is a critical safety step! Even with the power off, the capacitor can hold a dangerous charge.
- Use a screwdriver with an insulated handle.
- Carefully short across the terminals of the capacitor. Touch the metal shaft of the screwdriver to all three terminals simultaneously for a few seconds. This will drain any remaining charge.
- Important: You may see a small spark when you short the terminals. This is normal, but be careful not to touch the metal shaft of the screwdriver while doing this.
- Disconnect the wires: Carefully disconnect the wires from the capacitor terminals. Label each wire as you remove it to ensure you can reconnect them correctly later. Take a picture for extra insurance.
- Set the multimeter: Turn your multimeter to the capacitance (µF) setting. You may need to select the appropriate range (e.g., 20µF, 50µF, etc.) depending on the capacitance rating of your capacitor.
- Test the capacitance:
- Connect the multimeter leads to the "C" (Common) and "HERM" (Hermetic) terminals. Record the reading. This is the capacitance for the compressor motor.
- Connect the multimeter leads to the "C" (Common) and "FAN" terminals. Record the reading. This is the capacitance for the fan motor.
- Compare to the rated values: The capacitance rating for each section of the capacitor is printed on the capacitor label. For example, you might see "45 + 5 µF". This means the compressor section is rated for 45 µF, and the fan section is rated for 5 µF. A reading within +/- 6% of the rated value is generally considered acceptable. If the reading is significantly outside this range, the capacitor is likely failing and needs to be replaced.
Example: Let's say your capacitor is rated at 45 + 5 µF. You measure 40 µF between "C" and "HERM" and 3 µF between "C" and "FAN". The compressor section is outside the acceptable range (45 - 6% = 42.3 µF), and the fan section is also outside the acceptable range (5 - 6% = 4.7 µF). This capacitor needs to be replaced.
Reassembly and Testing After Replacement
If your testing reveals that the capacitor is faulty, you'll need to replace it with a new capacitor of the exact same rating (µF and voltage). You can find replacement capacitors at most HVAC supply stores or online. Double-check the ratings before purchasing to ensure you get the correct one.
- Install the new capacitor:
- Carefully connect the wires to the new capacitor terminals, matching the labels you made earlier (or using the picture you took).
- Secure the capacitor in its mounting bracket.
- Reassemble the unit:
- Replace the access panel on the outdoor unit.
- Restore power:
- Turn the circuit breaker back on (if you turned it off).
- Push the disconnect block back into the disconnect switch or flip the switch back to the "ON" position.
- Test the system: Turn on your air conditioner or heat pump and observe its operation. It should start smoothly and run without any unusual noises.
When to Call a Professional
While replacing a dual run capacitor can be a straightforward DIY project for some homeowners, there are situations where it's best to call a qualified HVAC technician:
- You are uncomfortable working with electricity: Safety is paramount. If you are unsure about any of the steps involved, don't hesitate to call a professional.
- You find other damaged components: If you notice other damaged wires, relays, or contactors while inspecting the unit, it's a sign of a more complex problem that requires professional diagnosis and repair.
- The new capacitor fails quickly: If you replace the capacitor and it fails again shortly after, there may be an underlying issue causing the capacitor to fail prematurely.
- You are unsure about the correct capacitor rating: Using the wrong capacitor can damage your system.
- You suspect a compressor problem: If the compressor is making loud noises, overheating, or not running properly, it's best to call a professional. Compressor repairs are typically more complex and require specialized tools and knowledge.
- If you do not know how to use a multi-meter: Improper use can lead to electrical shock or further equipment damage.
In short, if you are ever in doubt, err on the side of caution and call a qualified HVAC technician. They have the experience and expertise to diagnose and repair your system safely and effectively.
Preventative Measures for Longer Capacitor Life
While capacitors eventually wear out, there are a few things you can do to extend their lifespan:
- Keep the outdoor unit clean: Dirt, dust, and debris can restrict airflow and cause the unit to overheat, which can shorten the life of the capacitor. Regularly clean the coils and remove any obstructions around the unit.
- Ensure proper ventilation: Make sure the outdoor unit has adequate clearance on all sides to allow for proper airflow.
- Consider a surge protector: Power surges can damage electronic components, including capacitors. A surge protector can help protect your system from voltage spikes.
- Schedule regular maintenance: Have your HVAC system professionally inspected and maintained annually. A technician can identify potential problems early on and address them before they lead to major repairs.
By following these tips, you can help ensure that your HVAC system runs efficiently and reliably for years to come.