How To Check Ac Compressor With Multimeter

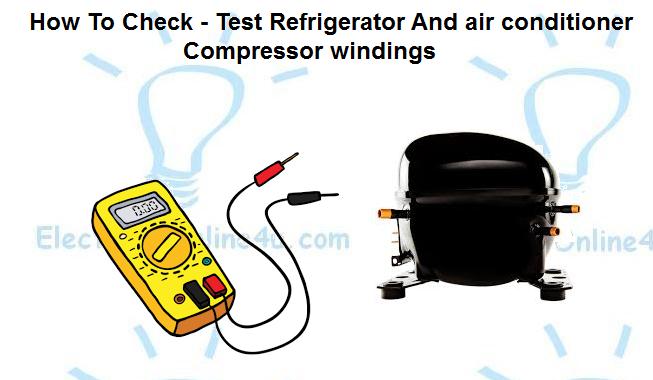
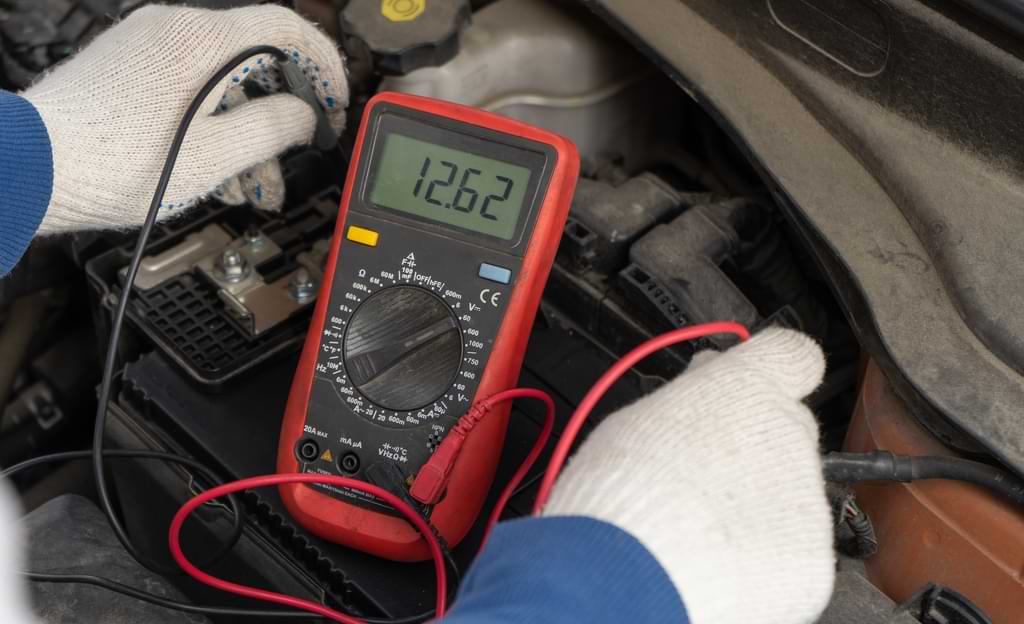
The AC compressor is the heart of your air conditioning system, responsible for circulating refrigerant and enabling the cooling process. A malfunctioning compressor can lead to a complete system breakdown, making it crucial to diagnose its condition promptly. One of the most effective tools for this diagnosis is a multimeter. This guide provides a comprehensive overview of how to check an AC compressor using a multimeter, suitable for homeowners with some electrical experience, HVAC technicians, and facility managers.
Understanding the AC Compressor
Before diving into the testing process, it's important to understand the basics of an AC compressor. The compressor increases the pressure and temperature of the refrigerant, which then flows through the condenser, evaporator, and expansion valve to cool your home. There are primarily three types of compressors:
- Reciprocating compressors: These use a piston and cylinder mechanism, similar to a car engine. They are commonly found in smaller residential units.
- Scroll compressors: These use two spiral-shaped scrolls to compress the refrigerant. They are more efficient and quieter than reciprocating compressors and are often used in mid-range systems.
- Rotary compressors: These use a rotating vane to compress the refrigerant. They are highly efficient and compact, often found in ductless mini-split systems.
No matter the type, all compressors have electrical components that can be tested using a multimeter.
Safety First
Working with electricity can be dangerous. Prioritize safety at all times:
- Turn off the power: Always disconnect the power supply to the AC unit at the breaker box before beginning any testing. Double-check that the power is off using a non-contact voltage tester.
- Wear appropriate PPE: Use insulated gloves and safety glasses.
- Know your limits: If you are uncomfortable working with electricity, contact a qualified HVAC technician.
Tools and Materials Needed
To check your AC compressor with a multimeter, you'll need the following:
- Multimeter: A digital multimeter is preferred for its accuracy and ease of use.
- Screwdrivers: To access the compressor terminals.
- Wire strippers/crimpers: If you need to disconnect or reconnect any wires.
- Safety glasses and insulated gloves.
- Non-contact voltage tester: To ensure the power is off.
- AC wiring diagram: Helpful for identifying the compressor terminals.
Testing the Compressor with a Multimeter: A Step-by-Step Guide
There are several tests you can perform using a multimeter to assess the condition of your AC compressor:
1. Checking for Continuity
Continuity testing verifies that the electrical circuit within the compressor is complete. If there is no continuity, it indicates an open circuit, meaning a break in the wiring or a failed winding.
- Isolate the Compressor: After switching off the breaker, locate the compressor terminals. These are usually labeled C (common), S (start), and R (run). Remove the wires connected to these terminals.
- Set the Multimeter: Set the multimeter to the continuity setting (usually indicated by a diode symbol or an audible beep).
- Test Between Terminals: Place the multimeter probes between the following terminal pairs:
- Common (C) to Run (R)
- Common (C) to Start (S)
- Start (S) to Run (R)
- Interpret the Results:
- Continuity Present (Beep or Low Resistance): This indicates a complete circuit. Record the resistance value displayed. This will be compared to the manufacturer's specifications.
- No Continuity (No Beep or Infinite Resistance): This indicates an open circuit, suggesting a faulty winding or internal break.
Compare the resistance values you measured with the compressor's specifications, which can usually be found on the unit's nameplate or in the service manual. Significant deviations indicate a problem.
2. Checking for Short to Ground
A short to ground occurs when the compressor's internal windings come into contact with the metal casing. This is a dangerous condition that can trip breakers and damage the system.
- Set the Multimeter: Set the multimeter to the highest resistance setting (usually in the megaohm range).
- Test Between Terminals and Ground: Place one probe on each of the compressor terminals (C, S, and R) and the other probe on a clean, unpainted metal part of the compressor housing (ground).
- Interpret the Results:
- High Resistance (Infinite or Very High Reading): This indicates that the windings are properly insulated from the compressor housing.
- Low Resistance (Near Zero Reading): This indicates a short to ground. The compressor is faulty and needs replacement.
Any reading other than infinite resistance suggests a short to ground. This is a serious issue that requires immediate attention.
3. Checking Voltage to the Compressor
This test ensures that the compressor is receiving the correct voltage from the electrical system. This test **must** be performed with the power on and requires extreme caution.
- Locate the Compressor Contactor: This is a relay switch that controls the power to the compressor.
- Set the Multimeter: Set the multimeter to the appropriate AC voltage setting (typically 240V or 480V, depending on the system).
- Test the Voltage: Carefully place the multimeter probes on the incoming line terminals of the contactor (L1 and L2). Note the voltage reading. Then, place the probes on the outgoing terminals of the contactor (T1 and T2). Note the voltage reading.
- Interpret the Results:
- Correct Voltage: The voltage readings at both the incoming and outgoing terminals should be within +/- 10% of the rated voltage for the system.
- Low or No Voltage: If the voltage is significantly lower than the rated voltage, or if there is no voltage at all, it could indicate a problem with the breaker, wiring, or the contactor itself.
This test requires extreme caution and should only be performed by qualified technicians. Always ensure the power is off before making any adjustments to the wiring or components.
Interpreting the Results
Once you've performed these tests, you can start to diagnose the problem. Here's a summary of common issues and their corresponding multimeter readings:
- Open Winding: No continuity between terminals. The compressor will not start.
- Short to Ground: Low resistance between a terminal and the compressor housing. The compressor may trip the breaker or cause electrical shock.
- Low Voltage: The compressor may not start or run properly, leading to reduced cooling capacity.
- Incorrect Resistance Values: Deviations from the manufacturer's specifications indicate damaged windings, which can affect the compressor's performance.
Cost Considerations
If your AC compressor fails, you have two main options: replace the compressor or replace the entire AC unit. Replacing the compressor alone can be cheaper in the short term, typically costing between $800 and $2,500, including labor. However, if the unit is old (10+ years) or uses R-22 refrigerant (which is being phased out), replacing the entire AC unit might be a more cost-effective solution. New AC units range from $4,000 to $12,000, depending on the size, efficiency, and brand.
Efficiency and Lifespan
New AC units have higher SEER (Seasonal Energy Efficiency Ratio) ratings, which indicate their energy efficiency. A higher SEER rating translates to lower energy bills. The lifespan of an AC compressor is typically 10-15 years, but regular maintenance, such as cleaning the coils and changing the air filter, can extend its lifespan.
When to Call a Professional
While this guide provides a comprehensive overview of how to check an AC compressor with a multimeter, it's essential to recognize when to call a professional HVAC technician. If you are uncomfortable working with electricity, if you are unsure about the results of your tests, or if you suspect a more complex problem, it's always best to seek professional help. A qualified technician can accurately diagnose the issue and recommend the appropriate solution, ensuring the safety and efficiency of your AC system.
Remember, regular maintenance and timely diagnosis are key to keeping your AC system running smoothly and efficiently. By understanding how to check your AC compressor with a multimeter, you can proactively identify potential problems and prevent costly breakdowns.