How To Check Refrigerant Levels In Ac Unit
One of the most frustrating experiences for a homeowner, especially during the peak of summer, is a failing air conditioning system. You crank up the thermostat, expecting a wave of cool air, but instead, you're met with lukewarm disappointment. While several factors can contribute to this, a common culprit is low refrigerant levels.
Think of refrigerant as the lifeblood of your AC unit. It's the substance responsible for absorbing heat from inside your home and releasing it outside. When refrigerant levels are low, your AC simply can't do its job efficiently, leading to reduced cooling capacity, higher energy bills, and eventually, potential damage to the compressor – the heart of your AC system.
This article will guide you through the process of checking refrigerant levels in your AC unit. We'll cover the telltale signs of low refrigerant, provide a step-by-step diagnostic process, and outline some simple DIY fixes you can attempt. However, it's crucial to understand that working with refrigerants can be dangerous, and there's a point where professional intervention is absolutely necessary. We'll clearly identify that point to ensure your safety and the longevity of your AC system.
Recognizing the Signs: Is Your Refrigerant Level Low?
Before diving into the diagnostic process, let's look at the common symptoms of low refrigerant. Recognizing these signs early can save you time, money, and a lot of discomfort.
- Weak or Warm Airflow: This is often the first and most noticeable sign. If your AC is running but the air coming from the vents is weak or not as cold as it used to be, low refrigerant is a prime suspect.
- Longer Cooling Cycles: Your AC might be running for extended periods, struggling to reach the desired temperature. This is because it's working harder with less refrigerant.
- Increased Energy Bills: A less efficient AC system consumes more energy. If you notice a sudden spike in your electricity bill during the cooling season, it could be related to low refrigerant.
- Ice Formation on the Evaporator Coil: This might seem counterintuitive, but low refrigerant can cause the evaporator coil (located inside the indoor unit) to get too cold and freeze over. Look for visible ice buildup.
- Hissing or Bubbling Noises: These sounds, coming from your AC unit or refrigerant lines, can indicate a refrigerant leak.
If you're experiencing one or more of these symptoms, it's time to investigate further.
Step-by-Step Guide: Diagnosing Low Refrigerant
This section outlines a series of checks you can perform to determine if low refrigerant is the likely cause of your AC problems. Remember to prioritize safety and exercise caution when working with electrical equipment.
Step 1: Safety First - Power Down!
Before you do anything, turn off the power to both the indoor and outdoor units of your AC system. Locate the circuit breakers that control your AC and switch them to the "off" position. This is absolutely crucial to prevent electrical shock.
Step 2: Inspect the Evaporator Coil (Indoor Unit)
The evaporator coil is located inside your indoor unit (the part that's usually in your attic or a closet).
- Access the Coil: You'll need to remove an access panel to expose the coil. This usually involves unscrewing a few screws.
- Visual Inspection: Carefully examine the coil for signs of ice buildup. If you see ice, it's a strong indicator of low refrigerant, but it could also be caused by airflow restrictions (a dirty filter, for example).
- Melt the Ice (If Present): If there's ice, you'll need to melt it before proceeding. You can do this by turning off the AC and letting it thaw naturally, or by using a hairdryer on a low setting (being extremely careful not to get any electrical components wet).
- Check the Coil Temperature (After Thawing): Once the ice is melted, turn the AC back on (after restoring power, of course) and let it run for a few minutes. Carefully touch the evaporator coil (wear gloves!). It should feel cold to the touch. If it feels warm or only slightly cool, it further suggests low refrigerant.
- Clean the Coil: Use a soft brush or vacuum with a brush attachment to gently remove any dust or debris from the coil. A dirty coil can also reduce cooling efficiency.
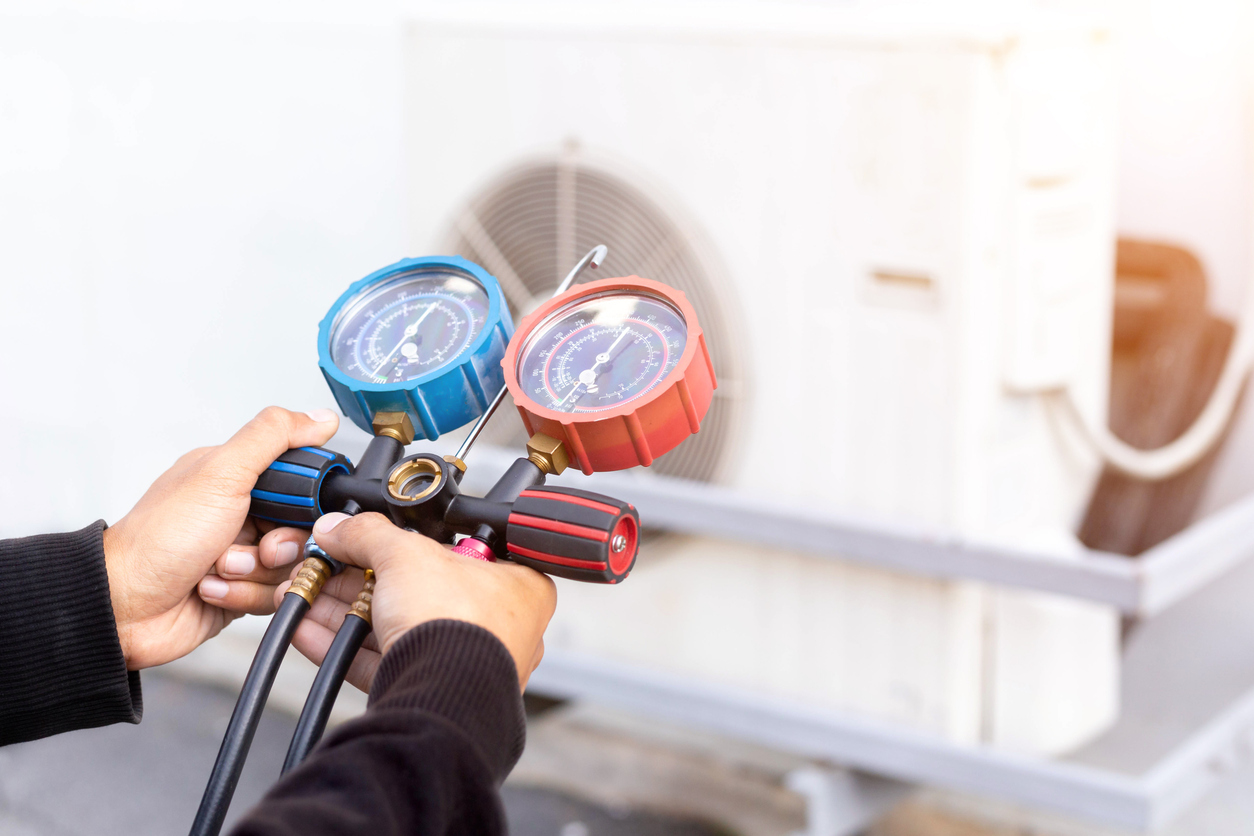
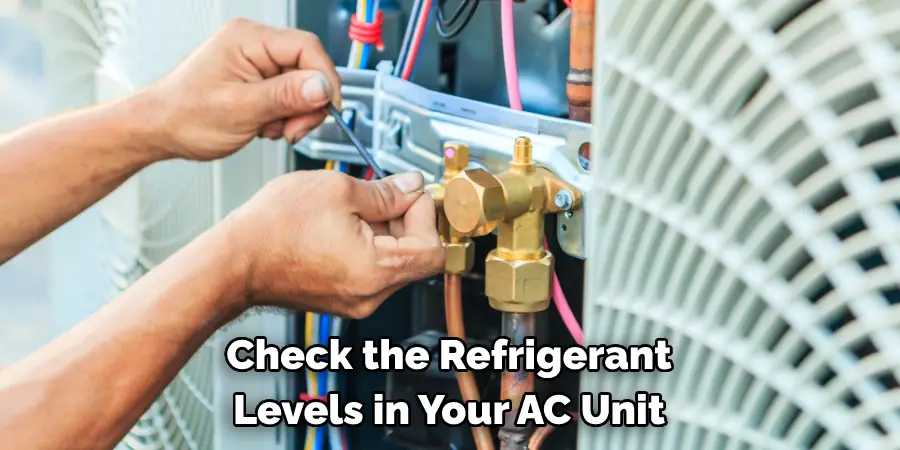
Step 3: Inspect the Condenser Unit (Outdoor Unit)
The condenser unit is the large, metal box typically located outside your house.
- Visual Inspection: Look for any signs of damage to the unit, such as dents, rust, or leaks.
- Check the Refrigerant Lines: Examine the copper refrigerant lines that connect the condenser unit to the house. Look for any signs of oil residue, which can indicate a refrigerant leak. Refrigerant often carries oil with it when it leaks, leaving a greasy residue.
- Listen for Noises: With the unit running (after restoring power!), listen for any unusual hissing or bubbling noises coming from the unit or the refrigerant lines.
- Clean the Condenser Coils: The condenser coils are located around the perimeter of the unit. Use a garden hose (with a gentle spray nozzle) to clean them from the inside out. Be careful not to bend the fins. Dirty condenser coils can significantly reduce cooling efficiency.
Step 4: Check the Air Filter
While not directly related to refrigerant levels, a dirty air filter can mimic the symptoms of low refrigerant. A clogged filter restricts airflow, which can cause the evaporator coil to freeze and reduce cooling performance. Replace your air filter regularly (typically every 1-3 months) to ensure proper airflow.
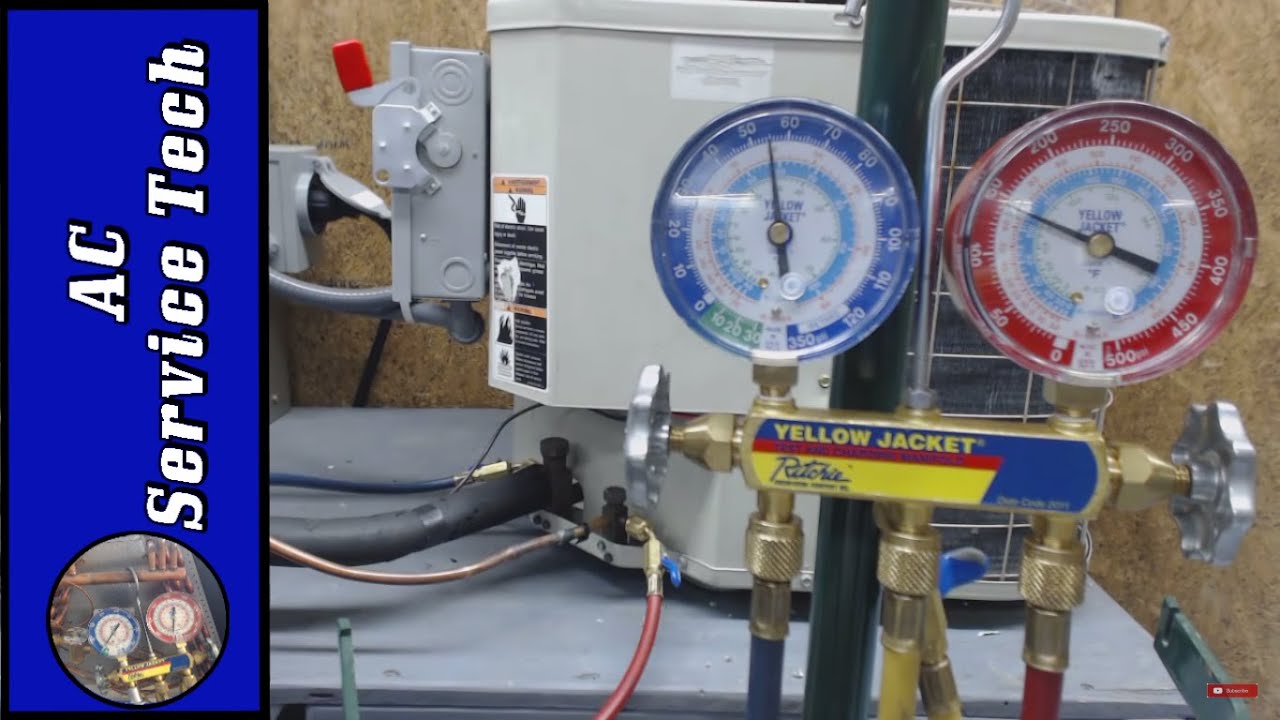
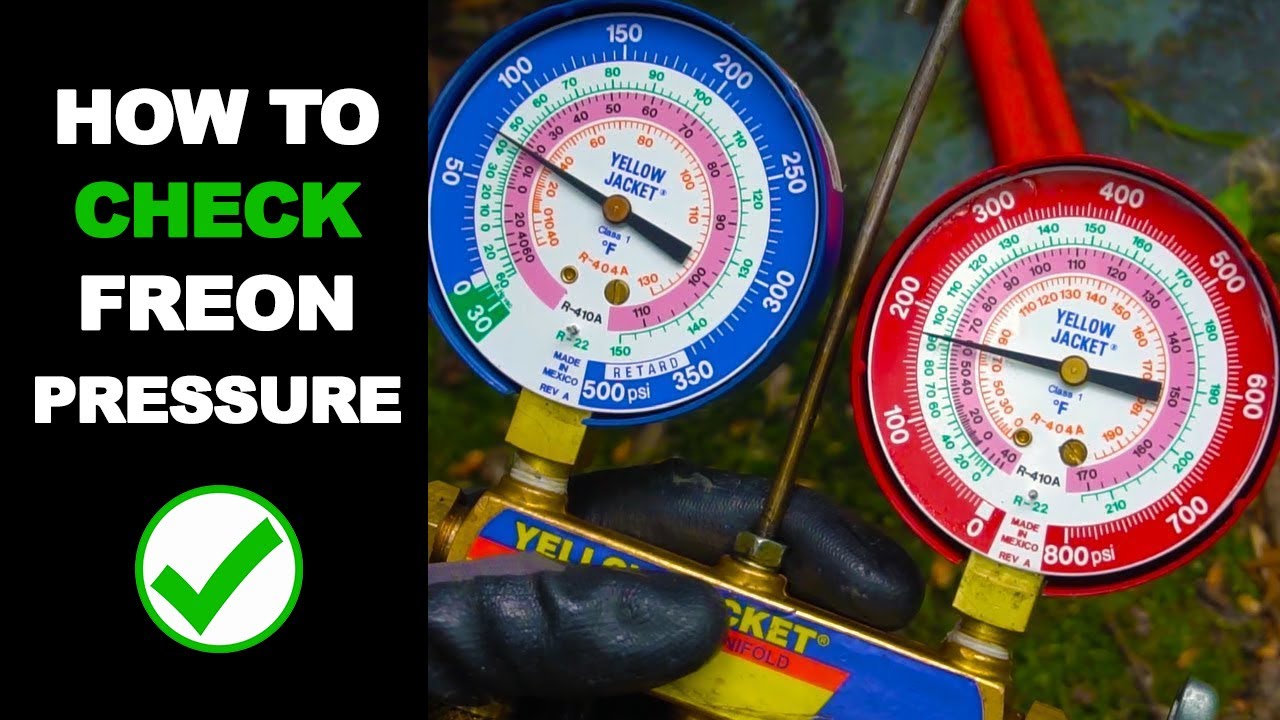
Step 5: Testing with Gauges (Advanced - Proceed with Caution!)
The most accurate way to check refrigerant levels is to use a set of manifold gauges. This involves connecting gauges to the service ports on the condenser unit and measuring the pressure. This step requires specialized tools and knowledge, and it's generally recommended to leave it to a professional. However, if you have experience working with HVAC systems and understand the proper procedures, you can proceed with caution.
Warning: Working with refrigerant can be dangerous. Refrigerant can cause frostbite, and improper handling can lead to serious injury. If you're not comfortable working with refrigerants, do not attempt this step.
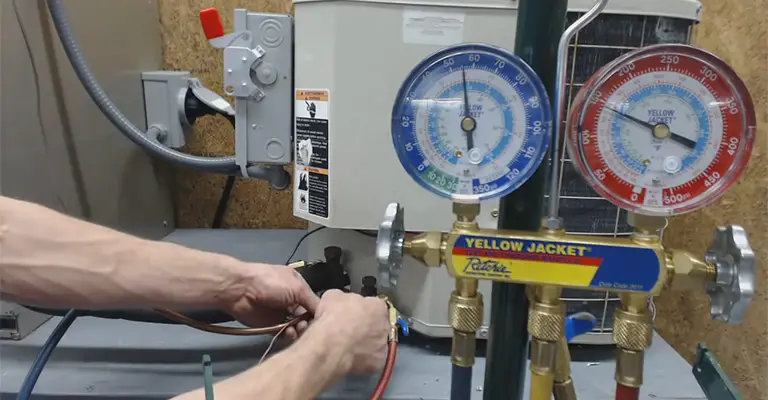
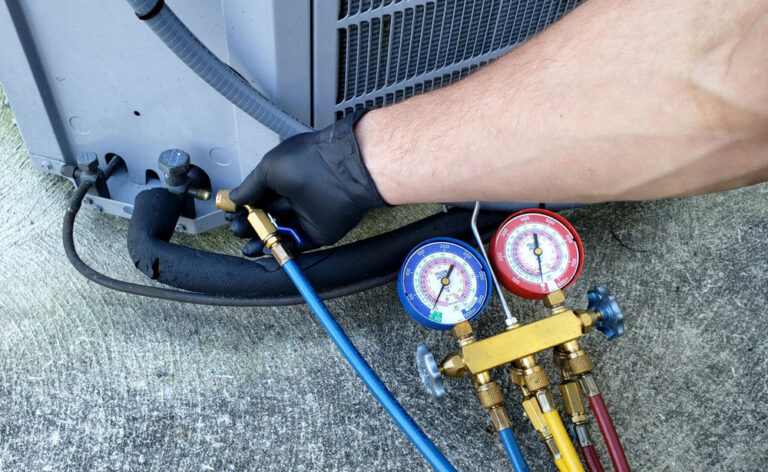
- Gather Your Tools: You'll need a set of manifold gauges, a refrigerant scale, a refrigerant tank (containing the correct type of refrigerant for your system), and safety glasses and gloves.
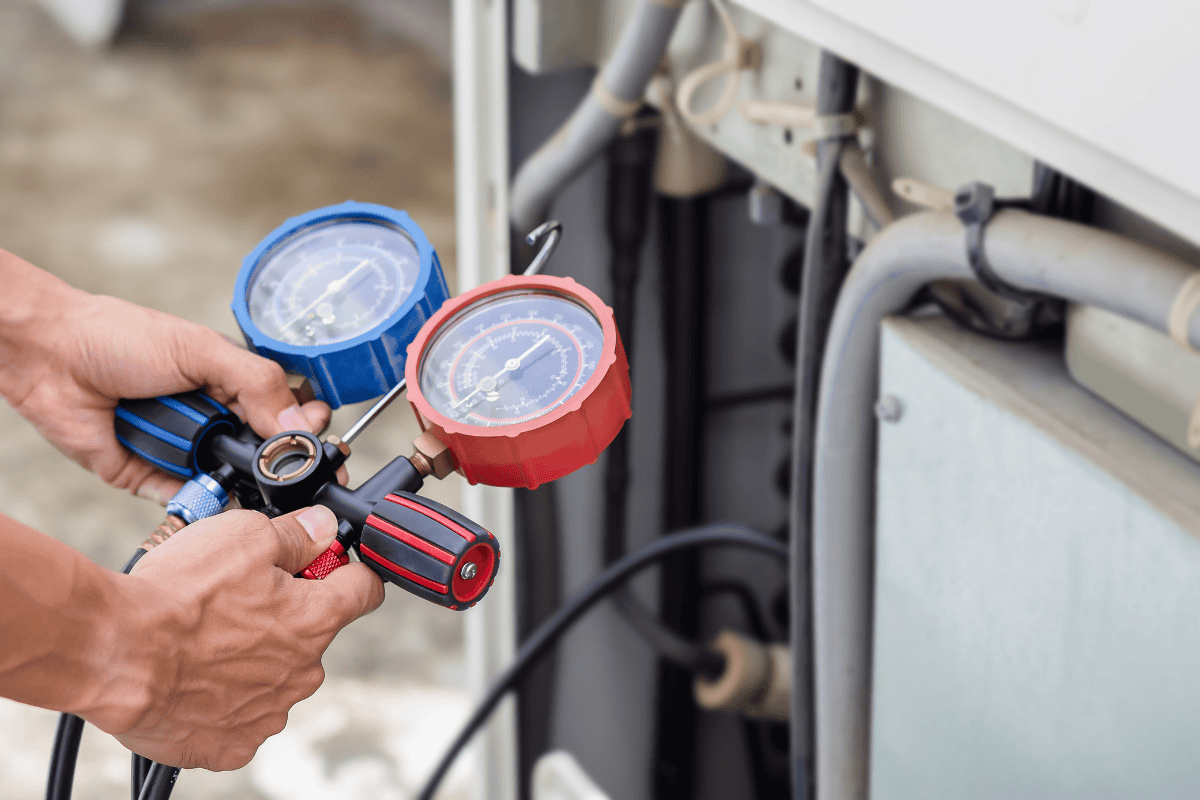
- Connect the Gauges: Connect the hoses from the manifold gauges to the service ports on the condenser unit. The blue hose goes to the low-pressure side, and the red hose goes to the high-pressure side.
- Read the Pressure: With the AC running, read the pressure on the gauges. Compare the readings to the pressure chart for your specific AC unit. This chart is usually located on the condenser unit or in the owner's manual.
- Determine Refrigerant Level: If the pressure readings are lower than the recommended values, your refrigerant level is low.
Simple DIY Fixes (and When to Call a Pro)
After diagnosing the issue, there are a few simple DIY fixes you can attempt. However, it's important to know your limitations and when to call a professional HVAC technician.
DIY Fix #1: Replacing the Air Filter
As mentioned earlier, a dirty air filter can significantly impact your AC's performance. Regularly replacing your air filter is a simple and inexpensive way to maintain proper airflow and prevent problems.
DIY Fix #2: Cleaning the Coils
Dirty evaporator and condenser coils can reduce cooling efficiency. Cleaning them regularly can improve your AC's performance and prevent overheating.
DIY Fix #3: Sealing Air Leaks Around Windows and Doors
Air leaks around windows and doors can allow cool air to escape and warm air to enter your home, making your AC work harder. Seal any cracks or gaps with caulk or weather stripping to improve energy efficiency.
When to Call a Professional: Absolutely Necessary!
While some minor issues can be addressed with DIY solutions, certain situations require the expertise of a qualified HVAC technician.
- Refrigerant Leaks: If you suspect a refrigerant leak, do not attempt to fix it yourself. Refrigerant leaks require specialized equipment and knowledge to repair properly. Attempting to fix a leak without the proper tools and training can be dangerous and can damage your AC system. A professional can locate and repair the leak, and then recharge the system with the correct amount of refrigerant.
- Adding Refrigerant: Adding refrigerant to your system without fixing the underlying leak is only a temporary solution. The refrigerant will eventually leak out again, and you'll be back where you started. A professional can diagnose and repair the leak, ensuring that your system is properly sealed before recharging it. Furthermore, overcharging a system can be just as detrimental as undercharging.
- Compressor Issues: The compressor is the heart of your AC system, and any problems with it require professional attention. Do not attempt to repair or replace the compressor yourself.
- Electrical Problems: If you suspect any electrical problems with your AC system, such as faulty wiring or a malfunctioning capacitor, do not attempt to fix them yourself. Electrical work can be dangerous, and it's best to leave it to a qualified electrician or HVAC technician.
- You're Uncomfortable or Unsure: If at any point you feel uncomfortable or unsure about what you're doing, stop and call a professional. It's always better to be safe than sorry when it comes to your AC system.
Preventative Maintenance: Keeping Your Refrigerant Levels Healthy
The best way to avoid refrigerant problems is to perform regular preventative maintenance on your AC system.
- Schedule Annual Maintenance: Have your AC system inspected and serviced by a qualified HVAC technician at least once a year. This will help identify and address any potential problems before they become major issues.
- Clean the Coils Regularly: Keep the evaporator and condenser coils clean to ensure proper airflow and cooling efficiency.
- Replace the Air Filter Regularly: Replace the air filter every 1-3 months to maintain proper airflow.
- Monitor Your Energy Bills: Keep an eye on your energy bills for any sudden spikes, which could indicate a problem with your AC system.
- Listen for Unusual Noises: Pay attention to any unusual noises coming from your AC unit, such as hissing or bubbling sounds, which could indicate a refrigerant leak.
By following these preventative maintenance tips, you can help keep your AC system running smoothly and efficiently for years to come.
In conclusion, while you can perform some basic checks and DIY fixes to address potential refrigerant issues, it's crucial to recognize the limitations of your abilities and when to call a professional. Prioritizing safety and seeking expert assistance when needed will ensure the proper functioning and longevity of your AC system, keeping you cool and comfortable for years to come.