How To Clean A Ptac Unit
Imagine this: It's a sweltering summer day, and you walk into your room expecting a blast of cool air from your trusty Packaged Terminal Air Conditioner (PTAC) unit, only to be met with… nothing. Or worse, a weak stream of lukewarm air. A malfunctioning PTAC unit can be a real inconvenience, especially during extreme weather. But before you call a professional, there are several simple troubleshooting steps you can take to try and get it back up and running.
Understanding the Importance of Cleaning Your PTAC Unit
Before we dive into troubleshooting, let's emphasize why cleaning is crucial. A dirty PTAC unit is an inefficient PTAC unit. Dust, debris, and even mold can accumulate on the coils, filters, and other components, restricting airflow, reducing cooling capacity, and potentially leading to more serious problems down the line. Regular cleaning can save you money on energy bills and extend the lifespan of your unit.
Safety First!
Before you begin any troubleshooting or cleaning, safety is paramount. Always follow these precautions:
- Disconnect the Power: Turn off the PTAC unit and unplug it from the wall outlet. If it's hardwired, turn off the breaker that supplies power to the unit. This is essential to avoid electrical shock.
- Wear Gloves: Protect your hands from dirt, sharp edges, and cleaning solutions.
- Read the Manual: Consult your PTAC unit's user manual for specific cleaning recommendations and warnings.
Step-by-Step Cleaning Guide
1. Gather Your Supplies
You'll need the following:
- Screwdriver (usually Phillips head)
- Vacuum cleaner with a brush attachment
- Fin comb (for straightening bent fins on the coils)
- Soft brush (like a paintbrush)
- Cleaning solution (mild soap and water mixture or a specialized coil cleaner)
- Spray bottle
- Clean cloths or paper towels
2. Remove the Front Cover
Locate the screws holding the front cover of the PTAC unit in place. Remove the screws and carefully detach the cover. Note: Some units may have clips instead of screws. Refer to your user manual for specific instructions.
3. Remove and Clean the Filter
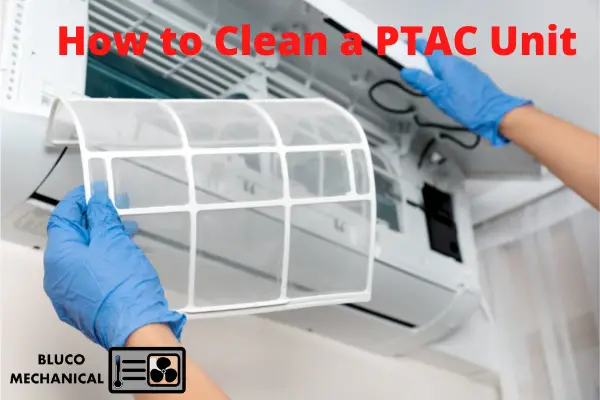
The filter is usually located behind the front cover. Slide it out and inspect it. If it's heavily soiled, it's time for a cleaning or replacement. Here's how to clean a reusable filter:
- Vacuum the filter to remove loose dust and debris.
- Wash the filter with warm, soapy water.
- Rinse thoroughly with clean water.
- Allow the filter to air dry completely before reinstalling it. Never put a wet filter back into the unit.
If the filter is disposable, simply replace it with a new one of the correct size and type.
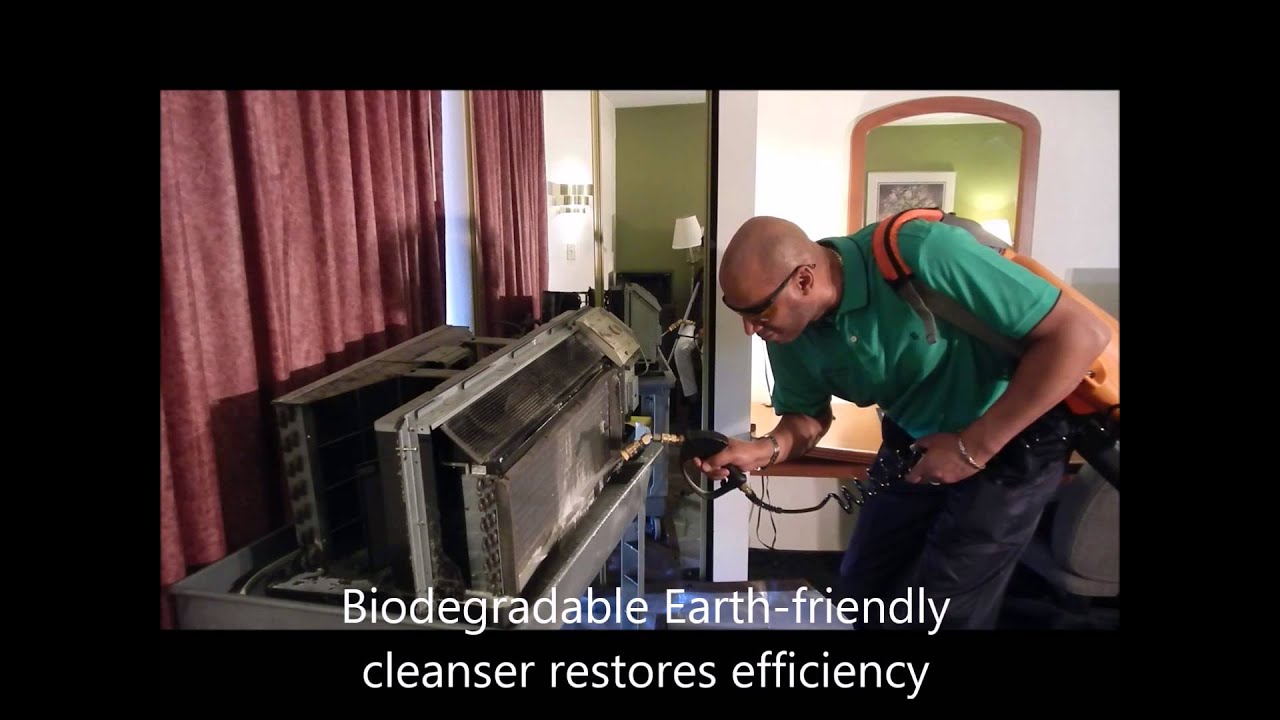
4. Clean the Coils
The coils are the metal fins that help cool the air. They can accumulate a lot of dust and dirt. Here's how to clean them:
- Vacuum the Coils: Use the brush attachment on your vacuum cleaner to carefully vacuum the coils, moving in a downward direction. Be gentle to avoid bending the fins.
- Straighten Bent Fins: If you notice any bent fins, use a fin comb to carefully straighten them. This will improve airflow and cooling efficiency.
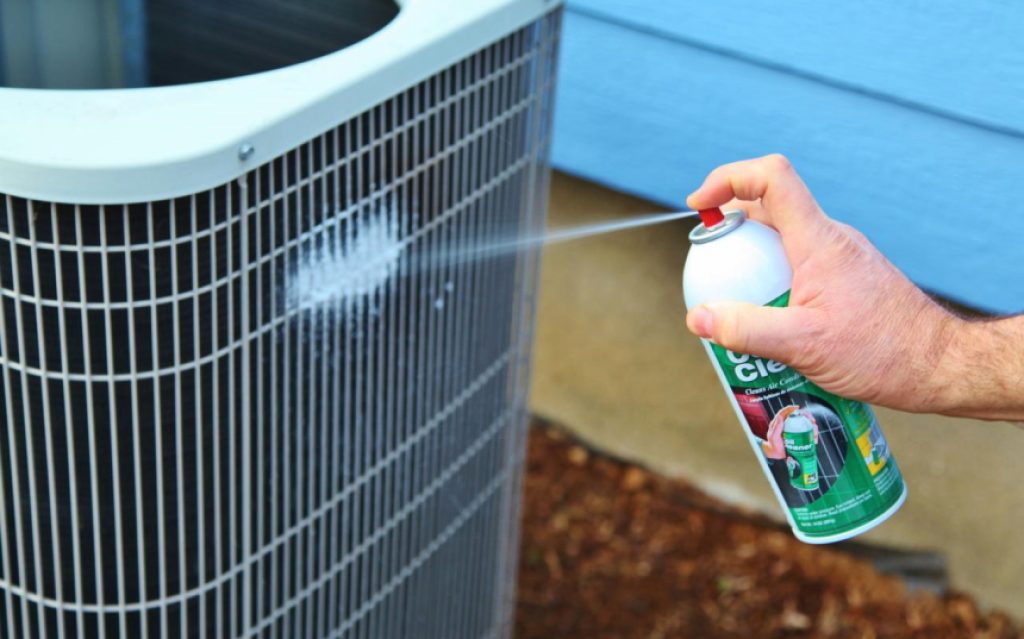
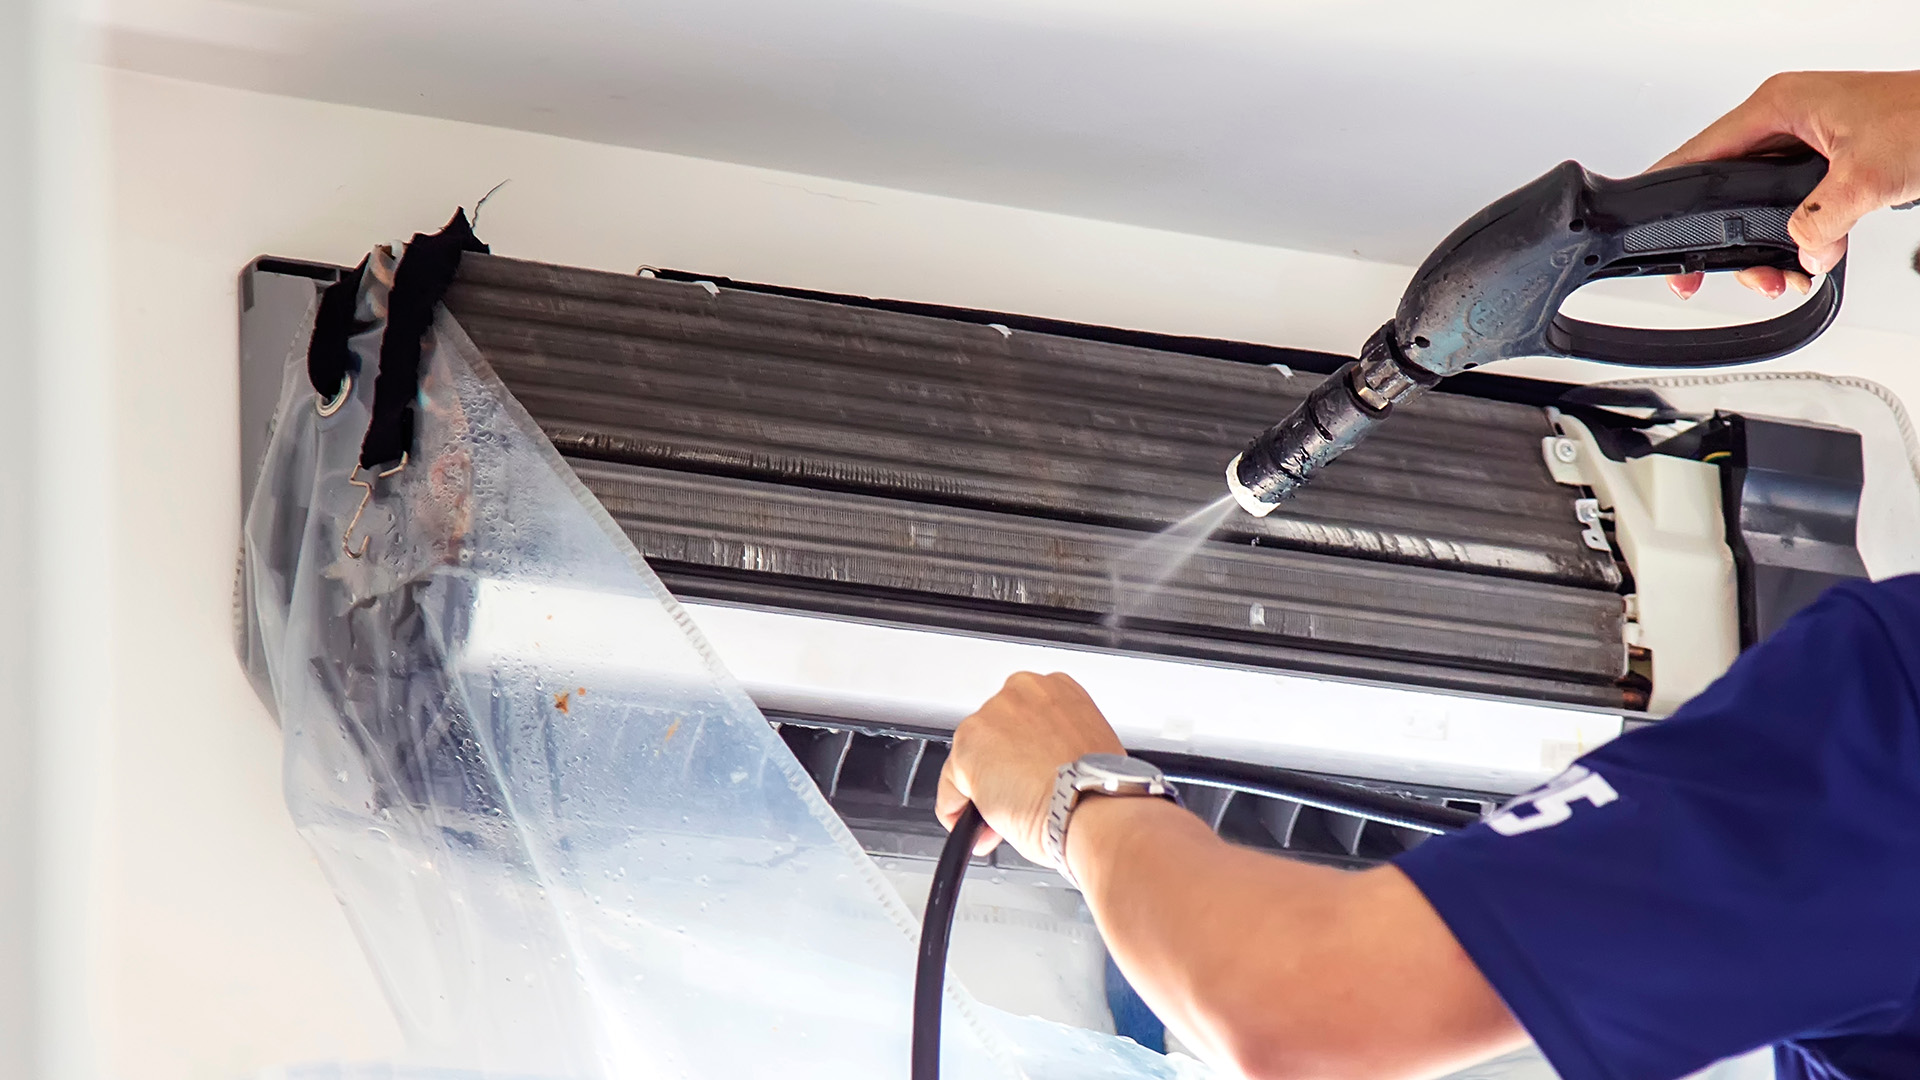
- Apply Cleaning Solution: In a spray bottle, mix a mild soap and water solution or use a specialized coil cleaner according to the manufacturer's instructions. Lightly spray the coils with the cleaning solution. Avoid oversaturating the coils.
- Let the Solution Sit: Allow the cleaning solution to sit on the coils for a few minutes to loosen dirt and grime.
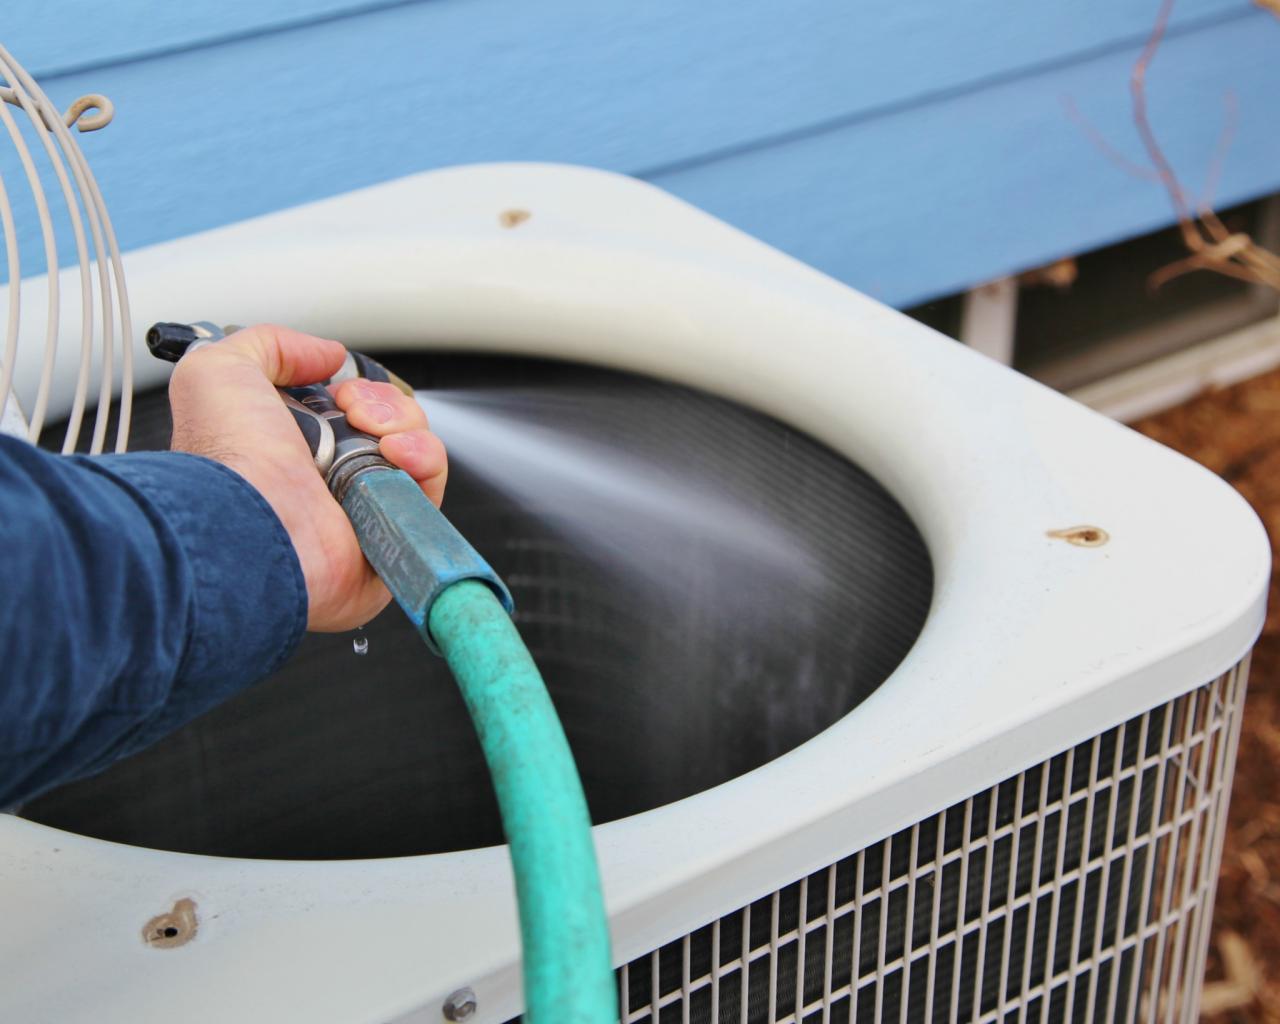
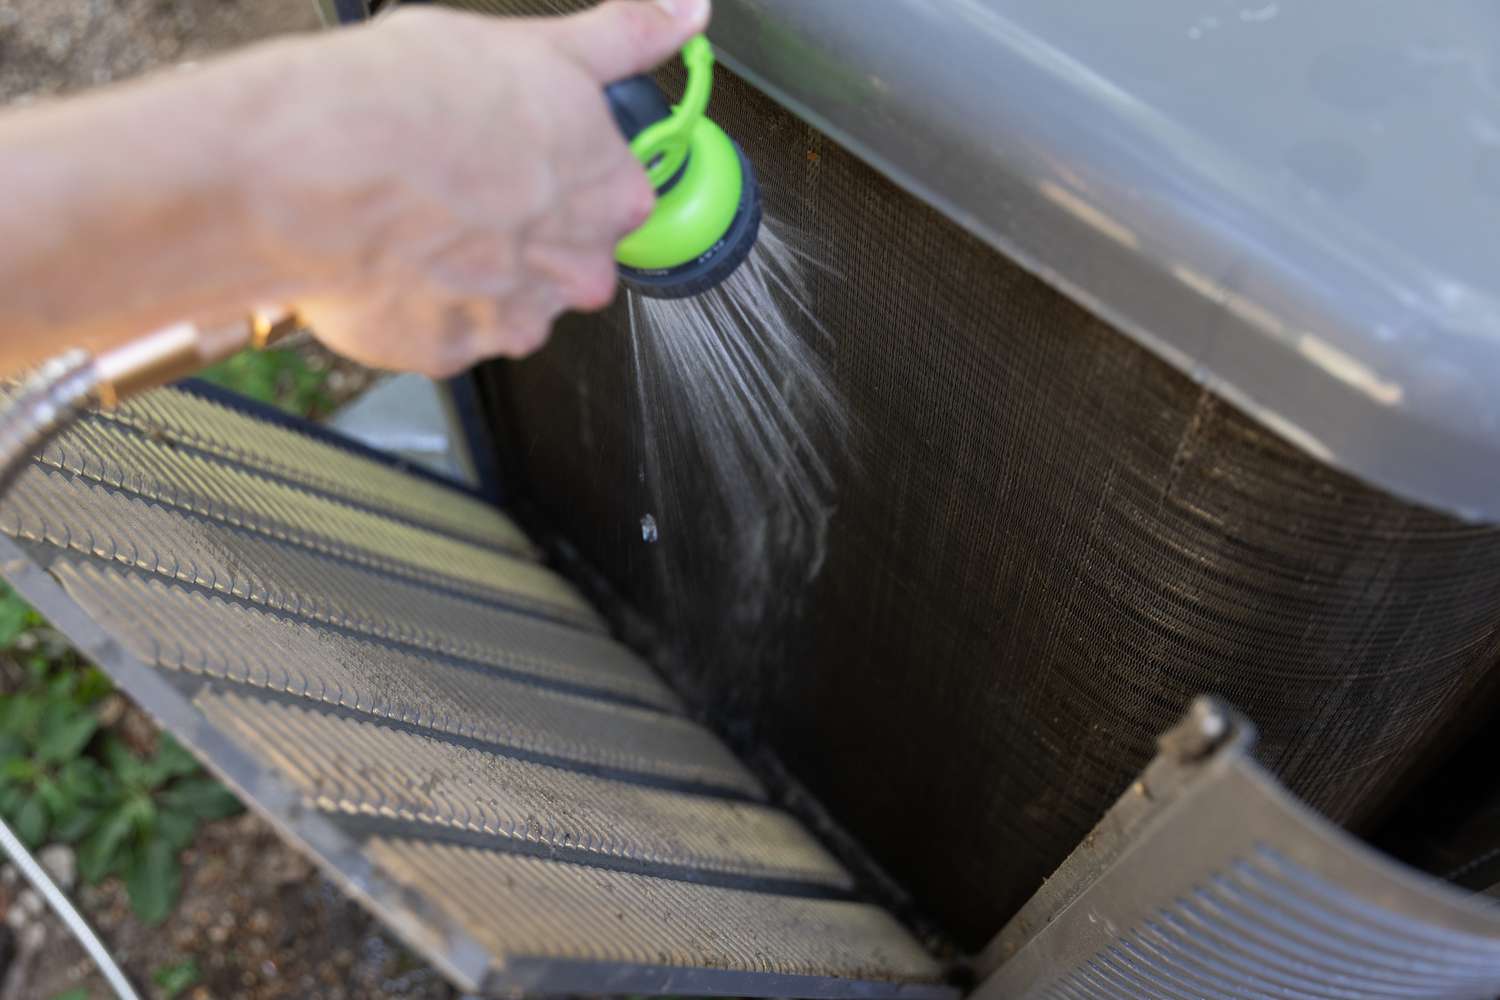
- Rinse the Coils: If using soap and water, gently rinse the coils with clean water. A spray bottle works well for this. If using a specialized coil cleaner, follow the rinsing instructions on the product label.
- Allow the Coils to Dry: Allow the coils to air dry completely before reassembling the unit.
5. Clean the Fan Blades
The fan blades can also accumulate dust and dirt, reducing airflow. Use a soft brush or a damp cloth to clean the fan blades. Be careful not to damage the blades.
6. Clean the Surrounding Area
While you have the PTAC unit disassembled, take the opportunity to clean the surrounding area. Vacuum up any dust or debris around the unit. This will help prevent dirt from being drawn back into the unit.
7. Reassemble the Unit
Once all the components are clean and dry, reassemble the PTAC unit. Make sure the filter is properly installed and that the front cover is securely attached with the screws or clips.
8. Plug in the Unit and Test
Plug the PTAC unit back into the wall outlet or turn on the breaker. Turn on the unit and check if it's working properly. Listen for any unusual noises and make sure the air is blowing cold.
Other Basic Troubleshooting Steps
1. Check the Power Supply
Make sure the PTAC unit is properly plugged into a working outlet. Try plugging another appliance into the same outlet to verify that the outlet is functioning. If the outlet is controlled by a switch, make sure the switch is turned on. If the unit is hardwired, check the breaker in your electrical panel to make sure it hasn't tripped.
2. Check the Thermostat Settings
Make sure the thermostat is set to the correct cooling mode and temperature. Sometimes the simplest solutions are the easiest to overlook! Also, make sure the fan is set to "Auto" or "On," depending on your preference.
3. Check for Obstructions
Ensure that nothing is blocking the airflow to or from the PTAC unit. This includes furniture, curtains, and other objects. Make sure the outdoor vents are also clear of obstructions.
4. Inspect the Condensate Drain
PTAC units produce condensate (water) as they cool the air. This water needs to drain properly. If the condensate drain is clogged, it can cause the unit to malfunction. Look for a small drain opening on the outside of the unit. You can try clearing the drain with a small wire or pipe cleaner. If you are unable to clear the drain yourself, consult a professional.
When to Call a Professional
While these troubleshooting steps can resolve many common PTAC unit problems, there are certain situations where you should always call a qualified HVAC technician:
- Refrigerant Leaks: If you suspect a refrigerant leak (e.g., the unit is blowing warm air and you hear a hissing sound), do not attempt to fix it yourself. Refrigerant is a hazardous substance and requires specialized equipment to handle safely.
- Electrical Problems: If you notice any sparks, burning smells, or other electrical problems, immediately turn off the unit and call an electrician or HVAC technician.
- Compressor Problems: The compressor is the heart of the PTAC unit. If it's not working properly, the unit won't cool. Diagnosing and repairing compressor problems requires specialized knowledge and equipment.
- Gas Leaks (if applicable): Some PTAC units use gas for heating. If you smell gas, evacuate the area immediately and call your gas company or a qualified HVAC technician.
- Complex Repairs: If you've tried the basic troubleshooting steps and the unit still isn't working, it's best to call a professional. Attempting to repair complex components yourself can be dangerous and may void your warranty.
Preventative Maintenance Tips
To keep your PTAC unit running smoothly and efficiently, follow these preventative maintenance tips:
- Clean the Filter Regularly: Check and clean or replace the filter every one to three months, depending on usage and air quality.
- Clean the Coils Annually: Clean the coils at least once a year, or more often if you live in a dusty environment.
- Inspect the Condensate Drain: Check the condensate drain regularly to ensure it's clear of obstructions.
- Schedule Professional Maintenance: Consider scheduling professional maintenance for your PTAC unit every year or two. A technician can inspect the unit, clean it thoroughly, and identify any potential problems before they become major issues.
Conclusion
Cleaning and maintaining your PTAC unit is essential for its performance and longevity. By following these simple troubleshooting steps and preventative maintenance tips, you can keep your unit running smoothly and efficiently, saving you money on energy bills and extending its lifespan. Remember to always prioritize safety and call a qualified professional when dealing with electrical, gas, or complex repairs. With a little knowledge and effort, you can keep your PTAC unit in top shape and enjoy comfortable temperatures year-round.