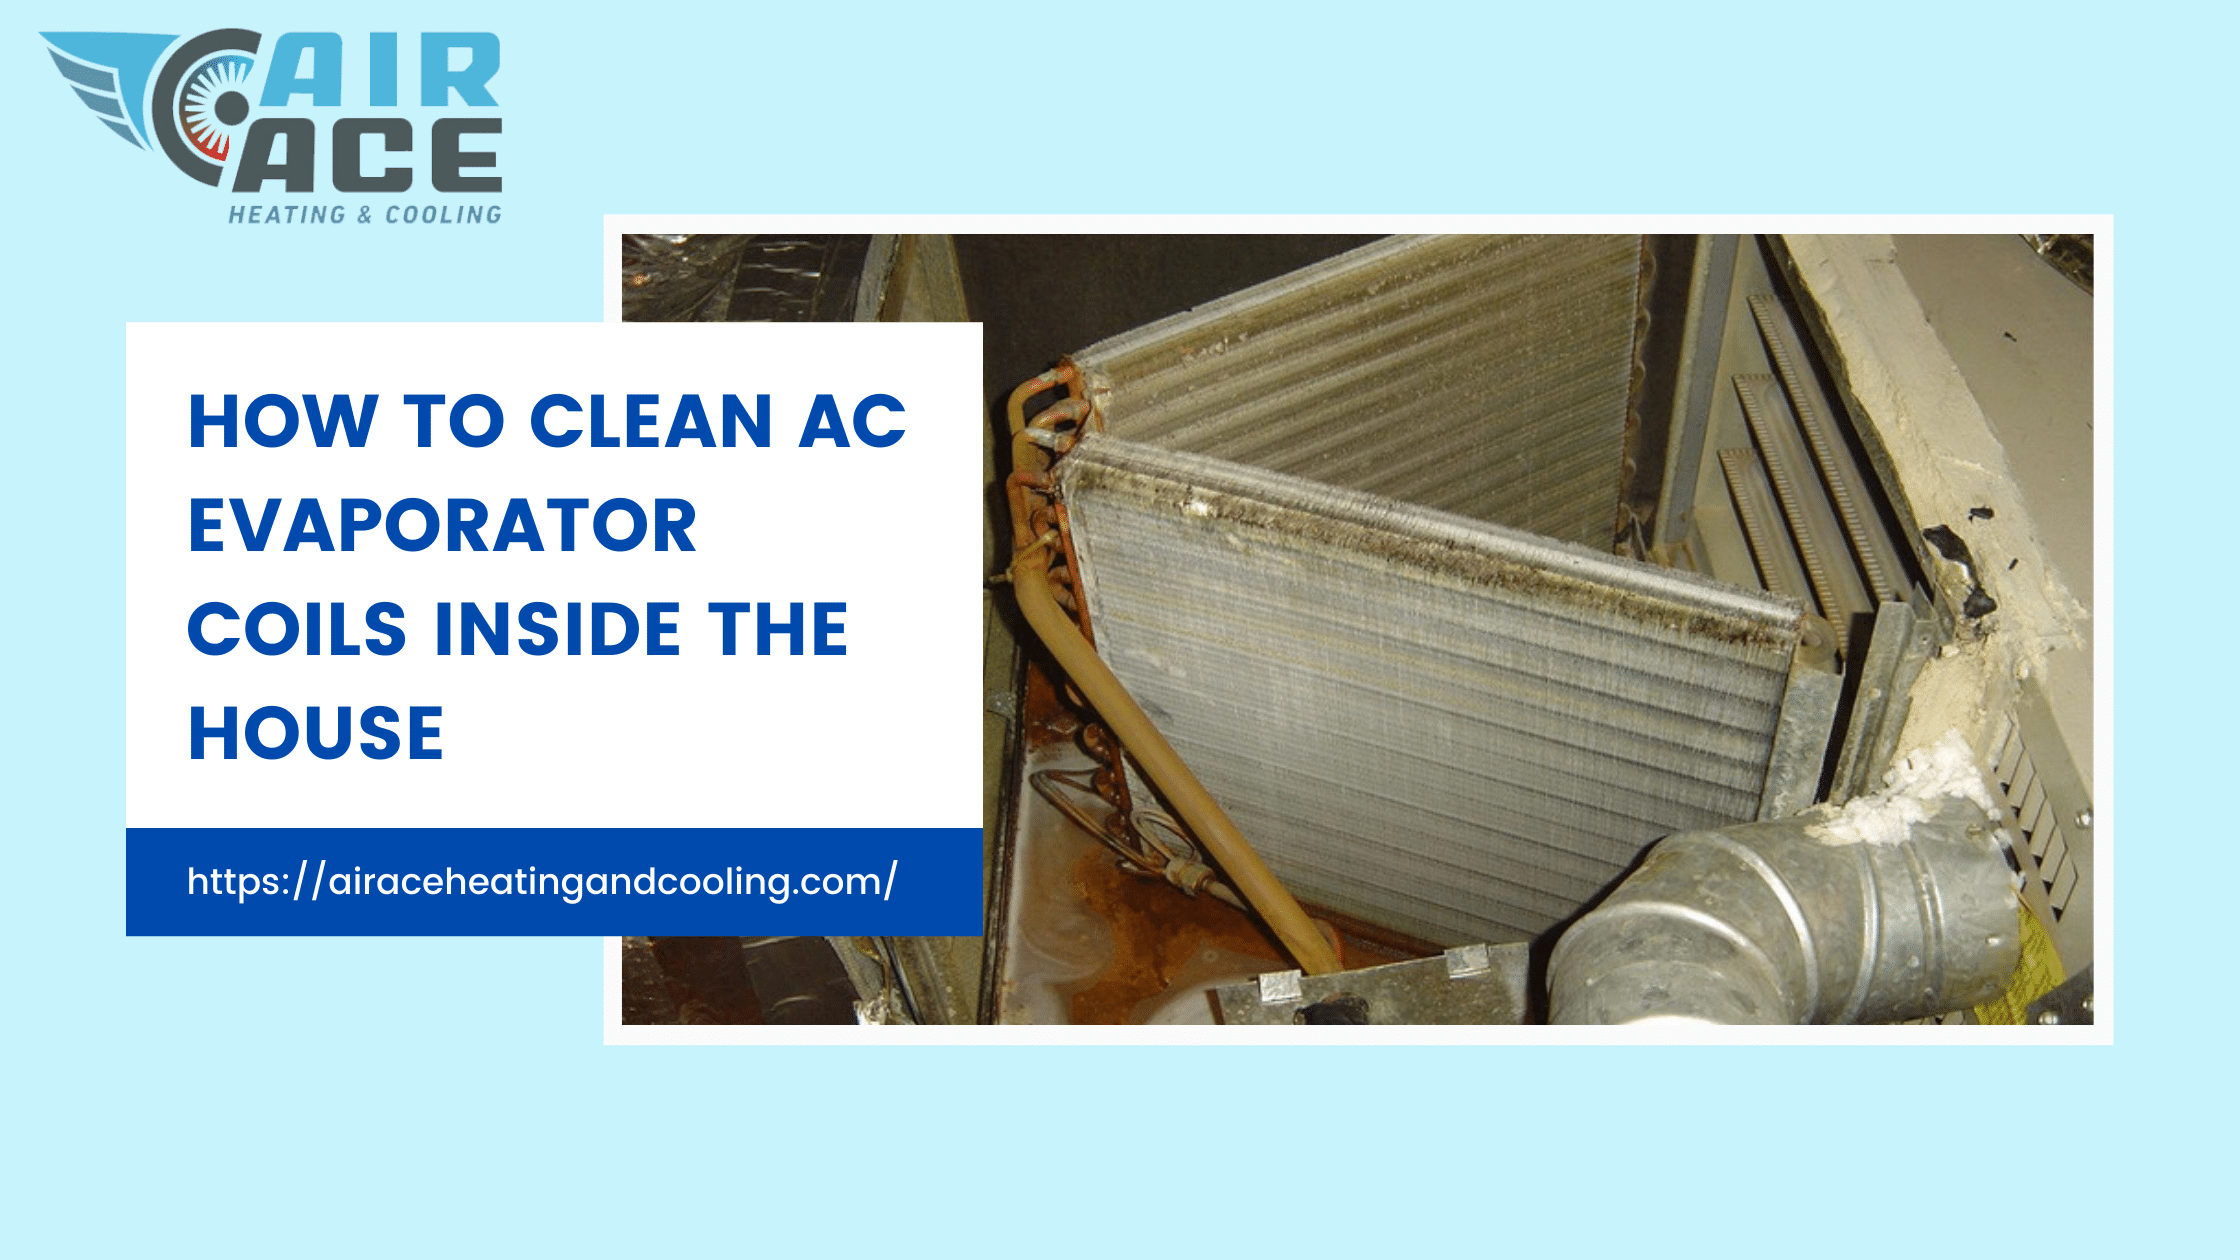
How To Clean Ac Evaporator Coil
Your air conditioner's evaporator coil plays a vital role in keeping your home cool. It's responsible for absorbing heat from the air inside, making your living space comfortable. Over time, however, this coil can accumulate dust, dirt, mold, and other contaminants, reducing its efficiency and potentially leading to health problems. Cleaning the evaporator coil is essential for maintaining optimal AC performance, prolonging its lifespan, and ensuring healthy indoor air quality. This guide provides a comprehensive overview of how to clean your AC evaporator coil safely and effectively.
Understanding Your AC Evaporator Coil
Before diving into the cleaning process, it's important to understand what the evaporator coil is and why it needs cleaning. Think of your AC system as having two main parts: an outdoor unit (the condenser) and an indoor unit (the air handler). The evaporator coil is located inside the air handler, often within a metal box-like enclosure.
Function: The evaporator coil is where the refrigerant, the "cooling agent" of your AC, absorbs heat from the air that's blown across it. Think of refrigerant as the 'blood' of your AC system, carrying heat from inside to outside. As the refrigerant absorbs heat, it evaporates into a gas. This cooled air is then circulated throughout your home.
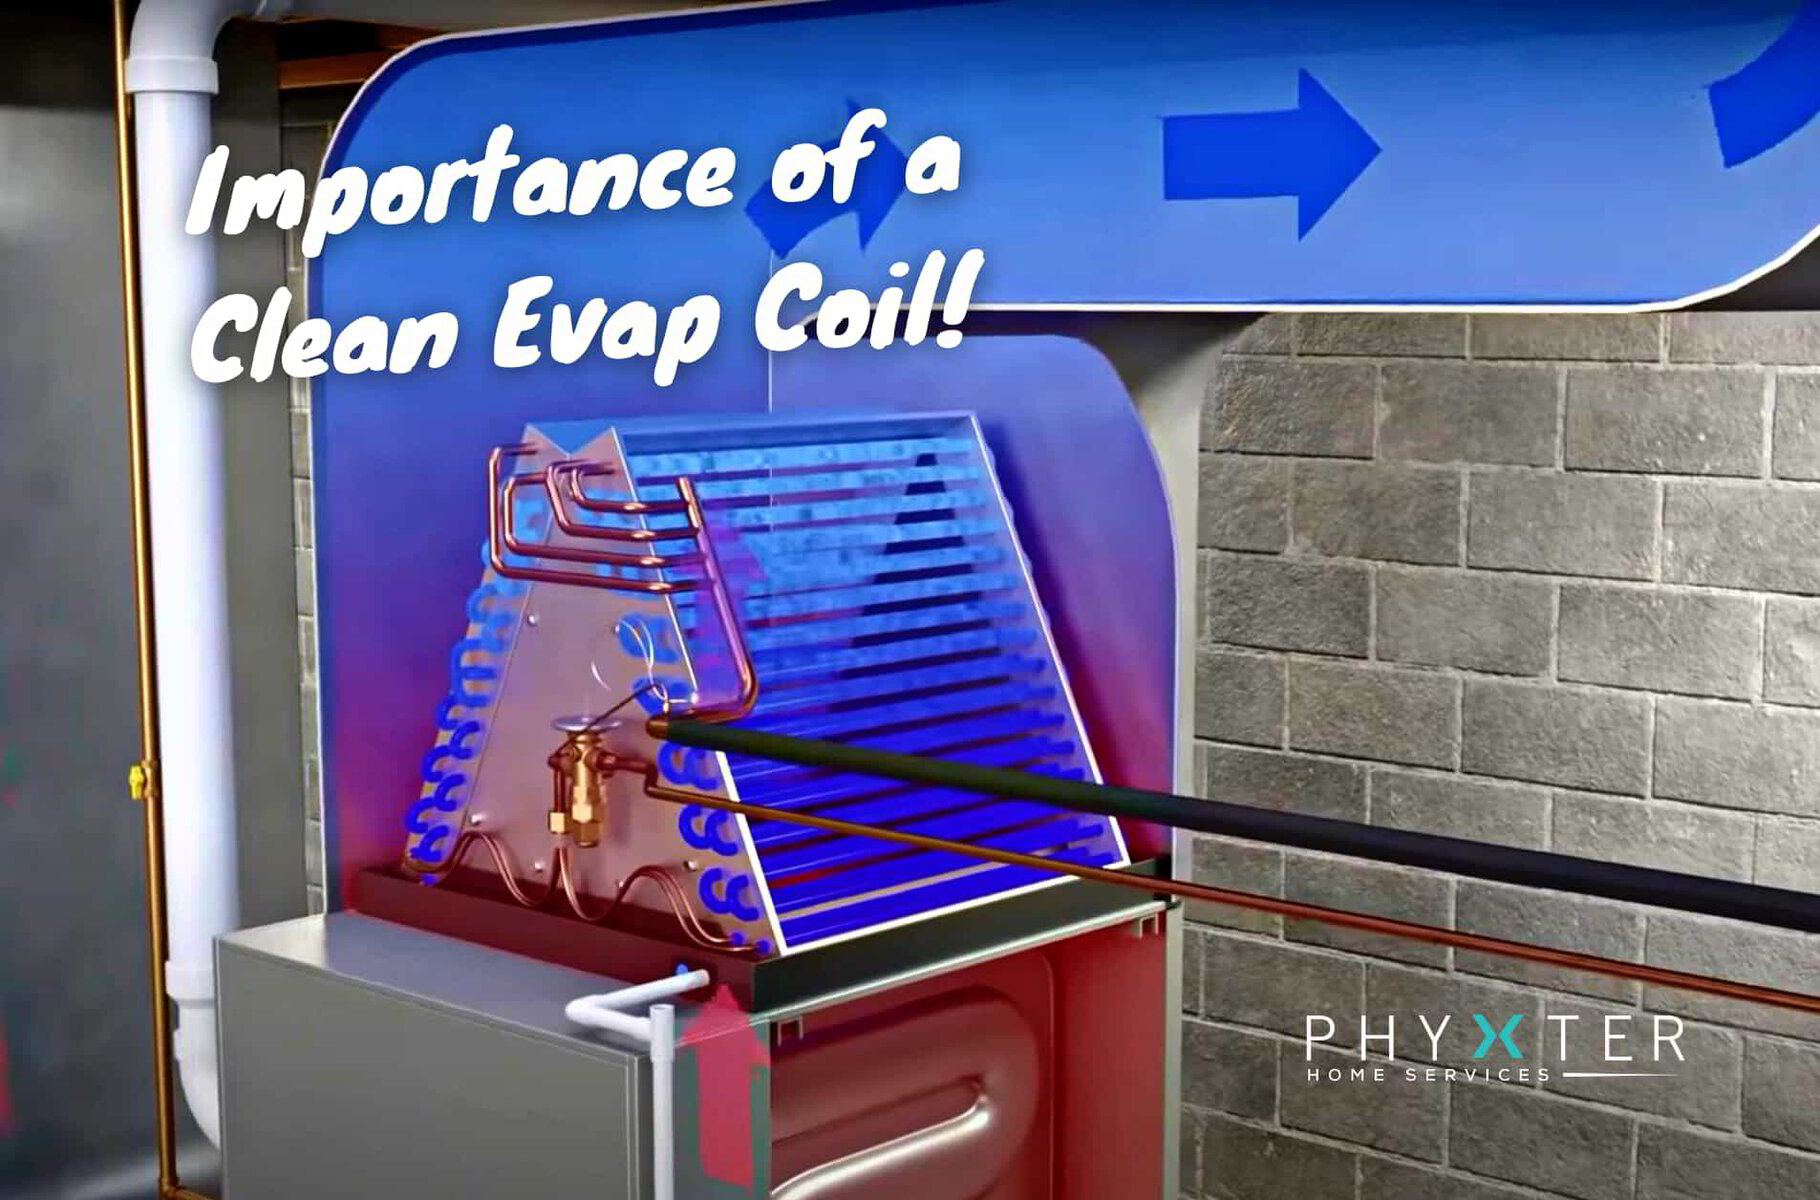
Why it gets dirty: The evaporator coil is naturally damp, especially during peak cooling season. This moisture, combined with dust, pet dander, pollen, and other airborne particles, creates the perfect environment for mold and mildew growth. This buildup acts as an insulator, making it harder for the coil to absorb heat and forcing your AC to work harder, consuming more energy.
Consequences of a dirty evaporator coil:
- Reduced Cooling Efficiency: A dirty coil can significantly decrease your AC's cooling capacity, leaving your home feeling warmer than it should.
- Increased Energy Bills: A less efficient AC has to work harder and longer to achieve the desired temperature, leading to higher energy consumption.
- Poor Air Quality: Mold and mildew growth on the coil can release harmful spores into the air, potentially causing respiratory problems and allergies.
- Frozen Evaporator Coil: Excessive dirt buildup can restrict airflow across the coil, causing it to freeze.
- AC System Failure: Over time, a consistently overworked AC system can suffer from premature wear and tear, leading to costly repairs or even a complete system failure.
Determining if Your Evaporator Coil Needs Cleaning
Several signs indicate that your evaporator coil might need cleaning:
- Weak Airflow: If the airflow from your vents seems weaker than usual, it could be due to a clogged evaporator coil.
- Unusual Odors: A musty or moldy smell coming from your vents is a strong indication of mold or mildew growth on the coil.
- Higher Energy Bills: A sudden and unexplained increase in your energy bills could signal that your AC is working harder than it should.
- Visible Dirt or Mold: If you can see dust or mold on the coil when you inspect it (after turning off the system and opening the access panel), it's definitely time for cleaning.
- Frozen Coil: Ice formation on the coil indicates a serious problem, often caused by restricted airflow due to dirt buildup. (If you see a frozen coil, turn off the AC immediately and allow the ice to melt completely before proceeding.)
Safety Precautions
Before you begin, safety is paramount. Working with electrical appliances and cleaning chemicals requires caution:
- Turn off the Power: Always turn off the power to your AC unit at the circuit breaker before starting any cleaning or maintenance. This will prevent electrical shock.
- Wear Protective Gear: Wear safety glasses, gloves, and a dust mask to protect yourself from debris and cleaning chemicals.
- Read Product Labels: Carefully read and follow the instructions on any cleaning products you use.
- Work in a Well-Ventilated Area: Ensure proper ventilation to avoid inhaling fumes from cleaning chemicals.
- Consult a Professional: If you're uncomfortable performing this task yourself, or if you encounter any complications, don't hesitate to call a qualified HVAC technician.
Tools and Materials You'll Need
Gather the following tools and materials before you begin:
- Screwdriver: To remove access panels.
- Fin Comb: To straighten bent coil fins (optional, but recommended).
- Vacuum Cleaner with Brush Attachment: To remove loose dust and debris.
- Soft Brush: To gently scrub the coil. A toothbrush or bottle brush works well.
- Evaporator Coil Cleaner: Choose a cleaner specifically designed for AC evaporator coils. These are available at most hardware stores and online retailers. Look for a no-rinse cleaner to simplify the process. Avoid using harsh chemicals like bleach, as they can damage the coil.
- Spray Bottle: To apply the cleaner (if it doesn't come in a spray bottle).
- Clean Cloth or Towels: To wipe up any spills.
- Flashlight: To illuminate the coil.
Step-by-Step Cleaning Guide
Follow these steps to clean your AC evaporator coil:
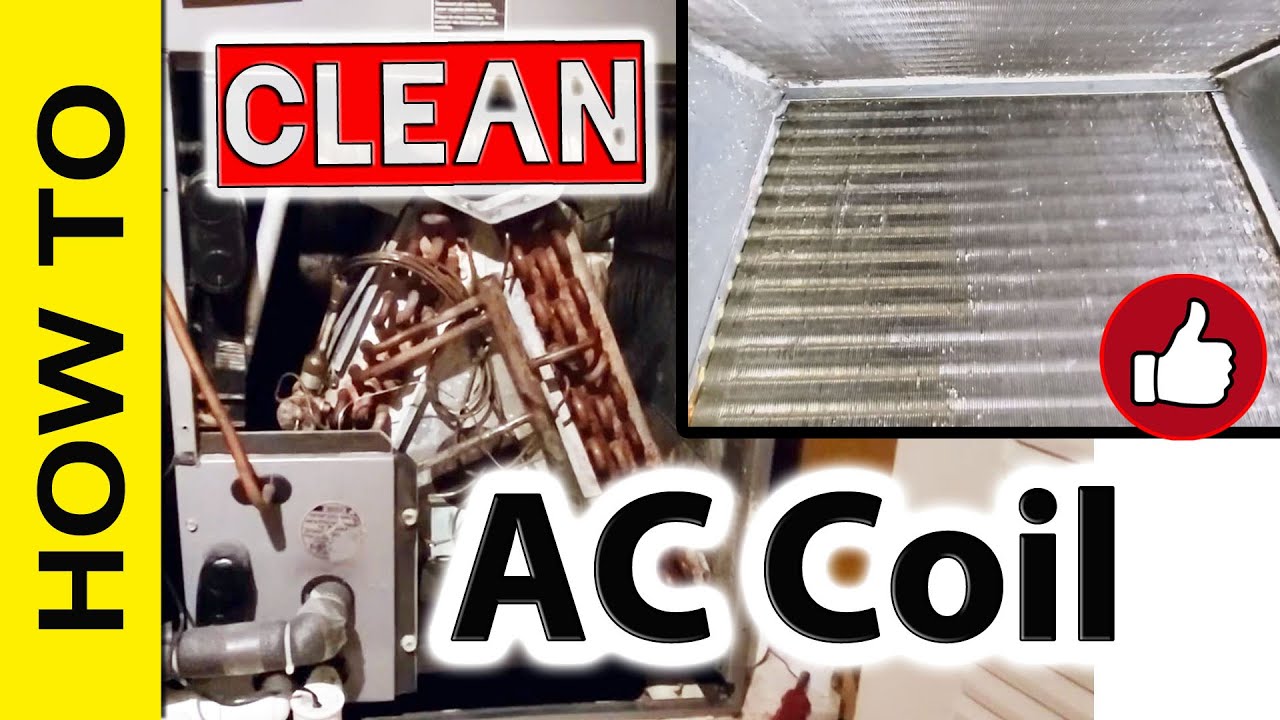
1. Access the Evaporator Coil
Locate the air handler (the indoor unit of your AC system). It's typically in a closet, attic, or basement. The evaporator coil is usually housed within a metal enclosure inside the air handler.
Use a screwdriver to remove the access panel that covers the evaporator coil. The location and configuration of the panel will vary depending on your AC unit. You may need to consult your owner's manual for specific instructions.
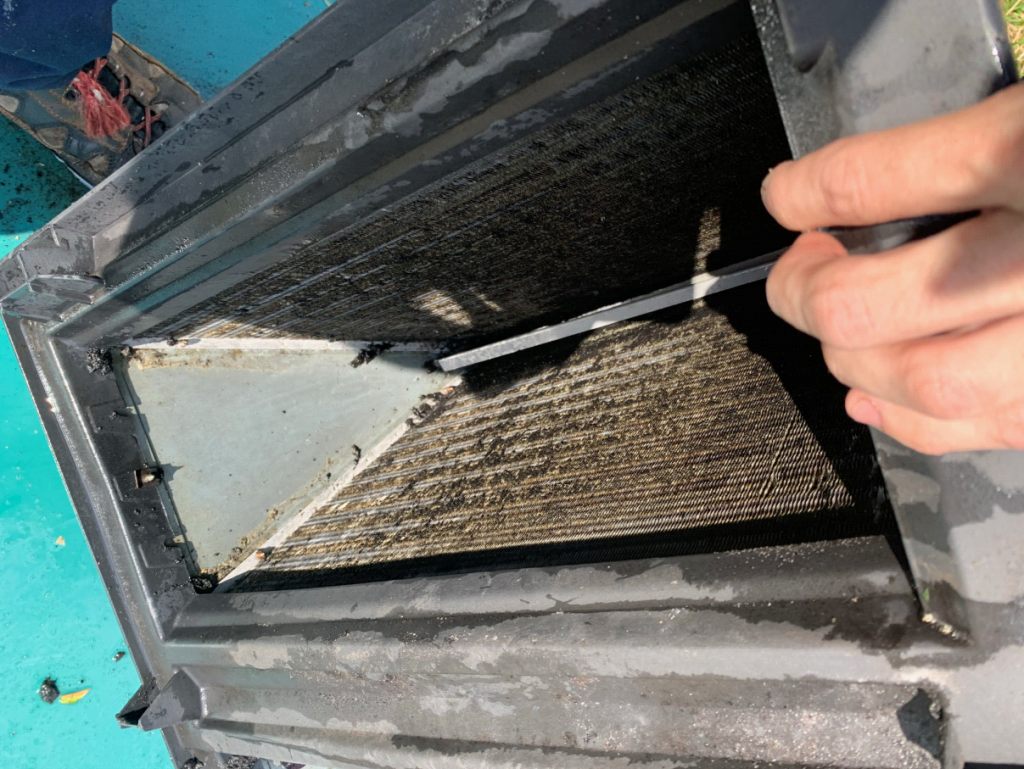
2. Visual Inspection and Vacuuming
Once the access panel is removed, use a flashlight to inspect the evaporator coil. Assess the level of dirt and debris buildup.
Use a vacuum cleaner with a brush attachment to carefully remove any loose dust, dirt, and debris from the coil. Be gentle to avoid damaging the delicate fins.
3. Straighten Bent Fins (Optional)
The fins on the evaporator coil are thin metal plates that help to maximize heat transfer. Over time, these fins can become bent or damaged, reducing the coil's efficiency.
If you notice any bent fins, use a fin comb to gently straighten them. A fin comb is a specialized tool designed for this purpose. Be patient and work carefully to avoid breaking the fins.
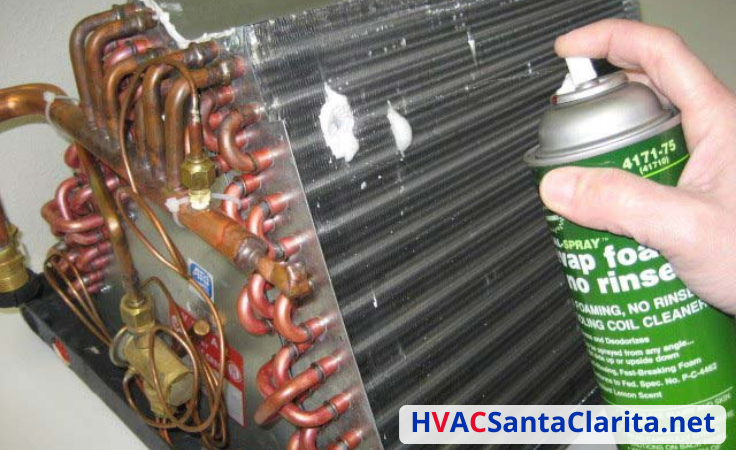
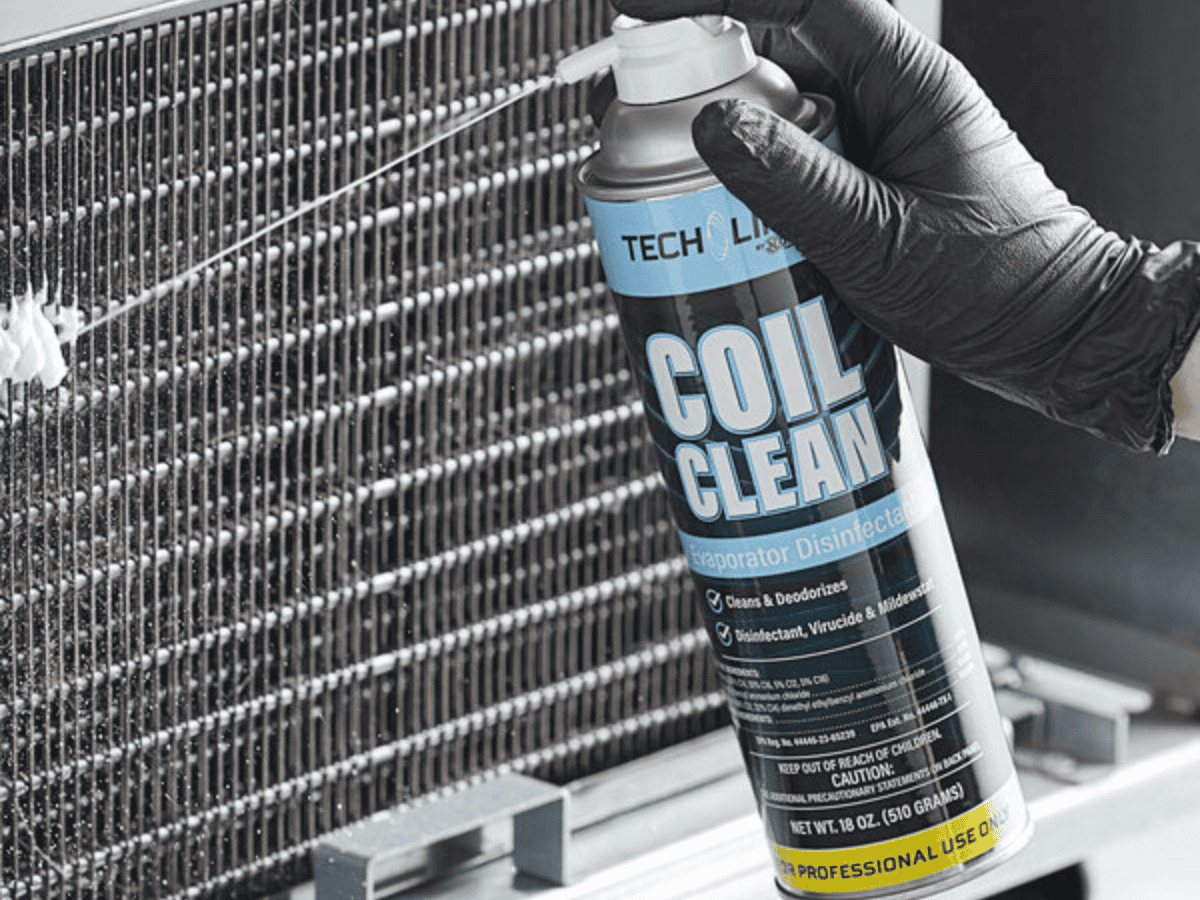
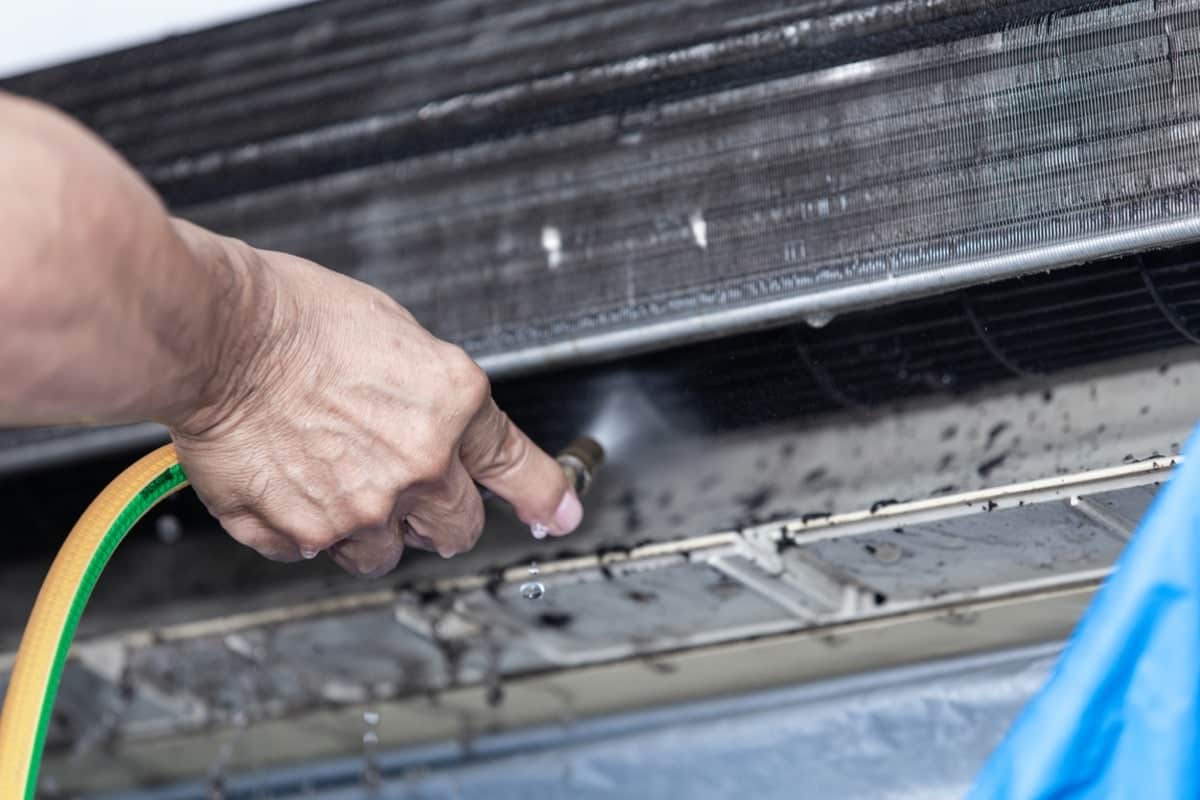
4. Apply Evaporator Coil Cleaner
Spray the evaporator coil cleaner evenly over the entire surface of the coil. Follow the instructions on the cleaner label for application guidelines. Make sure to coat all surfaces, including the front, back, and sides of the coil.
Important: Use a no-rinse cleaner. Rinsing the coil can be difficult and can potentially damage the system if water gets into sensitive components.
5. Allow the Cleaner to Dwell
Let the cleaner dwell on the coil for the amount of time recommended on the product label. This allows the cleaner to break down the dirt and grime.
6. Wipe Away Excess Cleaner (If Necessary)
Some no-rinse cleaners may leave a slight residue. If you notice any excess cleaner pooling or dripping, gently wipe it away with a clean cloth or towel.
7. Reassemble the Unit
Once the cleaner has had time to work and you've wiped away any excess, carefully replace the access panel. Make sure it's securely fastened.
8. Turn the Power Back On
Turn the power back on to your AC unit at the circuit breaker.
9. Run the AC and Monitor Performance
Run your AC system and monitor its performance. You should notice improved airflow and cooling efficiency. Also, listen for any unusual noises that might indicate a problem.
Preventive Maintenance Tips
To keep your evaporator coil clean and your AC system running efficiently, follow these preventive maintenance tips:
- Regular Filter Changes: Change your AC filter every 1-3 months, depending on usage and air quality. A clean filter helps to prevent dust and debris from entering the system and accumulating on the evaporator coil.
- Professional AC Tune-Ups: Schedule regular AC tune-ups with a qualified HVAC technician. They can perform a thorough cleaning of the evaporator coil and other system components, as well as identify and address any potential problems.
- Keep the Area Around the Outdoor Unit Clear: Make sure the area around your outdoor AC unit is free of obstructions, such as plants, debris, and weeds. This will ensure proper airflow and prevent the system from overheating.
- Consider UV Lights: Installing UV lights inside your air handler can help to kill mold and bacteria on the evaporator coil, preventing buildup and improving air quality.
When to Call a Professional
While you can clean your AC evaporator coil yourself, there are certain situations where it's best to call a professional HVAC technician:
- You're uncomfortable performing the task yourself.
- You encounter any complications during the cleaning process.
- You suspect a more serious problem with your AC system, such as a refrigerant leak or a malfunctioning component.
- You have a very dirty or heavily contaminated evaporator coil.
- You want to ensure that the cleaning is done properly and thoroughly.
A professional HVAC technician has the expertise and equipment to clean your evaporator coil safely and effectively. They can also diagnose and repair any underlying problems that may be contributing to the dirt buildup.
By following this guide, you can keep your AC evaporator coil clean and maintain optimal AC performance, saving money on energy bills and enjoying a comfortable and healthy home environment. Remember to prioritize safety and consult a professional when needed.