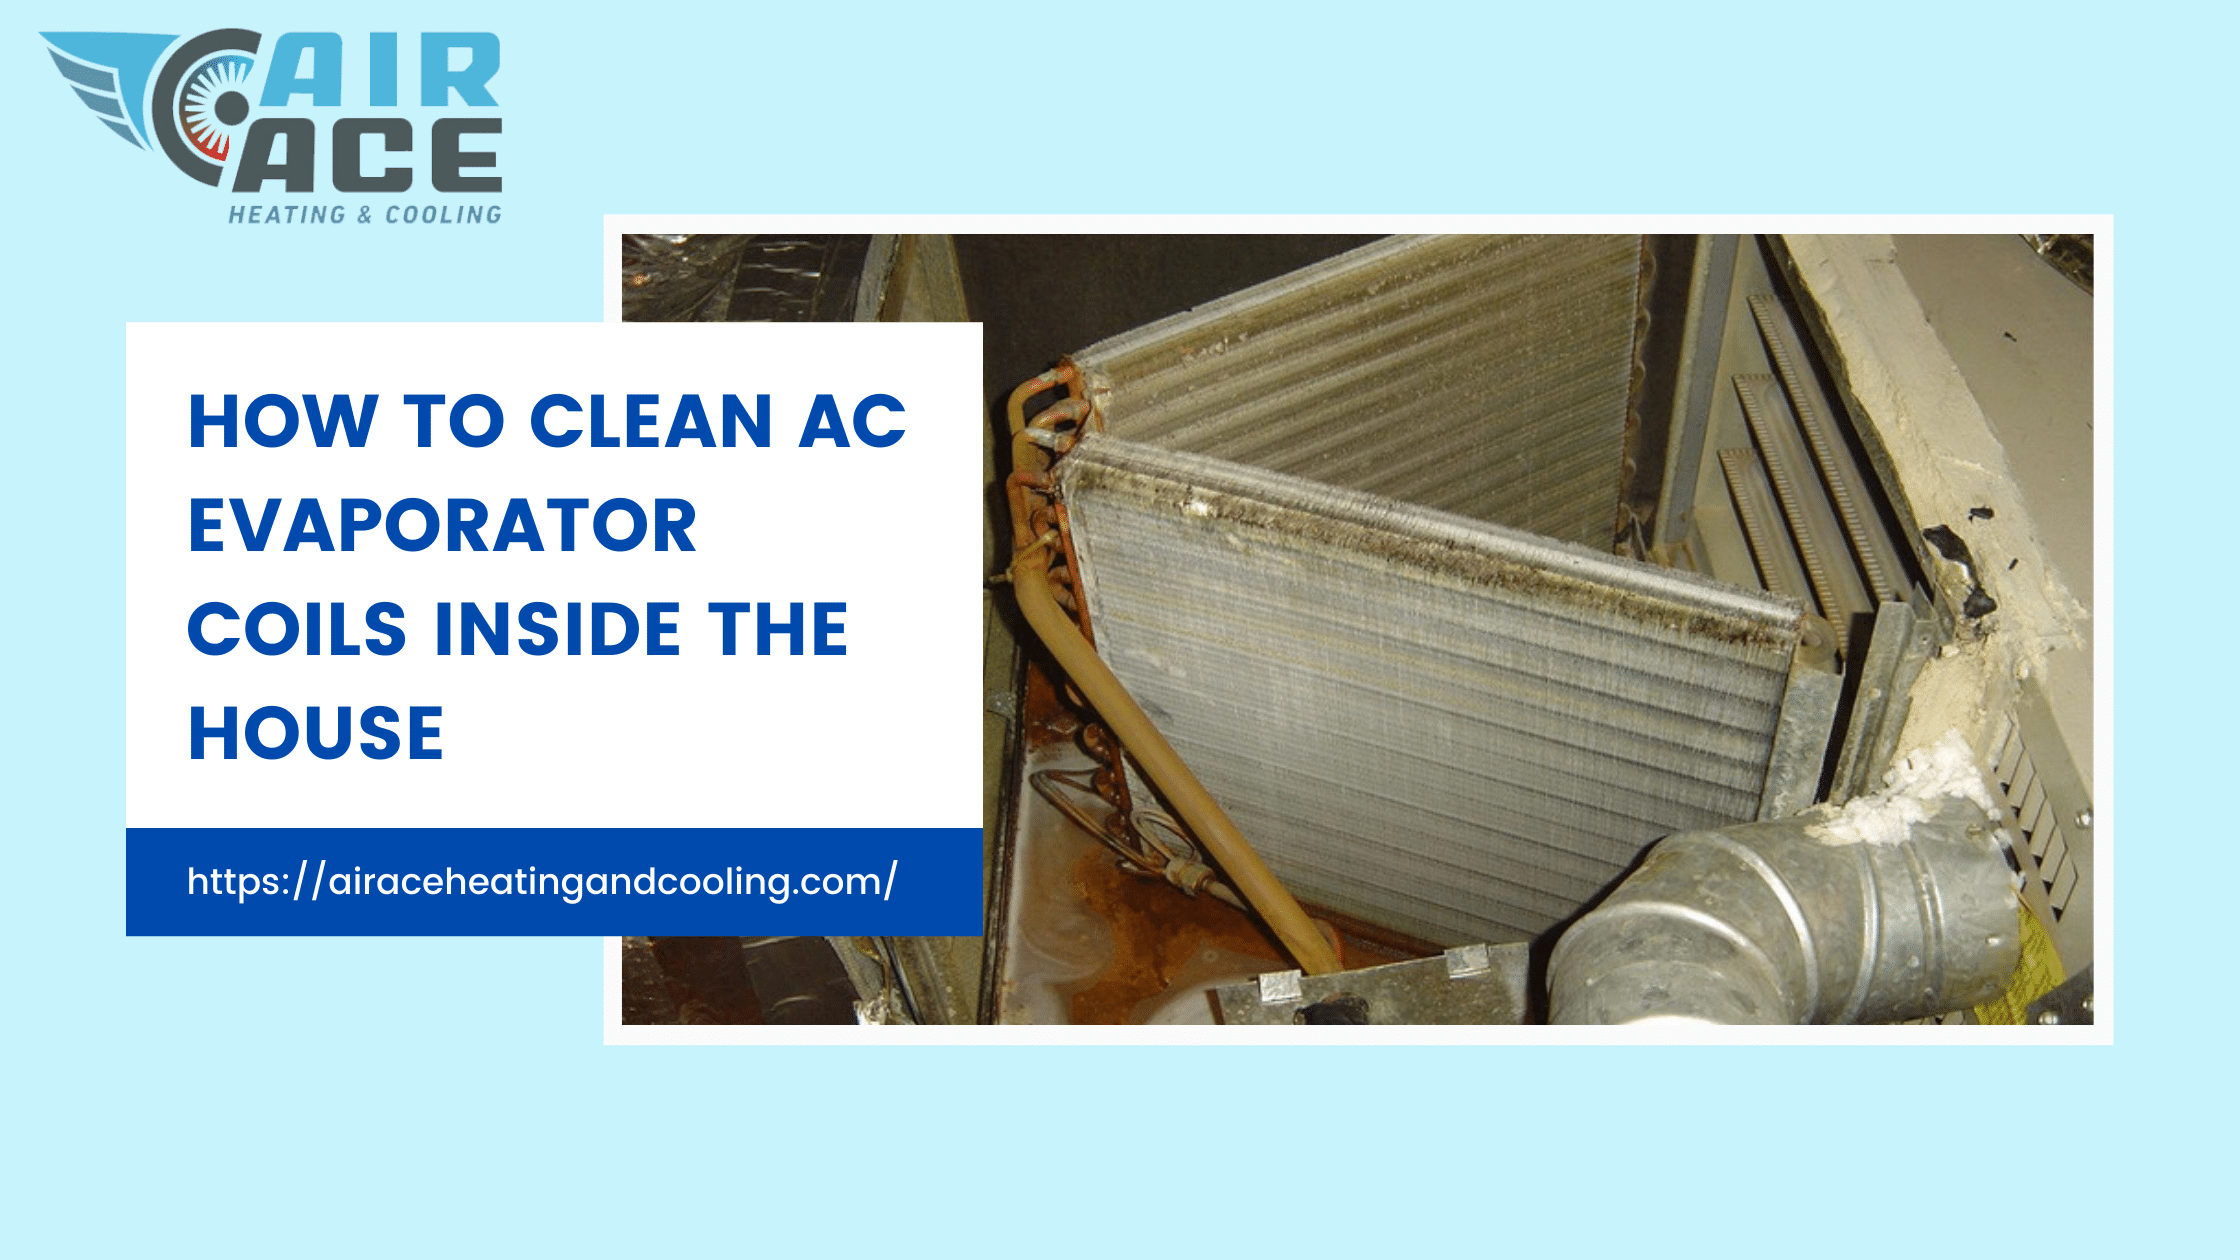
How To Clean Ac Evaporator Coils
Maintaining a clean air conditioning system is crucial for energy efficiency, indoor air quality, and overall cost savings. The evaporator coil, a key component in your AC unit, is particularly susceptible to dust and debris buildup, which can significantly reduce its performance. A dirty evaporator coil forces your system to work harder, consuming more energy and potentially leading to costly repairs. This article provides a comprehensive guide on how to clean your AC evaporator coils, ensuring optimal performance and energy savings.
Understanding the Evaporator Coil
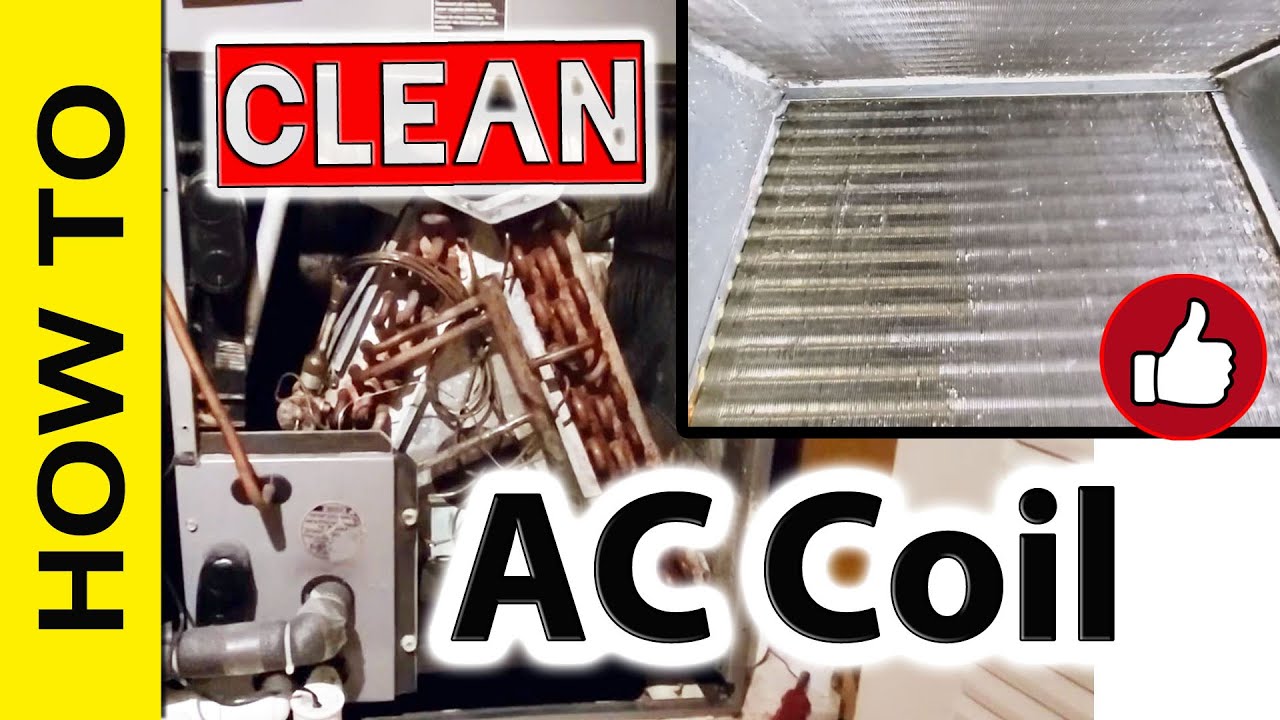
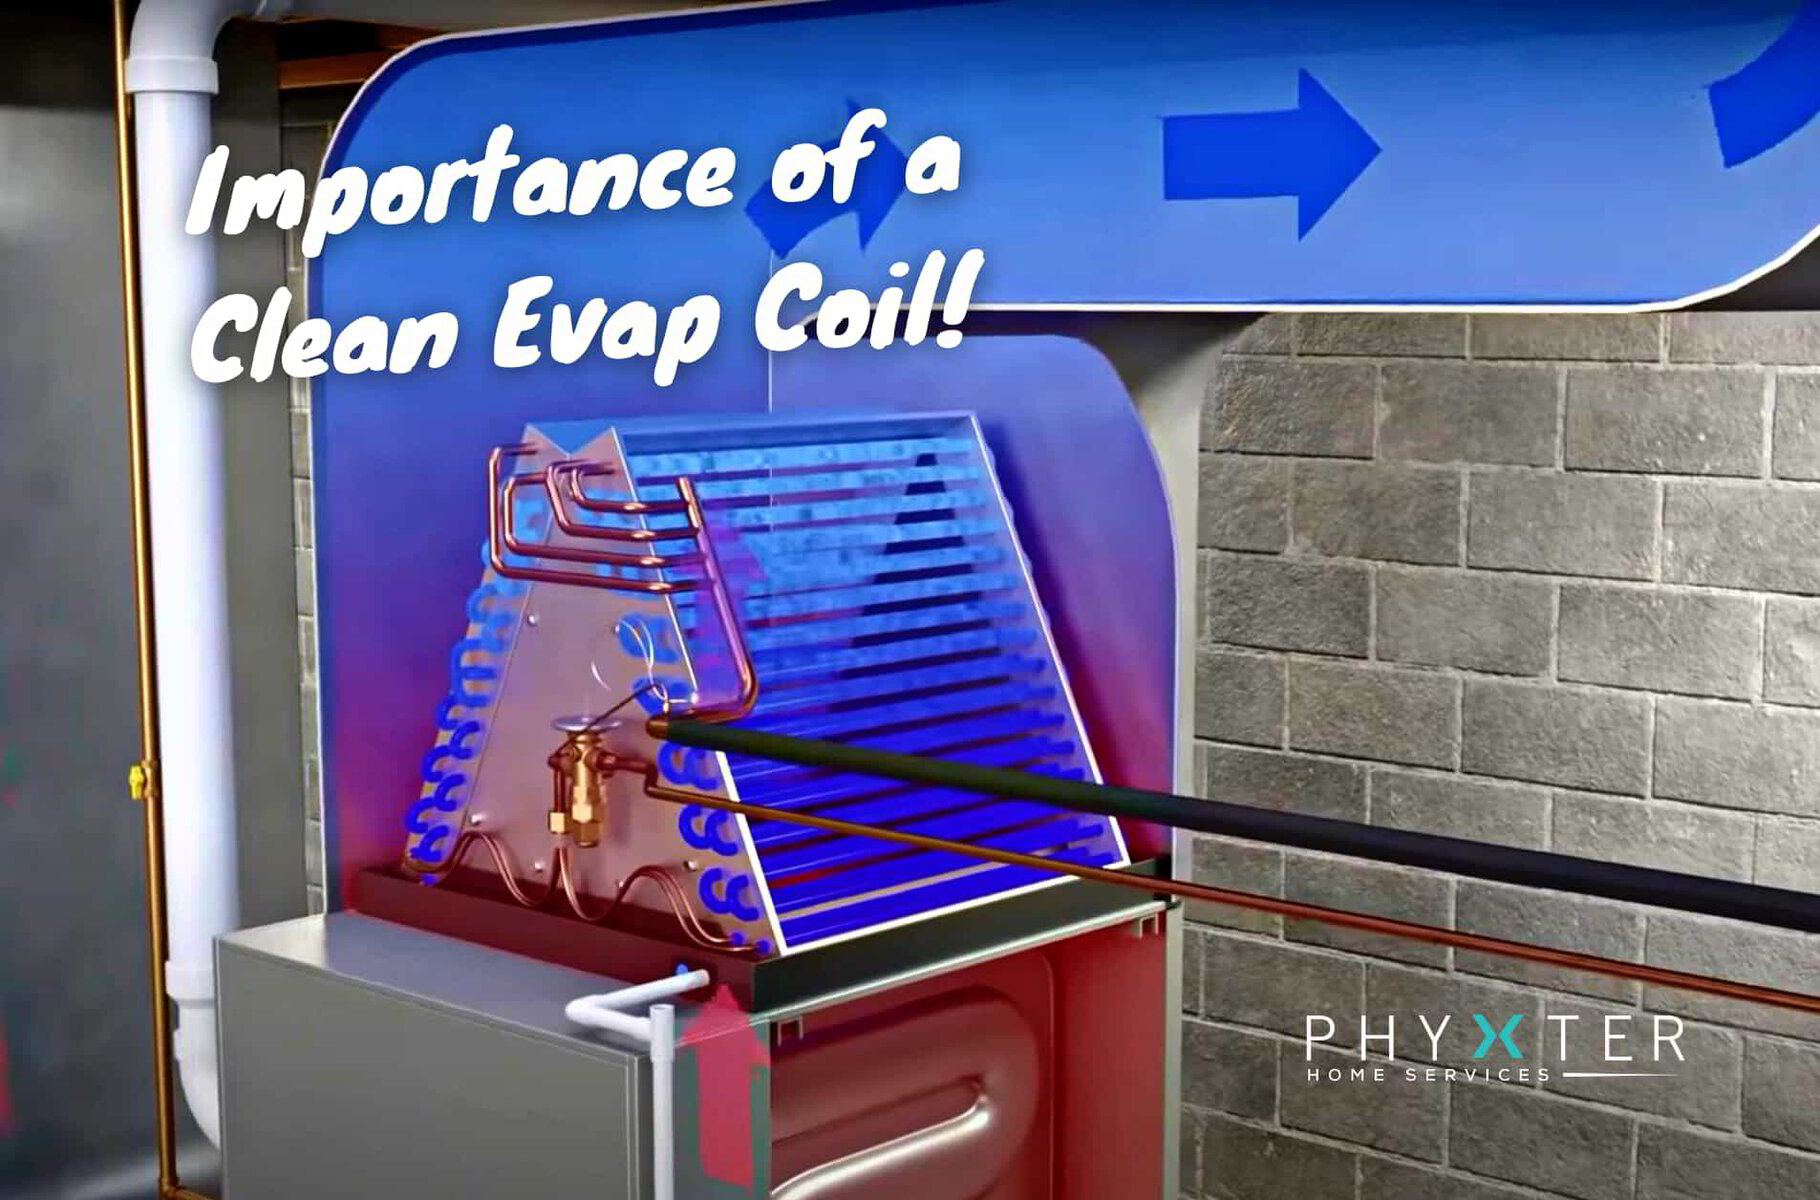
The evaporator coil is located inside your air handler, typically found within your home. Its primary function is to absorb heat from the air passing over it, cooling the air before it's circulated throughout your home. Refrigerant flowing through the coil absorbs the heat, turning into a gas in the process. Over time, dust, dirt, mold, and other contaminants accumulate on the coil's surface, acting as an insulator and hindering its ability to transfer heat effectively. This forces your AC unit to run longer and consume more energy to achieve the desired temperature.
According to Energy Star, regular maintenance, including cleaning the evaporator coil, can improve your AC system's efficiency by as much as 5-15%. Considering that cooling can account for a significant portion of your energy bill (up to 50% in some regions), cleaning the coil can translate to substantial savings. Furthermore, a clean coil contributes to better indoor air quality by reducing the presence of allergens and pollutants.
Safety First: Preparation is Key
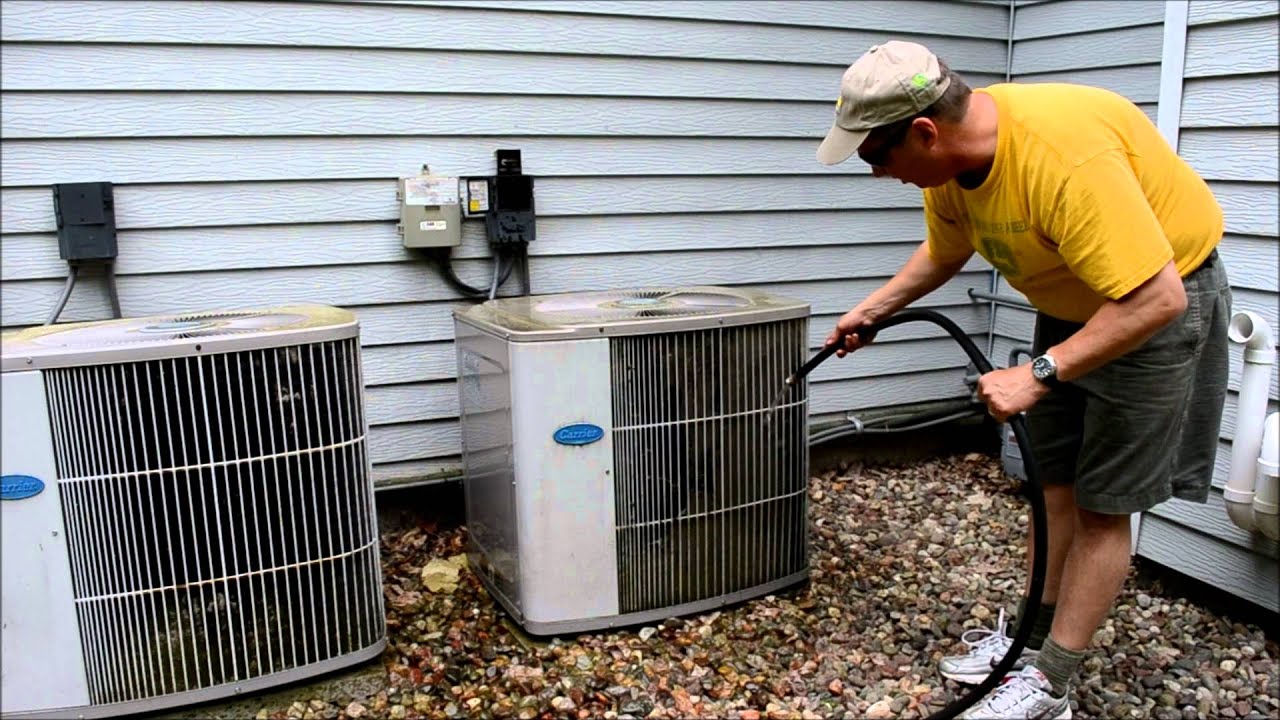
Before you begin cleaning, safety is paramount. Always turn off the power to your AC unit at the breaker box. This prevents electrical shock and ensures your safety throughout the cleaning process. It's also advisable to wear gloves and a mask to protect yourself from dust, mold, and cleaning chemicals.
Gather the necessary tools and materials. You will need:
- Screwdrivers (various sizes)
- Fin comb
- Soft brush (like a paintbrush)
- Vacuum cleaner with hose attachment
- Evaporator coil cleaner (non-acidic, specifically designed for AC coils)
- Spray bottle
- Protective gloves and mask
- Flashlight
Consider using a no-rinse evaporator coil cleaner to simplify the process. These cleaners are designed to dissolve dirt and grime without requiring a water rinse, making the cleaning faster and easier.
Step-by-Step Cleaning Guide
1. Accessing the Evaporator Coil
The first step is to access the evaporator coil. This usually involves removing an access panel on your air handler. The location of the access panel varies depending on the model, so consult your owner's manual for specific instructions. In most cases, you'll need a screwdriver to remove the screws securing the panel. Be careful not to damage any wires or components while removing the panel.
2. Visual Inspection and Initial Cleaning
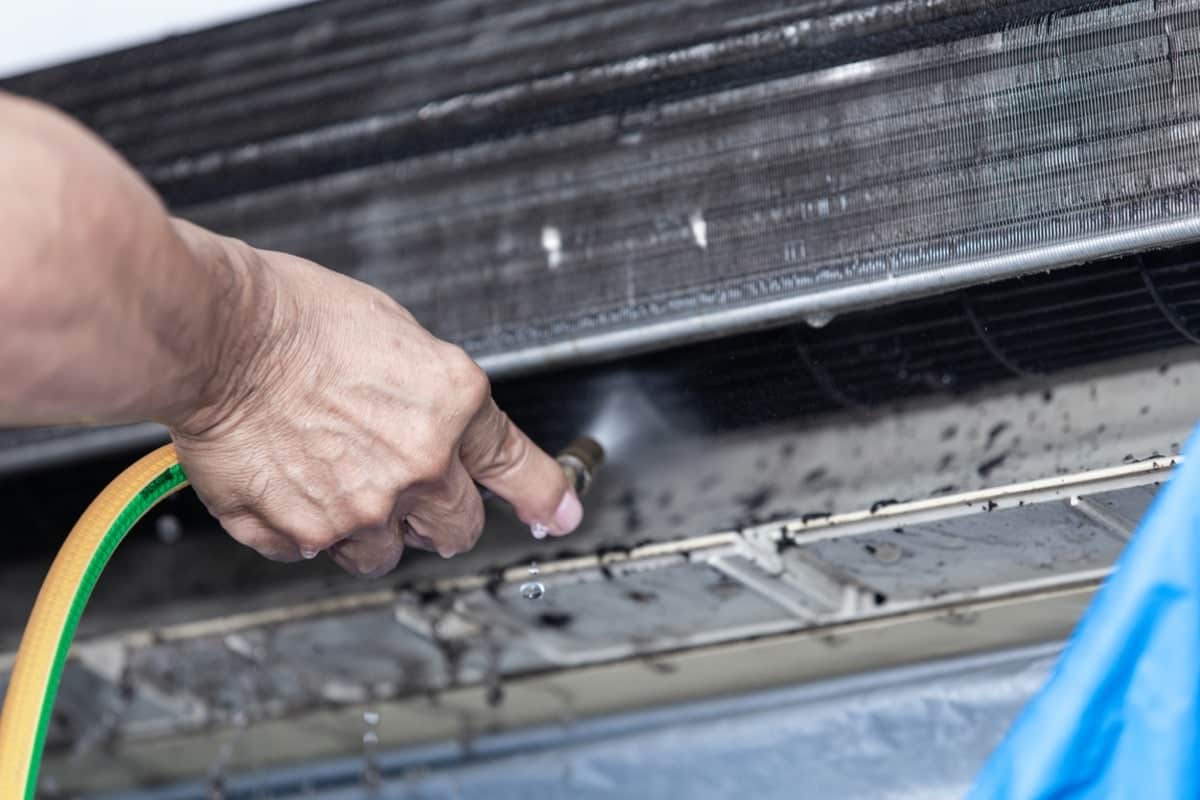
Once the access panel is removed, use a flashlight to inspect the evaporator coil. Note the amount of dirt and debris present. Use a soft brush to gently loosen any loose dirt and dust. Then, use the vacuum cleaner with the hose attachment to remove the loosened debris. Be careful not to damage the delicate fins on the coil.
3. Straightening Bent Fins
The fins on the evaporator coil are thin and easily bent. Bent fins restrict airflow and reduce the coil's efficiency. Use a fin comb to gently straighten any bent fins. Insert the comb into the fins and carefully run it along the coil to straighten them. This will improve airflow and heat transfer.
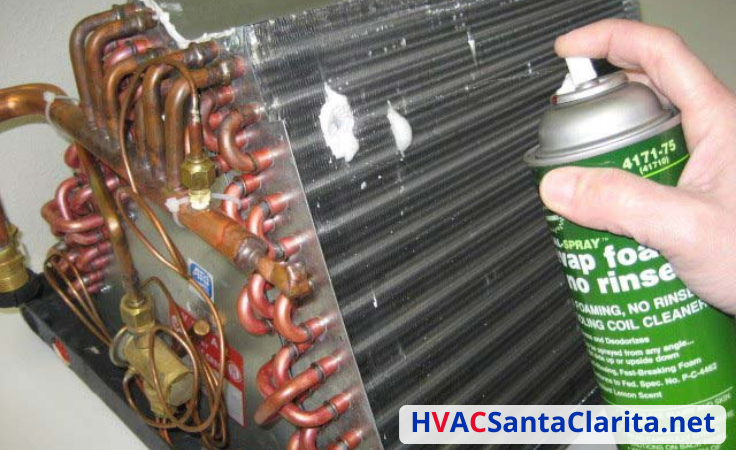
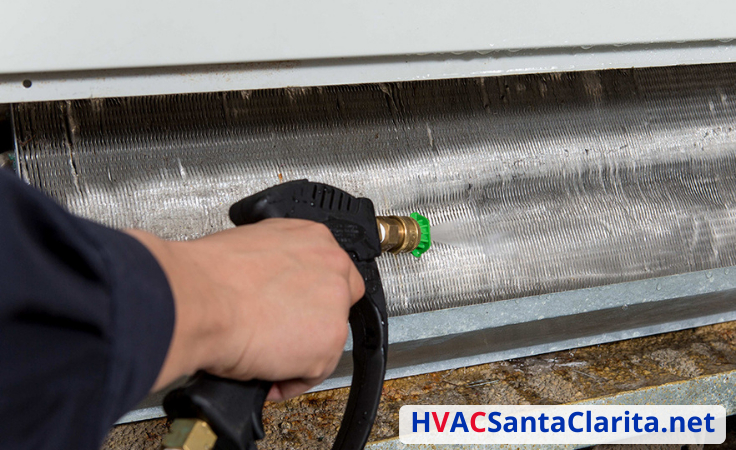
4. Applying the Evaporator Coil Cleaner
Once the coil is free of loose debris and the fins are straightened, it's time to apply the evaporator coil cleaner. Follow the manufacturer's instructions on the cleaner's label. In most cases, you'll need to spray the cleaner evenly over the entire coil surface. Ensure that the coil is thoroughly saturated with the cleaner.
Allow the cleaner to sit on the coil for the recommended amount of time (typically 15-20 minutes). This allows the cleaner to dissolve the dirt and grime. If using a no-rinse cleaner, simply allow it to drip dry. If using a cleaner that requires rinsing, carefully rinse the coil with water using a spray bottle. Be careful not to get water on any electrical components.
5. Final Inspection and Reassembly
After the cleaner has had time to work (and been rinsed, if necessary), inspect the coil again to ensure it is clean. If necessary, repeat the cleaning process. Once you are satisfied with the cleanliness of the coil, replace the access panel and secure it with the screws.
6. Power On and Test
Finally, turn the power back on to your AC unit at the breaker box. Turn on your AC and monitor its performance. You should notice improved cooling efficiency and airflow. Listen for any unusual noises, which could indicate a problem. If you notice any issues, consult with a qualified HVAC technician.
The ROI of Clean Evaporator Coils
The return on investment (ROI) of cleaning your AC evaporator coils is significant. By improving the efficiency of your AC system, you can reduce your energy consumption and lower your energy bills. A clean coil also extends the life of your AC unit by reducing the strain on its components. Furthermore, improved indoor air quality contributes to a healthier and more comfortable living environment.
Studies show that a dirty evaporator coil can reduce AC efficiency by up to 30%. For a typical household, this can translate to hundreds of dollars in wasted energy each year. By cleaning your coil regularly, you can recoup these losses and enjoy substantial savings.
Smart HVAC Integration for Enhanced Monitoring
Integrating your HVAC system with smart home technology can further enhance energy efficiency and cost savings. Smart thermostats, for example, allow you to program your AC to operate only when needed, reducing energy waste. Some smart thermostats even offer features like geofencing, which automatically adjusts the temperature based on your location.
Furthermore, smart sensors can monitor the performance of your AC system and alert you to potential problems, such as a dirty evaporator coil. These sensors can track airflow, temperature, and humidity, providing valuable insights into your system's efficiency. By proactively addressing issues like a dirty coil, you can prevent costly repairs and maintain optimal performance.
Professional Cleaning vs. DIY
While cleaning your AC evaporator coil is a manageable DIY project, there are situations where it's best to call in a professional. If you are uncomfortable working with electrical components or if you suspect that your coil is severely damaged or contaminated, it's best to consult with a qualified HVAC technician. Professionals have the expertise and equipment to safely and effectively clean your coil, ensuring optimal performance and preventing potential damage.
Many HVAC contractors offer preventative maintenance plans that include regular coil cleaning. These plans can provide peace of mind and ensure that your AC system is always operating at peak efficiency. Check with your local HVAC contractors for available plans and pricing.
Government Incentives and Rebates
Many government agencies and utility companies offer incentives and rebates for energy-efficient HVAC upgrades and maintenance. Check with your local utility company and the Energy Star website to see if there are any available rebates for cleaning or upgrading your AC system. These incentives can help offset the cost of maintenance and upgrades, making it even more affordable to improve your home's energy efficiency.
Conclusion
Cleaning your AC evaporator coil is a simple yet effective way to improve energy efficiency, lower energy bills, and extend the life of your AC system. By following the steps outlined in this article, you can easily clean your coil and enjoy the benefits of a well-maintained AC system. Remember to prioritize safety and consult with a professional if you are uncomfortable with any part of the process. By incorporating smart HVAC technology and taking advantage of government incentives, you can further enhance your energy savings and create a more comfortable and sustainable home.