How To Clean Air Conditioner Inside Unit

Cleaning Your Air Conditioner Inside Unit: A Comprehensive Guide
Maintaining a clean air conditioner is crucial for efficient cooling, improved air quality, and lower energy bills. This guide provides step-by-step instructions for cleaning the inside unit of your air conditioner, also known as the evaporator coil. While some tasks are DIY-friendly, remember that complex repairs should always be handled by a qualified HVAC technician.
Safety First!
Before you begin, always prioritize safety:
- Turn off the power to the air conditioner at the breaker box. This is essential to prevent electrical shock.
- Wait at least 30 minutes after turning off the power before starting any work.
- Wear gloves and eye protection to protect yourself from dust, mold, and cleaning solutions.
Tools and Materials You'll Need
- Screwdrivers (Phillips head and flat head)
- Vacuum cleaner with brush attachment
- Fin comb
- Spray bottle
- Coil cleaner (non-acidic)
- Soft brush
- Clean rags
- Flashlight or work light
- Protective gloves
- Eye protection
Step-by-Step Cleaning Process
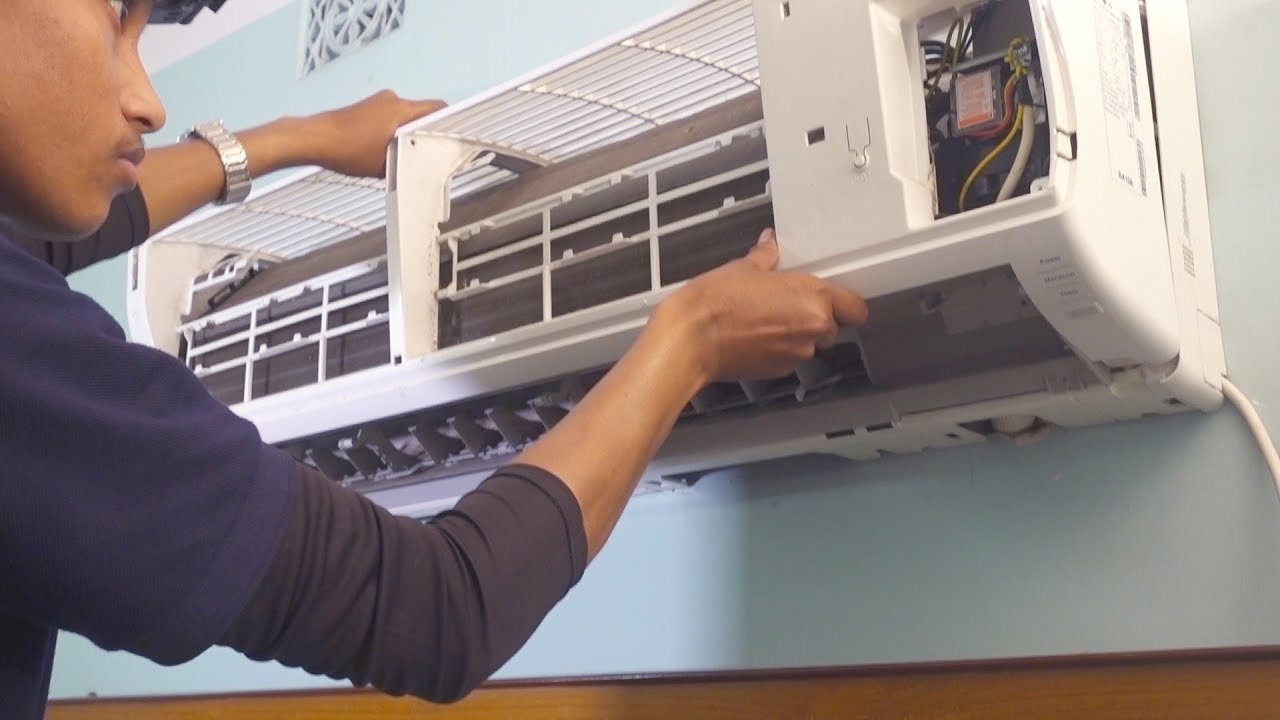
Step 1: Access the Evaporator Coil
The first step is to access the evaporator coil, which is located inside your indoor air handler unit. This process varies depending on the type of unit you have (e.g., central AC, ductless mini-split).
Remove the access panel(s) using a screwdriver. Refer to your unit's manual for specific instructions. You might need to remove screws, clips, or latches.
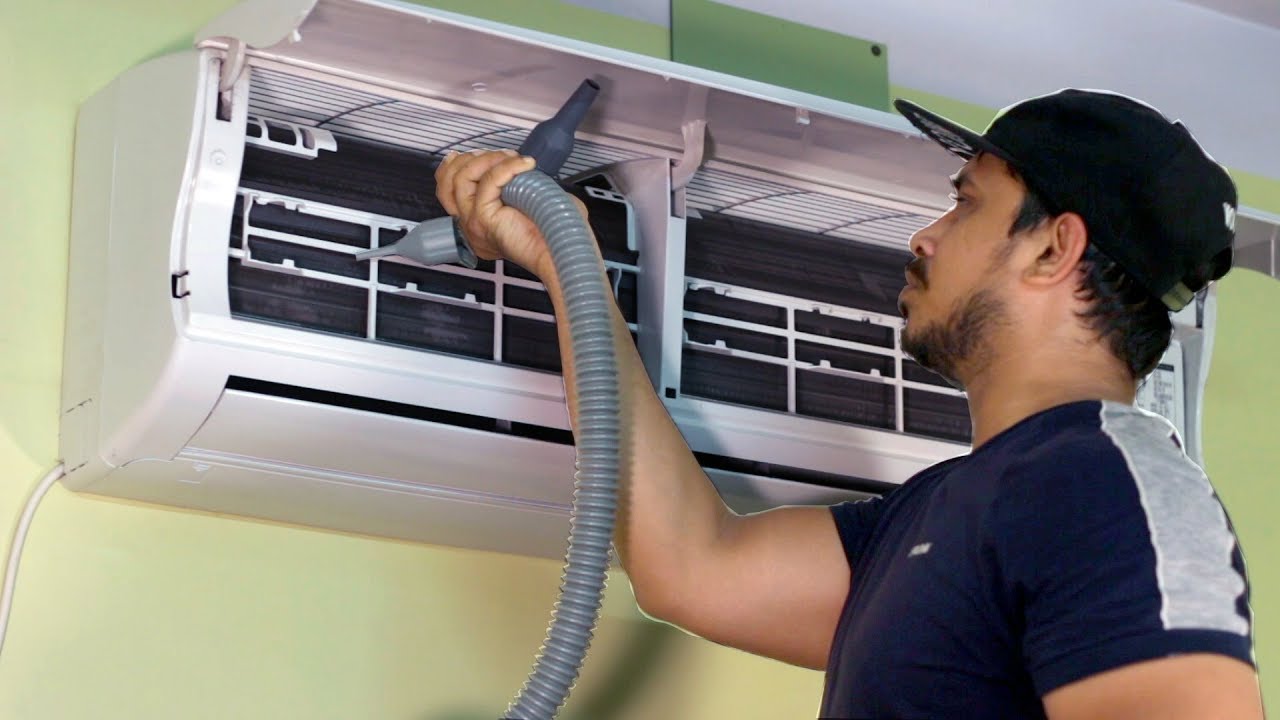
Step 2: Vacuum the Area
Use a vacuum cleaner with a brush attachment to remove any loose dust, debris, and mold from the surrounding area. Pay close attention to the fins, blower motor, and drain pan.
Step 3: Straighten Bent Fins
The fins on the evaporator coil are delicate and can easily bend, restricting airflow. Use a fin comb to gently straighten any bent fins. Work slowly and carefully to avoid damaging them further.
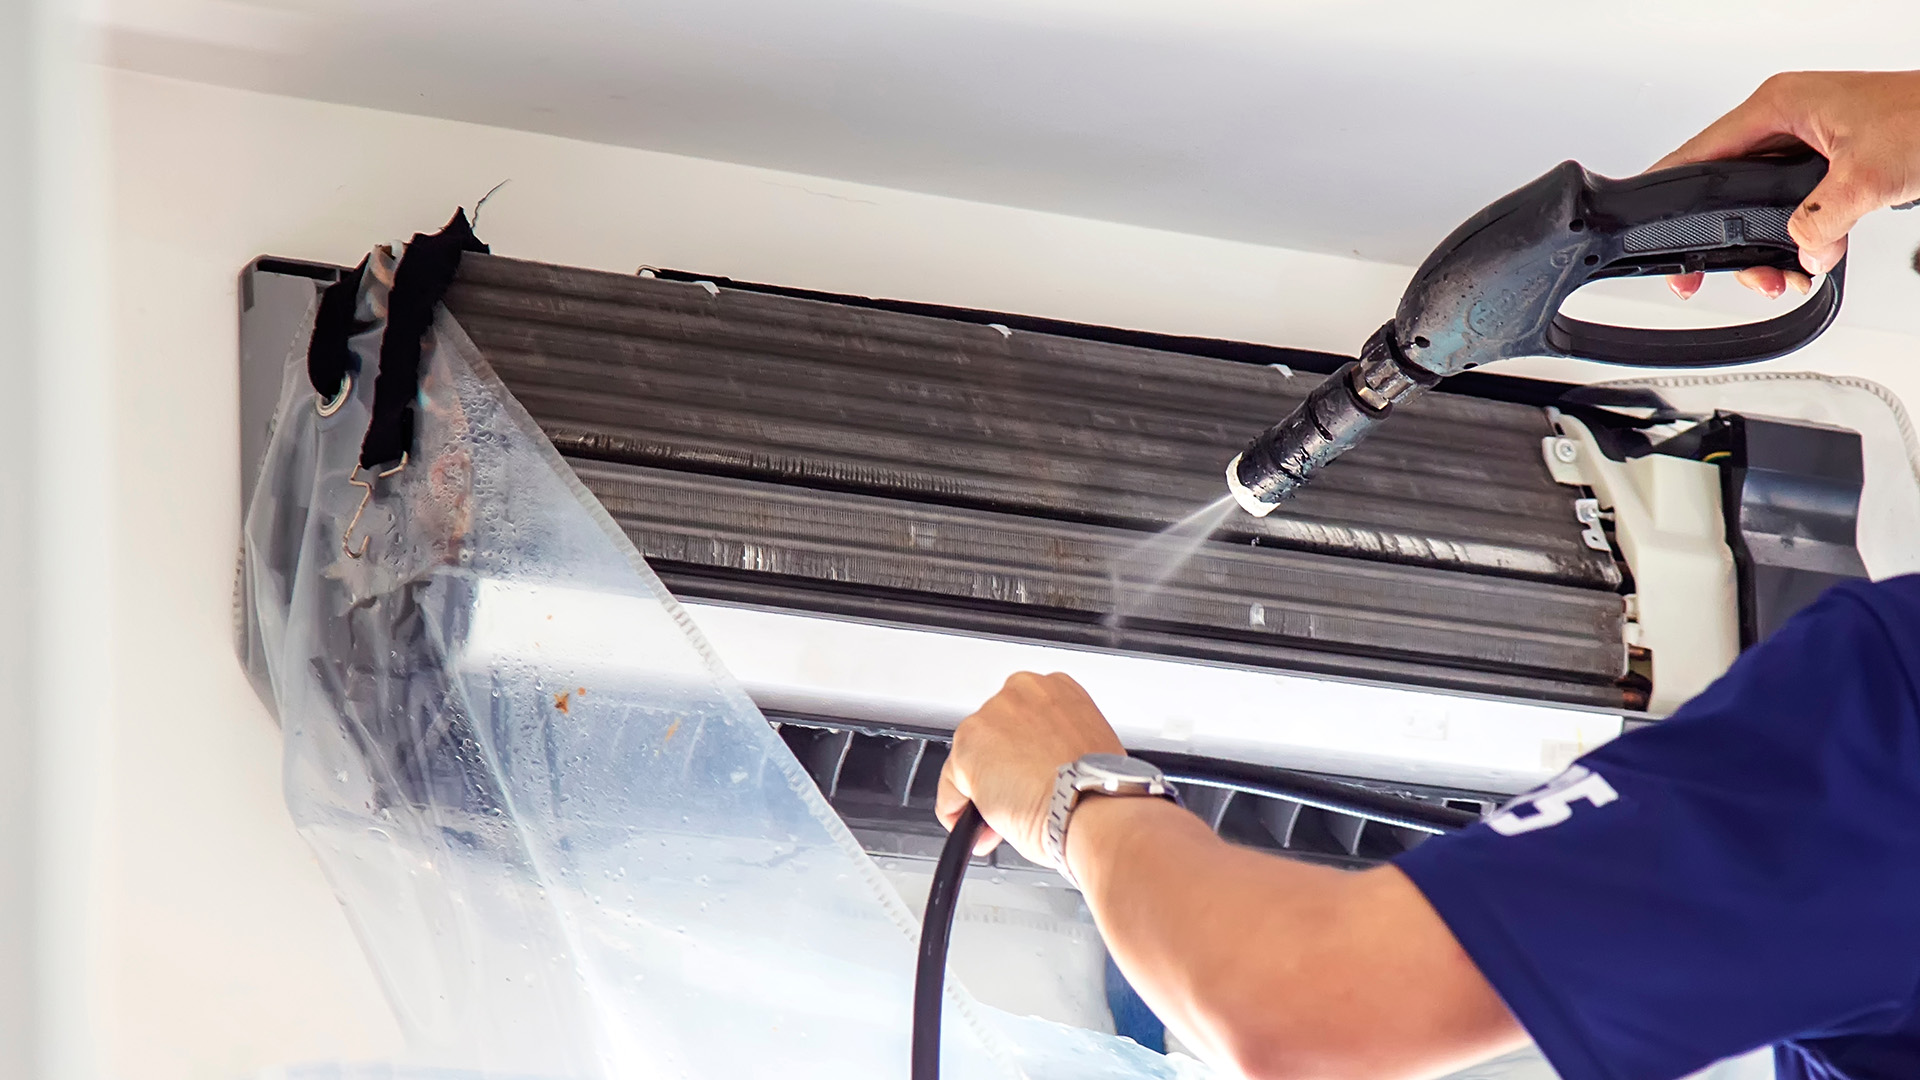
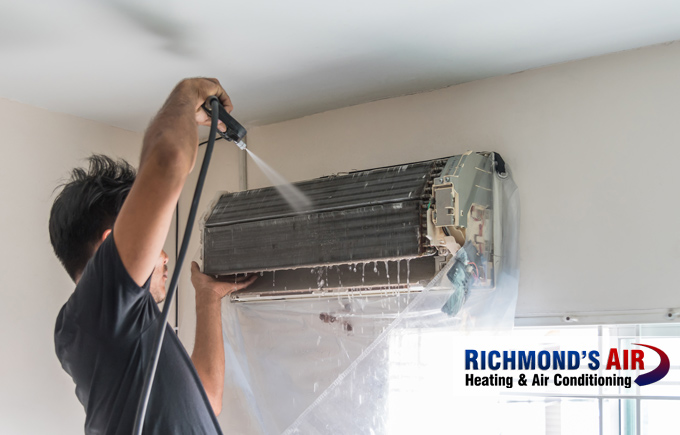
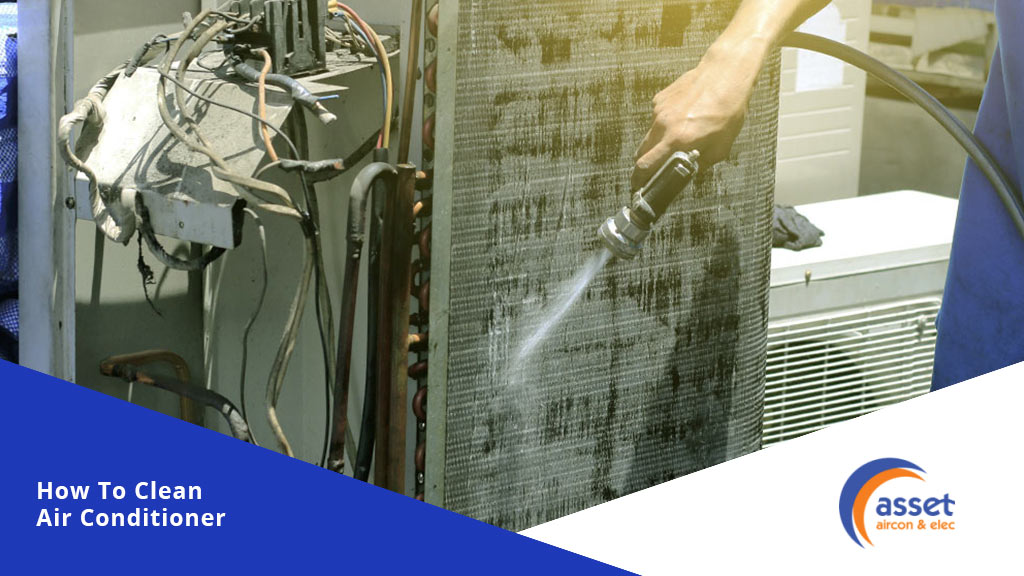
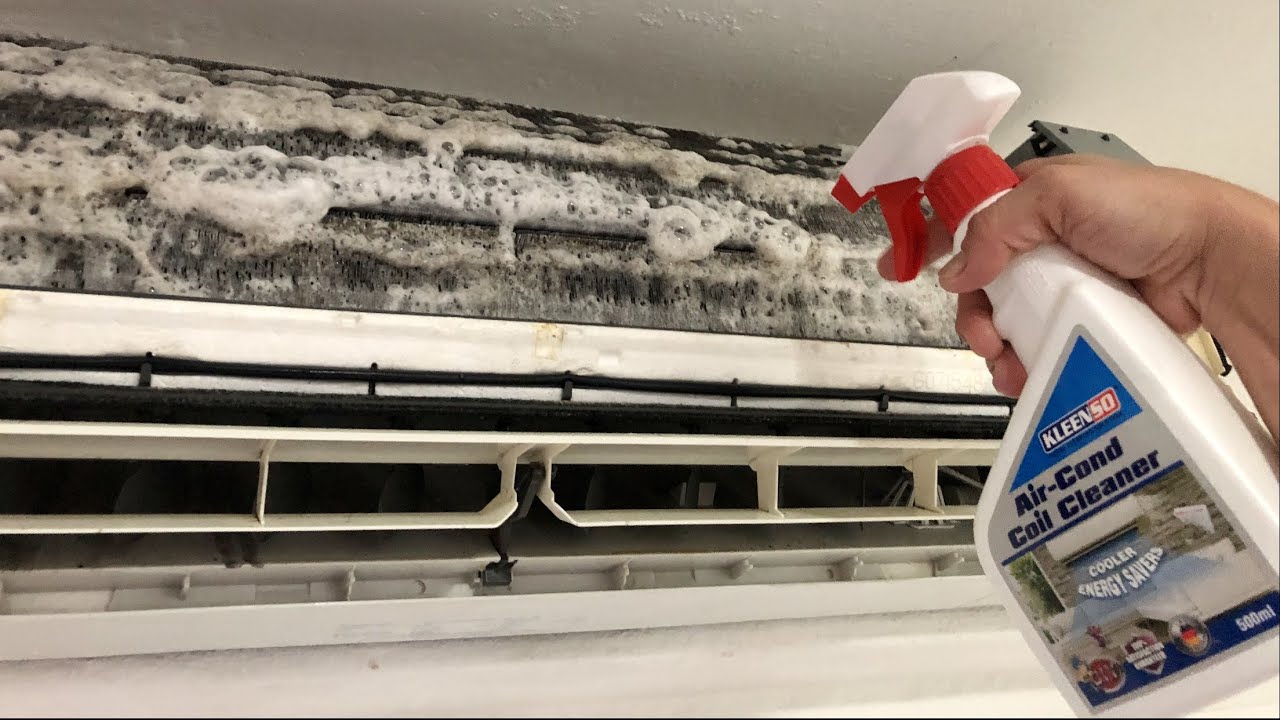
Step 4: Apply Coil Cleaner
Spray the evaporator coil with a non-acidic coil cleaner. Follow the manufacturer's instructions on the cleaner's label. Ensure the area is well-ventilated. Let the cleaner sit for the recommended time, typically 10-15 minutes.
Step 5: Clean the Coil
After the coil cleaner has soaked, use a soft brush to gently scrub the coil. This will help loosen any remaining dirt and debris. Be careful not to bend the fins while scrubbing.
Step 6: Rinse the Coil
If the coil cleaner's instructions allow it, use a spray bottle filled with clean water to rinse the coil. Use a low-pressure spray to avoid damaging the fins. If you're not sure about rinsing, consult the coil cleaner's instructions or contact an HVAC professional.
Step 7: Clean the Drain Pan
The drain pan collects condensation from the evaporator coil. It's prone to mold and algae growth, which can clog the drain line. Remove any standing water from the drain pan. You can use a wet/dry vacuum for this. Then, clean the drain pan with a mixture of water and bleach (10:1 ratio). Be sure to rinse thoroughly.
Step 8: Check and Clear the Drain Line
A clogged drain line can cause water damage and reduce the efficiency of your air conditioner. Locate the drain line (usually a PVC pipe) and check for any clogs. You can use a wet/dry vacuum to suck out any debris. Alternatively, you can use a stiff wire or plumbing snake to break up the clog.
Step 9: Reassemble the Unit
Once the coil, drain pan, and drain line are clean, reassemble the air conditioner. Replace the access panel(s) and secure them with screws, clips, or latches.
Step 10: Restore Power
Turn the power back on to the air conditioner at the breaker box. Observe the unit as it starts up. Listen for any unusual noises or smells.
Common Issues and Troubleshooting
- Frozen Evaporator Coil: This can be caused by restricted airflow (dirty air filter, blocked vents), low refrigerant, or a malfunctioning blower motor.
- Clogged Drain Line: This can cause water leaks and damage to your home. Regularly check and clear the drain line.
- Foul Odors: These can be caused by mold, mildew, or bacteria growth. Cleaning the evaporator coil and drain pan can help eliminate odors.
- Reduced Cooling Efficiency: A dirty evaporator coil can restrict airflow and reduce the cooling capacity of your air conditioner.
- Noisy Operation: Unusual noises can indicate a problem with the blower motor, compressor, or other components.
When to Call a Professional
While cleaning the air conditioner inside unit is a task many homeowners can handle, some problems require professional attention.
Contact a qualified HVAC technician if you experience any of the following:
- Refrigerant Leaks: Refrigerant is a hazardous substance and should only be handled by trained professionals.
- Electrical Problems: If you suspect any electrical issues, such as a burning smell or sparking wires, immediately turn off the power and call a professional.
- Compressor Problems: The compressor is the heart of the air conditioner, and repairs can be complex and expensive.
- Lack of Cooling: If cleaning the coil doesn't improve cooling performance, there may be a more serious problem, such as low refrigerant or a malfunctioning compressor.
- Unusual Noises: Loud or unusual noises coming from the unit can indicate a mechanical problem.
Cost of Professional Cleaning and Repairs
The cost of professional air conditioner cleaning and repairs can vary depending on the extent of the work required. Here's a general estimate:
- Professional Coil Cleaning: $100 - $300
- Drain Line Cleaning: $75 - $200
- Refrigerant Recharge: $150 - $500
- Compressor Replacement: $800 - $2500
- Blower Motor Replacement: $300 - $800
These are just estimates. The actual cost will depend on your location, the HVAC technician's hourly rate, and the specific parts required.
Preventative Maintenance Tips
Regular maintenance can help prevent problems and extend the life of your air conditioner.
- Change the Air Filter Regularly: Replace your air filter every 1-3 months, depending on the type of filter and the level of dust in your home.
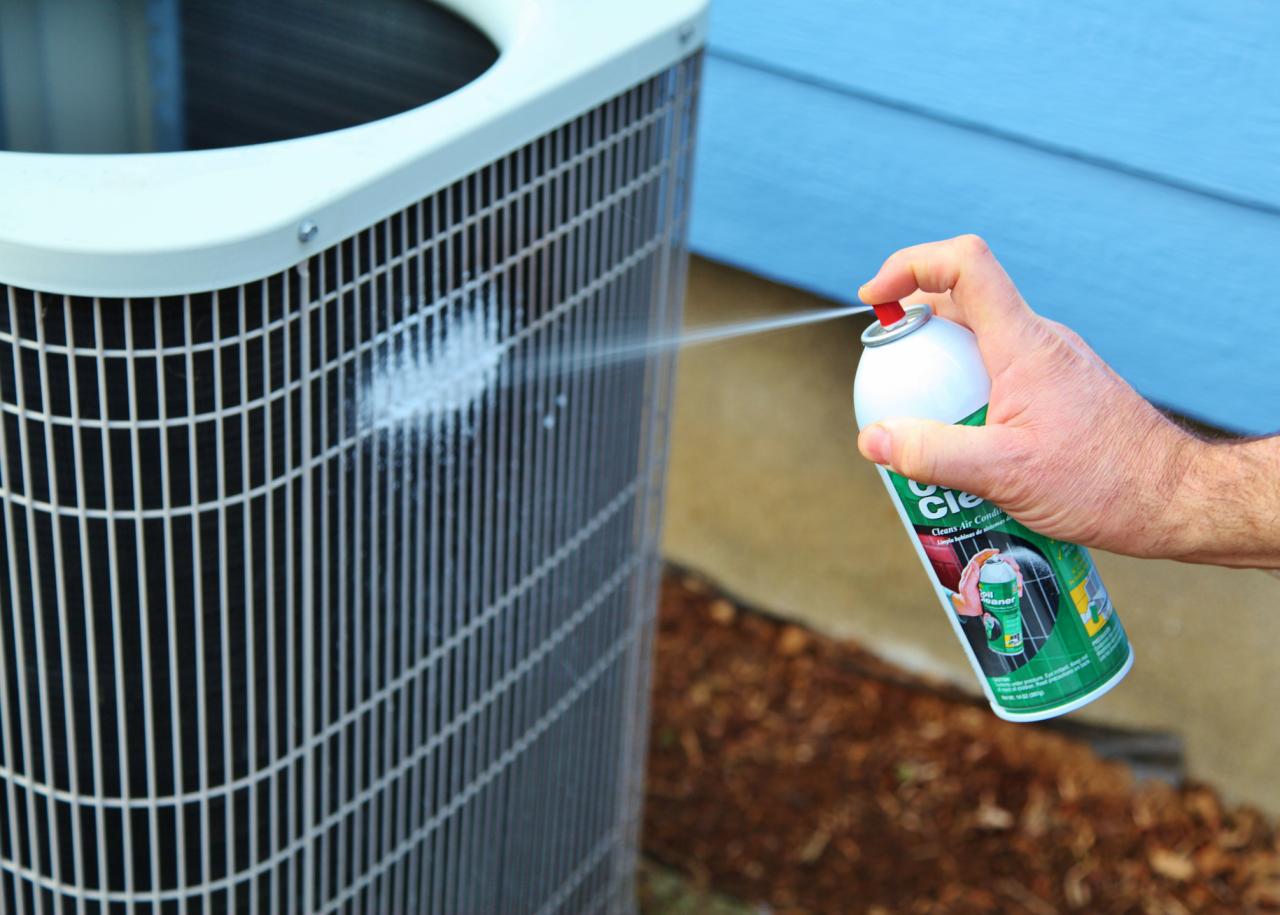
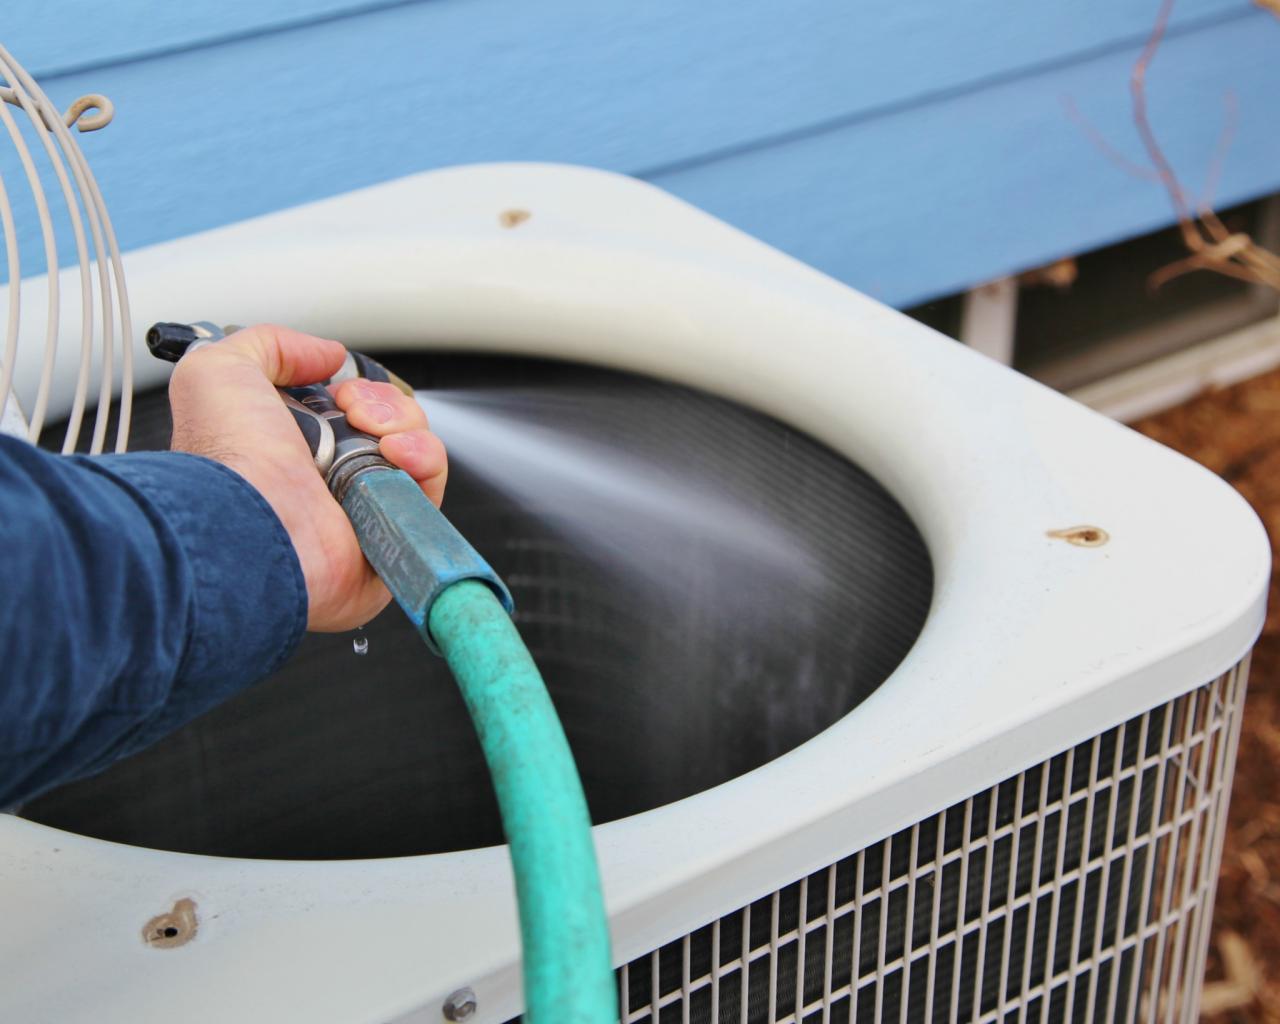
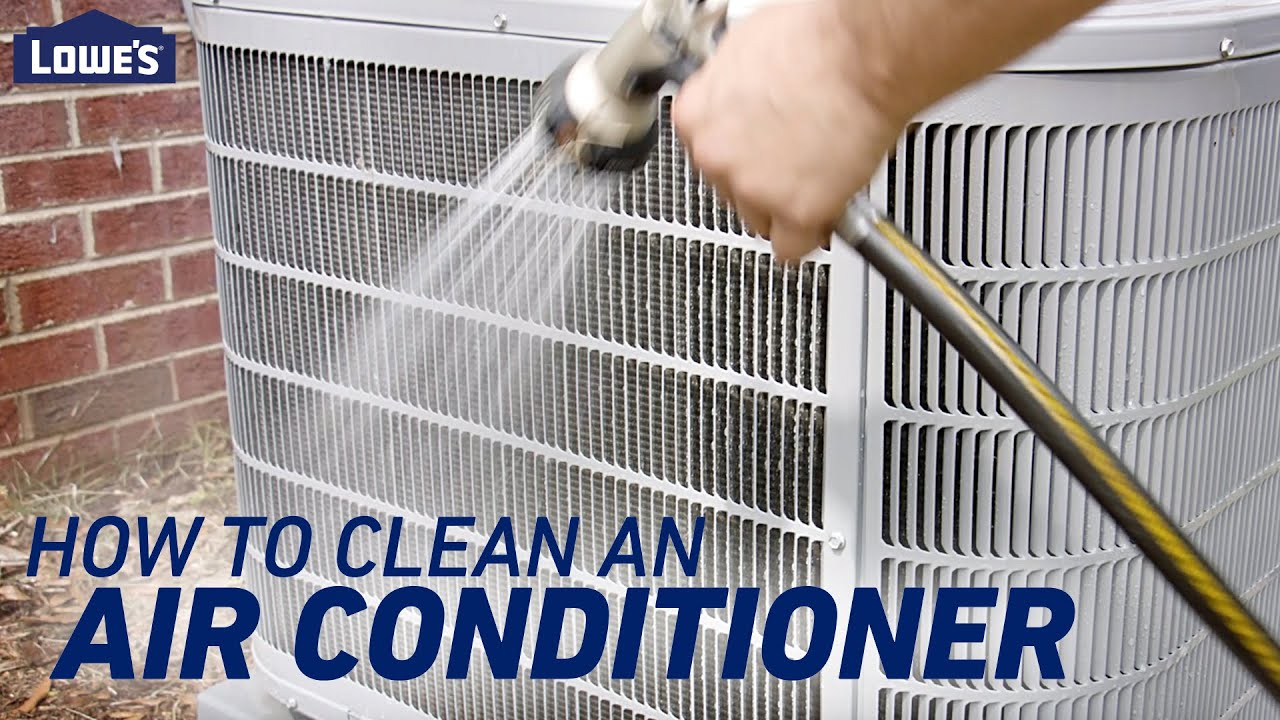
- Clean the Outdoor Unit: Remove leaves, debris, and vegetation from around the outdoor unit.
- Schedule Annual Tune-Ups: Have your air conditioner professionally inspected and tuned up each year.
Choosing the Right Coil Cleaner
Selecting the appropriate coil cleaner is essential for effective cleaning and to prevent damage to your air conditioning system. Avoid using acidic cleaners, as they can corrode the aluminum fins. Instead, opt for a non-acidic, alkaline-based coil cleaner specifically designed for HVAC systems.
Foaming coil cleaners are a good choice as they expand to reach all surfaces, lifting away dirt and grime effectively. Always follow the manufacturer's instructions carefully, and ensure proper ventilation while using the cleaner.
Understanding the Importance of Airflow
Proper airflow is critical for the efficient operation of your air conditioning system. A dirty evaporator coil, blocked vents, or a clogged air filter can restrict airflow, leading to reduced cooling performance and increased energy consumption. Make sure that all vents are open and unobstructed, and that furniture or curtains aren't blocking airflow to the indoor unit.
Consider having your ductwork professionally inspected and cleaned every few years to ensure optimal airflow throughout your home. Leaks in the ductwork can also reduce efficiency, so sealing any leaks is essential.
Final Thoughts
Cleaning your air conditioner's inside unit is a relatively straightforward task that can significantly improve its performance and lifespan. However, remember to prioritize safety and know your limits. When in doubt, always call a qualified HVAC technician to handle complex repairs or issues that you're not comfortable addressing yourself. Regular maintenance and cleaning will help keep your air conditioner running efficiently and effectively for years to come.