How To Clean An Evaporator Coil In Air Conditioner
How To Clean An Evaporator Coil In Your Air Conditioner: A Step-by-Step Guide
The evaporator coil is a critical component of your air conditioning system, responsible for absorbing heat from your home's air. Over time, it can accumulate dust, dirt, and even mold, reducing its efficiency and potentially causing serious problems. Cleaning it regularly can improve your AC's performance, lower energy bills, and extend its lifespan. This guide provides a step-by-step process for cleaning your evaporator coil, along with essential safety precautions and advice on when to call a professional.
Understanding the Evaporator Coil
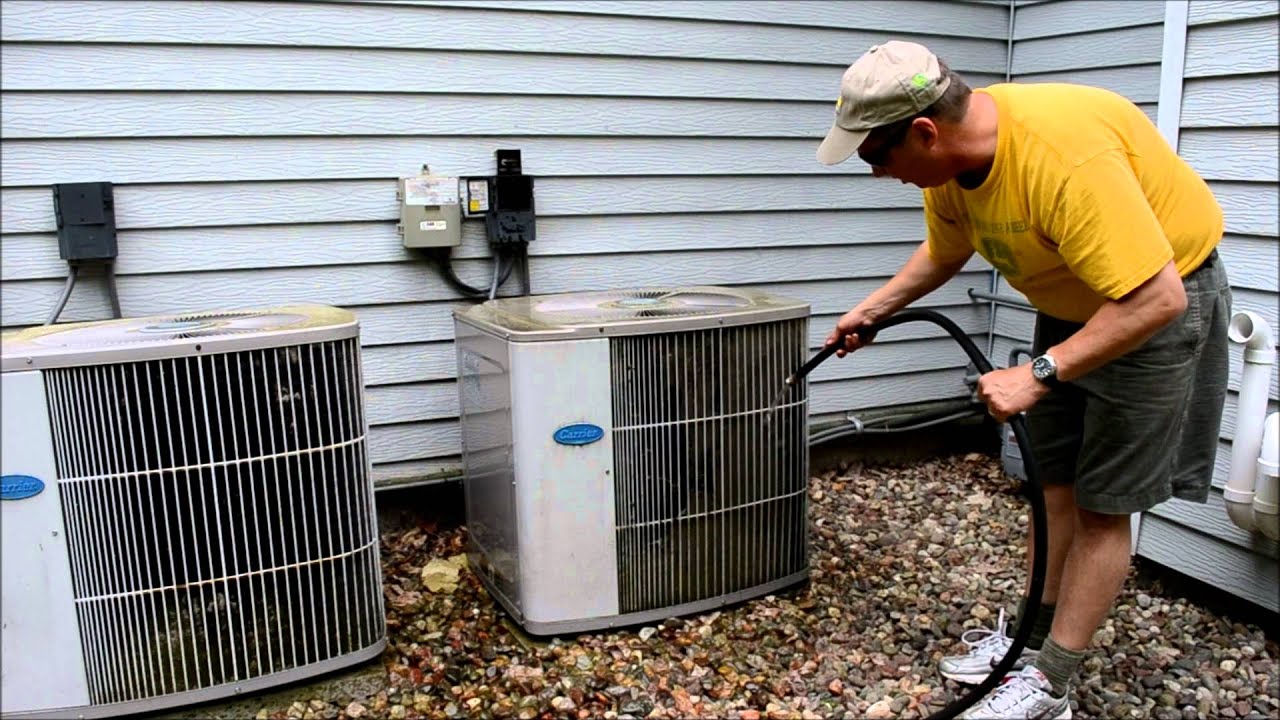
Before diving in, it's important to understand what the evaporator coil does. Located inside your indoor air handler unit, it works in conjunction with the refrigerant to cool the air. Warm air from your home is blown across the coil, which is filled with cold refrigerant. The refrigerant absorbs the heat, and the cooled air is then circulated back into your home. A dirty coil hinders this process, forcing your AC to work harder and use more energy.
When to Clean Your Evaporator Coil
Ideally, you should clean your evaporator coil at least once a year, typically before the start of the cooling season. However, if you notice any of the following signs, it may be time for an immediate cleaning:
- Reduced airflow from your vents
- Higher than usual energy bills
- A musty or moldy odor coming from your vents
- Your AC unit is running constantly but not cooling effectively
- Visible dust or dirt on the coil
Safety First!
Safety is paramount when working with electrical equipment. Before you begin, ensure you take the following precautions:
- Turn off the power: Locate the circuit breaker that controls your indoor air handler and switch it off. Double-check to ensure the power is completely off before proceeding.
- Wear protective gear: Wear safety glasses and gloves to protect your eyes and hands from dust, dirt, and cleaning solutions. A dust mask or respirator is also recommended, especially if you suspect mold growth.
- Work in a well-ventilated area: Ensure adequate ventilation to avoid inhaling fumes from cleaning products.
- Avoid bending or damaging the coil fins: The fins are delicate and easily damaged. Handle them with care.
Tools and Materials You'll Need
Gather these supplies before starting:
- Screwdriver (Phillips head and flat head)
- Vacuum cleaner with a brush attachment
- Fin comb
- Spray bottle
- Evaporator coil cleaner (non-acidic, specifically designed for AC coils)
- Soft brush (optional)
- Clean cloths or rags
- Safety glasses
- Gloves
- Dust mask or respirator
Step-by-Step Cleaning Process
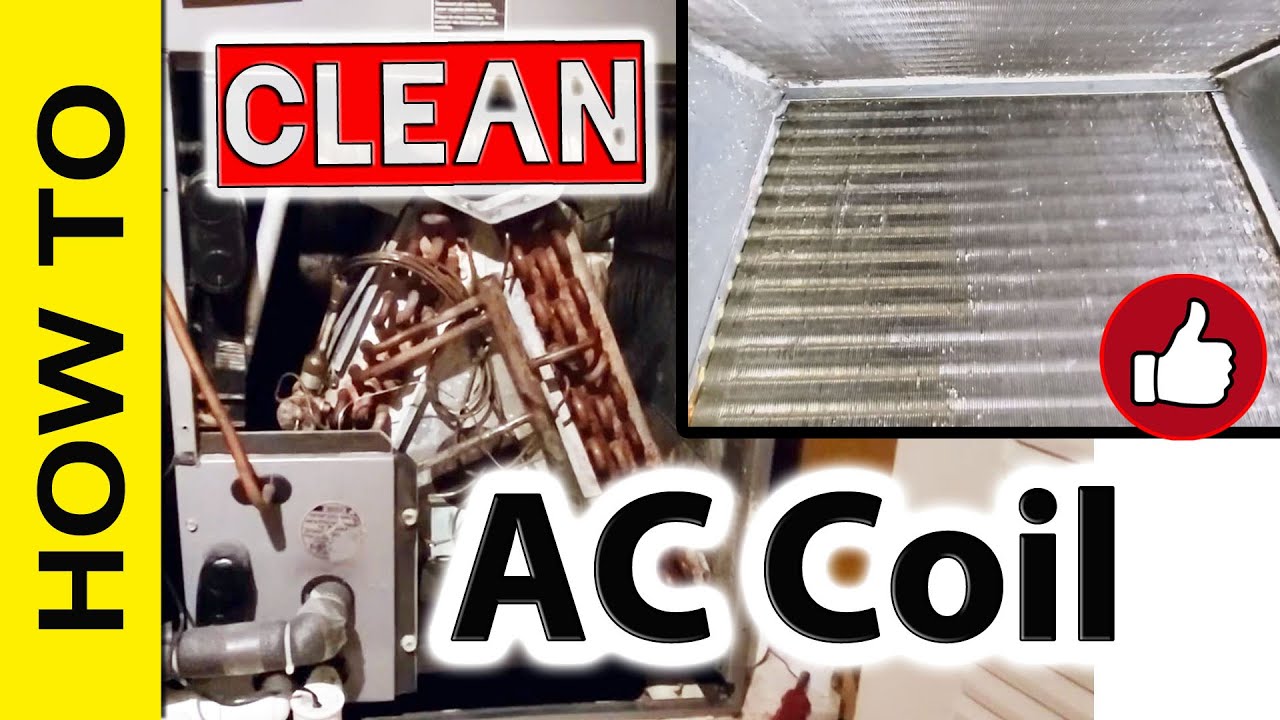
- Locate the Evaporator Coil: The evaporator coil is typically located inside the indoor air handler unit, which is often in your attic, basement, or a closet. You'll need to remove an access panel to reach it.
- Remove the Access Panel: Use a screwdriver to remove the screws holding the access panel in place. Carefully remove the panel and set it aside.
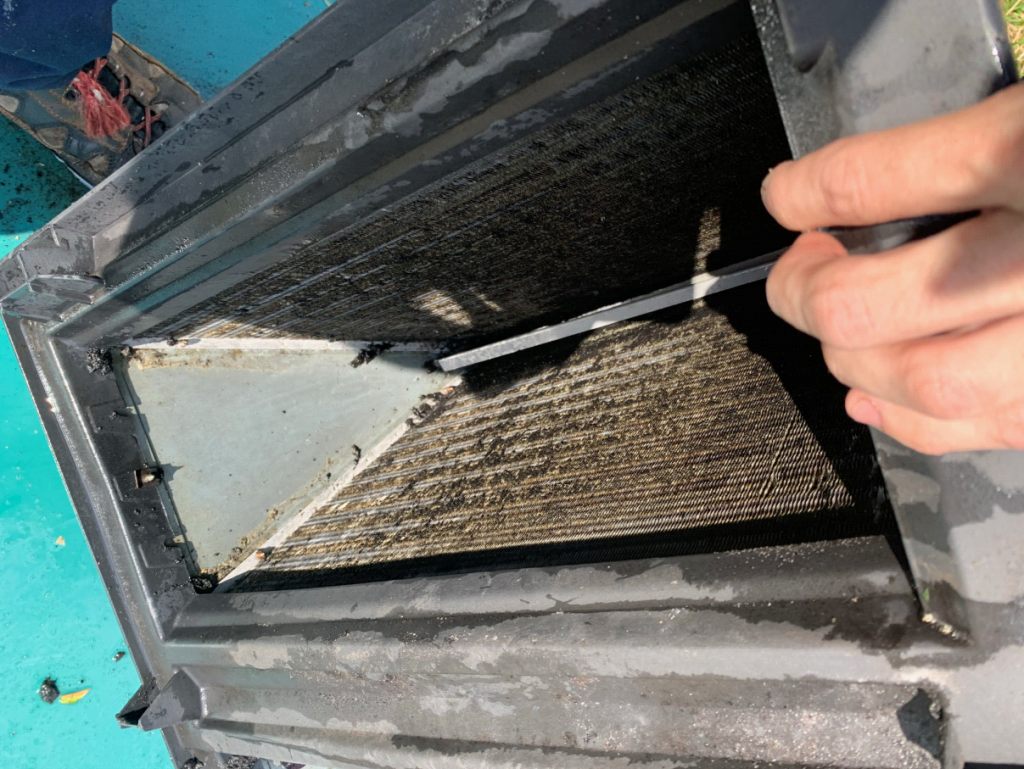
- Inspect the Coil: Before cleaning, visually inspect the evaporator coil for any signs of damage, such as bent fins or leaks. If you notice any significant damage, contact a qualified HVAC technician.
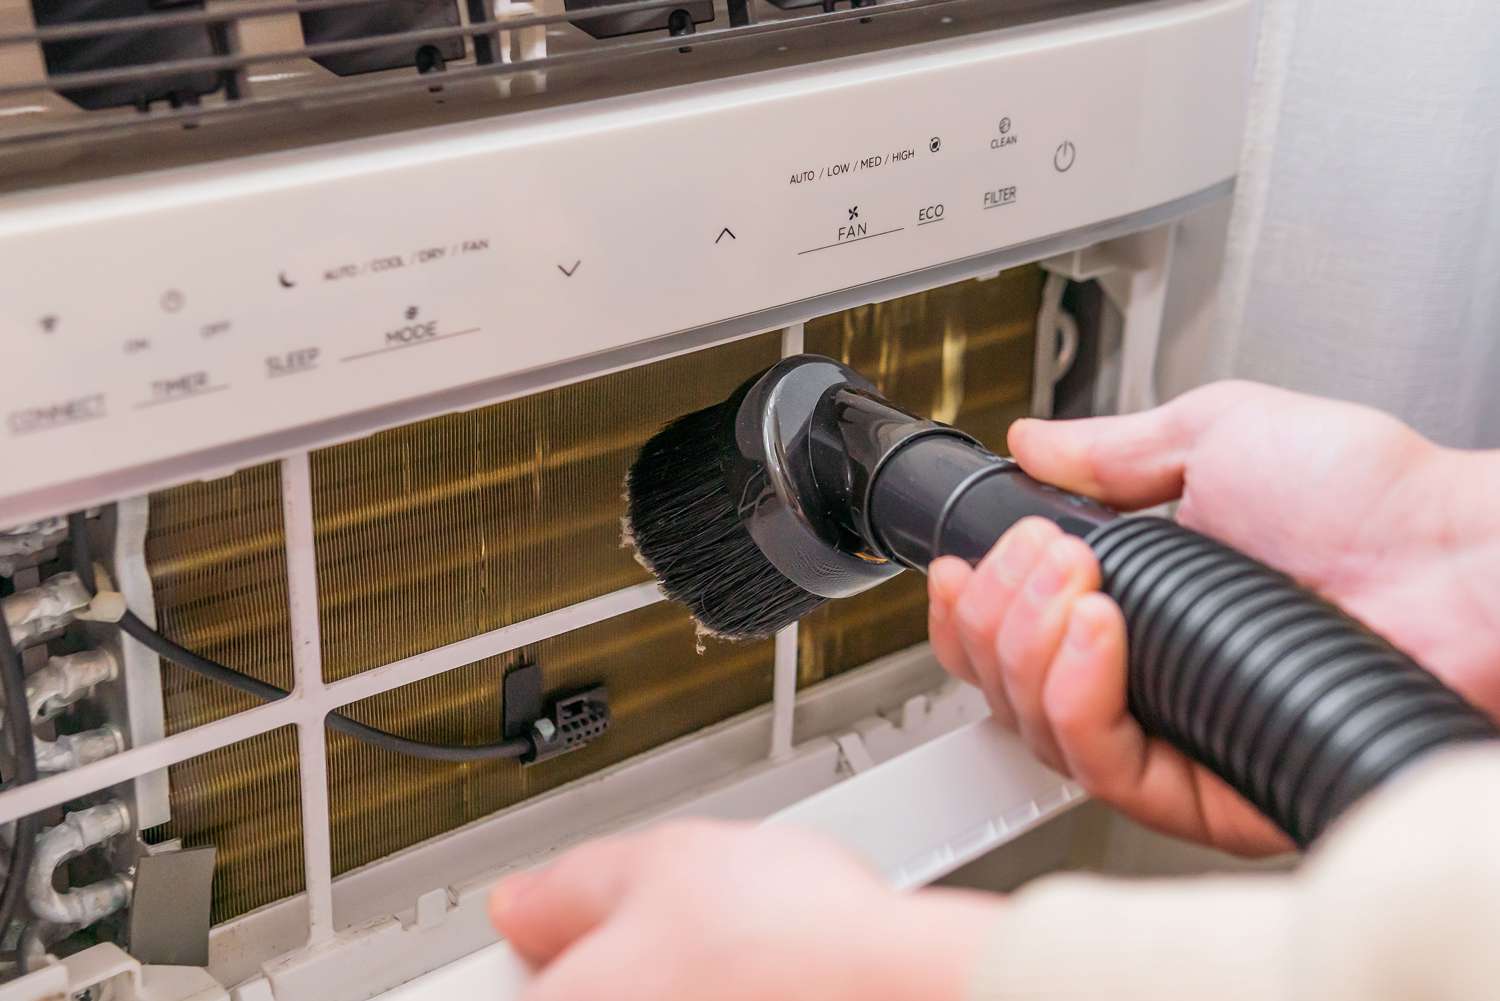
- Vacuum the Coil: Use the brush attachment on your vacuum cleaner to remove loose dust, dirt, and debris from the coil. Gently move the brush along the fins, being careful not to bend them.
- Straighten Bent Fins (if necessary): If the fins are bent, use a fin comb to carefully straighten them. This will improve airflow and efficiency.
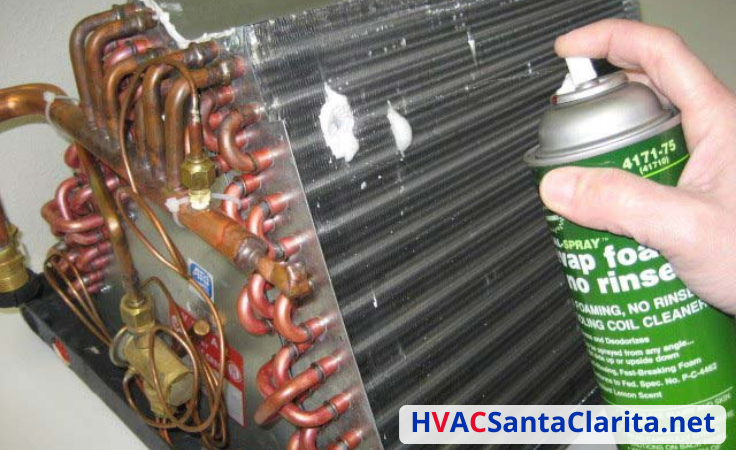
- Apply Evaporator Coil Cleaner: Following the manufacturer's instructions, spray the evaporator coil cleaner evenly over the entire coil surface. Be sure to use a cleaner specifically designed for AC coils, as other cleaners may damage the coil. Avoid getting the cleaner on any electrical components.
- Allow the Cleaner to Soak: Let the cleaner soak for the recommended time (usually 15-20 minutes). This will allow the cleaner to loosen stubborn dirt and grime.
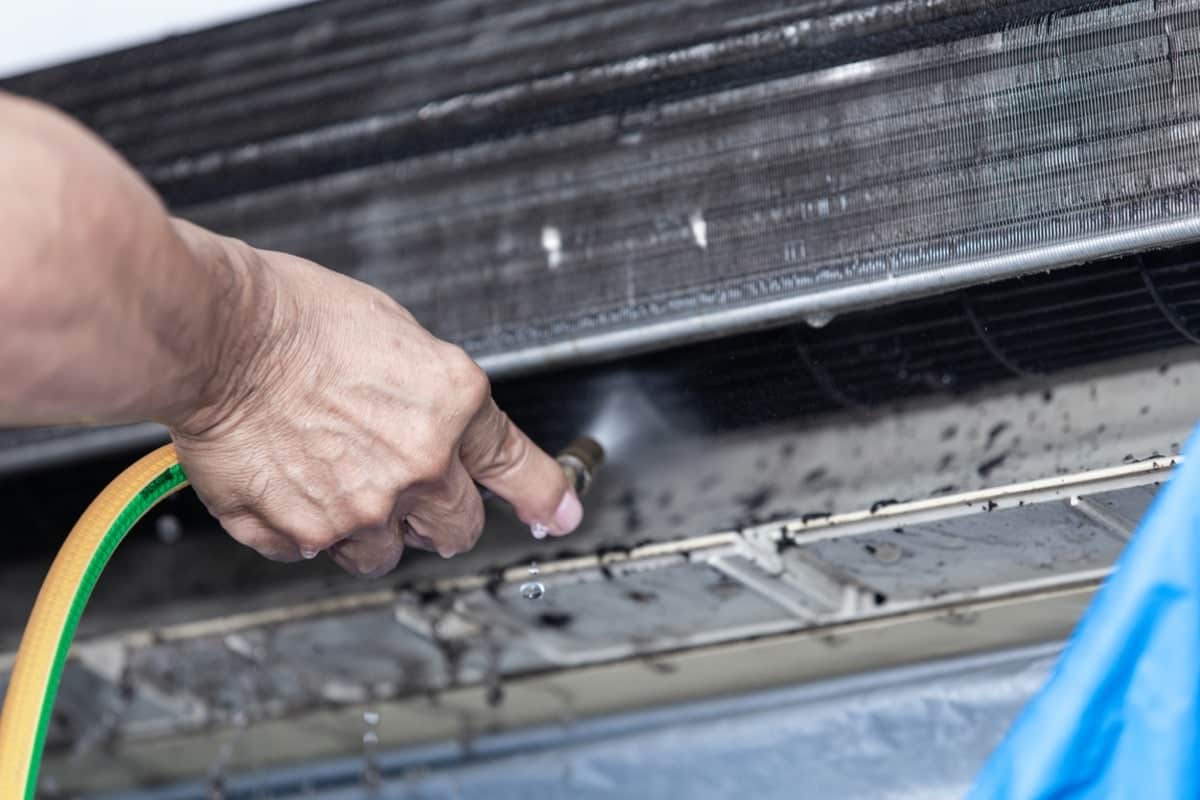
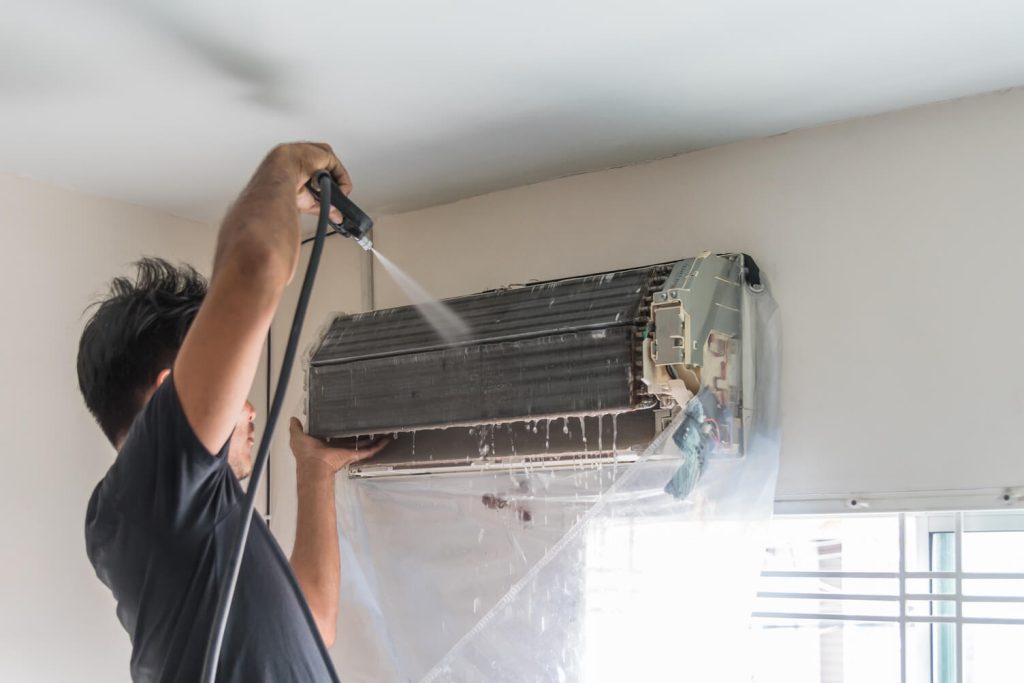
- Rinse the Coil (if required): Some coil cleaners require rinsing with water. If so, use a spray bottle filled with clean water to gently rinse the coil. Avoid using too much water, as it can damage electrical components. Follow the manufacturer's instructions.
- Clean the Drain Pan: While you're cleaning the evaporator coil, it's a good idea to clean the drain pan as well. This pan collects condensation from the coil and can become a breeding ground for mold and bacteria. Remove any standing water and debris from the pan. You can also use a mild bleach solution (1 part bleach to 10 parts water) to disinfect the pan.
- Reassemble the Unit: Once the coil and drain pan are clean and dry, replace the access panel and secure it with the screws.
- Turn the Power Back On: Switch the circuit breaker back on to restore power to your air handler.
- Test the System: Turn on your AC and check to see if it's cooling properly. You should notice improved airflow and cooling efficiency.
Choosing the Right Evaporator Coil Cleaner
Selecting the right evaporator coil cleaner is crucial. Look for a non-acidic cleaner specifically designed for AC coils. Acidic cleaners can damage the coil and other components. Choose a cleaner that is also safe for the environment. Read the product label carefully and follow the manufacturer's instructions.
Common Problems After Cleaning
Even after cleaning, you might encounter some issues:
- Water Leaks: These can occur if the drain line is clogged. Try using a wet/dry vacuum to clear the blockage or pour a cup of vinegar down the drain line to dissolve any buildup.
- No Cooling: Make sure the thermostat is set correctly and the circuit breaker hasn't tripped. If the problem persists, there may be a more serious issue with your AC unit.
- Strange Noises: These could indicate a problem with the blower motor or other components. Contact a qualified HVAC technician for assistance.
When to Call a Professional
While cleaning your evaporator coil is a task you can often tackle yourself, there are situations where it's best to call a professional:
- You're uncomfortable working with electrical components.
- You suspect there's a refrigerant leak.
- The coil is heavily soiled or covered in mold.
- You notice any signs of damage to the coil or other components.
- You're unsure about any part of the cleaning process.
Attempting complex repairs without the necessary knowledge and experience can be dangerous and could potentially damage your AC unit. It's always better to err on the side of caution and consult a qualified HVAC technician.
Cost of Professional Evaporator Coil Cleaning
The cost of professional evaporator coil cleaning can vary depending on several factors, including your location, the complexity of the job, and the HVAC technician's hourly rate. In general, you can expect to pay between $100 and $300 for a professional cleaning. This price may also include inspection of other components of the system and clearing the drain line.
Preventative Maintenance Tips
To keep your evaporator coil clean and your AC running efficiently, consider these preventative measures:
- Change your air filters regularly: Dirty air filters restrict airflow and allow more dust and dirt to accumulate on the coil.
- Schedule annual HVAC maintenance: A professional HVAC technician can inspect and clean your entire AC system, including the evaporator coil, ensuring it's running at peak performance.
- Keep your home clean: Regularly vacuuming and dusting your home can help reduce the amount of dust and dirt that enters your AC system.
By following these tips and cleaning your evaporator coil regularly, you can keep your AC running efficiently, lower your energy bills, and extend the life of your system. Remember to always prioritize safety and don't hesitate to call a professional if you're unsure about any part of the process.