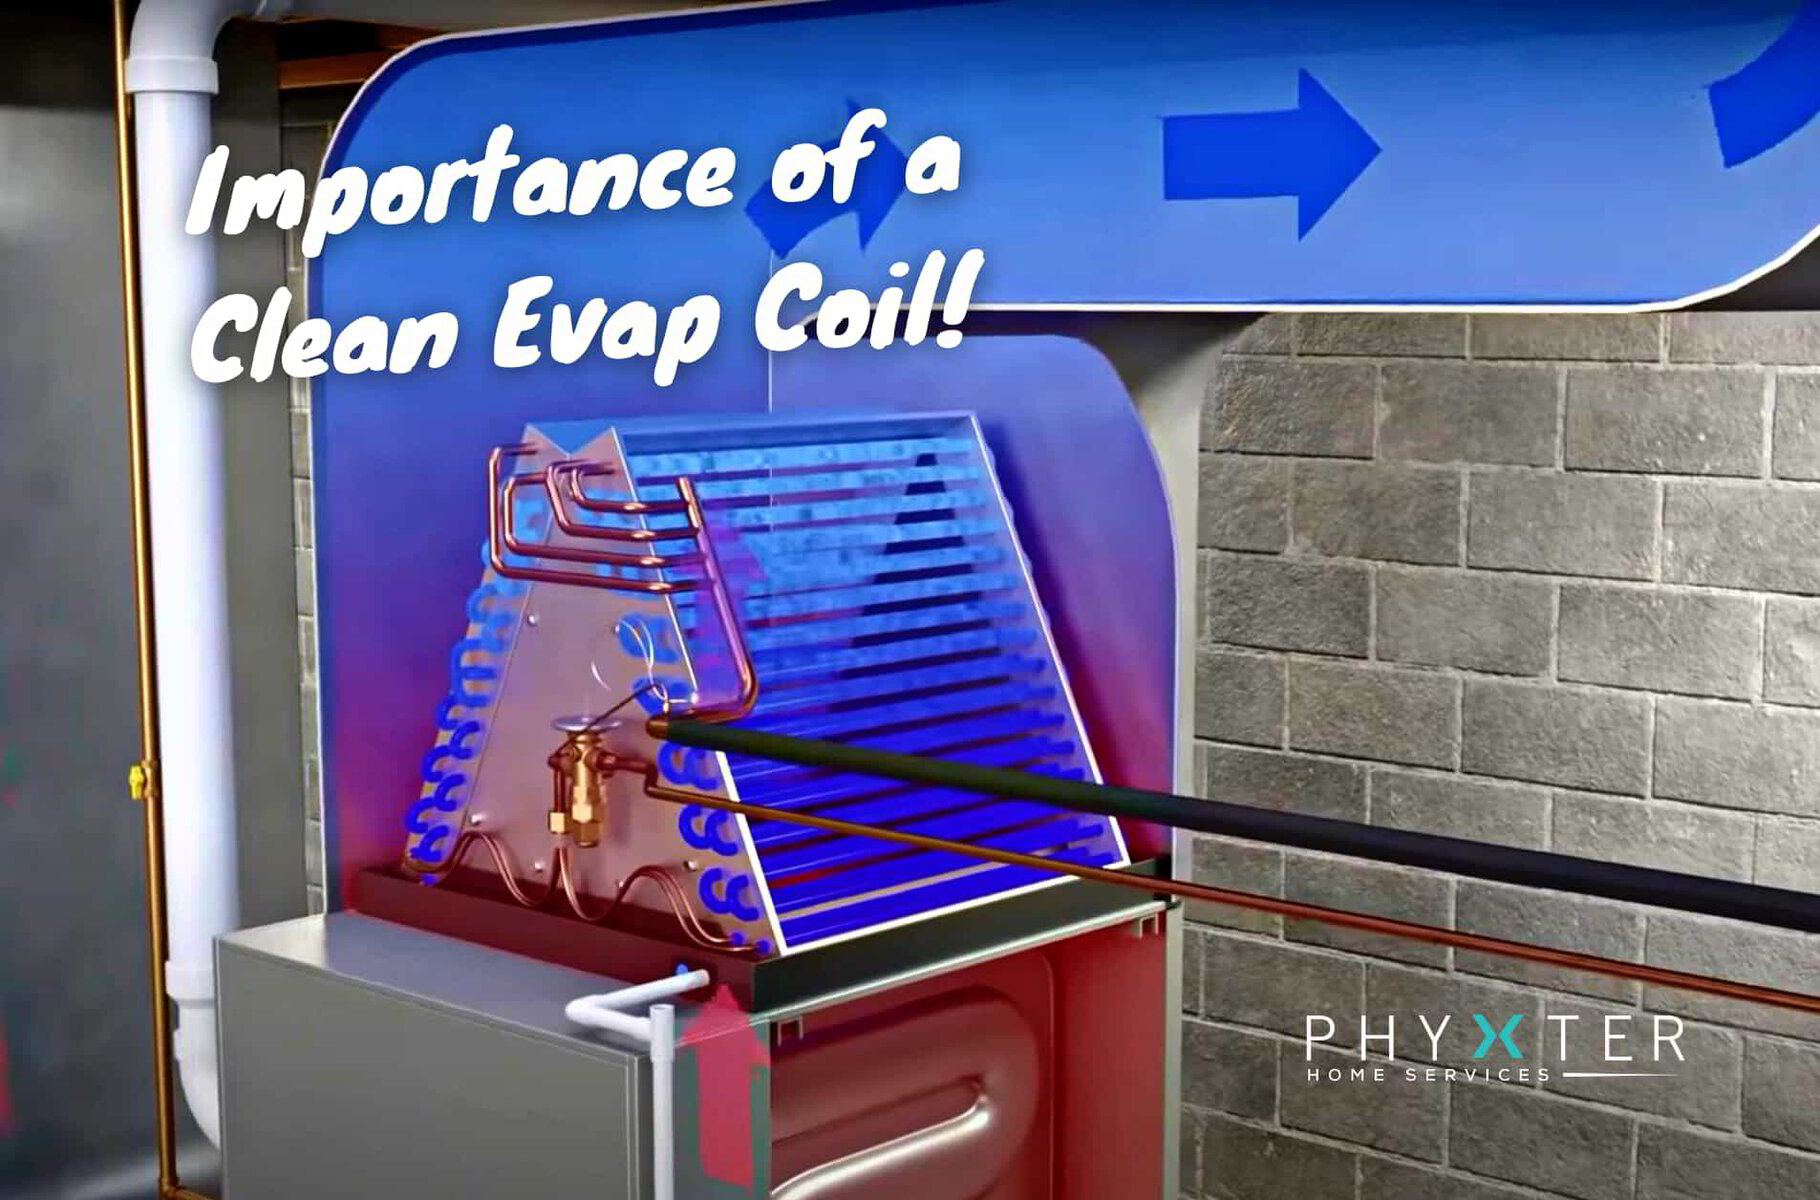
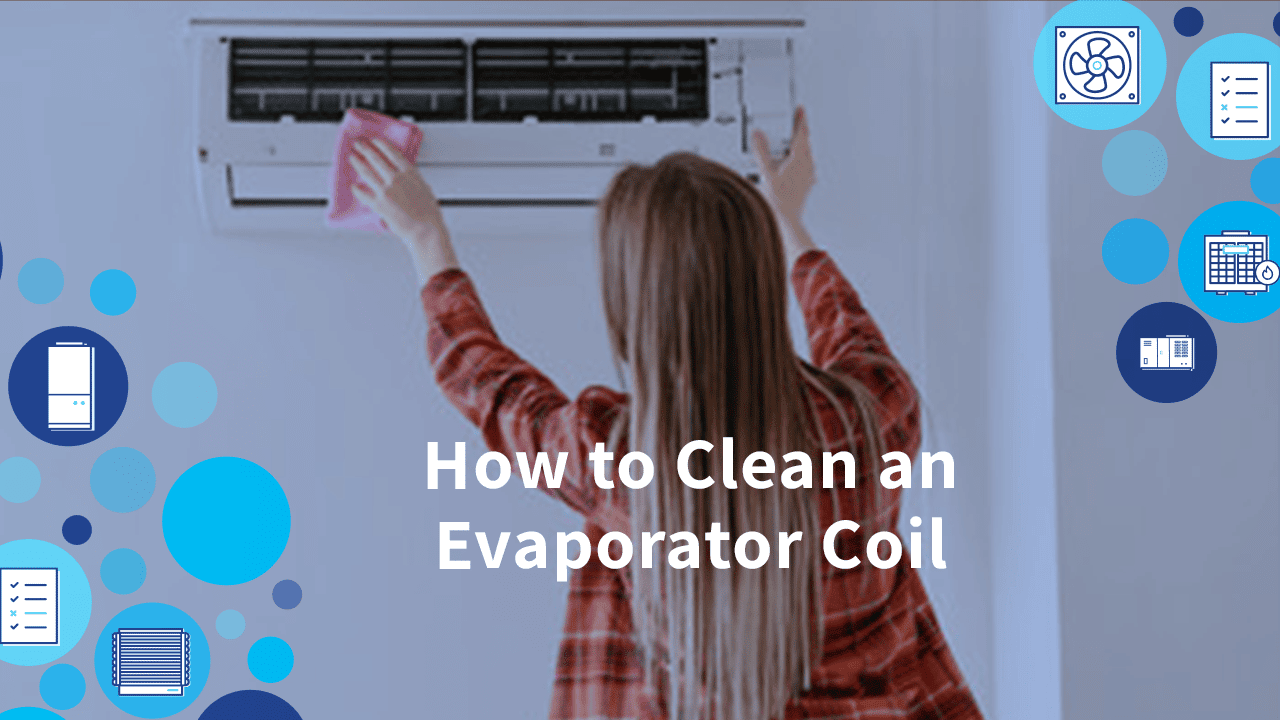
How To Clean An Evaporator Coil
An evaporator coil is a crucial component of your air conditioning (AC) system, responsible for absorbing heat from the air inside your home. Think of it as the "lung" of your AC unit, taking in the warm air and releasing cool air back into your living space. Over time, dust, dirt, and mold can accumulate on the coil, reducing its efficiency and potentially causing health problems. Learning how to clean an evaporator coil is a valuable skill that can save you money on energy bills and prolong the life of your AC system. This guide will provide you with a comprehensive, yet accessible, approach to cleaning your evaporator coil, empowering you to make an informed decision about whether to tackle the job yourself or call in a professional.
Understanding the Evaporator Coil and Why It Needs Cleaning
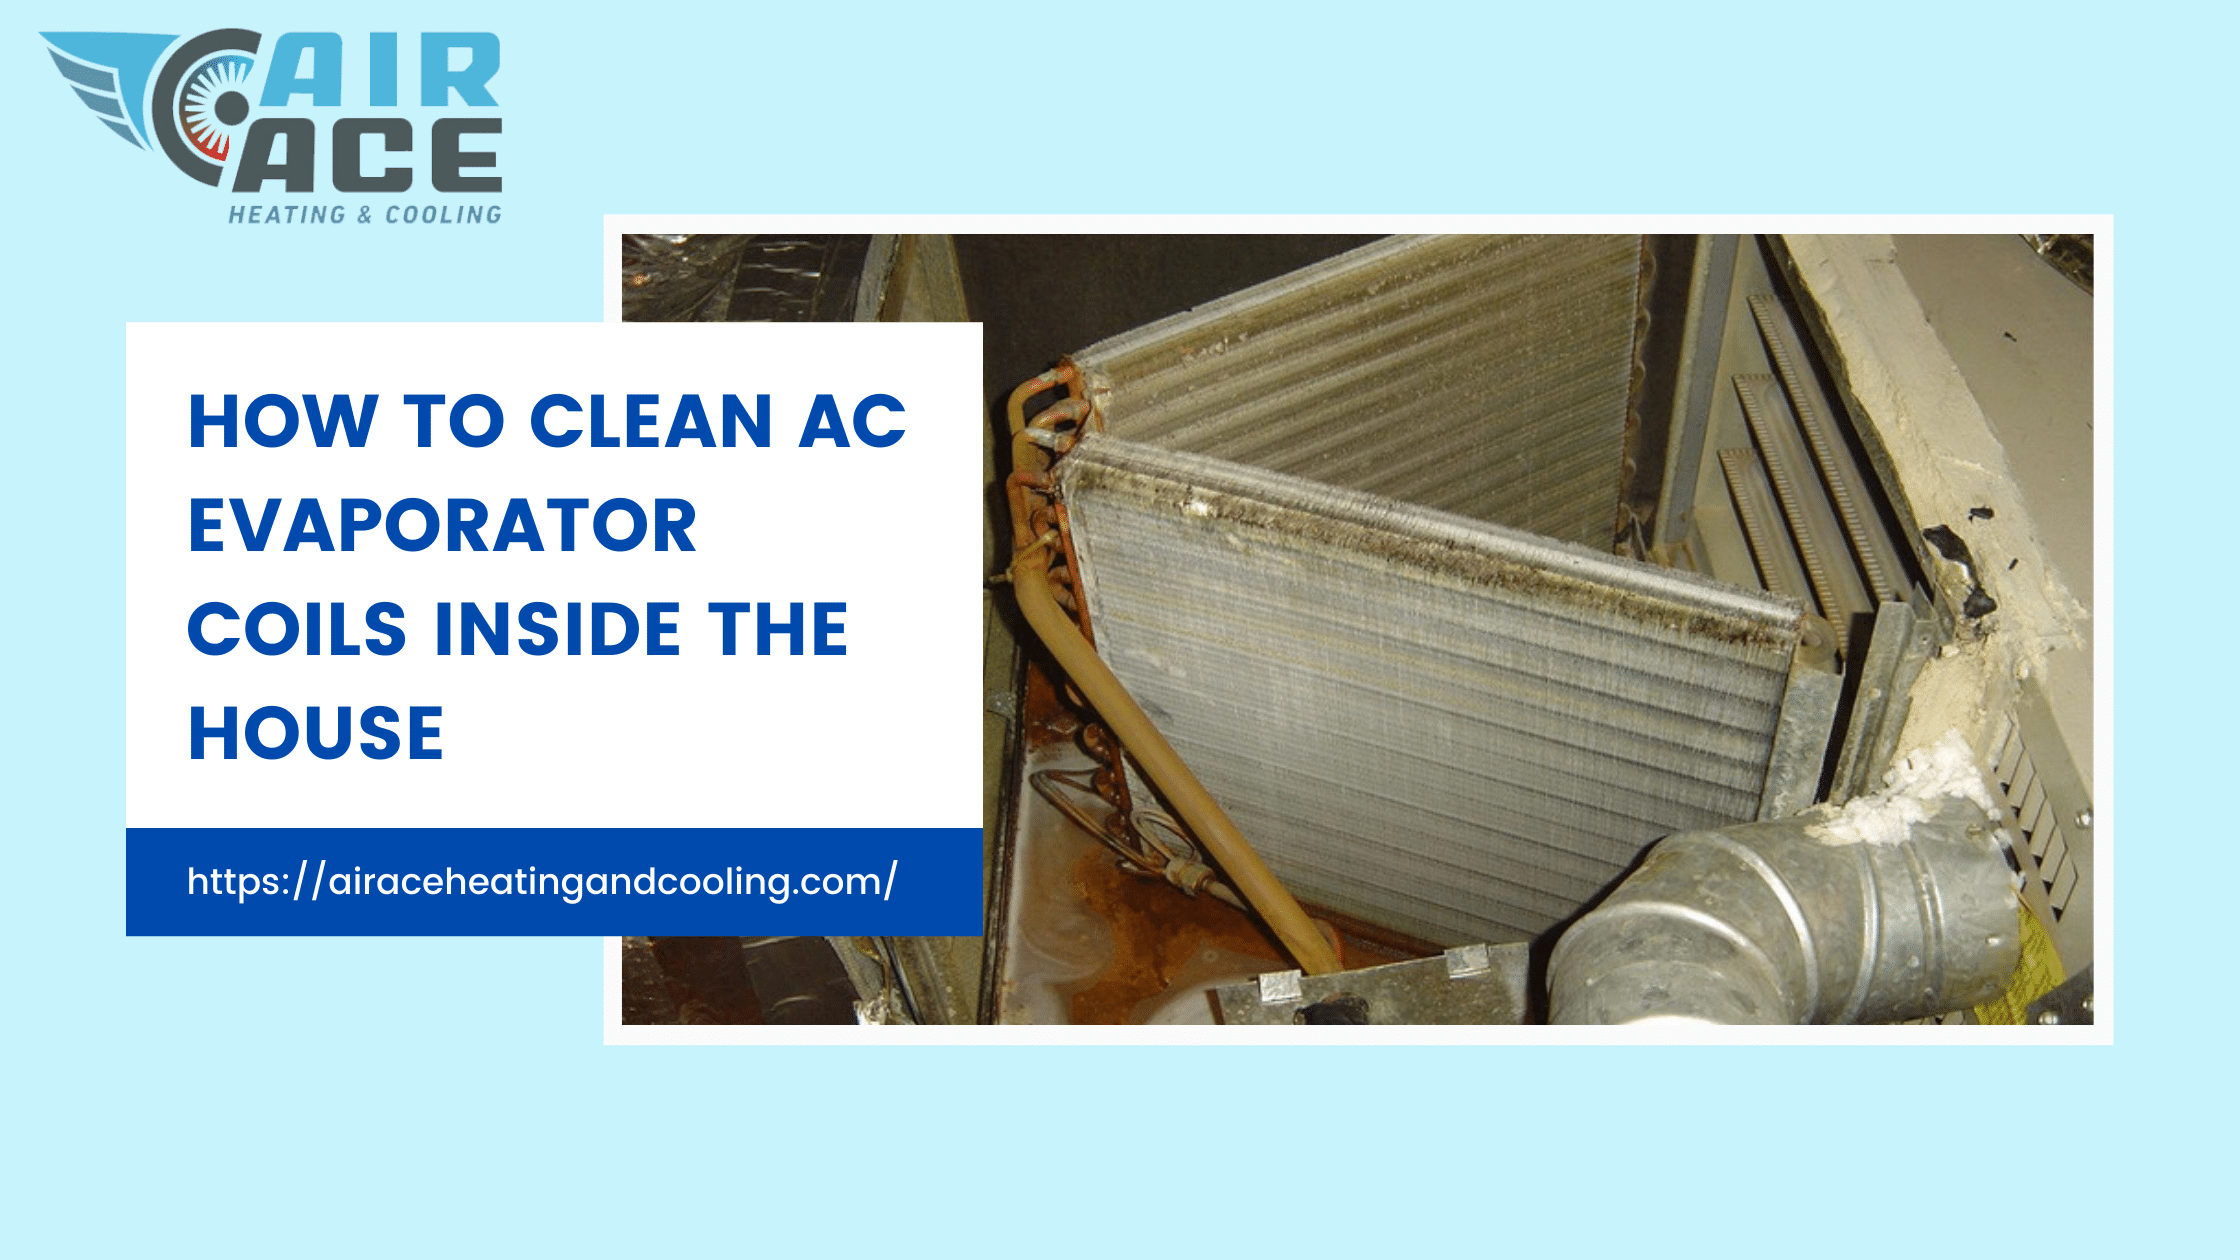
The evaporator coil is located inside your indoor AC unit. Inside the coil is refrigerant, a special substance that absorbs heat as it changes from a liquid to a gas. Think of refrigerant as the "blood" of your AC system, carrying heat from inside to outside to be expelled. When warm air blows across the evaporator coil, the refrigerant absorbs the heat, cooling the air. This cooled air is then circulated throughout your home.
A dirty evaporator coil hinders this process. The layer of dirt acts as an insulator, preventing the coil from effectively absorbing heat. This forces your AC system to work harder, consuming more energy and ultimately increasing your electricity bill. Furthermore, a dirty coil can lead to:
- Reduced Cooling Efficiency: Your AC struggles to cool your home effectively.
- Higher Energy Bills: The system works harder and uses more energy.
- Frozen Evaporator Coil: Dirt restricts airflow, causing the coil to freeze.
- Mold and Bacteria Growth: The damp, dark environment of the coil encourages microbial growth, leading to unpleasant odors and potential health problems.
- System Failure: Over time, the increased strain on the system can lead to premature component failure and costly repairs.
DIY vs. Professional Cleaning: Making the Right Choice
Cleaning an evaporator coil can be a DIY project, but it requires caution, the right tools, and a good understanding of your AC system. Before you begin, consider the following factors:
When DIY Might Be Suitable:
- You are comfortable working with electrical components: Disconnecting power and handling electrical connections safely is crucial.
- You have basic mechanical skills: You should be able to disassemble and reassemble parts of your AC unit.
- You have the necessary tools and supplies: These include a fin comb, coil cleaner, vacuum, screwdriver, and safety gear.
- The coil is easily accessible and only mildly dirty: If the coil is heavily soiled or difficult to reach, professional cleaning is recommended.
When Professional Cleaning is Recommended:
- You are uncomfortable working with electrical components: Safety should always be your top priority.
- You lack the necessary skills or tools: Attempting the job without the proper equipment or knowledge could damage your AC system.
- The coil is heavily soiled or difficult to access: Professionals have specialized equipment and expertise to clean even the most challenging coils.
- You suspect mold growth: Professionals have the tools and expertise to safely remove mold and prevent its recurrence.
- Your AC system is under warranty: DIY cleaning may void your warranty.
Ultimately, the decision of whether to clean your evaporator coil yourself or hire a professional depends on your comfort level, skills, and the condition of your AC system. When in doubt, it's always best to err on the side of caution and consult with a qualified HVAC technician. Safety should be the utmost priority when dealing with electrical components and potentially harmful chemicals.
Step-by-Step Guide to Cleaning Your Evaporator Coil (DIY)
Disclaimer: This guide is for informational purposes only. Always consult your AC system's manual and follow all safety precautions. If you are not comfortable performing any of these steps, contact a qualified HVAC technician.
1. Gather Your Supplies:
Before you begin, gather the following supplies:
- Screwdriver: To remove access panels.
- Fin Comb: To straighten bent fins on the coil.
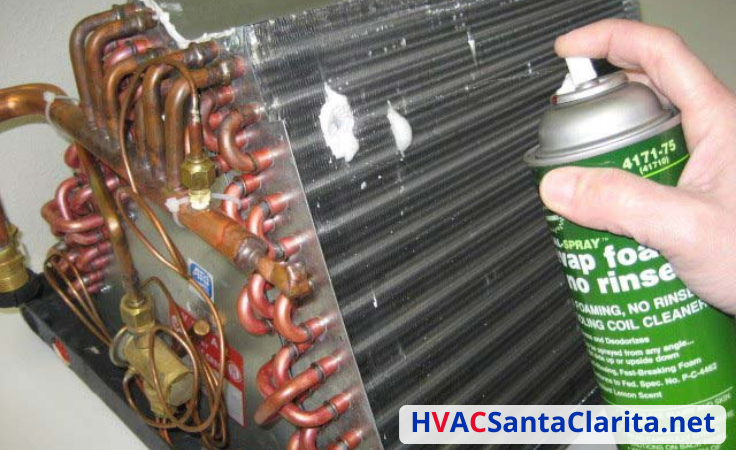
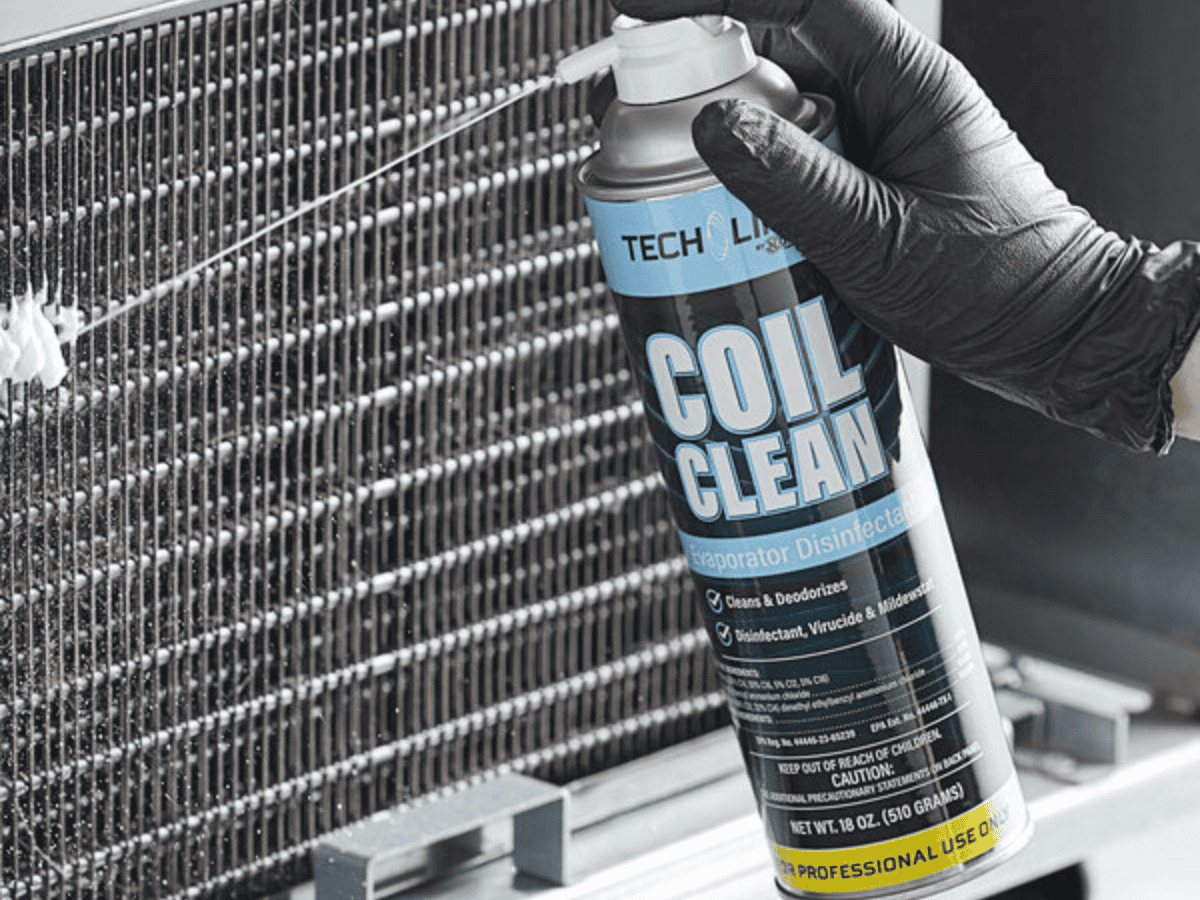
- Coil Cleaner: Specifically designed for evaporator coils (available at most hardware stores). Choose a non-acidic, no-rinse cleaner.
- Vacuum Cleaner with Brush Attachment: To remove loose dirt and debris.
- Soft Brush: For gentle cleaning.
- Spray Bottle: To apply the coil cleaner (if not already in a spray bottle).
- Safety Glasses: To protect your eyes from debris and chemicals.
- Gloves: To protect your hands.
- Face Mask: To avoid inhaling dust and chemicals.
- Flashlight or Work Light: To improve visibility.
2. Turn Off the Power:
This is the most important step! Locate the circuit breaker that controls your indoor AC unit and turn it off. Double-check that the power is off by testing the unit with a non-contact voltage tester. This will prevent electrical shock and ensure your safety.
3. Locate and Access the Evaporator Coil:
The evaporator coil is typically located inside the indoor AC unit, often behind an access panel. Refer to your AC system's manual for specific instructions on how to access the coil. You may need to remove screws or clips to remove the panel. Be careful not to damage any wires or components. Once you have removed the access panel, you should be able to see the evaporator coil. Take a picture before disassembly to aid in reassembly.
4. Vacuum the Coil:
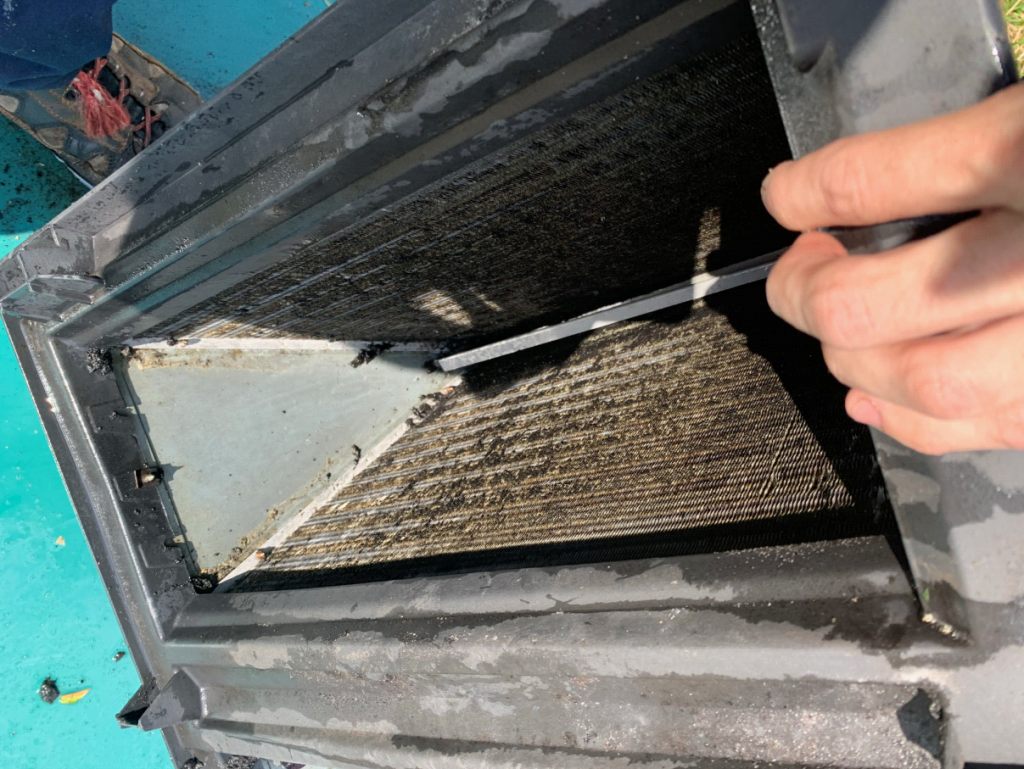
Use the vacuum cleaner with the brush attachment to remove any loose dirt, dust, and debris from the coil. Gently brush the coil while vacuuming to dislodge stubborn particles. Be careful not to damage the delicate fins on the coil.
5. Straighten Bent Fins (if necessary):
Over time, the fins on the evaporator coil can become bent or damaged. Use a fin comb to gently straighten the fins. This will improve airflow and allow the coil to function more efficiently. Be patient and work slowly to avoid breaking the fins.
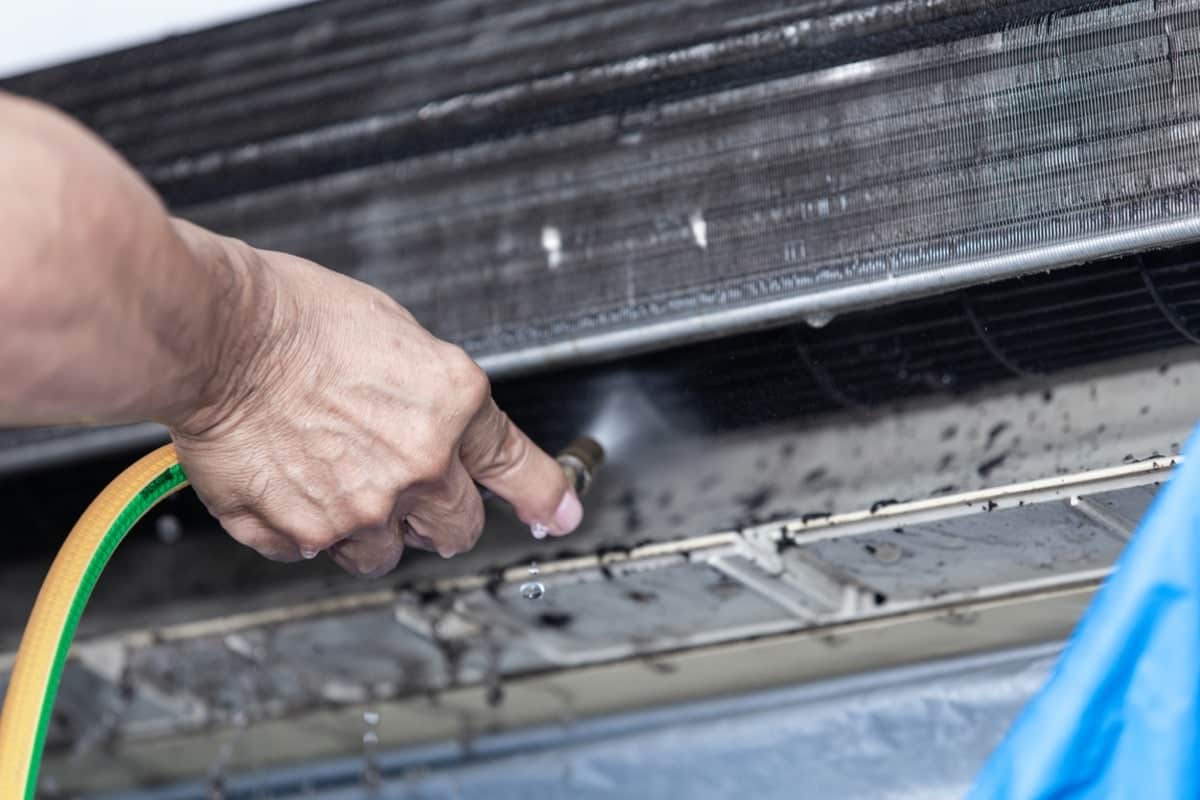
6. Apply the Coil Cleaner:
Carefully apply the coil cleaner to the evaporator coil, following the manufacturer's instructions. Ensure the cleaner is specifically designed for evaporator coils. Spray the cleaner evenly over the entire surface of the coil, paying particular attention to areas with heavy dirt buildup. Avoid spraying the cleaner on any electrical components. Some coil cleaners are "no-rinse" and will self-clean the coil. If yours requires rinsing, carefully follow the directions for proper rinsing after the cleaning time has elapsed.
7. Allow the Cleaner to Soak:
Allow the coil cleaner to soak for the amount of time specified in the manufacturer's instructions. This will give the cleaner time to break down the dirt and grime on the coil. Do not allow the cleaner to dry on the coil.
8. Rinse the Coil (if required):
If your coil cleaner requires rinsing, use a spray bottle filled with clean water to rinse the coil thoroughly. Be careful not to spray water on any electrical components. Allow the coil to air dry completely before reassembling the AC unit.
9. Reassemble the AC Unit:
Once the coil is clean and dry, carefully reassemble the AC unit, replacing the access panel and securing it with screws or clips. Double-check that all wires and components are properly connected. Refer to the picture you took before disassembly, to help reassemble correctly.
10. Turn the Power Back On:
Turn the circuit breaker back on and test the AC unit to ensure that it is working properly. Monitor the system for any unusual noises or performance issues.
Preventive Maintenance: Keeping Your Evaporator Coil Clean
Regular preventive maintenance can help keep your evaporator coil clean and prevent future buildup. Consider the following tips:
- Replace Air Filters Regularly: Dirty air filters restrict airflow and allow more dust and dirt to enter the AC system. Replace your air filters every 1-3 months, or more often if you have pets or allergies.
- Schedule Professional AC Maintenance: A qualified HVAC technician can inspect and clean your AC system annually, including the evaporator coil. This will help identify and address potential problems before they become major issues.
- Keep the Area Around Your Outdoor Unit Clean: Remove any debris, such as leaves, grass clippings, and branches, from around your outdoor AC unit. This will improve airflow and prevent dirt from entering the system.
- Consider a UV Light: Installing a UV light in your AC system can help kill mold and bacteria that may grow on the evaporator coil.
Troubleshooting Common Issues
Even after cleaning your evaporator coil, you may still encounter some issues. Here are a few common problems and potential solutions:
- AC Still Not Cooling Properly: Check your refrigerant levels. Low refrigerant can prevent the AC from cooling effectively. Contact a qualified HVAC technician to recharge the refrigerant.
- Frozen Evaporator Coil: This is often caused by restricted airflow. Check your air filter and make sure it is clean. Also, ensure that the evaporator coil is clean and free of debris.
- Unpleasant Odors: This can be caused by mold or bacteria growth. Consider using a coil cleaner specifically designed to kill mold and bacteria. You may also want to consider installing a UV light.
Final Thoughts
Cleaning your evaporator coil is an important part of maintaining your AC system and ensuring its efficient operation. By following the steps outlined in this guide, you can save money on energy bills, improve indoor air quality, and prolong the life of your AC system. Remember to prioritize safety and consult with a qualified HVAC technician if you have any concerns or are uncomfortable performing any of the steps. A clean evaporator coil leads to a cooler home and a healthier living environment.